Sea of Thieves

Sea of Thieves

51 ratings
A New Player's Basic Guide To All Event And Voyage Bosses In Sea Of Thieves (Legacy Guide)
By Surtr Bubingi
Sea Of Thieves is home to numerous bosses, some are hard, some are easy, and some are even tied to what ship you're using, this guide is to help new pirates have a better understanding on how to beat these bosses.

*UPDATE* This guide is now a Legacy Guide, meaning it's no longer being updated, however the infomation here will still be useful for a lot of players, so please keep reading, but be aware somethings might have changed since this was updated, there are no plans to update this guide due to constant Steam errors.
2
   
Award
Favorite
Favorited
Unfavorite
How This Guide Works
1. This guide is aimed towards newer players, so if you're an experienced player, some of the advice here can be ignored if you so wish.

2. Some enemies that aren't considered bosses by older players will be in this guide as newer players might see them as bosses when they first encounter them so don't complain about a regular enemy or encounter being on here if you're an experienced player.

3. In each boss's section, there will be the following parts, here's what they mean.

Threat
This is how dangerous the boss is, it ranges from 0 to 5, they mean the following...

0. This boss isn't a threat and can be easily taken out by anyone, with the only risk being an attack from other players or you being caught of guard by said boss or other enemies who assist them.

1. This boss can cause new players some trouble, but again they're easy and the biggest threat are other players.

2. This boss would now cause the newest of players some major problems at times.

3. The Boss has the ability to cause major problems for some crews often.

4. The Boss will kill new players repeatedly and can be a major problem, especially when another crew is involved.

5. The Boss should be taken out as soon as possible, as not only they're dangerous, but other players will slaughter you if unprepared.

Some boss's threat level is increased depending your ship type, which will also be noted in their respective section on this guide.

Variants
Most enemies come in numerous forms, however with the exception of a couple of enemies, most enemy variants are purely cosmetic.

Location
This is where the boss can be found, and it will mention either World Event, Voyage Encounter, Random Encounter, and if they appear on a wave, what wave they will appear on.

Helpful Weapons
These are weapons you might want to bring along to the fight or have a scout around to find while fighting the boss, as they can help out a lot, there's also a section talking about each weapon too.

Immunities
This is when a boss won't take damage from a certain type of an attack.

Important Rewards
While I won't go over all the rewards, I will highlight the important rewards that can be found after defeating each boss, like exclusive loot or rare loot.
This Guide WILL NOT Go Over Bosses Found In Tall Tales, Adventures, Pirate Legend Voyages or Special Events!
Tall Tale Bosses
I don't want to spoil Tall Tale bosses, as they spoil the story and adventure you will embark on, so if you're looking for Tall Tale bosses, this guide will NEVER go over them.

Adventure Bosses
Similar to Tall Tale Bosses, I don't want to spoil them as they will spoil the story and Adventure itself, plus Adventures only last for around 2 weeks, and it would be a waste of time me constantly updating this guide to include a boss a lot of people might never encounter ever again.

Pirate Legend Voyages
Like with Tall Tale Bosses, I don't want to spoil these bosses, as these bosses that are introduced by doing a Pirate Legend voyage, is heavily themed around being a Pirate Legend and the story, and becoming a Pirate Legend is very special, especially to a new player, so I deferentially DO NOT want to spoil any bosses being related to being a Pirate Legend, I know I have spoken about Pirate Legend content in other guides, and I could censor them to avoid spoilers, however here I feel like i would be potentially censoring too much, and new players could also accidentally highlight over said spoiler and spoil the boss and voyage, so this guide will NOT go over bosses you might encounter during a Pirate Legend Voyage.

Events
During special events, most of the time some old bosses are recycled to appear in new locations, for an example the Skeleton Lords during Mercenary Voyages, however these events don't last forever and rarely happen in the first place, and feels pointless to go over them since there's a good chance new players might never experience these.
Helpful Weapons
Other than the ones you some equipped with like your Cutlass, Pistol, Blunderbuss, Eye Of Reach and Ship's cannons, sometimes while sailing to a boss or running around an island they're on, you might find some helpful tools, here's a list of them!

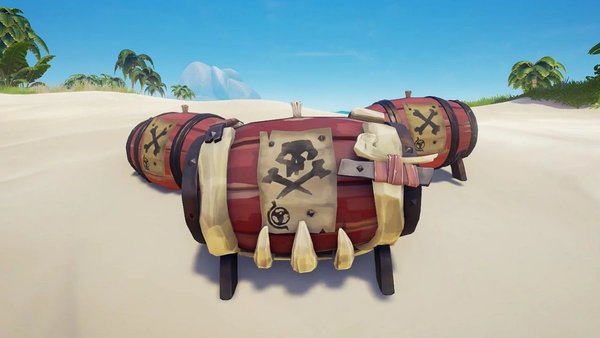
Gunpowder Barrel

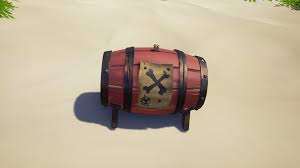
Gunpowder Barrels or "Kegs" can be found randomly in the sea, on islands, from digs, from killing Keg Skeletons, and on Forts, due to their explosive nature, it's often advised not to carry them onboard on your ship, as one wrong sword swipe or shot, will set it of instantly.
If you plan to use a Keg on a boss, always use the ones you can find nearby a boss, rather than carrying one from one place to another.

Stronghold Gunpowder Barrel

Stronghold Gunpowder Barrels or "Stronghold Kegs" or "Mega Kegs" are the nuclear cousins of regular Kegs, they can be found at Fort Vaults, random treasure dig spots, Gunpowder Skeletons during an Athena Voyage or at Fort Of The Dammed, or as a rare treasure at a sunken shipwreck.
Due to their rarity and power, most players often save these to use on other ships, or to sell them, however whenever you decide to you use, MAKE SURE you're far away and so is your ship, Stronghold Kegs do massive damage and can sink unprepared ships within seconds.

Blunderbombs

A throwable that can do some decent damage, and help set of Kegs at a distance if you can't shoot them for whatever reason, Blunderbombs are ok, however you mostly want to save this more for other players incase you get attacked, as the knockback on these effect players more than NPCs.

Firebombs

A much more helpful throwable that can help kill hordes of Skeletons and set of Kegs at a distance, FIrebombs are a god tier throwable that can make some waves at forts a total cake walk, however becareful as some enemies are totally immune to fire damage.

Chest Of Rage

To the untrained eye, the Chest Of Rage is just an annoying rare chest that causes fires, however when use correctly, the Chest Of Rage is an infinite Fire Spamming B*****d that can wipe out enemes with ease, however like with FIrebombs, some enemies are immune to fire damage.

Trident of Dark Tides

Also known as just "Tridents", "Disney Sticks", "Bubble Sticks", or how call I them "Overpowered" these things make some bosses a total cake walk, Tridents should ALWAYS be collected when spotted, while for PvP they're bad, at PvE they're just silly with how strong they are, they can be found on Shipwrecks, Skeleton Ships, Fort Vaults, Shrines, Treasuries, Randomly on islands or in the ocean, you can't sell Tridents so you might as well use them.

You can either use the main basic attack, or charge it up to do more damage, with a second charge having a big AOE, with the third charge having a huge AOE, it's best to use the second charge then anything else as it's strong enough to stun targets during certain animations, and you don't use the Trident up as fast while only doing third charge shots only.

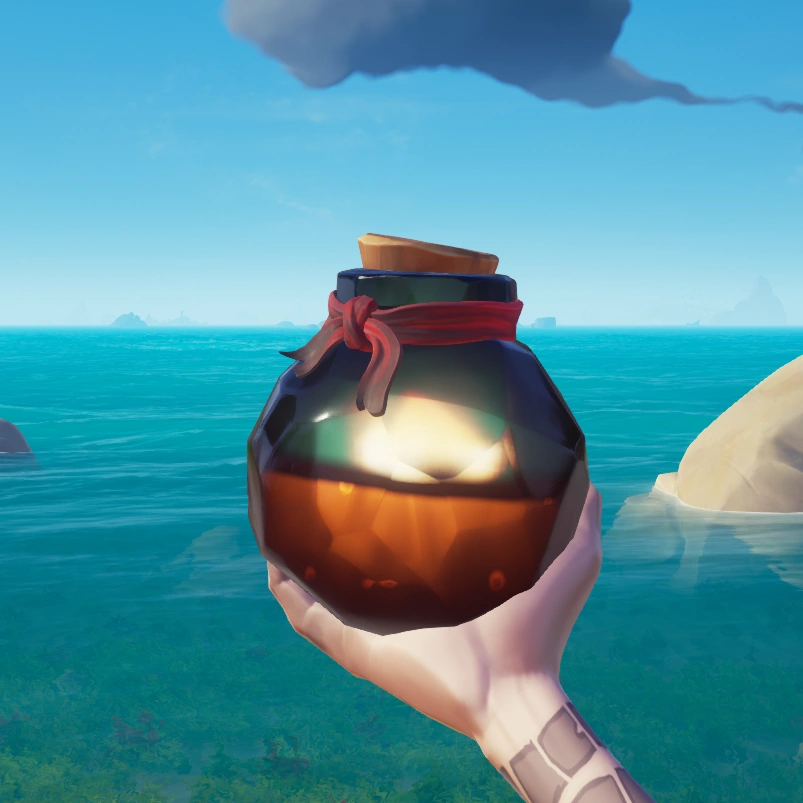
Cursed Cannonballs

There are two main types of Cursed Cannonballs, Green ones which effect players and NPCs, while Purple ones which effect ships, read what they do and see which ones can be helpful in defeating bosses!

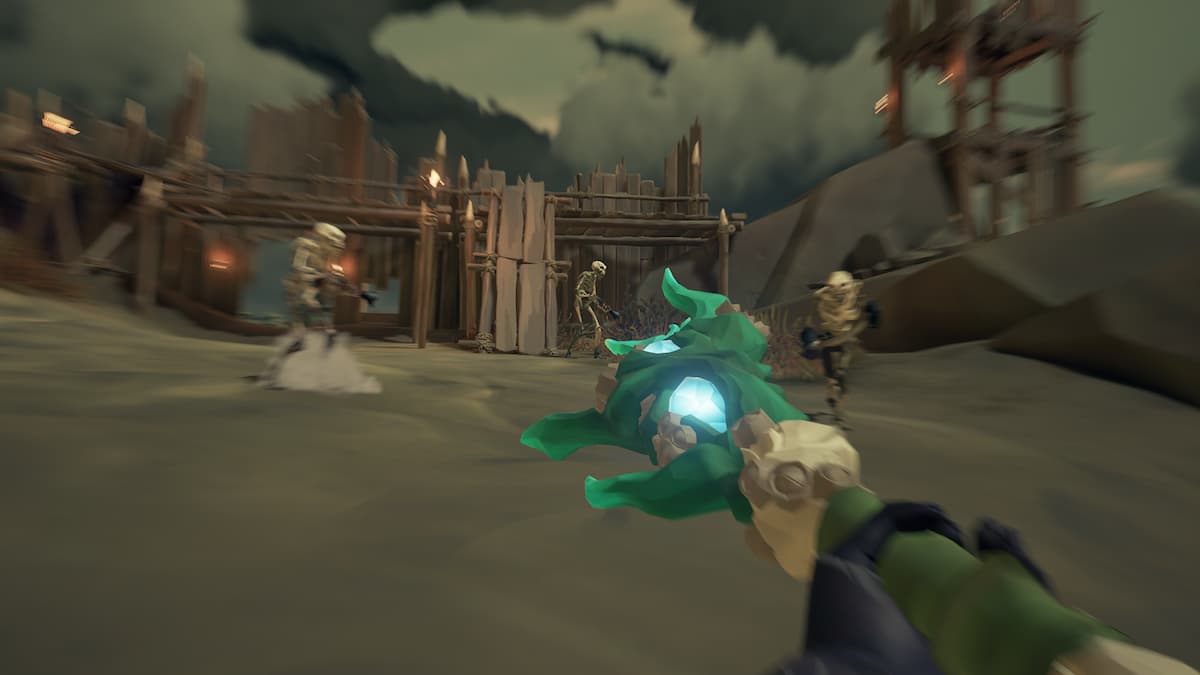
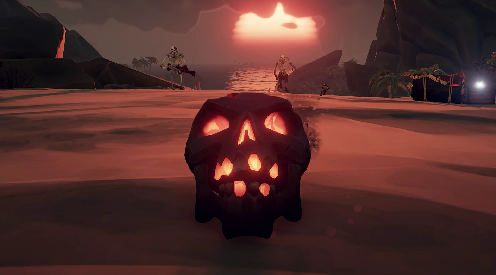
Ashen Winds Skull

Never use an Ashen Winds Skull unless you AND YOUR CREW is happy for you to use it, it's essentially a flamethrower, dealing heavy damage to non-fire resistant enemies such as Skeletons, each time you use an Ashen Winds Skulls however, it loses value and you earn less gold when you do sell it, when fully used up, it starts making clicking sounds and opening it's jaw, which can lead to funny moments where you can pretend it can talk with your crew mates.

Only use the Ashen Winds Skull if you REALLY NEED TO! Don't waste it, you're literally burning money away when you use it as a weapon!

I won't recommend using this item in this guide below on the boss sections, however be noted it can be used and is very helpful, but again the amount of money you lose while using it is often not worth it to most players.
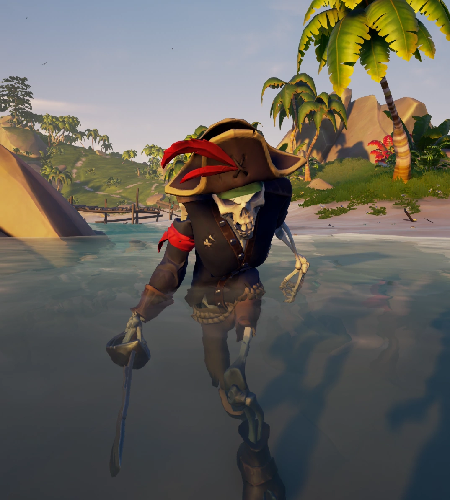
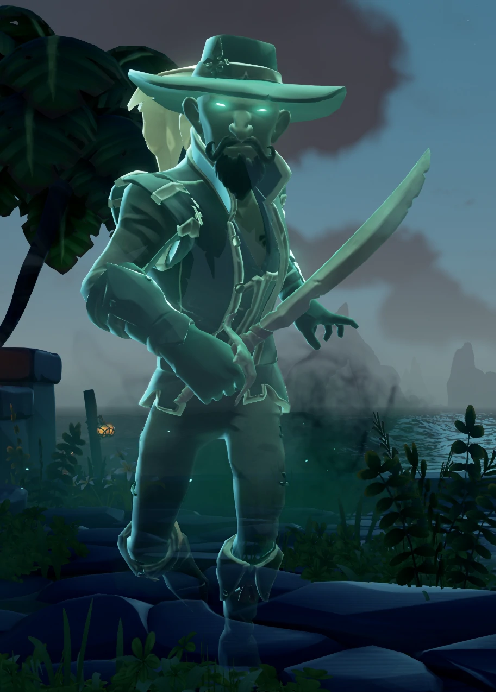
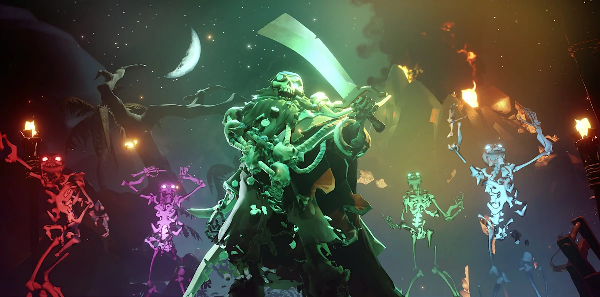
Skeleton Captains
Threat: 0 - 2 (Depends on Location, variants, and how many Skeletons there are)
Variants Regular, Plant, Shadow, Golden, and Ashen
Location: Randomly found on Islands, Order Of Soul Skeleton Crew Voyages, Skeleton Ships, Skeleton Forts and Fort Of Fortunes
Helpful Weapons: Firebombs, Chests Of Rage, Kegs and Tridents
Immunities: None
Important Rewards: Ones found randomly on Islands can give treasure maps + a Villainous Bounty Skull, ones on voyages can give skulls, and ones at Forts can reward you with Villainous Bounty Skulls, Ashen Captains can reward you with either a Key from Key Masters, a or map from Guardians to dig up a locked Ashen Chest.

How to defeat them
Before reading this guide, there's a good chance you might have already killed a regular captain, Skeleton Captains are just tanky versions of Skeletons, that's it, they have no special attacks or anything.
If a Skeleton Captain is being helped by Skeletons using Pistols or Kegs, kill them first as they have a higher chance to kill you more than the actual Captain himself.

Plant Skeleton Captains are weaker to fire and melee attacks compared to other Skeletons, just make sure not to attack them near water, as they start to regenerate health, even in the rain!

Shadow Skeleton Captains are immune to damage during the night, so light them up with a lantern or white flare before you start attacking them!

Golden Skeleton Captains are very slow and can take a lot of damage before dieing, however once wet, they take increased damage from ranged attacks, so carrying a bucket of water towards one isn't a bad idea, plus they're very vulnerable to explosive and fire damage as they're so slow and group up together so easily.

Ashen Skeletons are immune to fire attacks, so don't waste your firebombs on them, other than that, they're just regular Skeletons.

On Forts Of Fortune, Skeletons have their health increased with Captains staying the same, they're also much more aggressive with entire firing squads of Skeletons killing players with ease at times, so ALWAYS kill Pistol Skeletons first before taking out Captains during a Fort Of Fortune.
Captain Of The Fortress
Threat: 1
Variants: None
Location: On the final wave at a Fort Raid at one of the following Fortresses, Royal Crest Fortress, Imperial Crown Fortress, Ancient Gold Fortress, Old Brinestone Fortress, Traitor's Fate Fortress, and Mercy's End Fortress
Helpful Weapons: None needed
Immunities: None
Important Rewards: Fortress Treasury Key

How to defeat them
To be honest you don't need help fighting this boss, he's very squishy despite him having more health depending on the size of your crew, anyone can solo him easy, he might land some hits on you, but even as a new player, you should have no problems dealing with this boss, just remember he likes to teleport quite often sometimes, most of the time on the same floor as you, but sometimes to a floor below or above you, keep an ear out on where he might be.
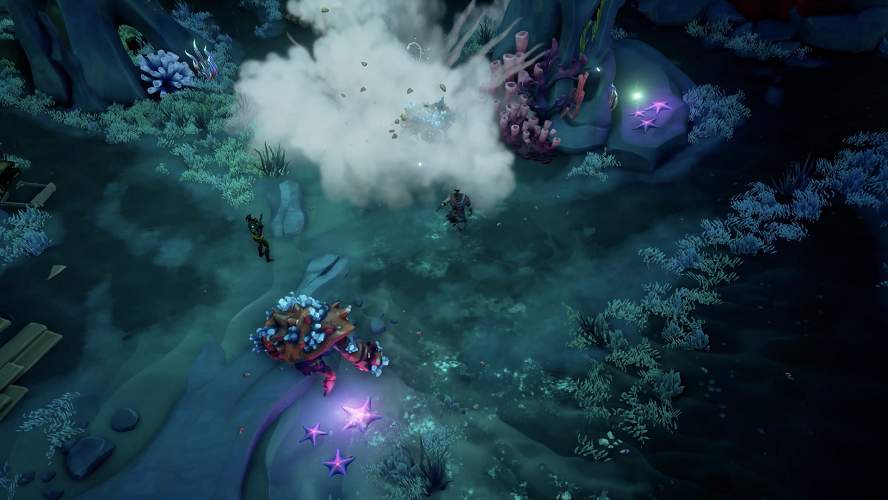
Treasury Vaultmaster
Threat: 0
Variants: Ocean Crawlers (Eel-ectric, Hermit and Crab) and Sirens
Location: Treasury of Sunken Shores, Treasury of the Lost Ancients, and Treasury of the Secret Wilds
Helpful Weapons: Tridents and Kegs
Immunities: Fire
Important Rewards: The opening of a Treasury Vault, these contain treasures such as Coral variants of Chests, Skulls, Relics and other treasures, and also a Breath Of The Sea if you have picked up a Coral Message in a bottle that takes you to a treasury and you went to the correct one.

How to defeat them
Ever fought an Ocean Crawler or Siren? Congratulations you fought a Treasury Vaultmaster too, they're just a bulkier version of those enemies, but what makes these guys a pathetic boss fight is that the Treasury is FILLED with Tridents and Kegs.

The most dangerous thing on doing a Treasury is if another ship notices you and starts attacking, always have someone on the ship to keep look out, and if you need to get out early, there's a statue at the entrance of each Treasury that can teleport you to your ship.
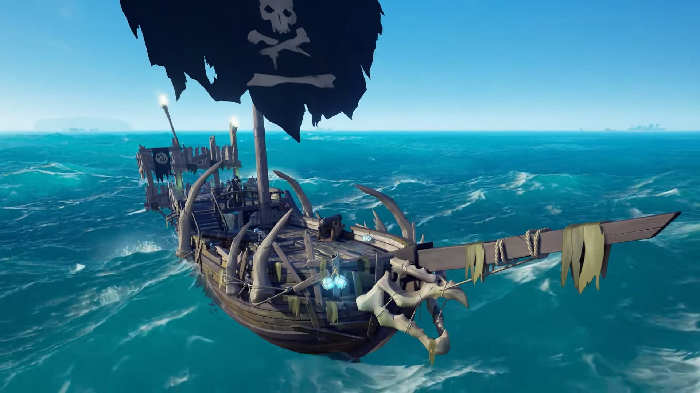
Skeleton Sloop
Threat: 1
Variants: None
Location: Found randomly sailing across the Sea, random spawn/encounter for Sloops and Brigantine Ships, and found at Skeleton Fleet World Events
Helpful Weapons: None needed
Immunities: None
Important Rewards: Skeleton Captain Chests, Skeleton Captain Skulls, Chest Of A Thousand Grogs, Chest Of Sorrows, Ritual Skulls and Barnacle Treasure Chests.

How to defeat them
As a new player, you should try to fight these ships whenever possible to help improve your cannon aim and ship management skills, anyhow there's no secret to defeating these ships, just keep attacking them with your cannons at different spots to make more holes, and to make them sink faster, just keep an eye on your ship so that you don't sink with them!

If you're lucky, some Skeleton Ships carry Kegs inside them, so hitting them will cause them to explode!
Also if you're very lucky, you might encounter one with a Chest Of Sorrows, if it starts crying, they will start sinking as Skeletons can't bucket out the water like you can.
Skeleton Galleon
Threat: 2 (Normally) 3 (If found in a Skeleton Fleet and spawned with another Skeleton Galleon)
Variants: None
Location: Found randomly sailing across the Sea, random spawn/encounter for Galleon Ships, and found at Skeleton Fleet World Events
Helpful Weapons: Purple Cursed Cannonballs and FIrebombs
Immunities: None
Important Rewards: Skeleton Captain Chests, Skeleton Captain Skulls, Chest Of A Thousand Grogs, Chest Of Sorrows, Ritual Skulls, Barnacle Treasure Chests, Ashen Chests and Ashen Keys.

How to defeat them
Galleons are tricky to defeat for a new player, unlike other ships, Galleons have 2 floors that need to be flooded to be sunk, ans the bottom needs to be full first before the second one starts, so unless you have a Ballast Ball (a type of purple cursed cannonball) you need to land lower hits on the Galleon before you start attacking the top.

During Skeleton Fleets, you have a chance to encounter 2 Skeleton Galleons at once, pick one and sink that one first before attacking the other, be super cautious whenever you're in their broadside because A LOT of cannonballs, regular and curses will becoming your way!

Like with Skeleton Sloops, Galleons also have a chance to have a Keg onboard, so hitting it will explode and will help out a lot when sinking it!
Also again like with Skeleton Sloops, you might encounter a Skeleton Galleon with a Chest Of Sorrows, if it starts crying, they will start sinking as Skeletons can't bucket out the water, helping you out a lot with sinking them!
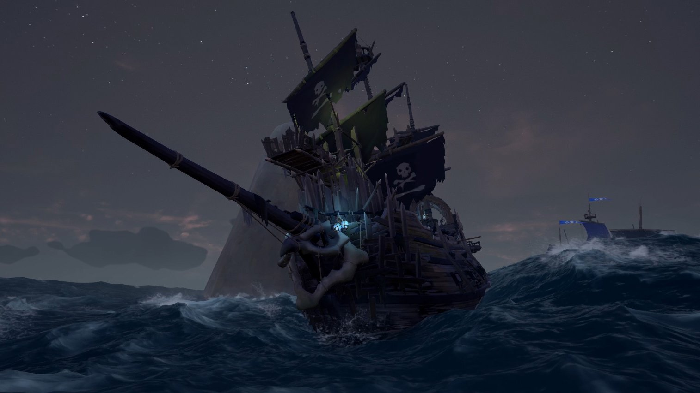
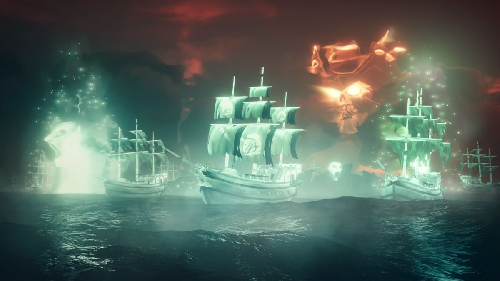
Ghost Captain Ship
Threat: 2
Variants: None
Location: Final wave of a regular Order Of Souls Ghost Fleet Voyages (The Voyages are unlocked at level 25 with the Order Of Souls)
Helpful Weapons: None needed
Immunities: None
Important Rewards: Captain Skull Of The Dammed

How to defeat them
The Ghost Captain Ship can be identified with the unlockable Ghost Captain Sails on the ship itself, it takes around 10 hits to destroy with 2 extra Ghost Ships protecting it, by the time you reach the final wave, you should be well accustomed to how Ghost Ships work.

Defeating the Ghost Captain Ship will immediately finish the voyage, so make you sure you destroy all the other Ghost Ships if you want commendation progress, and the Ghost Flagships if you want some extra loot!
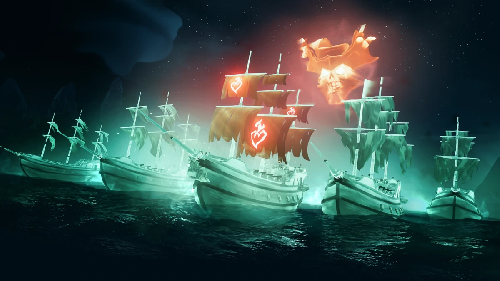
The Burning Blade
Threat: 4
Variants: None
Location: Final wave of a Order Of Souls Ghost Fleet Voyages as a VERY RARE Spawn (Level 75 Order Of Souls Ghost Fleet Voyages are said to trigger the chance to get this voyage)
Helpful Weapons: None needed
Immunities: None
Important Rewards: Captain Skull Of The Dammed, Treasure Chest Of The Dammed, Cannonball Chest Of The Dammed,

How to defeat them

Once part of a World Event and now locked behind the highest level of OoS voyages as a super rare spawn, The Burning Blade can be identified with the unlockable Burning Blade Sails on the ship itself, it takes around 24 hits to destroy with 5 extra Ghost Ships protecting it, by the time you reach the final wave, you should be well accustomed to how Ghost Ships work.

Defeating the Burning Blade will immediately finish the voyage, so make you sure you destroy all the other Ghost Ships if you want commendation progress, and the Ghost Ashen Dragon Ships if you want some extra loot!
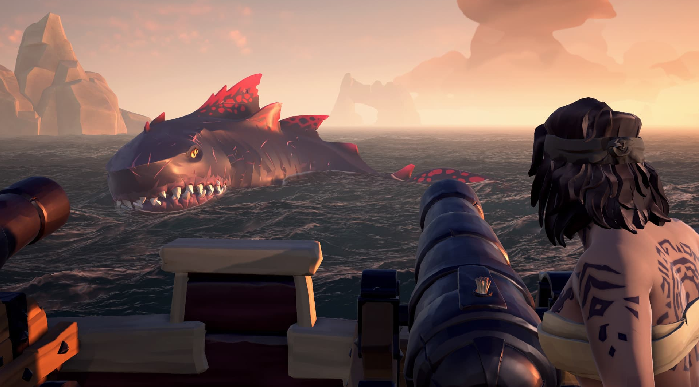
Megalodon
Threat: 1 (Sloop) 2 (Brigantine) 4 (Galleon)
Variants: The Hungering One, The Crested Queen, The Shadowmaw, The Ancient Terror, and The Shrouded Ghost, they're all the same, they're just cosmetically different.
Location: Randomly encounter while sailing in open water
Helpful Weapons: None needed
Immunities: None
Important Rewards: Megalodon Meat, Stronghold Treasure (except Stronghold Kegs), Ashen Treasure, Chests Of A Thousand Grogs, Chest Of Sorrows and Chest Of Rage

How to defeat them
Megalodons are encountered randomly while in the ocean, they follow your ship by circling it and can only attack by charging, depending on who encounters the Megalodon will determine the Megalodon's health, damage and how many hits it will take it to stop charging, with Sloops being the weakest, and Galleons being the strongest.
While most of the time you will encounter a Megalodon tied to your ship, you may encounter another ship's Megalodon if you come too close it while the Megalodon is active, so be very careful.

The below bits are based on if you encounter a Megladon on your ship's size, if you do encounter another ship's Megladon, either run away if you can't fight with it, or be ready for a painful fight.

As a Sloop you should have no trouble, aiming hits with your cannons might be awkward at first, but you will get used to it.
When charging at the Sloop, Megalodons need 2 hits from Cannonballs to stop charging, if you fail to hit them in time, they will cause a few holes to appear on your ship.

As a Brigantine, you might have some trouble, again aiming might be hard at first, but you will get used to it.
When charging at the Brigantine. Megalodons need 4 hits from Cannonballs to stop charging, if you fail to get them in time, they will cause multiple holes to appear.

As a Galleon, Megalodons are often more trouble them they're worth, as being on a Galleon makes you much higher then other ships, making it hard to hit Megalodons at times.
When charging at a Galleon, they will need 8 hits from Cannonballs to stop charging, if you fail to get them in time, they will cause a massive amount of holes to appear.
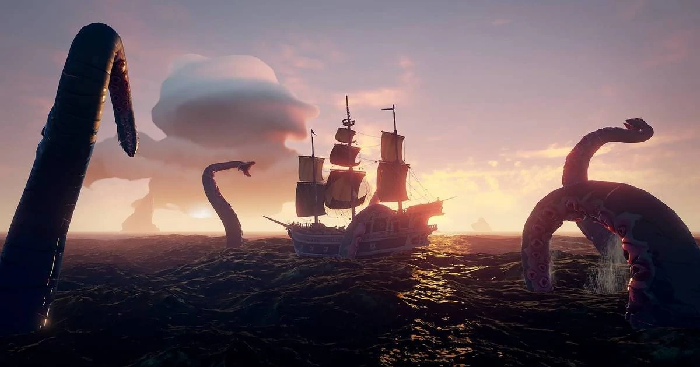
Kraken
Threat: 1 (Sloop) 3 (Brigantine) 5 (Galleon)
Variants: None
Location: Can be randomly encountered in the open ocean if no world event is active
Helpful Weapons: Tridents but only when tentacles start wrapping around your ship
Immunities: None
Important Rewards: Kraken Meat, Stronghold Treasures (except Stronghold Kegs) Ashen Treasure, Chest Of A Thousand Grogs and Chests Of Sorrow.

How to defeat them
When spawning, you will hear an audio cue with the music changing while the water turns black with ink, giving you plenty of time to suit up and get ready to fight, the Kraken can do a lot to a crew, so here's what it can do!

  • The Ink the Kraken has spawned is poisonous and deals damage to anyone that makes contact with it, it also blackens the water to the point where you can't see anything underwater. Also the Ink makes travelling through it with your ship painfully slow, however rowboats are not effected.

  • The Kraken can wack ships with it's tentacles with a huge slap causing knockback, damage to players and holes in the ship to appear.

  • The Kraken can wrap it's tentacles around the ship, dealing damage to it and if ignored long enough, will drag the ship down regardless the amount of holes it has, ALWAYS prioritise these "wrappers" with attacks from your Sword, Blunderbuss, Pistol, Rifle or Tridents, also when attacked they leak out poisonous ink that deals damage to anyone nearby.

  • Krakens can suck up players into a tentacle's maw, so if you think you're being sucked up, hide beneath deck until it's safe, if caught, you will enter an animation where you get sucked up to the maw, and can't escape until you're in the tentacle's maw, teammates can damage the tentacle with cannons, save you with a harpoon, while you can shoot at it for a chance to escape or sword lunge out, if you don't do anything intime, the tentacle with drown you in the inky water below.

Like with the Meglaodon, the Kraken's health and damage is determined with what ship you're using, so if you follow a different type of ship that's being attacked by a Kraken, it will have the health and damage from that ship and not yours, so becareful, and like with the Meglaodon section this below part will be like if you encountered a Kraken, as encountering someone who is being attacked by one is quite rare.

As a Sloop, Krakens are not a threat, you need to defeat 2-3 tentacles for it to retreat, so get onto the cannons and get firing, good crews can kill a Kraken before it even attacks!

As a Brigantine, Krakens are an annoying enemy to deal with, you have to defeat 5-6 tentacles before it retreats, get ready as this won't be easy!

As a Galleon, a Kraken can mean game over for an unprepared crew due to it's massive damage output with it's slap attacks, and needing to defeat 7-8 tentacles before it retreats, if another crew decides to attack you from a distance while a Kraken is active on you, it can be a quick end to your adventure if you're unable to deal with all of the chaos going on, it's possible, so don't give up too easily.
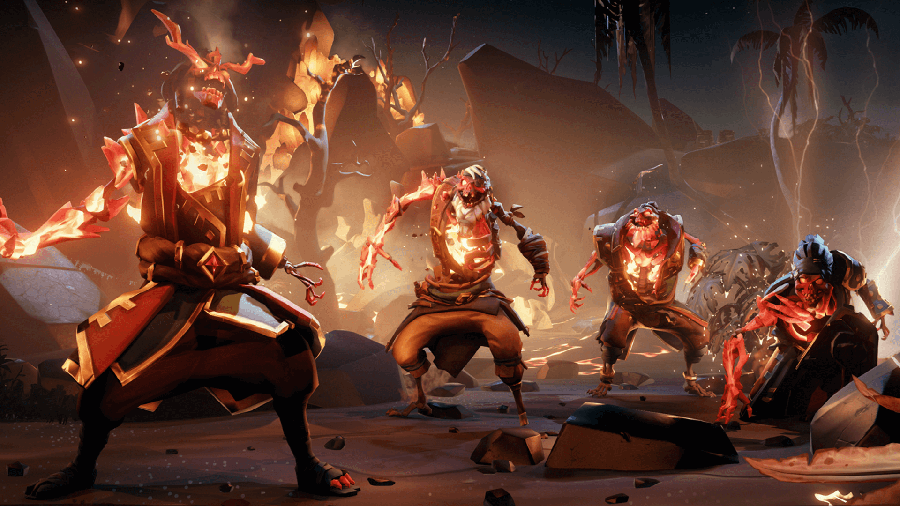
Ashen Lords
Threat: 3
Variants: Captain Grimm, Red Ruth, Old Horatio and Warden Chi, they're the same, they're only cosmetically different and with unique voicelines
Location: Ashen Winds World Event and The final wave of a Fort Of Fortune
Helpful Weapons: Tridents
Immunities: Fire
Important Rewards: Ashen Lords have 2 types of rewards depending where you defeat them
Ashen Winds World Event: Ashen Wind Skull, Opened Ashen Chests, Ashen Treasures, Ritual Skulls and Chests Of Rage
Fort Of Fortune: Ashen Wind Skull, Fort Of Fortune Vault Key, Skeleton Orders for a treasure map.

How to defeat them
On the surface, the Ashen Lords appear to be impossible for a new player to defeat, however they're actually way easier then you think to beat, while they have multiple attacks that can mess you up, many of them can be avoided with ease as they have long windup animations, like their leap attack.

Unlike most bosses, Ashen Lords have 3 phases, with each phase giving them new attacks to use, you can tell when an Ashen Lord enters a new phase when they collapse and stop attacking, allowing you to attack for even more damage, here's the main attacks you want to watch out for.

  • Ashen Lords can leap forward, dealing great damage and sending their target flying away, you can dodge this attack by sprinting away for enough to the side or back, or hiding behind an object like a rock.

  • If someone is behind an Ashen Lord, the Ashen Lord then can swipe behind them, dealing heavy damage and knockback.

  • Ashen Lords can blast fire out of their mouths while covering themselves in it, they're stood still during this, so take the opportunity to attack them, carry a full bucket of water with you just incase this attack catches you on fire!

  • Ashen Lords can summon backup Ashen Skeletons which are immune to fire, however unlike normal skeletons spawned by other Major Skeleton Bosses (more on that on the next boss) they're not buffed at Fort Of Fortunes to have higher health, meaning they can be multi-killed with a Sword Lunge.

  • Ashen Lords can summon huge smoke clouds, covering a large area in a thick black smog, blocking your vision, you can still see people's outlines and names above their heads, but it will hide potential threats, like enemy ships or kegs from view.

  • Ashen Lords can throw blunderbomb like projectiles at you, they throw in an arc, allowing you to dodge in time when you see them about to throw it.

  • When in their second phase, Ashen Lords can send out a powerful shockwave by slamming the ground, damaging anyone near them and lighting them on fire if close enough, what makes this attack even more dangerous, is that it can damage ships, if you suspect your ship was hit, fix it asap.

  • On the third and final phase, Ashen Lords can burst into flames, and summon huge rocks out of the sky itself, these rocks do huge damage to players with direct hits being instant kills, the ship can also be heavily damaged too so keep it at a safe distance before this attack happens and keep an eye on your ship so you can repair it if need be, and lastly all the water around and in the island they're on starts to boil, so don't hide in the water as you will take damage!
    You can avoid this attack by hiding in roofed areas such as the main building at forts, or in caves or under rocks.

While all of these attacks are dangerous, with enough practice, you'll find Ashen Lords quite easy, more easier then the other major skeleton bosses infact!
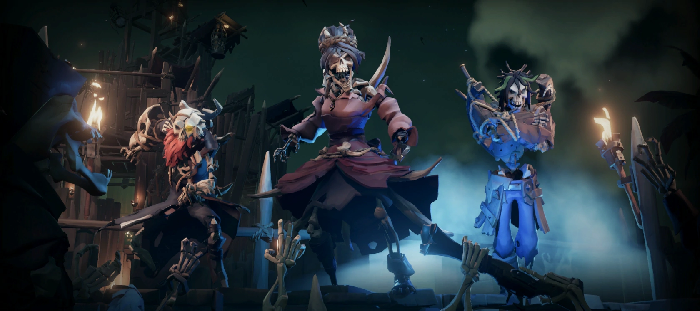
Skeleton Lords
Threat: 4
Variants: The Mutinous Helmsman, The Two-Faced Scoundrel and The Duchess, all 3 are the same, they're just cosmetically different
Location: Final Wave of a Skeleton Fort (1 Random Skeleton Lord), 16th Wave Of a Fort Of Fortune (The Mutinous Helmsman), and the 17th Wave Of a Fort Of Fortune (The Two-Faced Scoundrel and The Duchess at the same time)
Helpful Weapons: Tridents, Firebombs, Chest Of Rage and Green Cursed Cannonballs
Immunities: None
Important Rewards: Skeleton Lords have 2 types of rewards depending where you defeat them
Skeleton Fort: Stronghold Skull, Fort Vault Key and Skeleton Orders to dig up a treasure.
Fort Of Fortune: Stronghold Skull and Skeleton Orders to dig up a treasure.

How to defeat them
Skeleton Lords are huge, towering over other Skeletons, they have access to swipe attacks and shockwave attacks similar to Ashen Lords which can damage ships, however what makes them more dangerous than an Ashen Lord is the following.

  1. They can summon extra skeletons, and while on a Fort Of Fortune, these skeletons have buffed HP, allowing them to swarm all over you if they get the upper hand.

  2. They have access to an accurate pistol dealing heavy damage if it hits you, keep moving if you see a Skeleton Lord aiming at you if you're low, it's rare they miss!

  3. This is a big one that makes Skeleton Lords so dangerous, they have access to a Blunderbuss, the same type YOU have access to, and it can 1 shot kill you if you're close enough, and what makes it worse is that the animation for firing it is buggy, meaning Skeleton Lords can shoot it without aiming, whenever you see a Skeleton Lord with the Blunderbuss out, keep your distance until it fires, when it does fire, while it's reloading, dive in for an attack.

  4. On a Fort Of Fortune, as previously mentioned on the 17th wave, you have to fight The Two-Faced Scoundrel and The Duchess at the same time, this is very difficult for newer players to deal with as the combination of 2 already powerful bosses, combined with stronger then normal skeletons can easily overwhelm them.

Skeleton Lords get easier as you get used to them, especially with the help with tridents as they can get stunned out of certain animations, like eating or preparing to shoot, but even as an older player and many others can agree or admit, we still get blundered in the face way too much by these guys, don't underestimate them.
The Ghost of Graymarrow
Threat: 5
Variants: None
Location: Fort Of The Dammed Final Wave
Helpful Weapons: Tridents, Firebombs, Chests Of Rage, Kegs and Stronghold Kegs
Immunities: None
Important Rewards: Fort Of The Dammed Vault Key.

How to defeat him
The Ghost Of Graymarrow is very similar to the Skeleton Lords, however there are 5 massive differences that make this fight potentially the hardest in the game.

  1. He has different animations doing certain things, so if you're used to seeing what a Skeleton Lord summoning skeletons as an example and expect The Ghost Of Graymarrow to do the same animation, he might catch you of guard.

  2. The Ghost Of Graymarrow summons Skeletons Of Fate, which are Shadow Skeletons which are only vulnerable to certain Lanterns which have Flames Of Fate active in them, you had to fight numerous waves of these Skeletons, so you should be used to them by the time you reach the final wave.

  3. Unlike any other world event in the game, The Fort Of The Dammed is only activated by players and because of this is very rare to see, this means YOU WILL attract other players to your area, ALWAYS be on very high alert while doing a Fort Of The Dammed, it might be a friendly player, or a bloodthirsty Galleon ready to send you to kingdom come.

  4. Speaking of the Fort Of The Dammed being player activated, you need a Ritual Skull and the Flames Of Fates to activate the fort, Purple, Pink, Green, Red, Blue and White which can all be stored on your ship's lanterns, some are easy to come across like Red, while the elusive White is a bit harder to find, how do you get them? There are clues on Fort Of The Dammed itself on how to get them...

  5. And even when you beat the Fort, there's the loot, 2 of them are guaranteed to either be a Reaper's Chest, Reaper's Bounty, or a mix of both (as long there isn't already 5 Reaper Chests/Bounties on the map already, otherwise it will be Ancient Bone Dust Crates replacing them), and while they're not being sold or buried, people can still see them on their map and where they're going, so the fight isn't over until you either sell them at Reaper's Hideout which isn't far away, or bury them if you don't care about them.

    And there's also the guaranteed Chest Of Legends too, trust me when a crew notices Fort Of The Dammed being finished, some will make a move JUST to get this one item.
HEY YOU! Thanks for reading!
Since Rare likes adding new bosses and content into the game, I'll keep this guide updated as quick as possible... oh and the odd spelling or punctuation mistake I spot that will drive me insane until I fix it.

I honestly do hope this guide does assist you in your adventures, the bosses can be hard for newer players, but to be honest most of the time, they're easier than you think, and you're better then you think at the game, just keep practising, listen to your friends, read, listen or watch guides and you will get to the top eventually!

This guide is part of a series of guides called "In Sea Of Thieves!" Wanna read some more? Check out the other guides! I loved writing every single one!

Other "In Sea Of Thieves" Guides


https://steamproxy.com/sharedfiles/filedetails/?id=2683786705


https://steamproxy.com/sharedfiles/filedetails/?id=3256143964

If you enjoyed this one please remember to give it a thumbs up and favourite it! More guides are on the way! Stay tuned!
8 Comments
Surtr Bubingi  [author] 18 Jun, 2024 @ 10:33am 
FINAL UPDATE

A new guide has been released "What Your Title Says About You And Others In Sea Of Thieves 2024 Edition!"
https://steamproxy.com/sharedfiles/filedetails/?id=3256143964

As of now, this guide is now a legacy guide and will no longer be updated by me.
Surtr Bubingi  [author] 8 Feb, 2023 @ 4:41pm 
Update 4

A new guide has been released! "Dealing With Cheaters In Sea Of Thieves" it can be found in the "Thanks for reading" section!
Surtr Bubingi  [author] 25 Aug, 2022 @ 7:38pm 
Update 3

Two new mini guides have been released! "Managing Your Loot In Sea Of Thieves" and "Some Annoying Commendations Made Easier In Sea Of Thieves" both have been added to the "Thanks for reading" section
Surtr Bubingi  [author] 16 Aug, 2022 @ 5:21pm 
Update 2

A new guide has been released "A guide to Captaincy in Sea Of Thieves", it's been added in the "Thanks for reading!" section
Surtr Bubingi  [author] 25 May, 2022 @ 10:35am 
Update 1

A new guide has been released "How To Form And Keep Alliances In Sea Of Thieves", it's been added in the "Thanks for reading!" section
Moumenti 29 Apr, 2022 @ 3:59pm 
yep
Absentx1 24 Apr, 2022 @ 3:31pm 
bruh just shoot cannon balls at each tentacle
Gothic Jamal 24 Apr, 2022 @ 1:01am 
THanks man Helps me so i dont panic on kraken.