Source Filmmaker

Source Filmmaker

135 ratings
Exxie's Lighting Guide
By EXXIE
Learn advanced lighting the easy way. Whether you’re just starting out or want to polish your scenes, in this guide I will show you the essentials to make your shots looks clean like a pro.
3
   
Award
Favorite
Favorited
Unfavorite
The Result
This is the lighting style i use to make most of my posters

You want your poster to look like that right?
Don't worry I got you...
Camera Settings
  • fieldOfView: Fiddle around with it and see what suits you but I recommend to slide it to the left but not entirely depending on perspective and mood of your shot.
  • toneMapScale: 0.0771639, I slide it slightly bit to the left making the brightness a bit darker
  • bloomScale: I disabled it because it doesn't suit me well but if you want to use it then keep it at default value and do whatever you want with it to suit you.
  • SSAOBias and SSAOStrength: I slide it entirely to the right, because in this case with darker shadow would not make the picture looks clean but this is clearly depends on the scene.
  • SSAORadius: 0.344828
The Lightings
Alright, let’s kick things off with the classic: three-point lighting. This is one of the most common and reliable ways to light a scene, and it works in SFM just like in film or photography. It gives your characters depth, shape, and that cinematic look we all crave.

There are three main lights in this setup:
  • Key Light
  • Fill Light
  • Rim Light

1. Key Light
Before we start, Here's the picture of my Dellspencer character without any lighting apply to it:
Looks hella ugly right?

Now, Let's get start off by adding the key light to your character. This is your main light. It lights up your character and defines the overall mood. Think of it like the sun in your scene where it shines, people look.

This is where the Key Light would be placed in relation to the object:

2. Fill Light
This one fills in the shadows made by the key light, so your subject isn’t drowning in darkness on one side.

This is where the FIll Light would be placed in relation to the object:

3. Rim Light
Oh I love Rim Light, this is one of my favourite. This one adds a nice highlight around the edges of your subject, helping them stand out from the background. It gives that pro, cinematic vibe.

This is where the Rim Light would be placed in relation to the object:
The Lightings 2
These extra lights give you more flexibility to craft a specific mood or style. Think of them as seasoning you add more if the scene needs extra flavor.

4. Top Light
Use it to highlight the top of the head, shoulders, or hat, and to help separate the subject from dark backgrounds. It’s especially useful when your rim or key light doesn’t reach those spots well.

This is where the Top Light would be placed in relation to the object:

5. Ambient Light
To be honest, I don't know what's this light called. Anyways, what it does is to helps adjust the color balance and fill in shadows in a more natural or stylized way, depending on the map’s lighting and color correction. This light helps your subject feel like they belong in the scene. It picks up on the ambient hues already present in the map’s lighting like blue for nighttime maps or orange for sunset scenes. Use it and place it on the opposite side of your main key light to maintain depth while softly correcting overly harsh shadows or weird color casts.

This is where the Ambient Light would be placed in relation to the object:

6. Second Rim Light
An additional rim light that works the same as the first rim light but it's placed on the opposite side.

This is where the Second Rim Light would be placed in relation to the object:

7. Outline Rim Light

Don't place or move this light anywhere, just let it stay at it's default point.


This is how it looks like before you apply the outline rimlight settings, yes I know it bright up your character but don't worry about it... once you apply the settings for this light, it'll work how it's meant to, but like I said just don't move this light anywhere, let it stay at it's default position
Light Settings
These are just the settings I personally like to use for each light. They work well for my style, but they might not be perfect for everyone and that’s okay, since there are a bunch of sliders for you to play around with, so feel free to tweak things and see what looks best for your scene.

Also, ignore the horizontalFOV and verticalFOV since it was like that when I added them and I didn't touch them, I think those are following my camera settings but yeah.

1. Key Light Settings

2. Fill Light Settings

3. Rim Light Settings
Light 2 Settings
4. Top Light Settings

5. Ambient Light Settings

6. Second Rim Light Settings

7. Outline Rim Light Settings

NOTE: it is very important to follow these exact settings ( constantAttenuation and shadowDepthBias ) for the Outline Rim Light otherwise the outline won’t show up correctly.

use shadowFilterSize to adjust the scale of the outline.

Here's how you do it:
First, click on your outline rim light, find shadowDepthBias and right click on it, then select Remap Slider Range


Next is change the Min value to -0.01


After that, now you slide it all the way to the left.

Thanks to this helpful video
https://www.youtube.com/shorts/gUz5auVHzls

Alternatively, you can subscribe to this workshop right here
https://steamproxy.com/sharedfiles/filedetails/?id=2873014451
this way you don't need to remap the slider, Thanks to Red Fennec for this
Render Settings
These are the render settings that I use, of course it doesn't have to be exact as these settings, you can change it and see what suits you best.
Done!
And just like that, you’ve got some clean ahh lighting skills. Not gonna lie, this is my first guide, so thanks a ton for giving it a read.

Hope it helped and good luck
19 Comments
NULLRAD 20 Aug @ 12:33pm 
Hm, mediocre. You're not really thinking much about contrast. Your entire workflow is just highlighting and coloring. But the difference between good lighting and bad lighting is how well it holds up when you remove all color and just keep brightness of areas and angles of shadows.

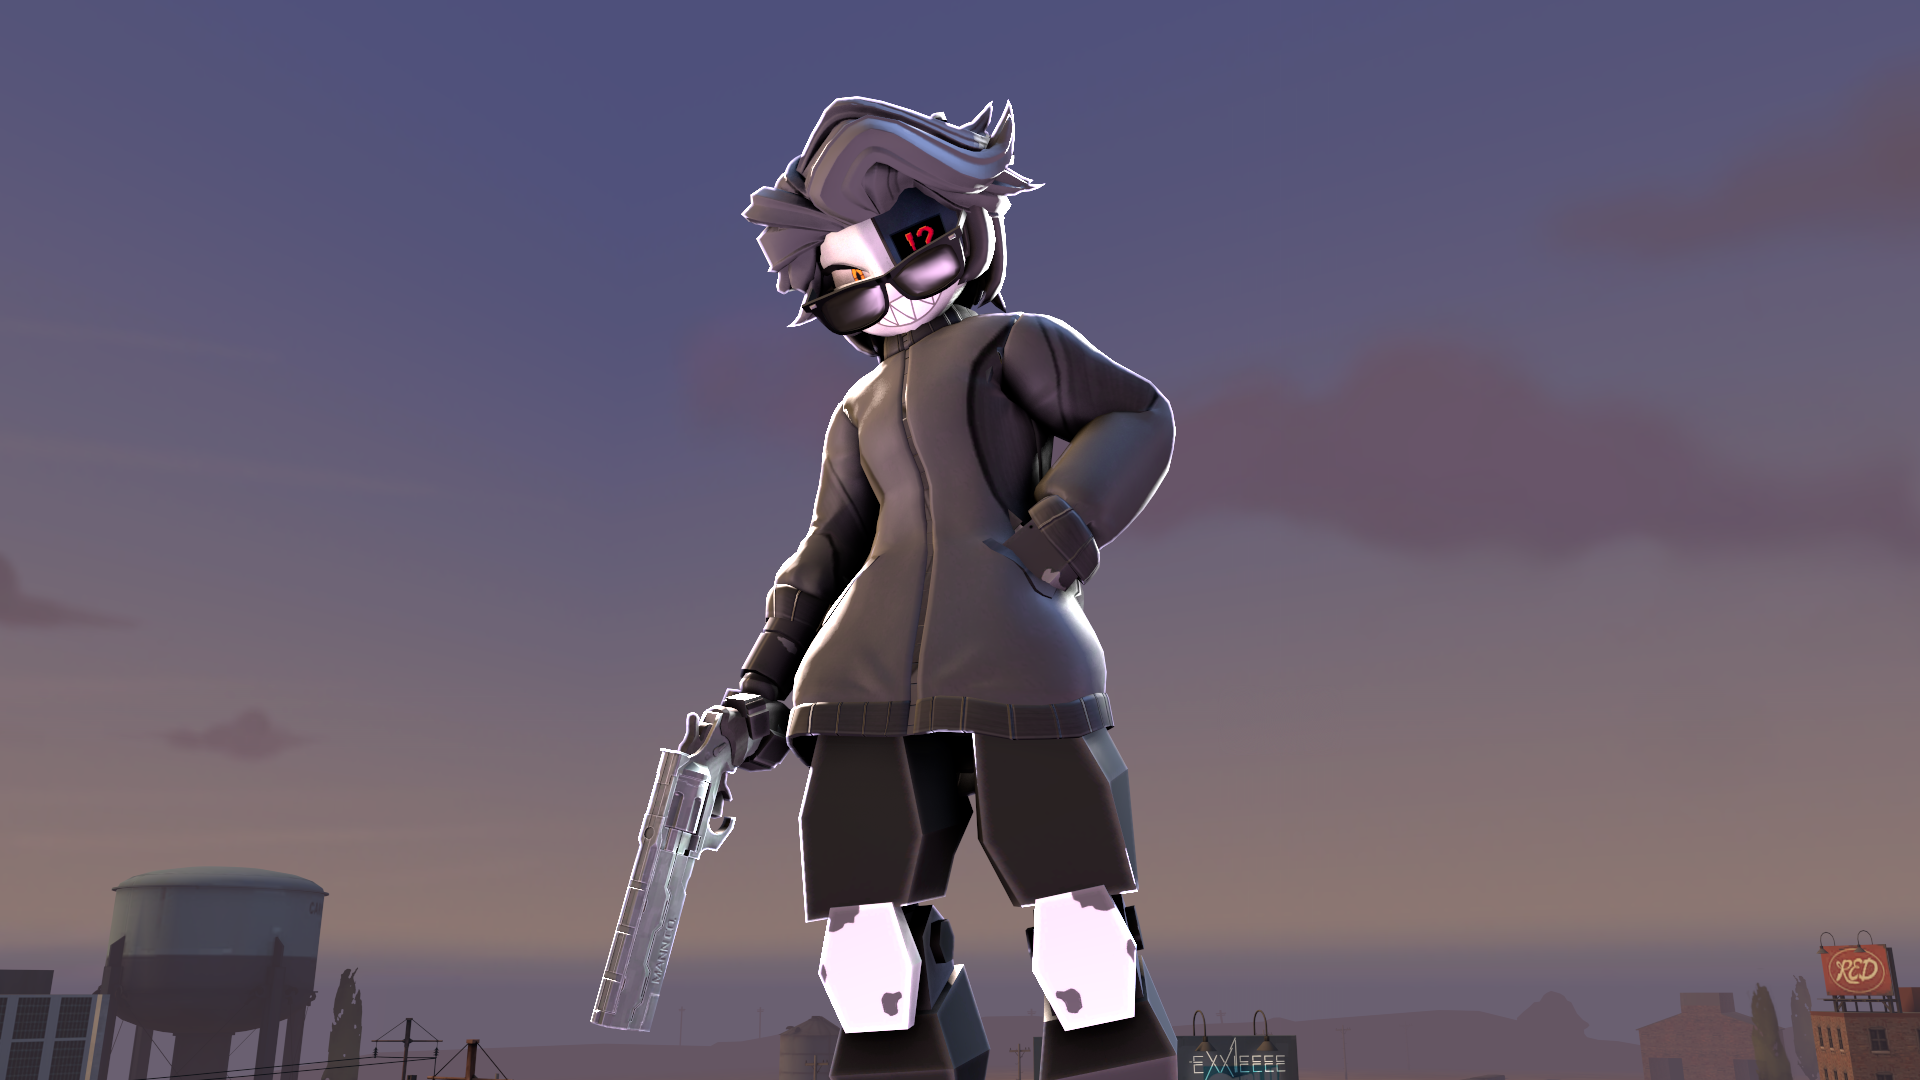
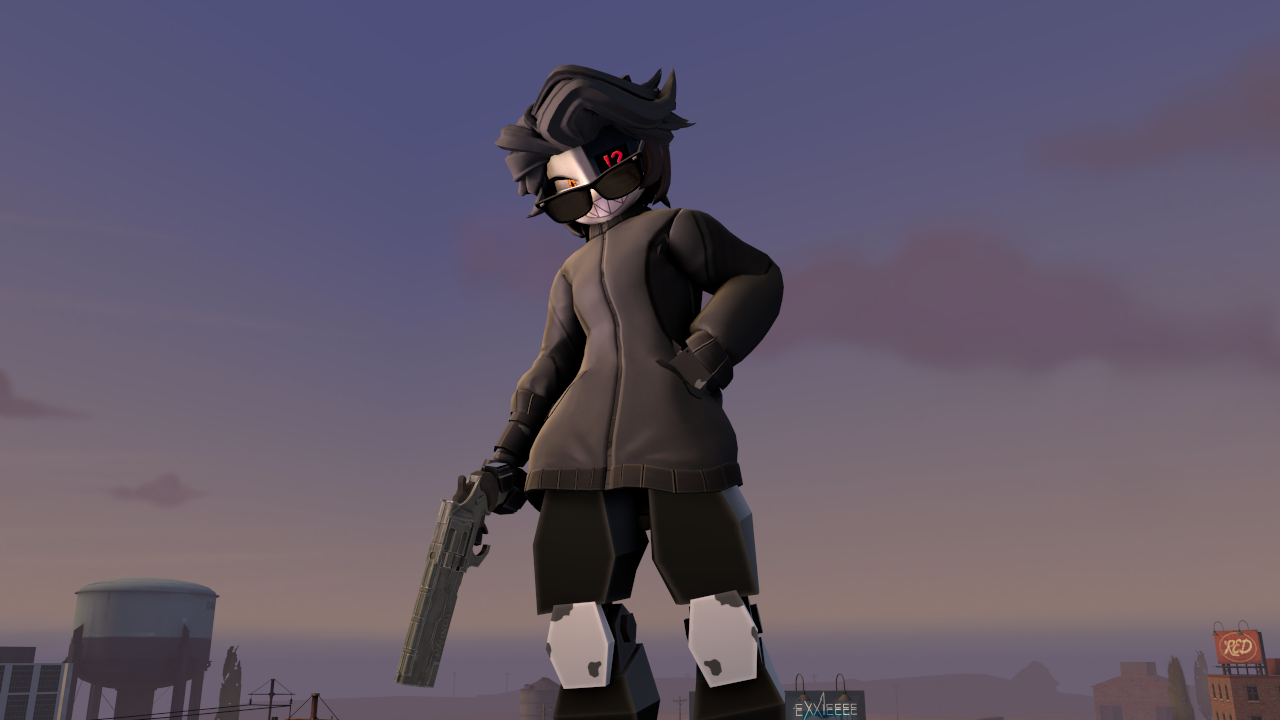
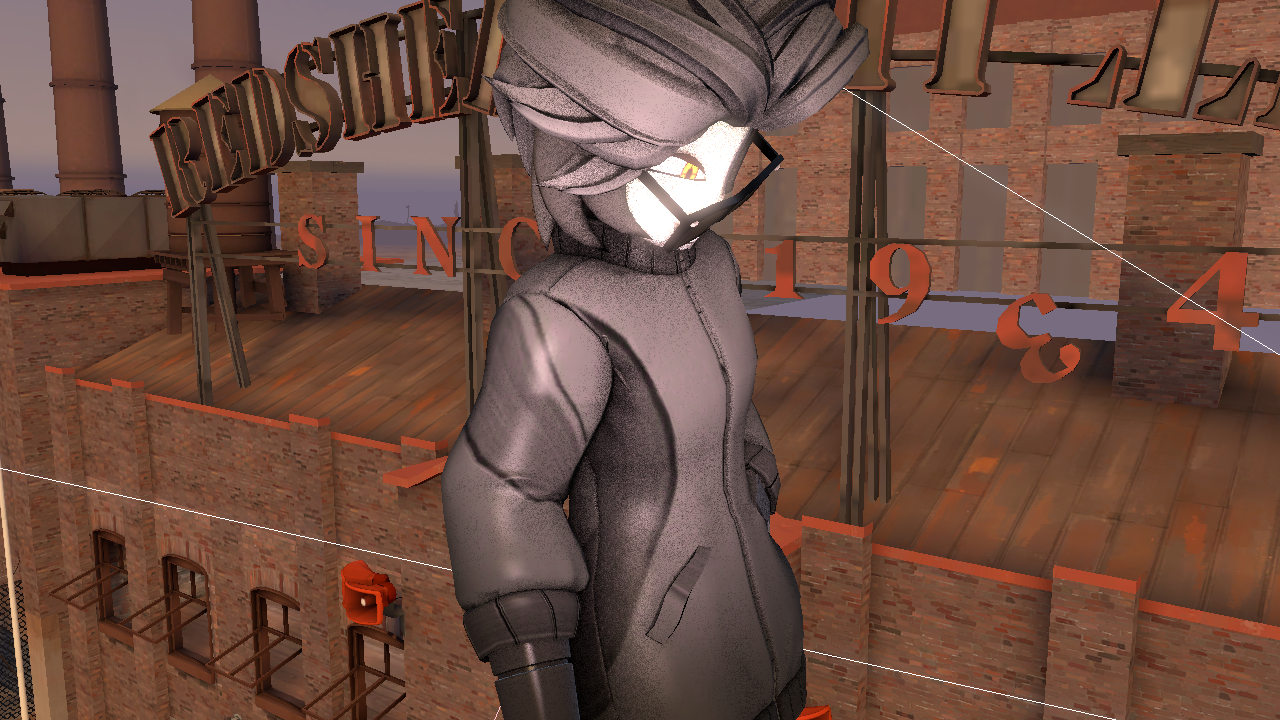
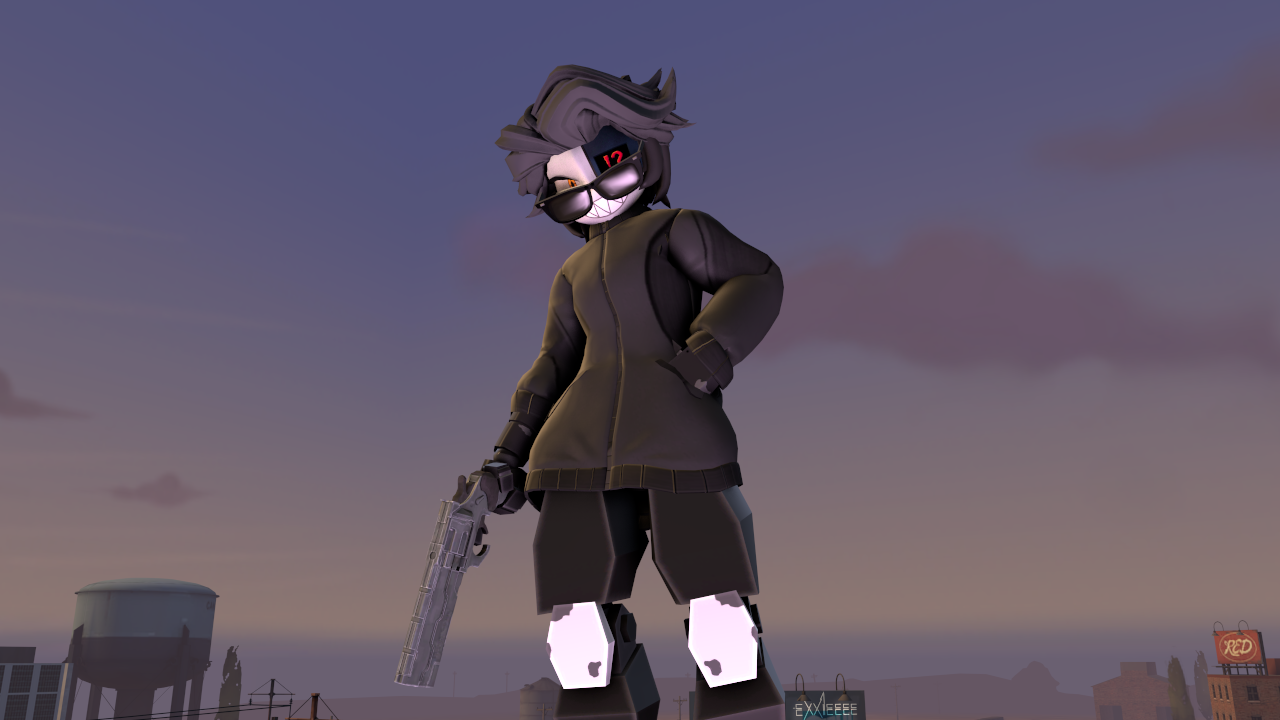
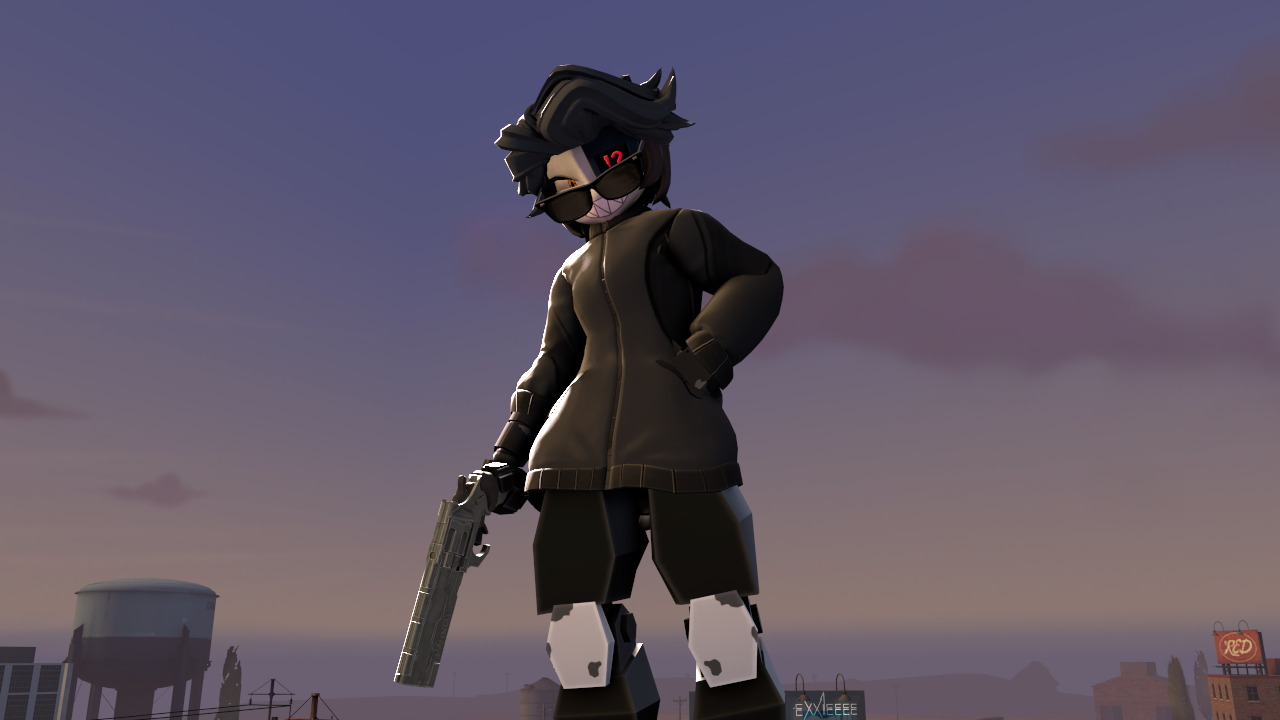
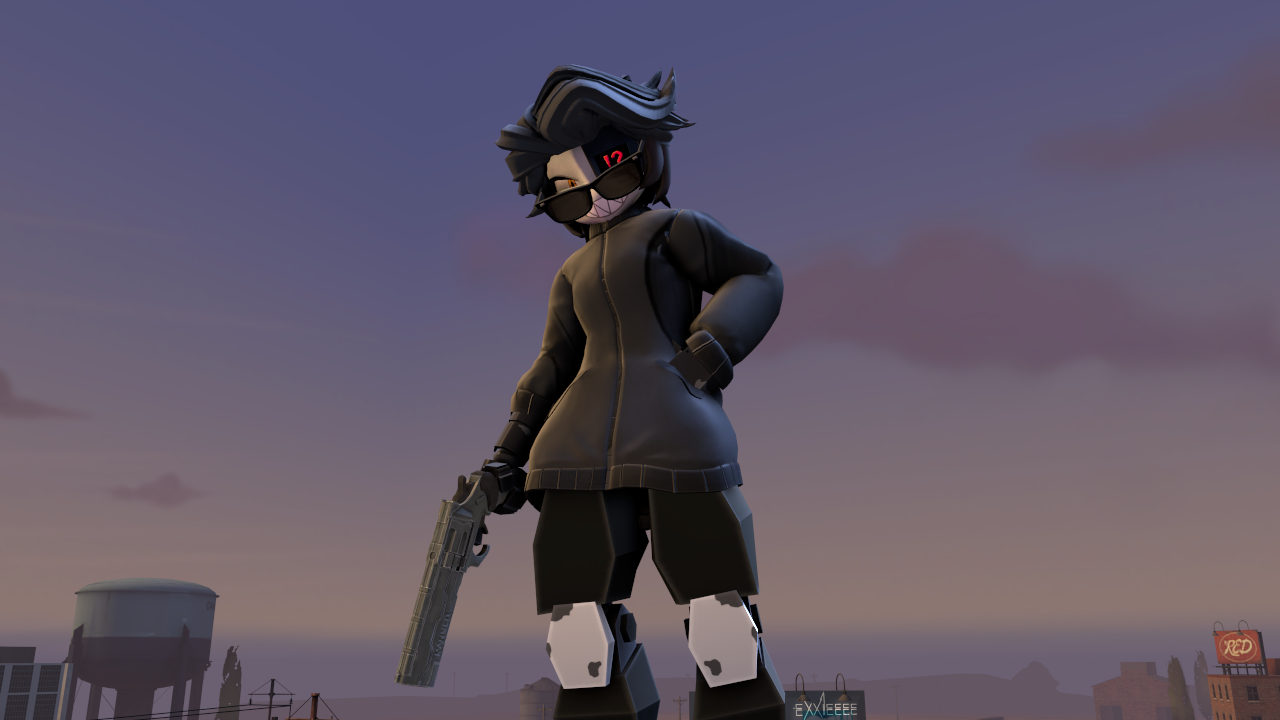
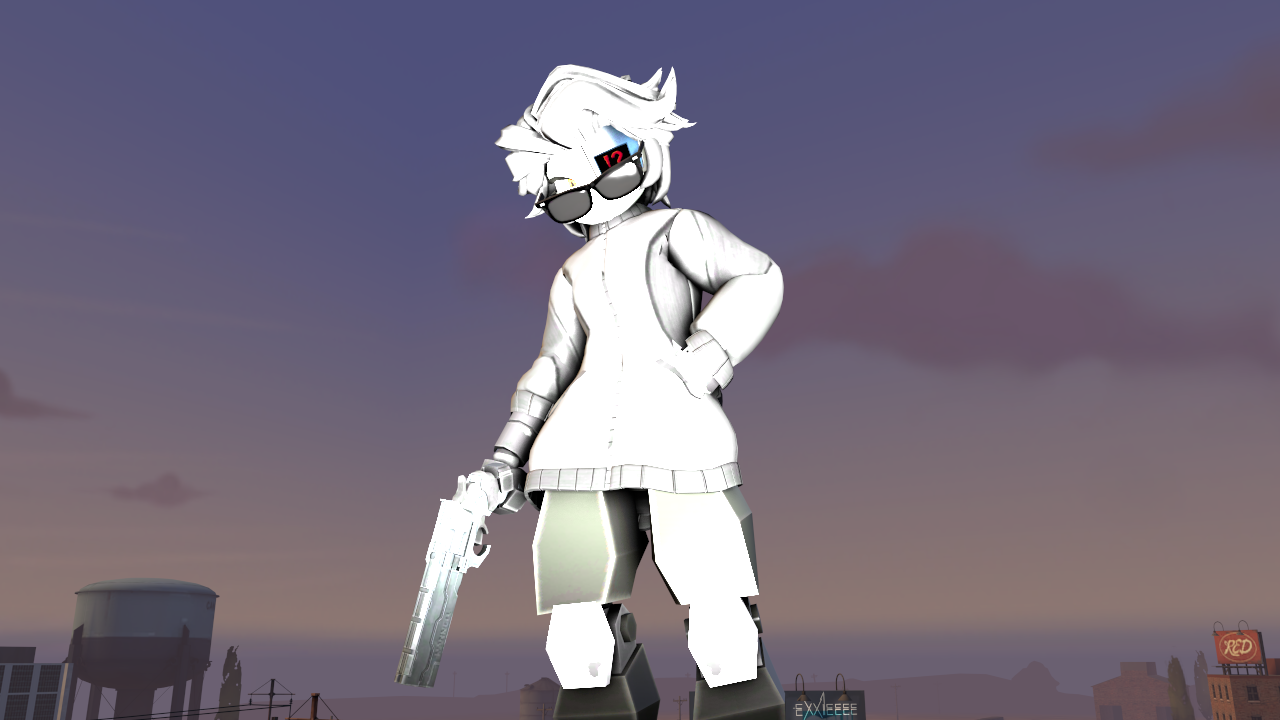
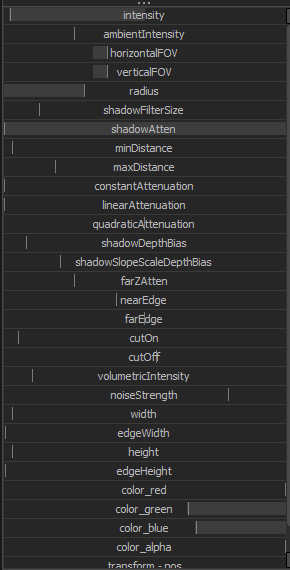
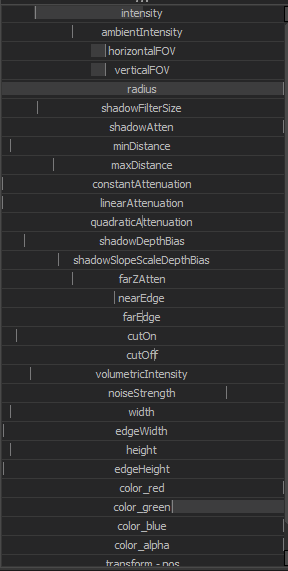
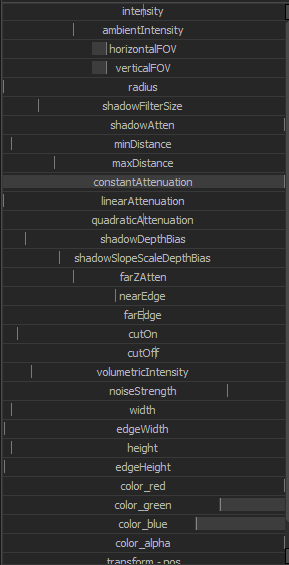
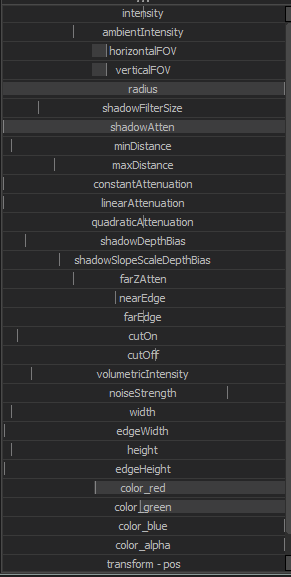
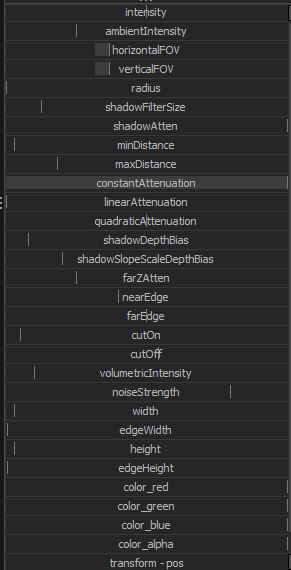
I'd also stop using map lighting as a base layer, it doesn't work well and just muddies your colors.

Though the outline rim tech is interesting, I'd rather just do this in post processing since its less likely to artifact and/or bug out.
IanOrigamiGamer 26 Jul @ 8:23am 
Nice :steamthumbsup:
OneOfTheHomies 15 Jul @ 9:17am 
Thanks for this. Maybe I'll be able to apply it to my future animations when I get more confident at em one day.
Oni But Drawn 27 Jun @ 2:55pm 
@ZionYTB its worth it
ZionYTB 18 Jun @ 2:47pm 
i aint readin all that 🙏
EXXIE  [author] 13 Jun @ 10:35pm 
@Zoom_By_TimAllen glad it helped you out man
Zoom_By_TimAllen 13 Jun @ 8:28pm 
the outline light is a massive help, much appreciated
EXXIE  [author] 13 Jun @ 6:35am 
@Sanches glad it helped you out
Sanches 13 Jun @ 3:45am 
Damn, i never could have known about negative shadowdepthbias value. This changes everything!

Thanks!
EXXIE  [author] 12 Jun @ 6:46am 
@»✰ Nova ✰« thank you x)