Garry's Mod

Garry's Mod

32 ratings
How to ADD working EYES to your model! (qc eyes, on blender)
By Baby Wizard
This guide will help you learn how to add qc eyes to your gmod models using blender!
for those who like to make your model feel more alive, this is something you might wanna learn.

a little note to add
this method might only work for games like HL2 and gmod but could be different for games like left 4 dead 2 or tf2
you are welcome to try it and let me know if it works for those games!
   
Award
Favorite
Favorited
Unfavorite
Step 1, BLENDER STUFF!
First of all, you will need BLENDER, VTFEDIT and Crowbar to make this work, tools are always required.

Open the smd file of your model with blender.

next, you will need to add a mesh, a UV SPHERE and position it where the eyes of your model are located, do this for both eyes, just shift + D to duplicate the mesh and move it to the other side.
(not necesary but you can rotate the uv sphere in the X Axis at 90 degrees so the main vértice is facing you, so it looks like an eye)


those are the position of your eyes, now what you need to do is select one of the 2 eyes, press N
and this will open a tab showing you the coordinates of the eye (do this for both eyes)
you are going to need those numbers for the QC file LATER!


you can already see how the uv spheres are working like they were qc eyes.
next select your model and enter EDIT MODE


add 2 new materials for the eyes
eyeball_r and eyeball_l (the names can be different if you want, but keep the same name for the qc file too if you change the names) one for the right eye and one for the left one


Select the EYE mesh or faces on your model, where the eyes of your model are located basically and assign a new material to both eyes (the materials you just created, one for each eye)

Important
on some occasions you are going to need to edit the UV maps of the eyes of your model to FIT the texture of the eyeball, because it might look weird, and it won't show the complete texture for the eyeball


export the smd file on your qc folder and we go from there.
on to the next step!

Step 2, QC FILE STUFF!
Open your qc file, you are gonna need this code for the eyes to work

$model "peasant_body" "YOUR MODEL NAME .smd" { eyeball "eye_right" "Bone_Head" -2.41602 -3.77502 64.843 "eyeball_r" 1 4 "pupil_r" 1.31 eyeball "eye_left" "Bone_Head" 1.32331 -3.77502 64.843 "eyeball_l" 1 -4 "pupil_l" 1.31 flexcontroller eyes range -45 45 eyes_updown flexcontroller eyes range -45 45 eyes_rightleft mouth 0 "mouth" "Bone_Head" 0 1 0 }

where it says "BONE_HEAD" insert the name of the bone that your models has for the HEAD
and all of those numbers you see there are the coordinates of your EYES

now! in blender get the coordinates i have mentioned before, where the UV spheres are located
one for EACH EYE, that's why you made 2 UV spheres, both have different coordinates
so, make sure you put the coordinates for each different eye (mostly the X and Y Axis, the Z axis will remain the same for both spheres, since that's how high the eyes are located on the model)


copy those numbers and paste them where the "-2.41602 -3.77502 64.843" is located
the first number is the X AXIS, the second Y AXIS and the last one the Z AXIS
just replace the numbers that i already left in the code.

it should look like this, in both Y axis for the right and left eye should be a negative numbers
-2.41602 -3.77502 64.843 1.32331 -3.77502 64.843

also make sure to remove the bodygroup code for the original body or head of your model
since the other code will be using the same smd file, so make sure you don't put the the smd of your model two times!
once you put it in the $model is fine.

these are some attachments you are gonna need for your model too
again insert the names of the bones of your model, don't use the ones i put here.

Both the EYES and FORWARD attachments are REQUIRED if you are gonna make an NPC with this model.
$attachment "eyes" "Bone_Head" 0.00 9.00 -0.00 rotate -0 0 -90 $attachment "forward" "ValveBiped.forward" 0 0 0 rotate 0 0 0 $attachment "mouth" "Bone_Head" 3.5 0 0 rotate 0 0 -90 $attachment "chest" "Bone_Chest" 3.5 2.8 0 rotate 0 0 -90

Step 3, VTF STUFF!
Of course you are gonna need materials for your eyes

one for your eye, and one for your pupil
for default, the size of the pupil and eye images are
64x64
for both images.
make the iris a render image, only showing the iris in the middle.


make a new VMT FILE with this code adding the names of the eyeball and iris material
(you only need 1 VMT for each eye, you don't need it for the iris)

"eyes" { "$basetexture" "models/your model folder/eyeball_l" "$iris" "models/your model folder/pupil_l" "$halflambert" 1 }
and save it.

This is important
Import and save the texture of your eyeball_l and eyeball_r.

but before saving the IRIS texture you got to do this on the VTFEDIT
scroll down and select the option "Cramp All" and save your iris texture.


this is necessary to avoid your model having weird spider eyes
if you don't do this, this is the result.


save it where it belongs (Save it two times with different names for both iris)
Final step, Compile your model
Well now it comes the final part, compiling your model, if you did everything corretly there shouldn't be any problems, BUT make sure that everything has the right name, on your model, in your qc file, and VFT and VMT files.

once you compile it, open your model with HLMV (ill recommend using hlmv plus plus its way better)


move your model around and if the eyes follow you, everything is working correctly
move the flexes too, make sure everything is looking good.
(if there isn't any flexes option on the hlmv don't worry, sometimes they apear later once you reaload the model)
if the eyes don't move at all or look DARK, then the coordinates could be wrong!
but then again, if you did everything correctly it SHOULD work

and you are done!

enjoy giving your models some nice posing eyes (it works with the eye poser tool)
if there is any problems just let me know in the comments!

thanks, and have fun.
17 Comments
Baby Wizard  [author] 7 Dec @ 11:01am 
Is pretty tricky but it can be done, good luck!
Baby Wizard  [author] 7 Dec @ 10:45am 
Aright i have try to do it myself again, and i did it BUT, i will leave this for those who try to do it and didn't had good results, you have to play around with the numbers of the location on the QC file, to where is the eye positioned, The Y AXIS needs to have a higher value than the one you see on blender, just increase that number wich is the second line of numbers "X-2.1090 Y-3.9000 Z46.555" just try different numbers on the X and Y axis until you get good results, it mostly depends on the model.
Baby Wizard  [author] 4 Dec @ 3:14pm 
Thats aright, i gotta try this again myself and see if i didn't make any miss calculation
asphyxia 4 Dec @ 9:10am 
no, i scaled the model in blender, then did the stuff from this guide, i'll keep trying until i get it right tho
Baby Wizard  [author] 4 Dec @ 6:56am 
I would like to add that if your model has the $scale it won't work
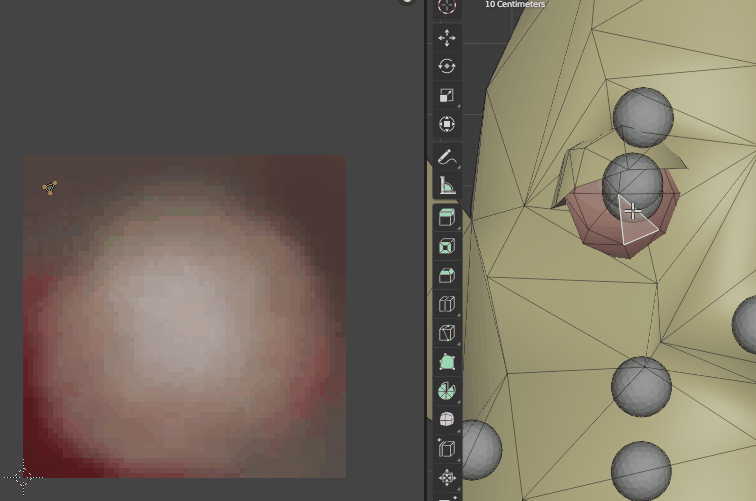
since if you character is bigger or smaller when you compile it the information of the eyes you got from blender wont work because it will be different once the model is scaled up or down
asphyxia 4 Dec @ 2:30am 
i-ve been suffering for thsi thing on SFM for days and i followed every step, the coords are right, everything is right what the ♥♥♥♥
fedofrog 11 Jul @ 11:10am 
Oh, thanks!
Baby Wizard  [author] 11 Jul @ 9:07am 
@fedofrog No, you always have to clamp it before saving it as VTF file
you can just edit the texture, and import it to the VTF editor, clamp it and then export it
fedofrog 11 Jul @ 6:01am 
And can I edit a texture after it was already clamped without reclamping it? Thanks :D
fedofrog 11 Jul @ 5:57am 
I didn't mean to make a link, I was refering to an app with the name paint dot net.