Left 4 Dead 2

Left 4 Dead 2

123 ratings
Mall Atrium Survival - An Introduction
By Franky M.
An introduction to the Survival mode and its most popular map, Mall Atrium. General guidelines, basic team strategies (run/defend), tricks for various situations, weapons guide and more. Surpass your record, obtain the Gold time and amaze your friends!
   
Award
Favorite
Favorited
Unfavorite
Foreword
Few would dispute Mall Atrium's status as the most popular Survival map in Left 4 Dead 2. Its unique layout, with a main area surrounded by two walkways on the upper levels, provides an exciting challenge and offers a wide range of strategical options. Beginners will probably find it to be one of the easier maps to obtain Gold on (10 minutes), while experienced players revel in the use of a wide range of skills required to carry their team to a higher time. Unlike most other maps, Mall is a place where you do not actually require a team of four to get a decent time: the Run strategy may be executed by a duo or even solo with stupendous efficiency.

However, most first-time players will find Mall Atrium Survival to be a brutal and frustrating experience. The Survival mode is really a step up from Campaign in terms of difficulty, with commons, Special Infected and Tanks attacking at a much faster rate and in greater numbers. Being a good shot and a team player is absolutely necessary, but will not suffice: you'll need to know and execute map-specific strategy and tricks as a team to have any chance of getting (and having) a good time.

While a good number of players have more or less learned the basics of Mall Atrium the hard way, there is still a seemingly limitless amount of newcomers joining the party trying their hand at this challenge everyday. That is the purpose of this guide: to provide the new players who are interested with a reliable ressource on basic gameplay and strategy, hopefully helping them take their first steps and make their own experiences slightly less painful and more rewarding.

Ready? Let's get going!
Basic Guidelines
Getting Started

You will spawn with 100 HP, a medkit, pain pills and double pistols. Make sure to pick up a primary weapon, a better sidearm (I strongly recommend melee) and a throwable.

You'll probably want to avoid the grenade launcher: its slow fire rate will likely leave you unable to react when attacked by several Special Infected at once, and its massive risk of friendly fire will not make you popular with your team. Weapons will be discussed in detail below.

Do not waste time deploying the incendiary/explosive ammo boxes: they run out way too quickly to have any practical use.

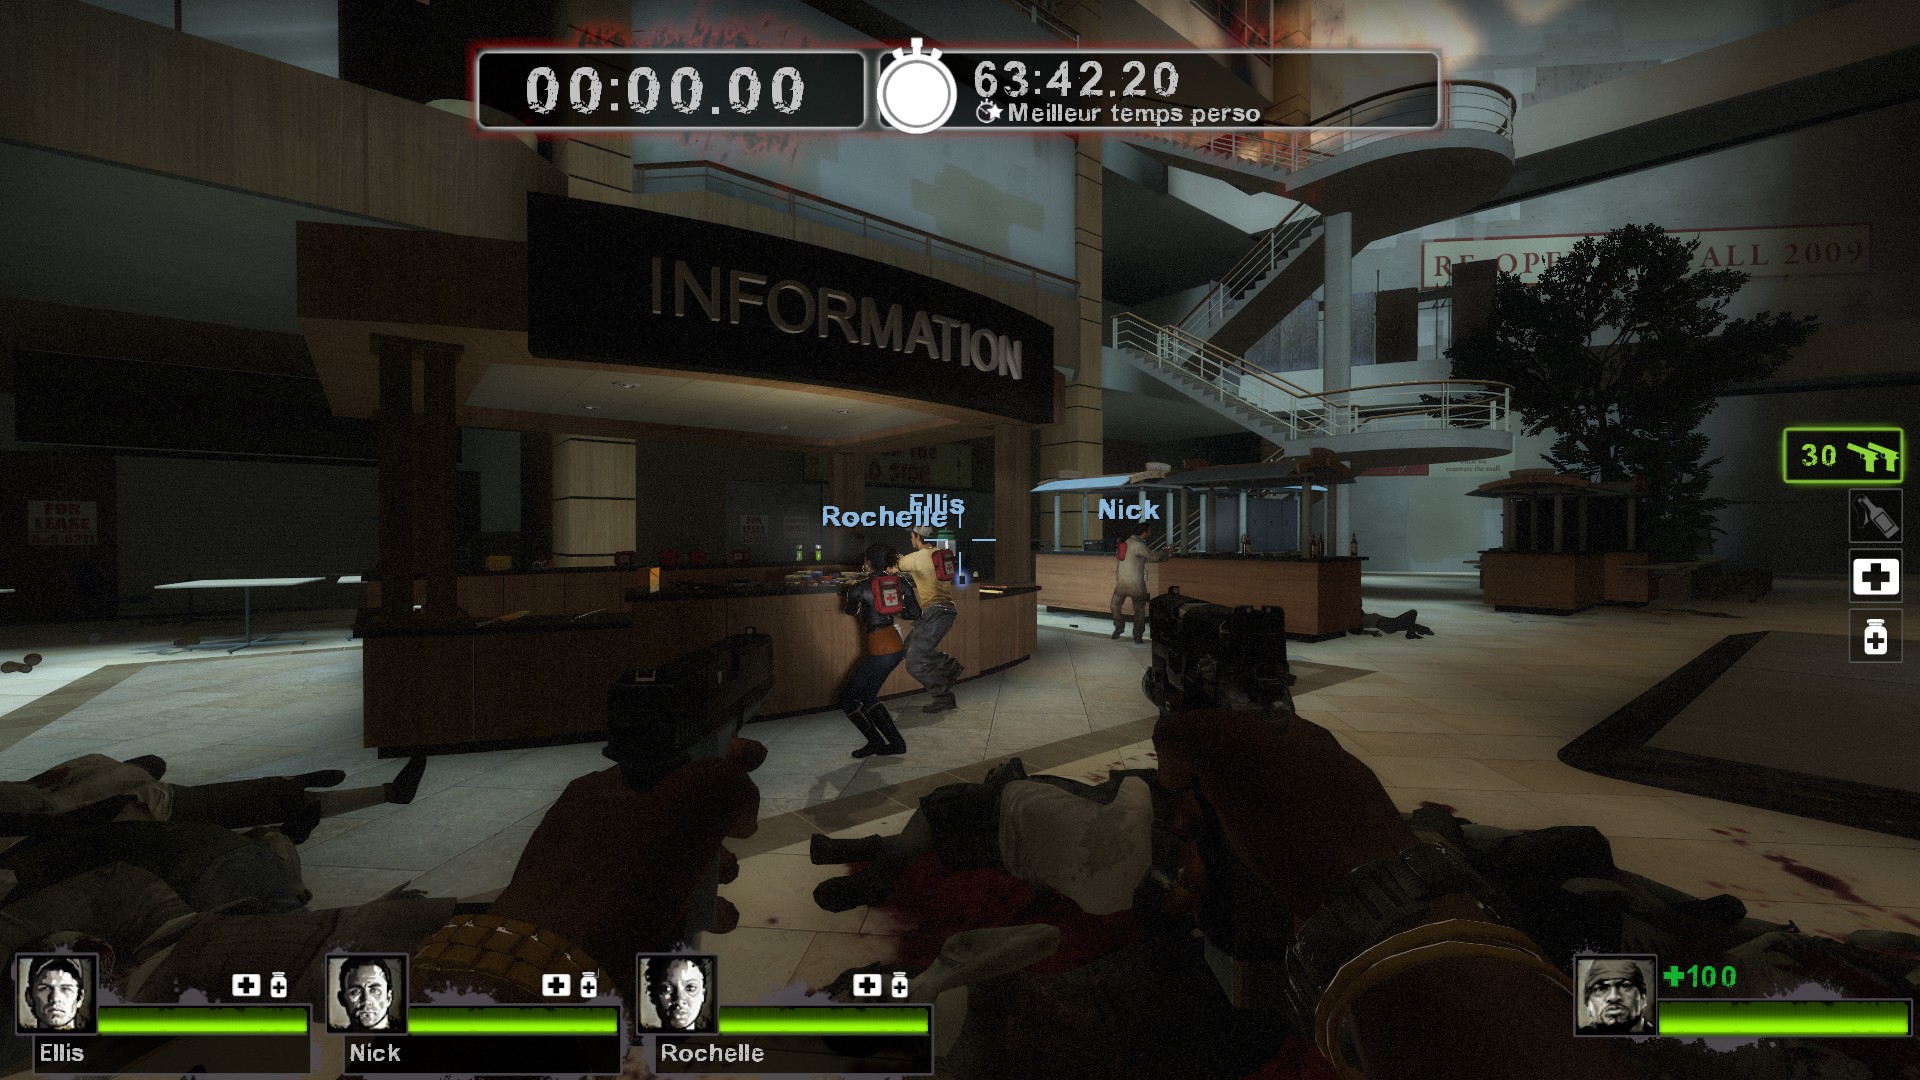
Depending on your strategy, you might want to take a few seconds to scatter some gas cans around: you'll find a couple by the elevator, three at the information desk and two more at the bottom of the stairs.

PRESS BUTAN

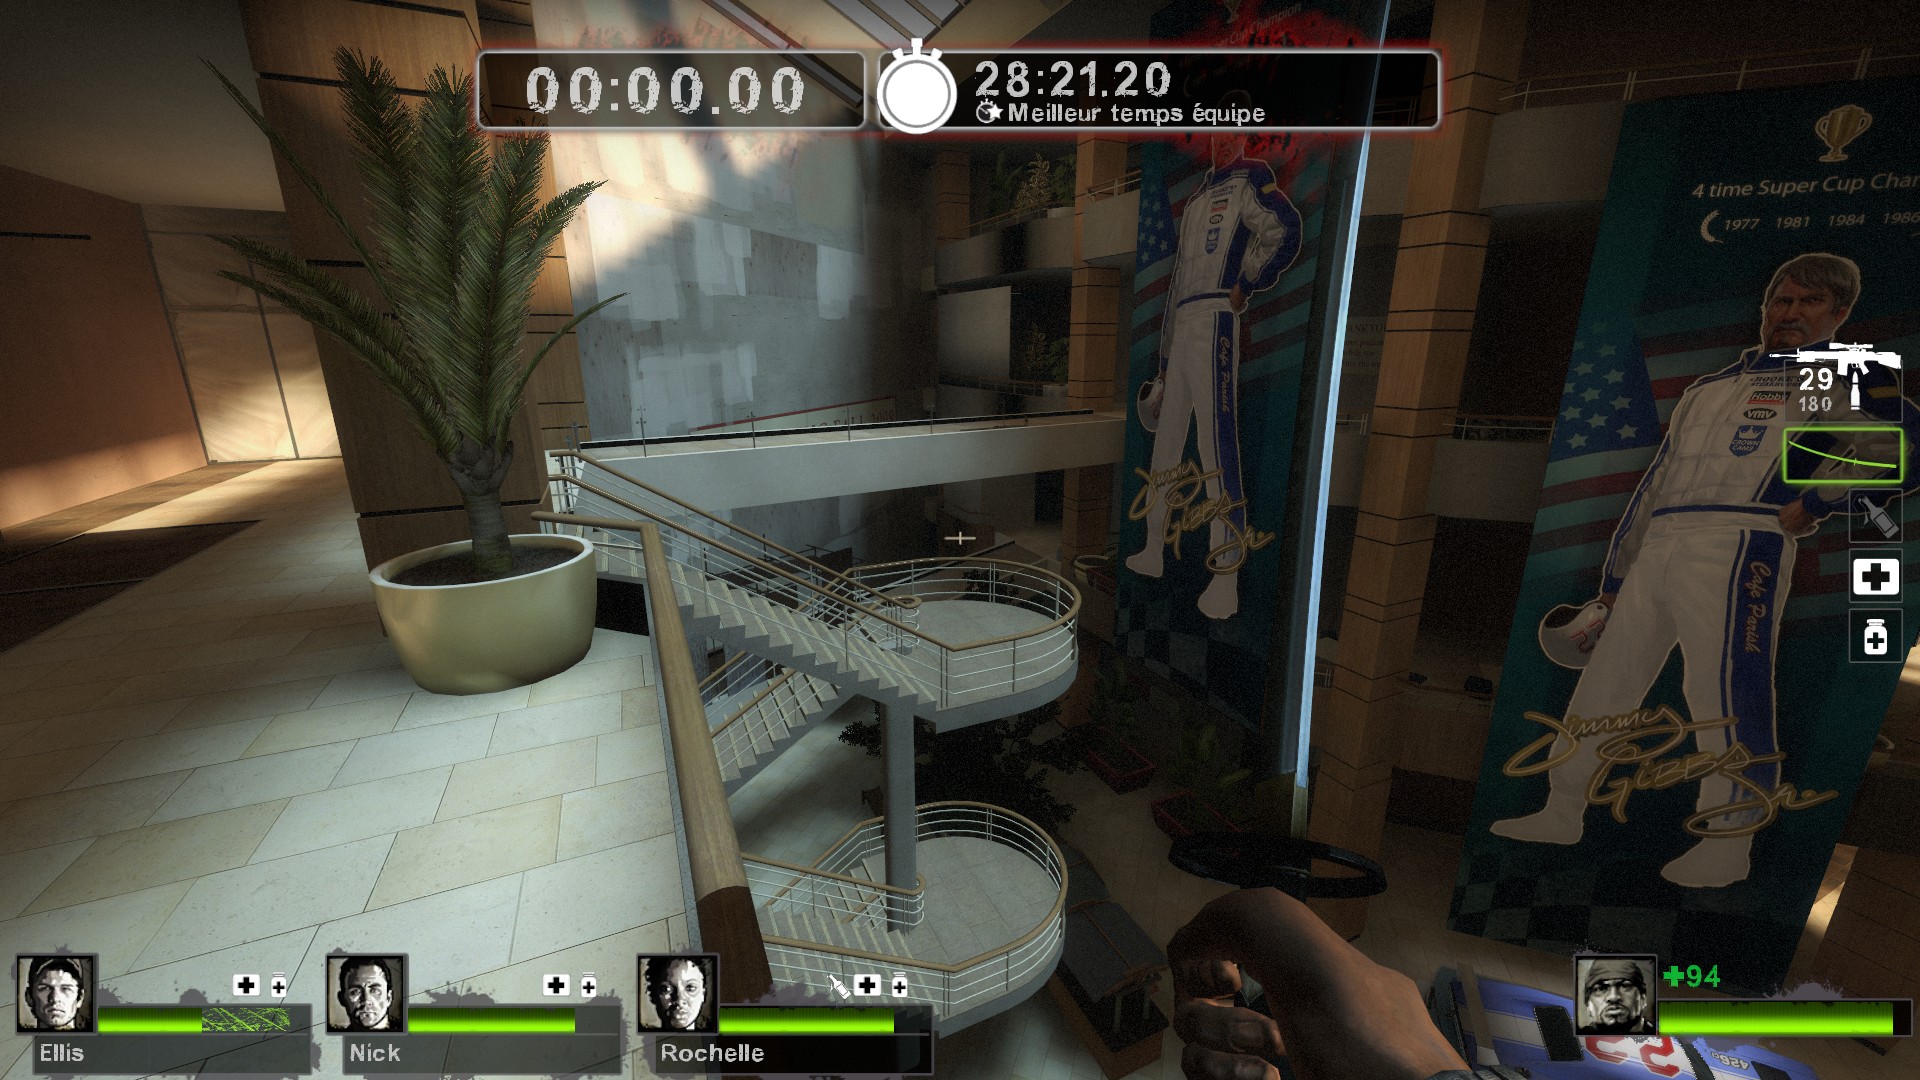
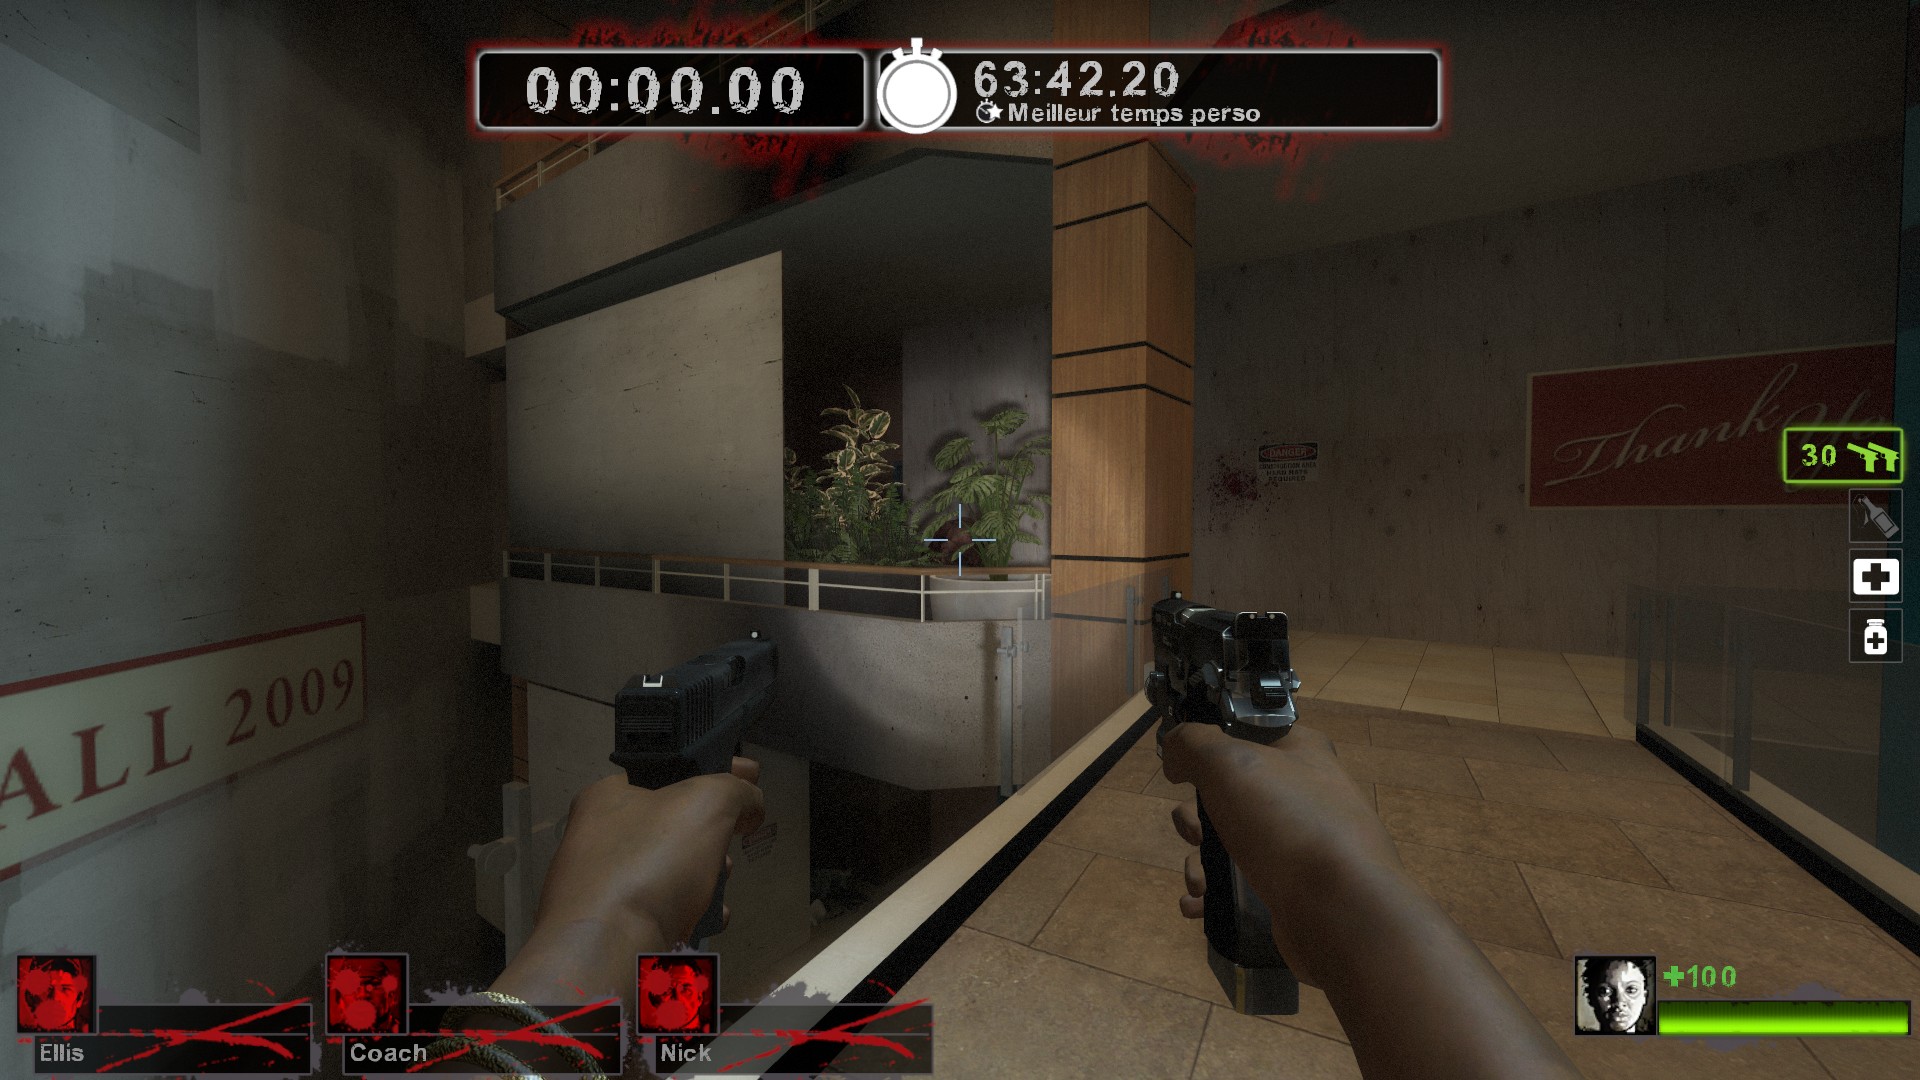
Once you're ready, head to the top floor by using the rightmost stairs, as it is the starting point for both strategies that will be discussed in the guide.

If you want to activate the radio yourself, first make sure everyone else in your team is ready. A quick "ready?" or even "r?" in chat is common courtesy, much like in Versus games; and it will be equally appreciated to inform your team if you need a couple minutes to cool down, go to the bathroom or check social media between rounds.

As soon as you press the button, a wave of commons and three Special Infected will spawn at random locations. At the 40-second mark, the first Tank will appear.

Supplies and the intelligent use thereof

You can pick up ammo or fresh weapons indefinitely; however, all the other supplies are in limited numbers. The amounts are as follows (excluding what the players spawn with):

Healing:
- 4 medkits
- 2 defibrillators
- 7 pain pills
- 6 adrenaline shots

Throwables:
- 10 molotovs
- 9 pipe bombs
- 2 bile jars


This may seem like a lot, but between 4 survivors and considering the amount of pressure you'll get from the infected, these supplies will always run out too quickly.

That is why you'll want to preserve them for as long as you can, making intelligent use of what you have in appropriate situations.

More specifically:
1. You should never heal yourself or consume pain pills if your health is still green (>40 HP). You'll want to save pills for when you need to move fast after taking huge damage (health bar yellow or red) until you can heal properly. As for adrenaline, it is best suited for the fast revival of an incapacitated teammate.

2. Yay! Grenades! Except not. Throwables are a very precious resource, which will become more and more critical as time passes. Keep them for emergencies and/or tricky situations such as: reviving a teammate, diverting zombie attention from a boomed teammate (pipe), running to the info desk for fresh supplies and such. This may feel counter-intuitive to campaign/versus players, but you'll generally want to avoid setting Tanks on fire, except in very specific situations. The reasons for that will be discussed below.

3. The bile jar is best used to buy an incapacitated teammate some time until you get the chance to rescue them. Hitting a Tank with a bile will draw the zombies to him, but also the nearby Special Infected. As such scenarios will occur very often, you'll definitely want to save your bile jar for these occasions. Do not use the bile bomb if a teammate has been hit by a Boomer's vomit, as zombies will always prioritize the latter.


Oh no you didn't just shoot me

Watch your aim! Friendly fire, which is easily avoided, can be very costly, especially if the offender is using a shotgun. Abstain from shooting if there is a risk of hitting a teammate, except in case of emergency (an unsighted Special Infected, for example). When shooting to rescue a captured survivor, make sure there isn't already someone else rushing in with melee.

This goes both ways: don't make yourself a target. Be mindful of when/where your teammates are shooting and avoid running into their line of fire as best as you can. If you're behind a standing shooter and absolutely have to cross their path, give them a gentle whack with a right click to let them know you're coming.
The Run Strategy
This strategy is a big part of the reason why Mall Atrium is such a popular map. It will require precise shooting, adept platforming, a good sense of danger and SI awareness... and most of all, efficient team work. It is in my opinion the easier strategy to execute at first, but its somewhat random nature ultimately makes it less efficient than Defending in the long run.

The general idea is as follows: rather than trying to overcome endless waves of zombies, SI and Tanks, run "laps" around the map and let the Tanks chase you. There is a pretty efficient path for that which will keep you on your toes but also, with practise, yield great results.

Even though the Tanks and Special Infected are programmed to spawn at a certain rate, there is a limit as to how many can be on the map at once. There will never be more than two Tanks at once, so if you've got them both chasing you at a safe distance, you're guaranteed not to run into a third one on the way. However, when a Tank dies, a new one will swiftly appear at a random location on the map.

Starting point: The "Safe" Room

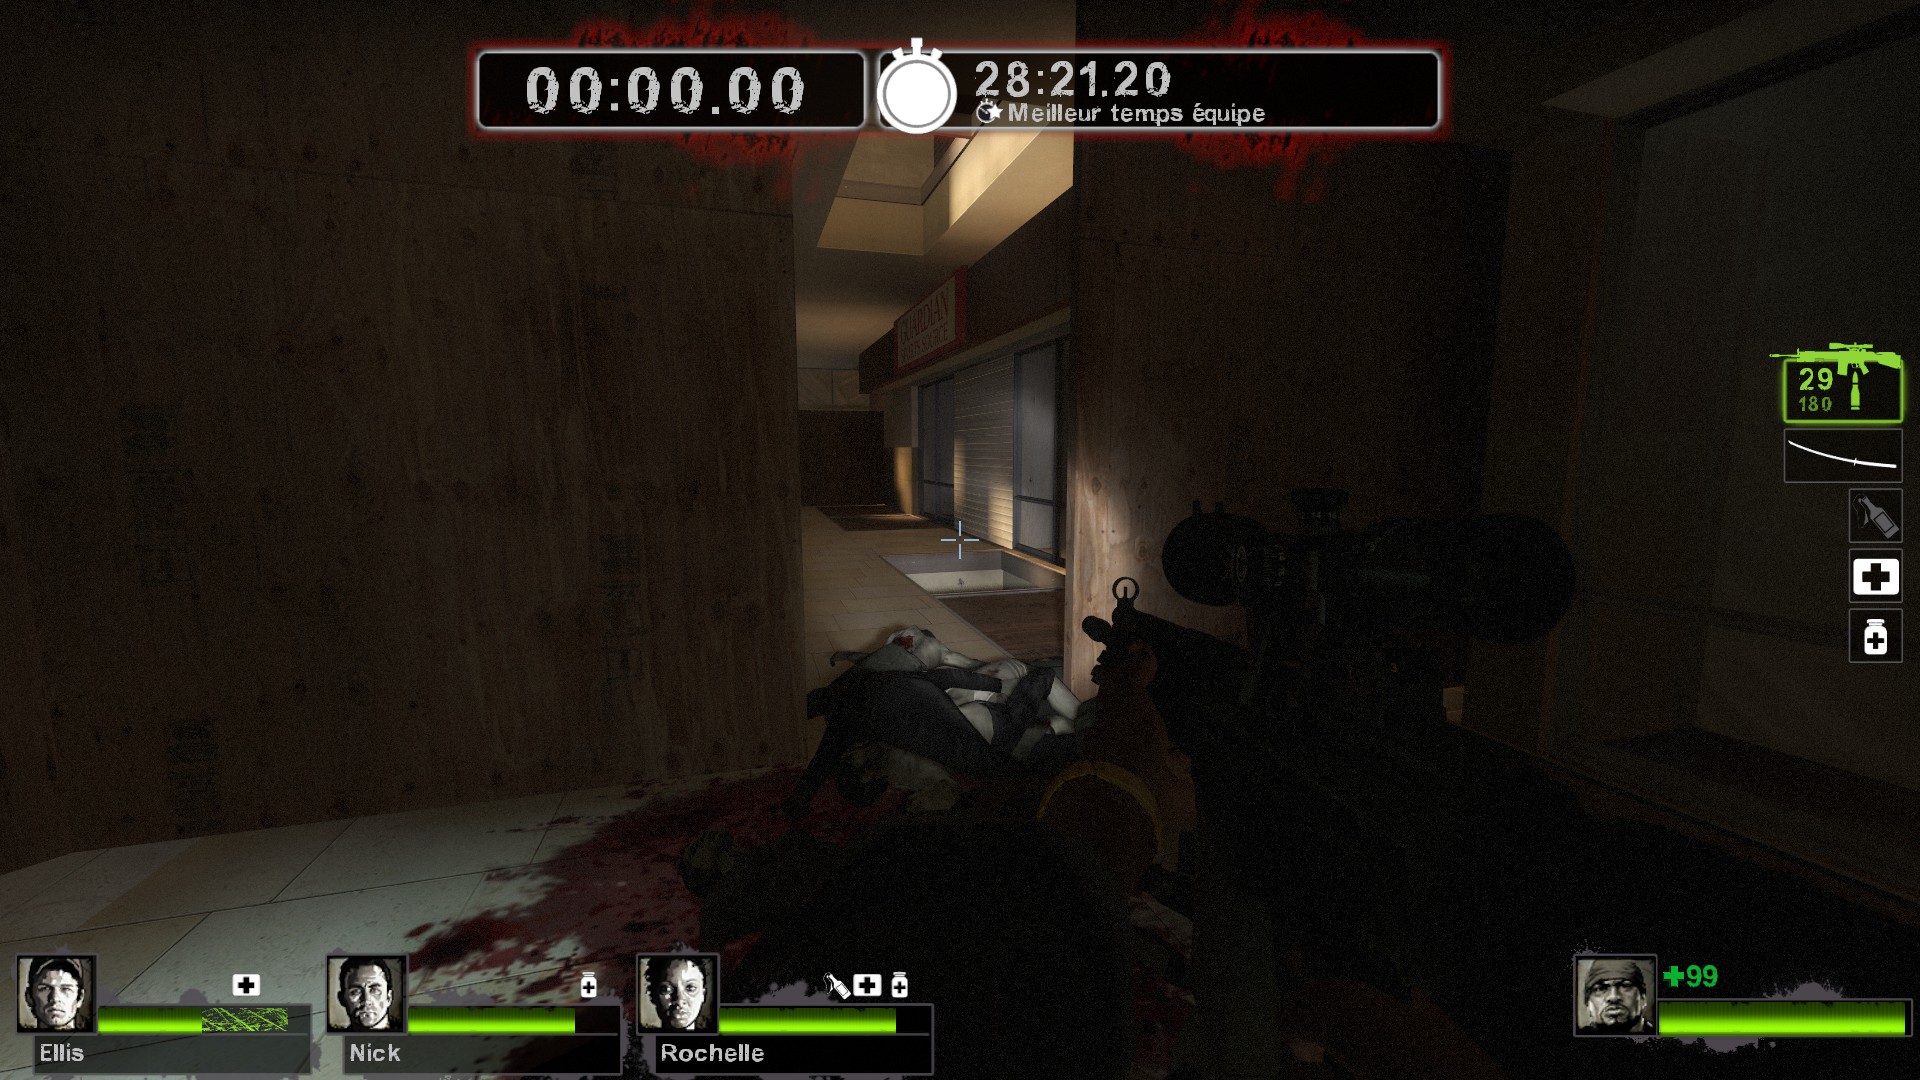
What players refer to as the "Safe Room" is a small space enclosed in wooden planks on the top floor. The opening in front (pictured from the outside) is narrow and makes it easy to control waves of infected and SI. They will also attack by climbing the wooden fence behind, but at a much less frequent rate, making it possible for two or even one player to control that side. Critically, a hole in the ground allows the survivors to escape to the intermediate level when threatened by a Tank.

When defending the Safe Room with 4 people, you'll want to have at least two watching the front, and at least one watching the back. Survivors need to alert each other when a Tank comes from either side: use voice chat, vocal commands or type a simple "t" in chat. If one side is getting more pressure than they can handle, other players should assist them as well, while remaining vigilant. The games gives you a lot of sound cues, enough to get an idea on what's coming from the side that you aren't watching.

The Safe Room is a good place to heal yourself if needed. Make sure others are in a position to cover you and be prepared to quickly abort the process if you can't complete it safely. Don't stand directly behind the front wall, as you may get stumbled by Chargers and sometimes hit by Tank rocks.

Where the Fun Begins: Running a Lap

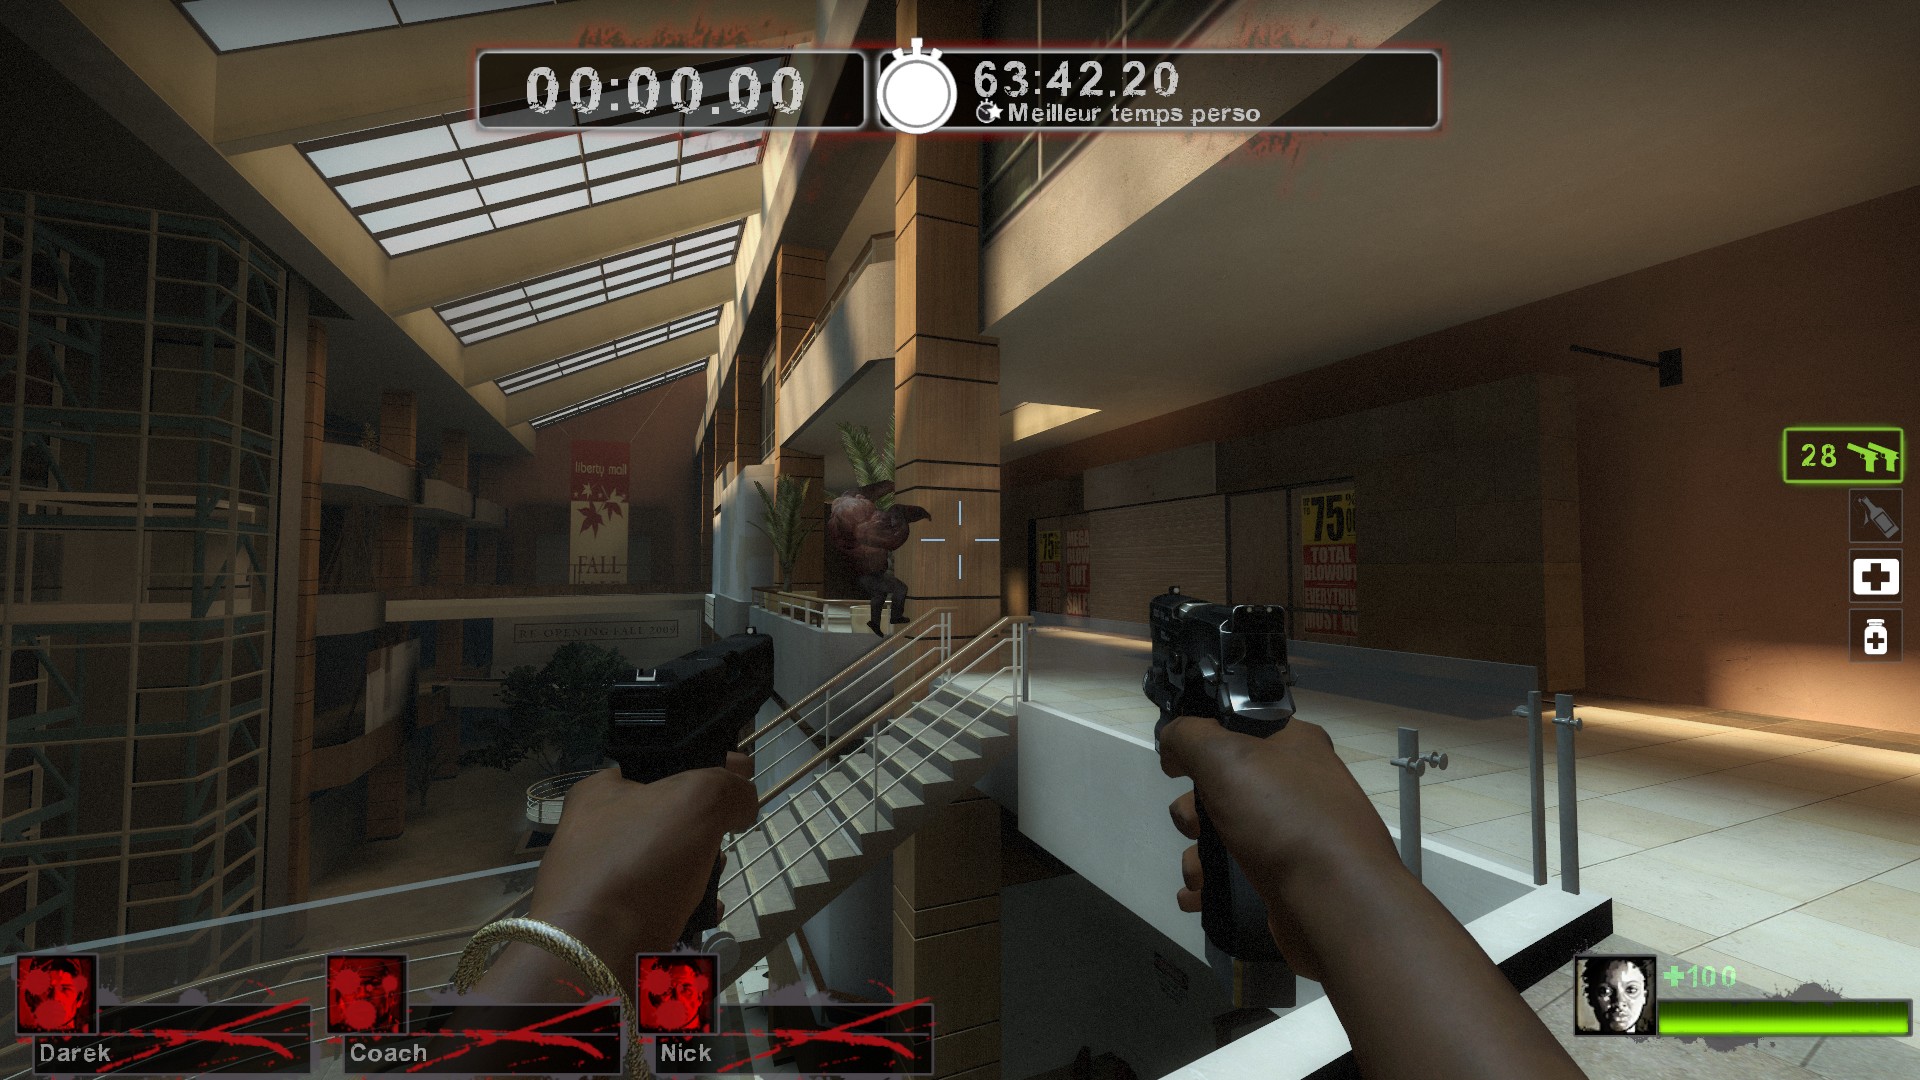
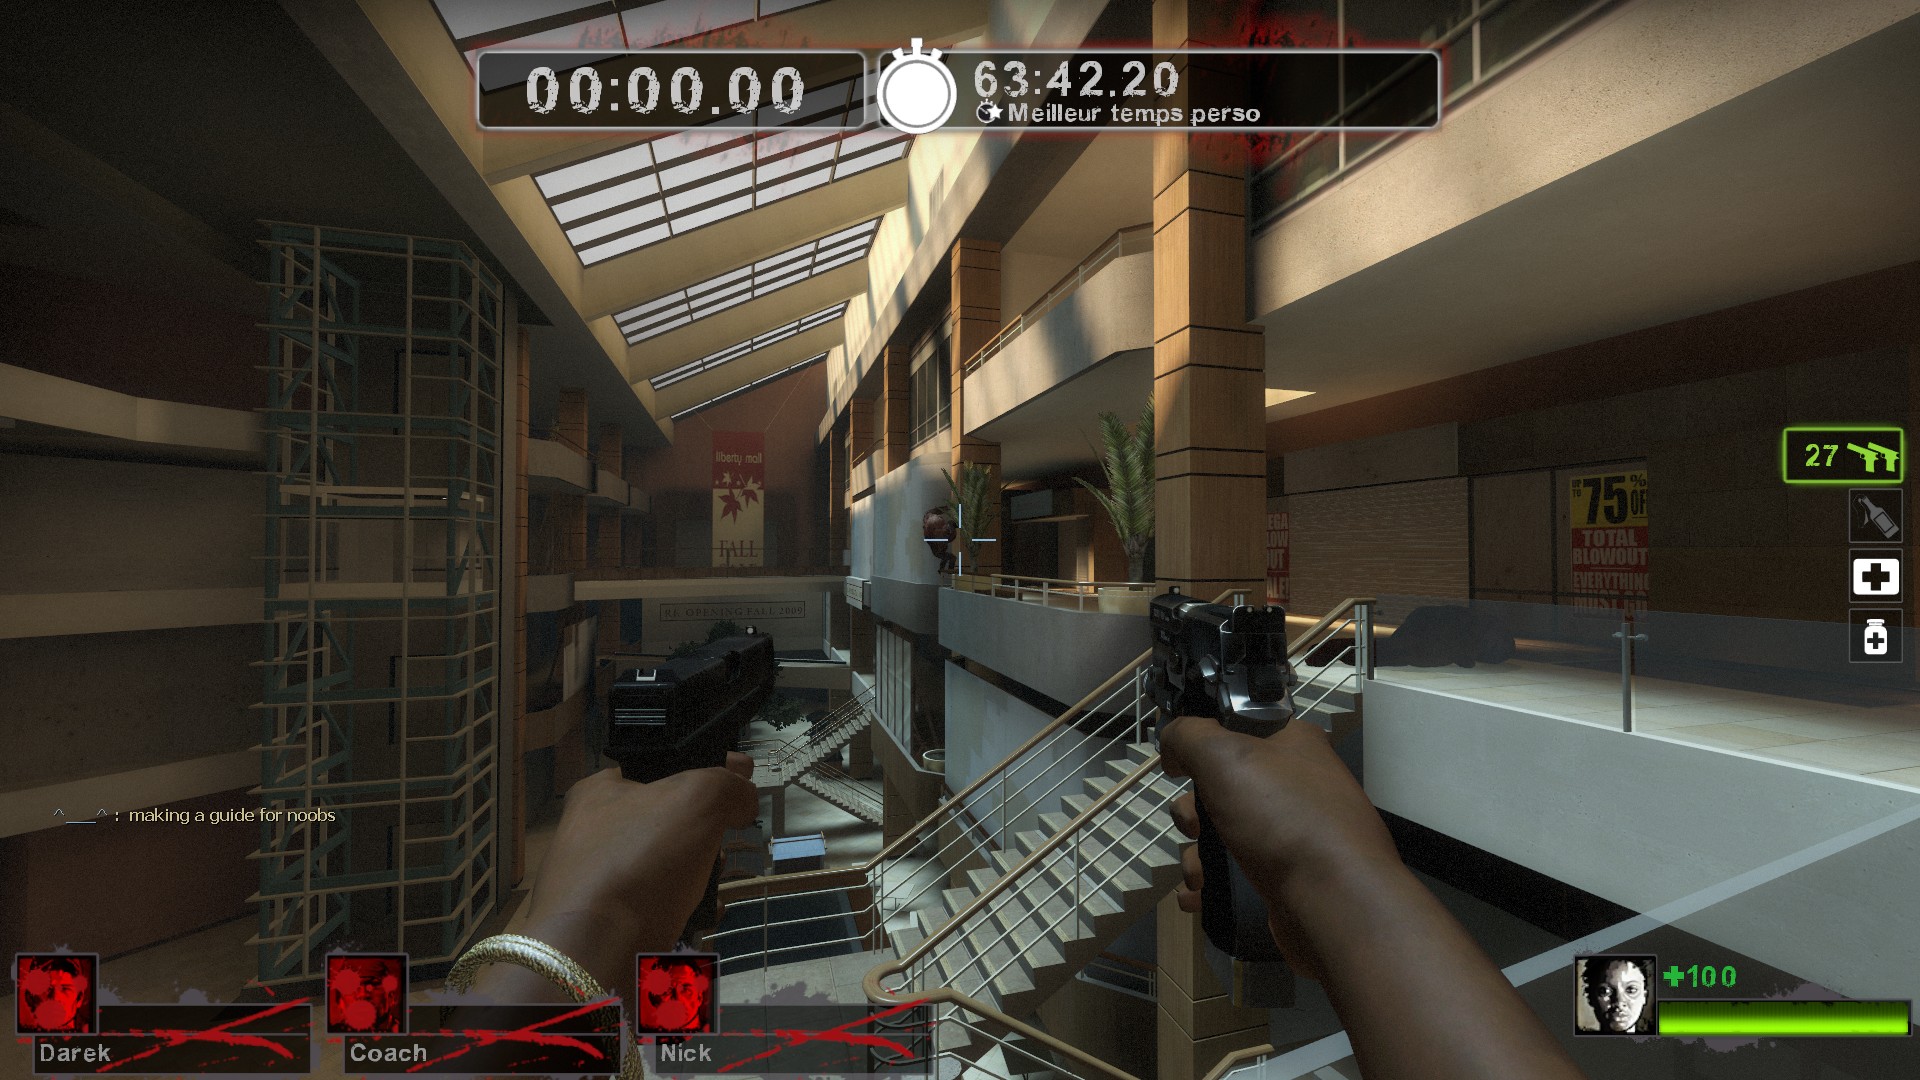
Tank! When the big guy gets too close, drop down onto the scaffolding and start the lap. I have recorded a short video to demonstrate the route that you should follow.


What is important to remember is that you're trying to make the Tanks follow you. If you start your lap too fast, the Tank might stay on the top floor and try to reach you from the other side, and we definitely don't want to run into him during the lap. That's why I believe you should wait a few seconds to make sure that the Tank drops down from the Safe Room, as I show in the video.

During the lap, you'll get the chance to pick up some ammo and, in case of need, pills/adren and throwables (see video). You will probably also get attacked by all sorts of Special Infected, and hindered by commons, so be prepared to react accordingly.

Completing a lap safely will take you back to the Safe Room, at which point you're welcome to repeat the process ad infinitum: defend until a Tank comes, drop down and lure the Tank, run a lap.

Supplies, Motherf-

What to do when you have used your pills/medkits and need new ones?

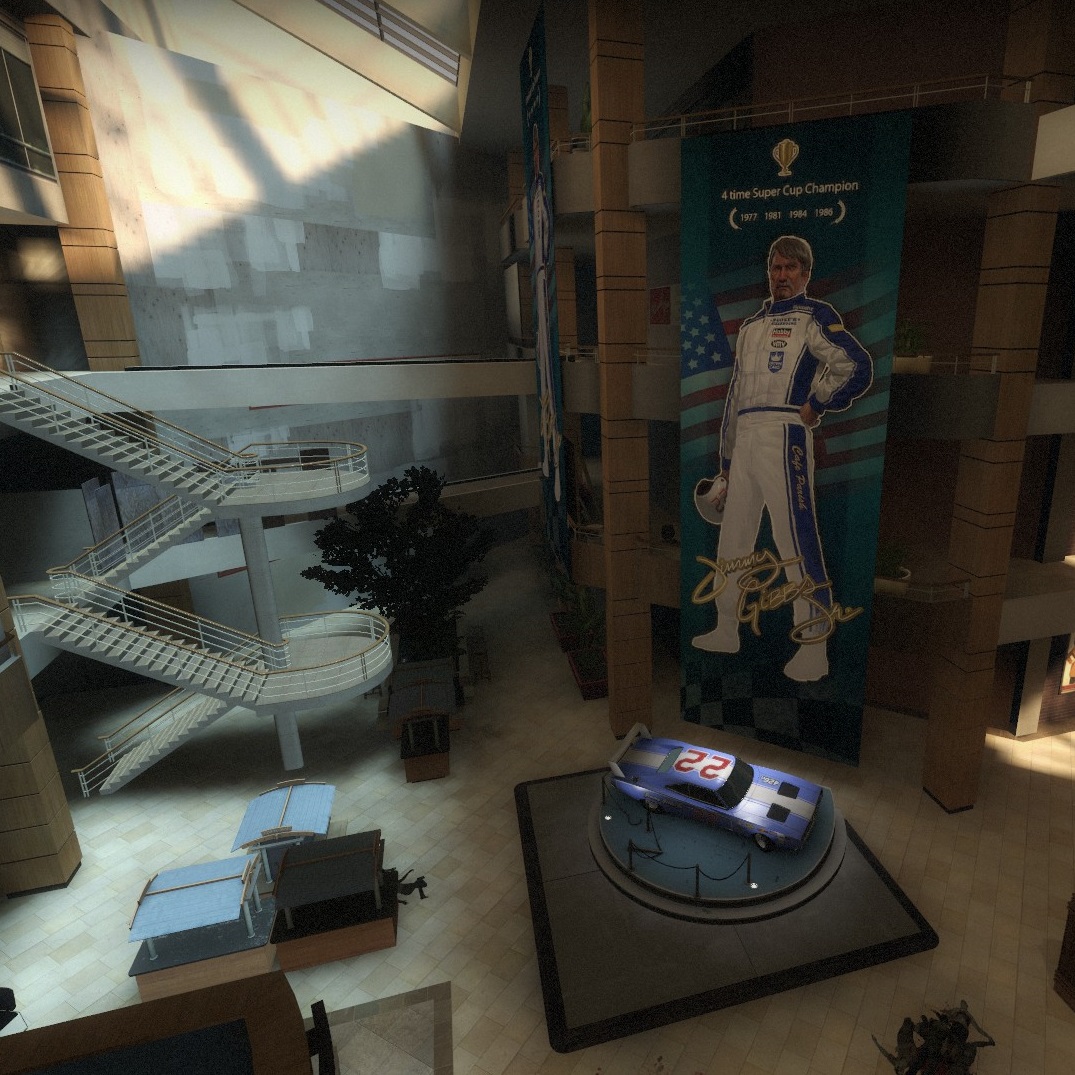
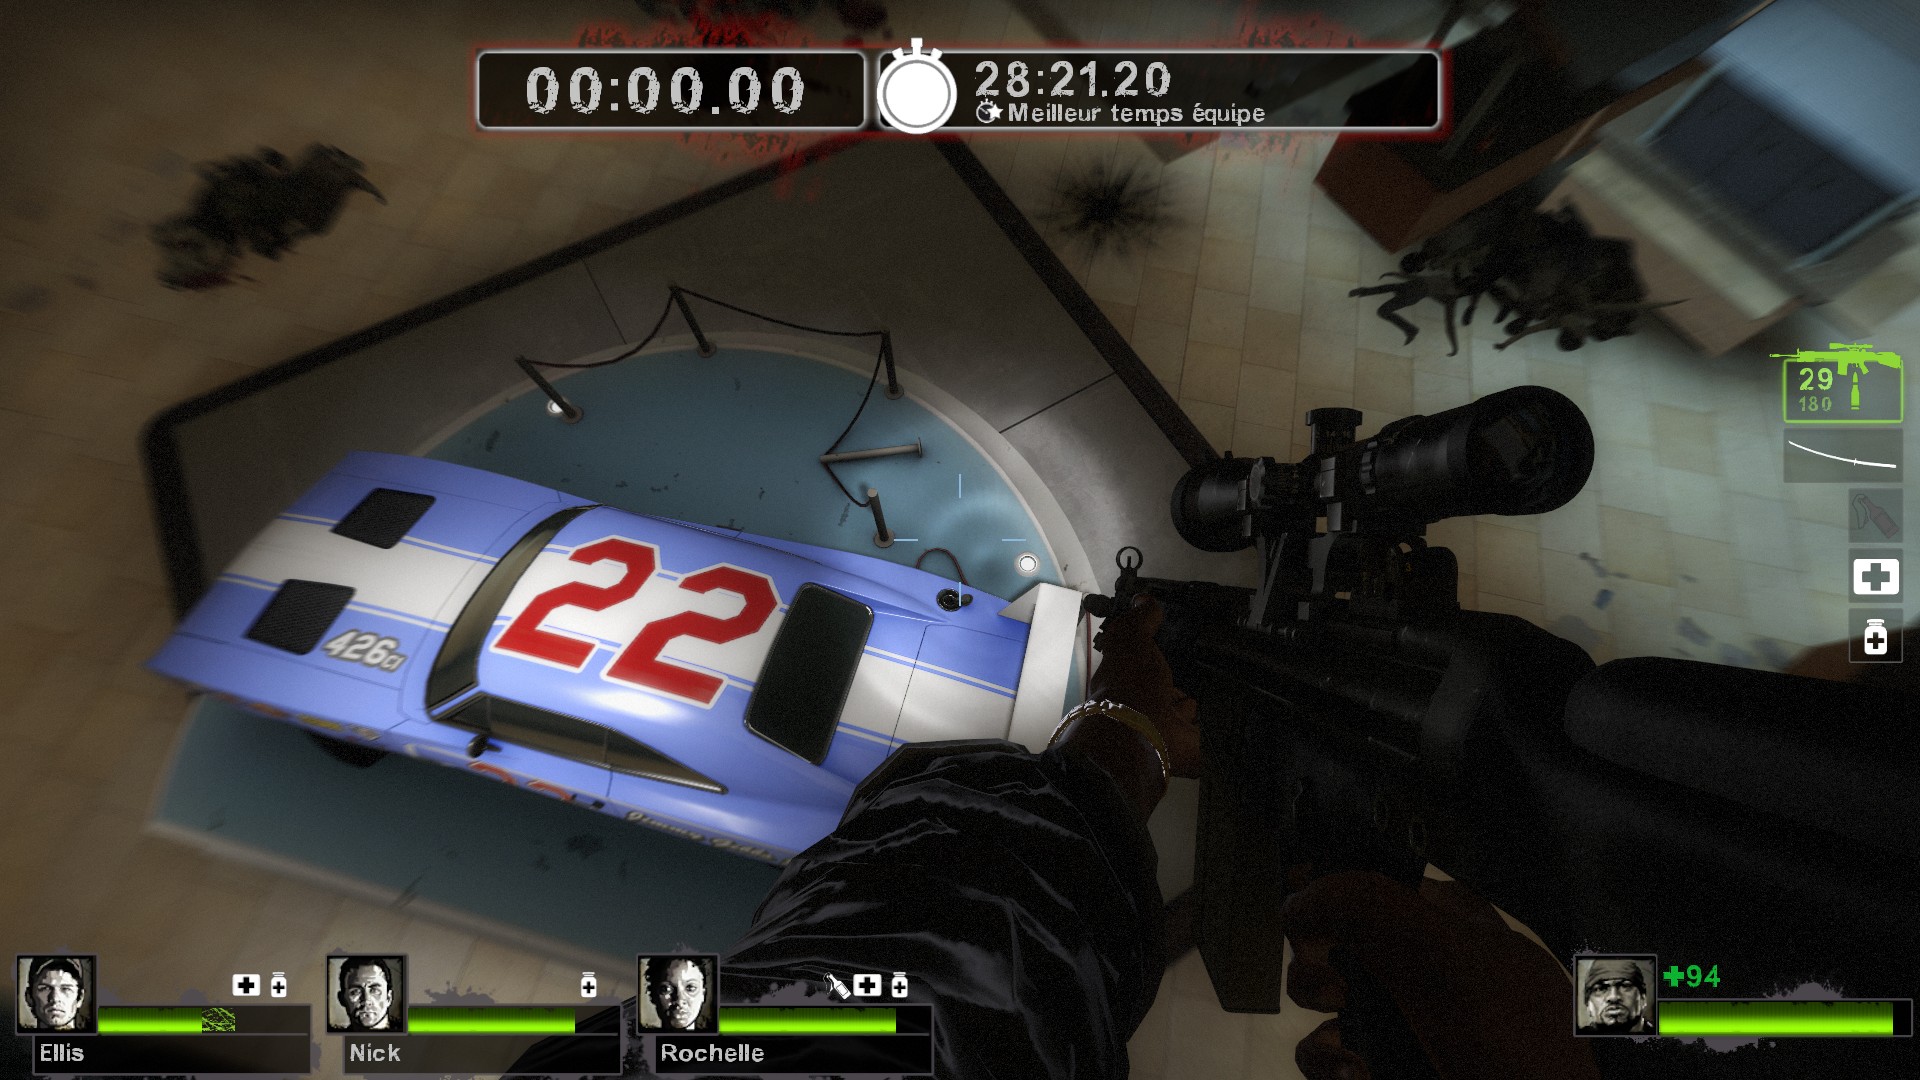
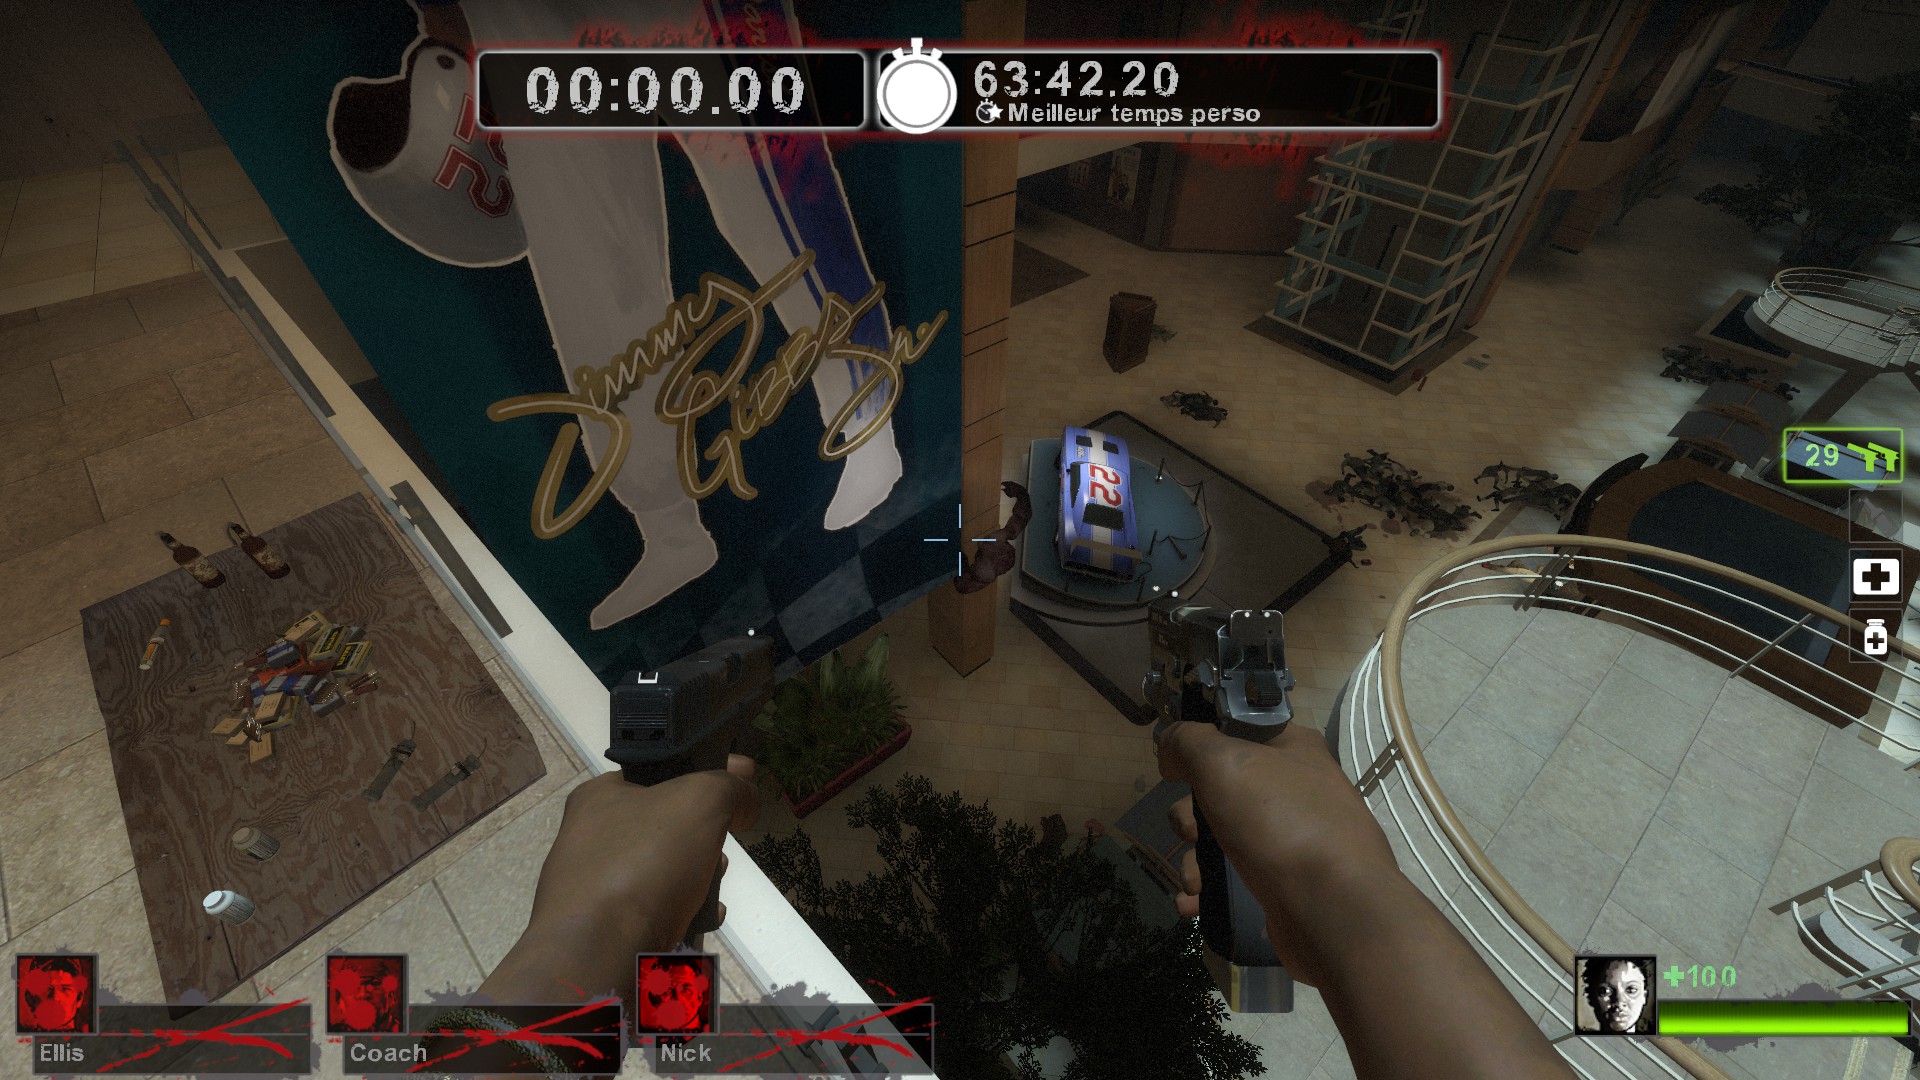
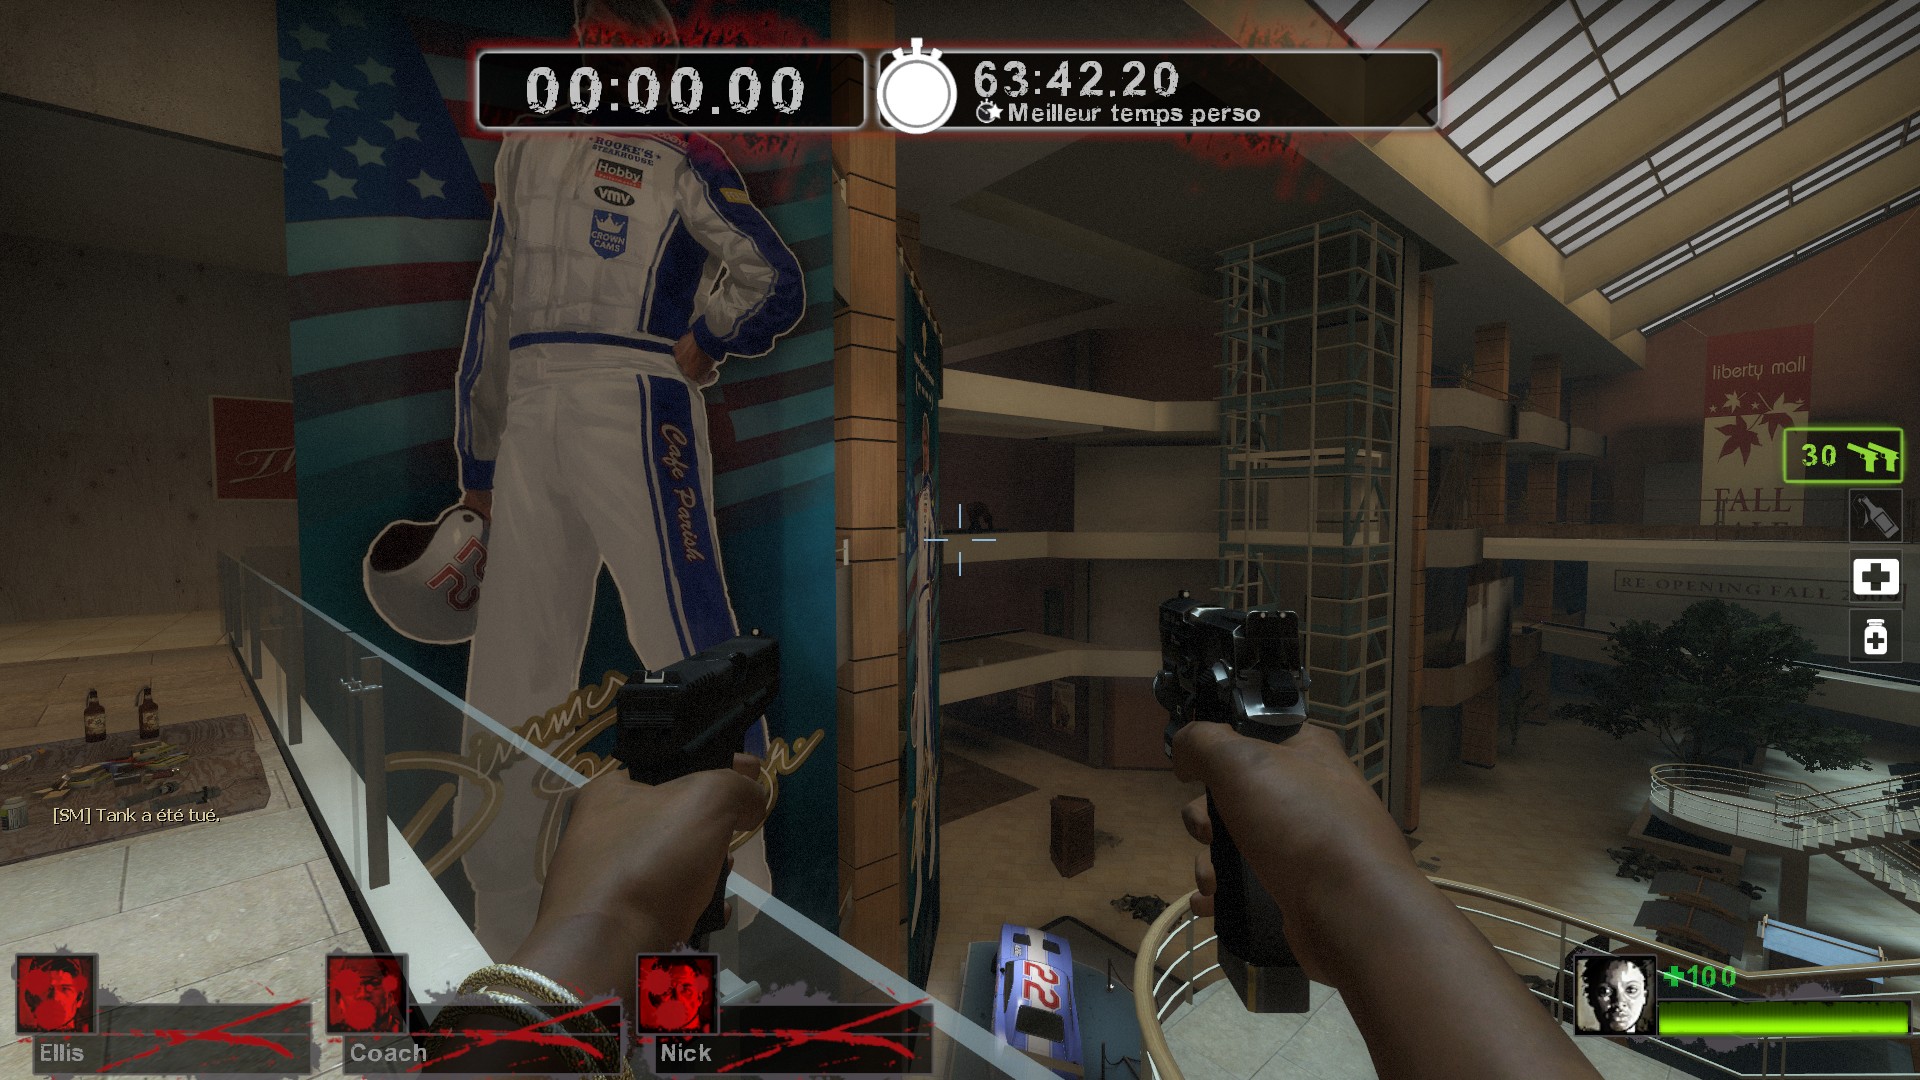
The information desk may be reached relatively safely by dropping onto Jimmy Gibbs Jr.'s show car from the intermediate level (right after the ammo pile, demonstrated in the next video). You'll want to make sure there aren't too many Special Infected near the desk before you drop down, and you may want to throw a pipe on your way. As supplies runs remain hazardous, it is a good idea to go together, either the entire team or at least two players, while the other two remain on the main path. Be precise with your pickups: mashing the Use key may result in you getting an entirely unwanted item or weapon.

Oh, a Tank. Emergency Exits!

Despite your best efforts, you are guaranteed to bump into Tanks on your way sooner or later. This can be the result of either running too fast (see above), killing/setting a Tank on fire (a new one will respawn at a random location when one dies) or just because of a Tank automatically dying after getting stuck somewhere.

Since you will probably have another Tank on your tail when that happens, going back usually isn't an option. Thankfully, the map is rife with small detours and little tricks that will allow you to dodge Tanks like a pro. I have attempted to demonstrate the main "emergency exits" in the following video:


The important thing is to react quickly (spotting the Tank as early as possible), stay calm and take a split second to inform your teammates with a "t". They'll appreciate it!

Bottom Line: the Do's and Don'ts of Running Laps

- DO pay attention to Special Infected on your way and kill as many as you can, especially in front. Clearing your path and spotting opposition is much more important than going fast, and running blindly is a recipe for disaster.
- DO NOT shoot Boomers and Spitters inconsiderately: the former might explode in your face or one of your teammate's, while the latter may block your team's path if killed in the wrong spot. Always try to shoot them from a distance, and if you bump into one, shove before you shoot (use the right-click).

- DO stick closely together and remain in a position to help any teammates in case of need. Make sure no one is left behind unless it is no longer possible to help them without dying yourself.
- DO NOT run so closely together that you'll hinder other survivors' movements. If one person gets pounced by a Hunter or a Jockey, the knockback will make you unable to react for a few seconds; it may even make you fall from a ledge at certain spots, resulting in massive damage or even incapacitation.

- DO try to be aware of the Tanks' location at all times and anticipate situations where you'll have to dodge them.
- DO NOT set the Tanks on fire. Tempting as it may be, it's not a good idea because it will result in the Tank's eventual death, and increase the likelihood of a new Tank appearing in your way.

- DO issue a warning to your teammates if you intend to go get some supplies. A simple "car" in chat will be clear enough and give them the chance to help you.
- DO NOT veer off the standard path on your own for no good reason, as you're likely to either run into trouble yourself or divert zombie attention and attract trouble on the rest of your team.

- DO pick up the defibrillator after a teammate's death if you plan on safely reviving them.
- DO NOT carry the defibrillator around if you're not about to use it: if you die in a place that is too dangerous to reach, that defibrillator will be lost for everyone. Also, DO NOT attempt to bring someone back to life if the area isn't clear enough: it takes a few seconds for them to regain full control and they have a good chance of getting hit before they can even react.
The Defend Strategy
Instead of running in circles, it is possible to hold the bridge on the top floor (pictured). I consider it to be harder than the Run Strategy, as it requires good team work between four committed players and will leave little room for error. However, it will also yield higher times when executed properly.

As this guide is mainly aimed at survival beginners, I will not go into great detail here: once you understand the basics, the best way of learning is to play as many games as you can, preferably with experienced members of the community alongside you.

The General Idea

The Survivors should position themselves as follows: three on the top floor's bridge and one between the bridge and the top of the staircase. Instead of running away from the hordes, you will attempt to overcome their attacks without losing ground.

Two positions are especially important: the leftmost one (on the bridge, the furthest one from the stairs) and the rightmost (atop the stairs):
- The leftmost player will get the clearest view of the map. In addition to their primary role of protecting the team's left side, they will get a good view of the ground floor, stairs, pillars and even the infected-only bridge leading onto the Safe Room. As they can usually spot the Tanks earlier than others, they may alert the team and deal a lot of damage. However, they will be exposed to many hazards: Jockeys, Chargers, Hunters and especially Smokers will have to be spotted and eliminated early; not panicking around Tanks is an absolute necessity, as a good number of them will not easily be killed before reaching the player's position.
- The rightmost player's primary mission is to keep the flow of zombies and Special Infected coming from the stairs, right pillars and Safe Room under control: in other words, making sure zero zombie reaches the other players. In addition to that, they will need to control all Tanks coming from the right side and execute the Tank Dance (see below) when appropriate. They will also have to monitor their ammo carefully, as they will be the furthest from the ammo pile.

When a Tank reaches either side, three players should focus fire on him while moving back, and the last player absolutely has to clear the way behind them, because even a single zombie may trap survivors straight into the Tank's clutches. Reposition and refill ammo if needed once the Tank has been killed.

Tank Locations

Here's a quick overview of the locations from where the Tanks will threaten your team, and some ideas on how to react in each case.

- LEFT: the Tank climbs up the left pillar. This is the easiest scenario, as three players can focus most of their fire on him for the entire time he's climbing, and he will usually die before reaching the top floor if he's already been damaged. It's a good idea for the leftmost player to go and face him directly (but not too close) when he reaches the top, as he will almost guaranteedly throw an easily dodged rock which will buy you some shooting time.

- BEHIND: the Tank will climb up the leftmost pillar, "behind" where the survivors are looking. It is important to spot that one early (sound and earthquakes will give you a hint) in order to hit him hard. If not dead upon reaching the top floor, back up onto the bridge and carefully dodge any stones he might throw.


- QUICK LEFT: This is a trickier one: the Tank will spawn directly on the top floor, left to the players, and reaches the bridge in mere seconds. All the team needs to spot him quickly (alert each other!). Back up onto the bridge and the Tank should go down before reaching the stairs. If the team is already fighting a Tank on the other side, the leftmost player might want to bait the Tank by jumping from the center of the bridge onto the staircase, in order to buy everyone some very precious time.

- TOP LEFT: the Tank comes from the top floor's left side, at a safe distance. This one may be in the leftmost player's blind spot, so the others need to spot him early and communicate. He can usually be put to sleep before becoming much of a threat.


- CLOSE RIGHT: the Tank climbs up the closest pillar on the right. If spotted, he will have to be attacked on his way up by the rightmost player (jump onto the stairs' ramp). Upon reaching the top, he will usually attempt a rock throw from behind the pillar. If you can kill him quickly and there's no pressure on the opposing side, back up onto the bridge; if not, then the rightmost player needs to do perform the Tank Dance while others back them up and shoot the Tank.

- FAR RIGHT: the Tank climbs up the second pillar on the right. It should be handled the same way as the previous one, and will generally be easier as the leftmost players can deal him significant damage on his way up. Dance if needed.


- QUICK RIGHT: the Tank will spawn from the closet on the right side. This may well be the most dangerous one and will require a cool head. If spotted immediately, the rightmost player may attempt a Tank Dance; if not, back up onto the bridge, with the rightmost player baiting the tank into jumping onto the stairs if needed and safely possible.


- SAFE ROOM: the Tank will head for the Safe Room, most often by way of the infected-only bridge seen from the opposite side. This one will usually go down easily and does not require dancing in most scenarios. The leftmost player should remain vigilant that no Special Infected threatens the other survivors.


- STAIRS: more rarely, the Tank will climb up the stairs. As this is somewhat unexpected, the survivors may be a little late in spotting him. When he reaches the top, either back up onto the bridge or execute a Tank Dance, and remain wary of rock throws as they will sometimes hit you from below.


The Tank Dance

This simple trick allows players to control Tanks on the right side for as long as needed: either Tanks coming from the right side, or Tanks coming from the left/stairs that have not been eliminated quickly enough. It will buy the team precious time in appropriate situations; however, the player doing it will be exposed to several hazards so it should not be executed when there is no need for it.

The following video will show you how the Tank should be baited. Just lure him from one side of the hole to the other, and avoid falling yourself.


Multiple hazards will threaten the player doing a Tank Dance so they will need swift reactions and competent backup from the team. The leftmost player must control both pillars on the right hand side, making sure no Special Infected reaches the top. The "dancer" especially needs to look out for Chargers, as they may charge the player down onto the scaffolding even from the other side of the hole (thanks Valve!). Tanks will also sometimes throw rocks that can be hard to dodge. Remember it is more important not to fall than to shoot the tank continuously, so watch your step as the ledge is narrow and you'll come under pressure.
Weapons
In this section we will discuss which weapons to use and why. I will not get too technical in terms of DPS, spread and such as that information is already available on the Left 4 Dead Wiki (http://left4dead.wikia.com/wiki/Weapons), but I will try to point out the main pros/cons of each one when it comes to playing Survival on Mall atrium.

Primary Weapons

- Military Sniper Rifle: the ideal weapon for defending, and my weapon of choice for running as well. It is a one-hit kill on common infected, and a one-headshot-kill on Hunters, Smokers, Spitters and Jockeys. Its long range accuracy allows you to rescue captured teammates from a distance and even through certain walls. 45 bullets will put down a Tank, which is less than a full magazine for two shooters. A very efficient weapon if you can aim well, and very good practise if you can't!

As much as I recommend this weapon, bear in mind that it's quite slow to reload, and its accuracy drop massively while running. It may leave you unable to react in certain situations, and should absolutely be paired with a melee weapon if playing the Run strategy. You'll definitely want to stand still, crouch or use the zoom while targetting Special Infected.

- M-16: the assault rifle is an excellent close/mid-range weapon which reloads fast. It is not unusual for one of the four players to use it during defense. I find it quite a sensible choice if you're on the left, because the damage per second is virtually the same as the Sniper's, but the reload speed will improve your reaction time for other hazards. Also, shooting a running Tank will slow him down substantially, which is really helpful when your health is in the red.

At long range, its accuracy will drop: fire it in short bursts rather than continuously. Also, it will consume ammo much more quickly than the Sniper, which can be a problem if you're on the right.

- Desert Rifle: a quite powerful and accurate combat rifle which doesn't seem too popular. Its burst first ensures better accuracy than that of the M-16, and it will also slow down the running Tanks.

Its biggest problem in my opinion is its slow reload time, even though it has a big magazine: 60 may seem like a lot but the burst fire will spend them all too quickly. Still one to consider.

- Shotgun: deadly at close range and that's about it. It is a horrid choice for defending, as it will make you unable to dispose of any threats from a distance; and I don't believe the increased close-range damage is enough of a compensation in terms of efficiency as a team.

It is slightly more effective when it comes to running, as it will allow you to blast through commons and quickly dispose of Special Infected that come too close. Do consider the following drawbacks, though: increased chance of friendly fire (and increased friendly fire damage), impossibility to assist teammates from a distance, and high ammo consumption.

Bottom line: new players usually love the shotgun; better players eventually outgrow it.

- Grenade Launcher: no. Just. No.

With that weapon, you're a sitting duck: it takes more than 3 seconds to reload, and only a direct hit will kill a Smoker, Jockey or Hunter; and a Charger will require two well-aimed shots. The odds of accidentally hitting your teammates or a gas can are very high, and its supply of 30 rounds will quickly run out. It takes no less than four direct hits to put down a Tank, provided somebody else handles the other hazards for you.

Even though I strongly dislike it, in all fairness, this weapon can come in handy in the very specific context of a solo (or duo) run. It will allow you to clear a horde that is swarming you, to one-hit kill or stumble certain kinds of Special Infected and, perhaps more importantly, can allow you to escape a Smoker's pull if fired swiftly. The drawbacks remain the same.

Pistols/Melee

As has been said before, I personally prefer and recommend using a melee weapon. However, all options will be examinated below.

- Dual Pistols: high capacity and fire rate, low damage and accuracy. Absolutely worthless for running, but some players might find them useful when defending: if your main weapon's magazine is empty and the Tank is close to dying, switching will allow you to finish him off faster than reloading.

- Magnum: a more balanced choice. One-hit kill on zombies, quite effective against Hunters and Jockeys, it remains largely useless at a longer range and also is the worst available weapon against Tanks. It does allow you to survive much longer when incapacitated and makes it easier to cover yourself from zombies while being rescued. A good choice if you plan on spending a lot of time in a horizontal position!

- Axe: my personal favourite. Slightly slower than the Katana, it also offers a slightly larger spread, making it excellent for Smoker tongue reflection (cutting a Smoker's tongue as they try to catch you). A must-have for the player in the leftmost position, as they will often be attacked by Smokers spawning in the closet.

- Katana: also a good choice. I find it a bit harder to cut tongues with it, even though it does swing faster, but that's entirely personal. Its speed will allow you to slice through common infected with ease, and possibly to slay a stumbled charger before they can punch you.

- Crowbar: a terrible weapon all-around. Not only slow and low-ranged, but frustratingly ineffective: you will often hear the sound of perfectly valid hits but without your target taking any damage. Its only positive is that you can cut Smoker tongues with it as well, in case the Axe and Katana are already taken.

- Cricket Bat: slightly faster than the Crowbar, it is also much better in terms of range and effectiveness. It's an acceptable choice if you don't plan on reflecting Smoker tongues but would like to use melee rather than pistols anyway.
Taking it to the Next Level
Gold is only the beginning! Why don't you try for 20? 30? 40? Here are some things to consider if you're "gonna reach fo' the top" ♫

Become a Better Player

A big part of Survival is good aiming and Special Infected awareness. The game gives you a lot of very distinctive sounds cues: these hints will help you anticipate the sort of danger you have to handle and, combined with map experience, its precise location. For this reason, sound is absolutely vital: I strongly recommend using headphones, turning down the game music's volume (or that of whatever music you choose to listen to!) and starting to pay attention to these very specific sounds. Experience from other game modes (particularly Versus) may help you a lot there. A lot of players also use the Silenced Weapons Sound Mod to make the sound of gunfire less tiring and hear the Infected better.

I only have one recommendation for improving your aim: stop spamming. Actually try to hit things. Think before you spend all your bullets. If you're still struggling with it, try altering your mouse sensitivity level, and make sure you don't use any kind of mouse filtering or mouse acceleration.

I have mentioned Smoker tongue reflection at several points in this guide. It is a very useful trick to learn, the idea of which is to swing a melee weapon with "cutting" properties directly at a Smoker's tongue as they attack you. With precise timing, you'll neutralize the attack. A great training map is available on the workshop, courtesy of Swooping Bears. Be sure to practise on Normal mode (which is the reference for Survival), as the timing and speed of the tongue will be different on other skill levels.

Do not rage quit immediately upon dying. Watching others may teach you a thing or two, and spectating in free roam mode will give you a good idea of how the Special Infected travel across the map and where they pose a threat (free roam mode has to be enabled in your Settings menu). Don't hesitate to ask players about any tricks you don't quite understand.

Don't Be a Twaatt

This one should be self-explanatory, however it seems to remain difficult, for new players and experienced players alike!

The purpose of this guide is to extend a friendly hand to the newcomers and give them a chance to take part in the awesome fun we're having. Unfortunately, some people seem to believe whatever little skill they've acquired somehow makes it fine to put aside common courtesy, rage against less experienced players and start kick votes for the slightest mistakes, without even attempting to explain a single thing to them. I would really like to promote a more friendly approach to the "hazing" of newbies, and I have huge respect for a certain top player who makes it a point to always show a patient and friendly face in random games.

On the other hand, there are certain things that you should definitely avoid as a newcomer. They should really fall under common sense but, you know.

- Do not call a restart vote (or any vote for that matter) as soon as you die, or if you're dead upon joining an ongoing game. It's a simple matter of respect to the other players: the round doesn't end with your death, and the final time will still be saved on your profile as long as you were in the game at the beginning. If you are in such a hurry to play, nobody's stopping you from leaving and finding another game.
- Do not cry for help when incapacitated, or cry for a revive when dead. WE KNOW. And believe me, we're trying - and if we aren't, it's most likely because there is absolutely no chance to safely help you. I have often died and seen team collapse just by trying to revive a fallen survivor; understand that players might be reluctant to jeopardize a good round by attempting desperate rescues.
- Do not get your panties in a twist over what happens in the game. Because, um, it's a game. It's fun, yay! Keep a cool head and don't give the L4D2 community a bad name.
- Don't voice spam. Did I say obvious? Also, don't set your mic on voice activation: a constant stream of background noise will lower the game's volume for other players as if you were speaking, and guaranteedly get you kicked.

Join the Community

There is a quite active community of people playing L4D2 Survival. If you play regularly, you will definitely run into familiar faces sooner or later. Be sure to send friend requests to people with whom you enjoy playing, especially if it looks like you could learn a few things from them! Replaying with the same people is bound to make you a lot more efficient as a team.

There is also a number of Steam Groups that you should consider joining:
- L4D1 & 2 Top 10 Survival Records: the only up-to-date group keeping track of top 10 times on all official maps for both L4D1 and L4D2. Includes screenshot links and a comprehensive set of rules.
- Your L4D Survival Records: a now-defunct group also aimed at keeping track of Survival records. Has more members but no longer gets updated.
- SoloDuos Survival Records: similar to the previous one, but more hardcore-oriented as it keeps track of solo and duo records on every map (with a top 40 on Mall Atrium).
- Gold Miners: another group dedicated to keeping track of the top players' achievements, namely the select few who have managed the feat of exceeding a certain time (20, 30 or 40 minutes) on EVERY map. Covers both L4D and L4D2.
- Survival for Dummies: my very own survival server. Free to join and available 24/7 except when already in use.

Play Other Maps!

Mall Atrium's popularity has spawned a peculiar breed: the Mall Rat. While it is a great map to which I've dedicated an entire guide, I would like to encourage all Survival players to give the other official maps a try: each one is a specific challenge and gets more interesting as you play it again, especially with competent teammates. Playing other maps will help make you a better player on Atrium, at least for the Defend strategy: most of them will have to be played defensively, but will also be much trickier.

If you enjoy Survival, why not try to get Gold on every official map? You'll probably meet a great bunch of people and enjoy massive amounts of frustration fun on the way. Doesn't that sound tempting?
Special Thanks and Feedback
Many thanks to all my friends in the Survival community, you are all a big part of the reason why I've had so many hours of fun in L4D2. Special shoutouts to Double Disaster, a spectacular player whose ever-friendly demeanor inspired me to make this guide; and of course to my best bunny-hopping buddy Sir Prize, alongside whom I've spent countless hours striving for Gold (and beyond!).

Feedback

I would welcome any feedback on this guide, as I am sure that any experienced players would have a lot of insight to add to this short introduction. As English isn't my native language, I would very much appreciate any reports of typos and grammar issues that you may spot, and I will do my best to keep this guide up to date with the community's feedback.

Massive thanks to all the readers who made it this far. :-)
36 Comments
Franky M.  [author] 30 Jan, 2017 @ 11:13pm 
Don't get mad at video games
GOONER 26 Jan, 2017 @ 2:22pm 
What the fuck was that comment? Reinvent much? LOL fuck off I've never seen this before
mudda 9 Nov, 2016 @ 12:31pm 
Quick update: a very awesome steamgroup with awesome servers: RIP
Franky M.  [author] 22 Aug, 2016 @ 8:11am 
Quick update: rewrote most of the "Join the Community" sub-section:
- Added link to L4D1 & 2 Top 10 Survival Records since YLSR has gone idle.
- Added link to my own server.
- Removed link to Bass Fishing (long dead)
- Removed link to Parallel Worlds as the group's head admin seems to be handling the banhammer a tad carelessly as of late.

Will add a little something about closet shutdown and the full spawns version of the map eventually.
安靜 Faceless 20 Jul, 2015 @ 10:16am 
Scatman <3
W4KE 25 Apr, 2015 @ 7:00pm 
Graet guide for English as a second language! Excellent points and tips. Thanks a ton!
HeXaGoN 6 Mar, 2015 @ 2:51pm 
I've actually done decent duos (at times nearing 20 minutes) with noobs, but it's rare, because... we all know how common the smart noobs are :p
Cheesy 6 Mar, 2015 @ 11:02am 
Duoing as it is requires a buttload of luck as well as individual skill, interesting strat idea tho park :)
Franky M.  [author] 3 Mar, 2015 @ 12:53pm 
Yes, I too am curious to see how far this could be taken. Basically a duo run, but with additional manpower at the start and the chance for slightly easier revivals, as well as useful information from the dead players. Keep me updated if you attempt it with your team!
HeXaGoN 3 Mar, 2015 @ 6:21am 
I believe the duo strat you just came up with is a strat worth trying. I'd be more than willing to help people try it out :)

I truly think the time a player heals depends on that player and his team.
The time is even more dependent on why and when they're healing.
Both of those healing strategies you listed below can work for sure, but one requires much more effort in covering people! :p