Witchfire

Witchfire

63 ratings
Witchfire Achievement Guide
By PsychoDriveBy
WARNING: THIS GUIDE CONTAINS SPOILER INFORMATION AND SHOULD BE USED FOR ACHIEVEMENT COLLECTION
4
2
2
   
Award
Favorite
Favorited
Unfavorite
Progress Achievements Part 1
Achievement Unlocked!
Achievement Title
Description
Arcana
Absorb seven Witchfire Manifestations in one run
This one is pretty easy to get early on. You will need to clear seven of the areas on a map and collect the giant crystals that drop at the end of the fight.
Armamentarium
Fill every slot of the loadout
For this achievement you will need to equip a primary weapon, secondary weapon, demonic weapon, light spell, heavy spell, relic, fetish, and a ring all at the same time.
Event
Finish an Event
Marked on the map with a pentagram is an event. What you must do can vary from event to event, but once you complete your first one you will get this achievement.
Gnosis
Increase Gnosis
You will need explore Scarlet Coast map and have 14500 available Witchfire before you can unlock this. Once you have achieved both, head towards the east of the hub world into the big church.
Once inside the church take a left immediately and purchase the 2500 unlock and head downstairs. Downstairs you will find a book that can advance your Gnosis levels.
Lost and Found
Retrieve your remains
If you manage to die, play the same map again and try to make it back to where you died and pick up your dropped items. Your death location will be marked with a gravestone on the map.
Mirage
Open a Mirage
Once you have achieved Gnosis 1, you can find a Mirage on Island of the Damned and unlock it for 2500 Witchfire.
Mysteria
Unlock all three Mysteria on a weapon
You can upgrade your weapons by completing the requirements for Mysteria and after doing so go to the church on the east side of the map and look for a table between gear select and the research mirror. First Mysteria is always 25 weapon kills. Second Mysteria is Weapon Kills and utilizing the ability that you unlocked when you hit Mysteria 1 and it also requires that you be Gnosis 1 to research Second Mysteria Incantation. Third Mysteria is Weapon Kills and utilizing the ability that you unlocked when you hit Mysteria 2 and it also requires that you be Gnosis 2 to research Third Mysteria Incantation.
Mysteria Master
Equip Mysterium III gear in all slots
After getting yourself two weapons to Mysterium III, a Light Spell, Heavy Spell, Relic, Ring and Fetish, equip all of them that have Mysterium III and this will pop immediately after closing the gear selection screen.
Rosary
Equip five beads into the Rosary
In order to obtain five slots for the Rosary, you must first obtain Gnosis V. After that you may already have five unique beads to equip. If not, find five unique beads and return to the hub world and head to the Cathedral. Once you place five beads on the Rosary and close your inventory this achievement will pop.
Prophecy
Slot a Prophecy
Once you have achieved Gnosis 2, head to the church on the east side of the hub world. Hug the right side of the church as you enter and you'll run into a table where you can slot prophecies into the arcana.
Research
Obtain the first Research item
In order to begin research, you must be Level 7. If you are Level 7, then head to the east of the hub world and find a floating mirror. From there you can research new items to use in the game.
Vault Breaker
Finish a Vault
Behind the mirage found on Island of the Damned is a vault. You have a certain amount of time to push through the vault clearing enemies that spawn in your path. Be careful as there are other obstacles that can prevent you from completing this vault, i.e. falling into abyss or building insanity.
Progress Achievements Part 2
Achievement Unlocked!
Achievement Title
Description
Ascension 25
Reach Ascension Level 25
This should just be achieved through basic game play. After collecting enough Witchfire Essence go to the hub world and find the Ascension Shrine, it will be marked with a waypoint if you can level up. Level up to 25 with enough Witchfire and you'll grab this achievement.
Ascension 50
Reach Ascension Level 50
This should just be achieved through basic game play. After collecting enough Witchfire Essence go to the hub world and find the Ascension Shrine, it will be marked with a waypoint if you can level up. Level up to 50 with enough Witchfire and you'll grab this achievement.
Gold
Spend 100 gold
In the hub world, you'll eventually get a vendor known as The Collector. You must spend a total of 100 gold in order for this achievement to pop. NOTE: I tried it on research and it did not seem to progress this achievement.
Witch Mountain Shortcut
Open the Witch Mountain Portal shortcut
In order to reach Witch Mountain you must first find the Witch Mountain Chart located in Irongate Castle behind the Dimacher boss fight (images provided).
Once you have reached Witch Mountain progress through all of the enemies and platforming sections until you reach a room with four statues setup identically to the start of Witch Mountain.
Once you walk through the gate you will unlock the achievement.
Labyrinth
Break through the Witch Mountain Labyrinth
In order to reach Witch Mountain you must first find the Witch Mountain Chart located in Irongate Castle behind the Dimacher boss fight. (images provided)
Once you have reached Witch Mountain progress until you reach the portal.
You will have to defeat a Summoning Orb and from there you will have enemies that become your allies and start progressing towards the giant green glowing thing in the middle of the Labyrinth.
Once your army of summons reaches this point you'll start a Heart of the Labyrinth fight, just continue to kill enemies and you will unlock this achievement.
After you have returned back to the hub world, head to the cathedral to find a new shotgun.
Kill Achievements
Achievement Unlocked!
Achievement Title
Description
Shieldbearer
Kill the Shieldbearer
The Shieldbearer is a boss that can be spawned randomly during a Calamity. Be very careful of your surroundings if he is summoned because he will spawn a green dome that locks you inside. This took me quite a while to get to spawn, hopefully you'll have more luck. Once you have defeated him you will unlock the achievement.
Gatekeeper
Destroy a Gatekeeper
Gatekeepers are a floating mask-like enemy. You must find the nearby totems that are colored blue and orange. Whenever the Gatekeeper is the color of the totem you must shoot it. Notice that in the first image there is an orange aura around the gatekeeper, this means that you must search for and destroy the orange totems.
Faithful
Kill a Faithful
Once you have entered the Irongate Castle, you will find an event marker on the northwest part of map that talks about the Faithful. When you get there it will be a tree stump that costs 5000 Witchfire to summon the Faithful, which is essentially a beefed up grenadier with infinite spawning lighting swordsman (Lautaro Knights). Focus on him and take him out quick to get this achievement.
Master Sentinel
Kill a Master Sentinel
Once you have entered Irongate Castle, you can encounter a Master Sentinel. Much like the Faithful this enemy can be incredibly overwhelming with spawned enemies that raise your insanity.
Galley Slave
Kill the Galley Slave
Once you have entered Scarlet Coast, clear the map and proceed to the southwest corner of the level. You will approach the ship wreckage and a cutscene will start before a boss fight. You can also use the Siren's Shell item to start the fight early. This is a boss called the Galley Slave. He is essentially an Elite Decay Grenadier, you can use the surrounding wreckage and rocks to dodge most of his attacks.
Velmorne Trinity
Kill all three of Velmorne's Faithful
Before reaching these enemies, you must first find the Velmorne Chart located on the Scarlet Coast (first photo below). You will find it on a corpse in the northwestern corner of the map. Once you reach Velmorne, you must kill three marked enemies, the Watch Commander, Sepulcher and High Executioner. After defeating the third enemy, this achievement will unlock.
Widow
Kill Velmorne's Familiar
Before reaching this enemy, you must first find the Velmorne Chart located on the Scarlet Coast (first photo below).
You will find it on a corpse in the northwestern corner of the map. Once you reach Velmorne, you must first kill the Watch Commander and get his Crowbar. I recommend completing the achievement above to make traversing the Sewer easier as there are three different keys used down there. After you get the Crowbar, search for sewer grates, along the path of the sewer you'll find a room surround with spider eggs. The boss inside is Widow and once you defeat it you'll unlock the achievement.
Prophet of the Whispering God
Kill the Prophet
Gnosis 2 required. I would recommend progressing the game a little bit before fighting this boss. In order to get to this boss you must solve the puzzle on Island of the Damned, which can be solved by finding the seven ceremonial obelisks scattered on the island. Each of the seven has a riddle if viewed from the map, which are used to rotate the skeleton in the middle of the map to each of the fires. If successful, you will unlock an underground dungeon with four floors, the final being the bossfight with the Prophet of the Whispering God. This boss can be pretty difficult your first try. I recommend bringing your favorite close range and favorite long range weapon to do this.
The boss starts by casting fires, then as you decrease his health he begins teleporting you. Sometimes you're in a small circle being swarmed by enemies in the original boss room without the boss present, other times you get teleported to a watery arena where you have to ability to damage the boss while he spawns adds to fight you.
Miscellaneous Achievements
Achievement Unlocked!
Achievement Title
Description
Expedition Consumables
Use Ten (10) Non-Elixir Consumables During Expeditions
Another pretty straight forward achievement, you can find a vendor in the hub world that sells these items or you can find some in the world. Pull up your inventory and go to the consumables page and use Ammo Packs, Clovers, Placebo Pills, Treasure Hunter's Prism, etc. As long as you use ten of these items in a single run, your achievement will pop.
Cursed Chest
Open a Cursed Chest
Eventually, you will find a chest marked with a curse. If you complete the task required, then the chest will open with loot and your achievement will pop.
Fallen Preyer
Wake a Fallen Preyer
On the east side of the hub world, just outside the church opposite of the Ascension Shrine, you will find runes on the ground. You must be Gnosis 2 in order to start this, but once you are you may "Focus on the flame" which starts a quest to gather Preyer Echoes. You can use your Preyer Echoes to Conjure the Fallen Preyer or to strengthen your Fallen Preyers companions. After conjuring the Fallen Preyer, you must first find the three mask shards corresponding to the Fallen Preyer. There are three mask shards on each of the current maps that project a decently loud humming sound when you are near them.
Mushrooms
Taste each edible mushroom
There are a total of six mushrooms that you can find and consume in the game. There are three different types of mushroom shapes. Each mushroom shape has a healing and a damaging variation. Once you have eaten your sixth different mushroom you will unlock this achievement. NOTE: THE PICTURES BELOW SHOW THE THREE HEALING ONES FIRST AND THE THREE THAT DAMAGE YOU LAST.
Soul Sigil
Stun an enemy by destroying their Soul Sigil
In order to do this, you must first be focused (Stamina Bar Yellow). Then once you have encountered an enemy dash and you'll see a red circle somewhere around them. Successfully hitting this circle with a shot will stun an enemy and unlock this achievement.
12 Comments
PsychoDriveBy  [author] 24 Aug @ 9:36am 
@gleezy goblen Yeah, I was starting to feel this way and then as I was walking to an exit on the map after clearing everything aside from the vault a Calamity started. I was like I guess I'll wait and there he was.
gleezy goblen 23 Aug @ 1:17am 
Shieldbearer spawn chance is like negative %
PsychoDriveBy  [author] 23 Aug @ 12:33am 
All of the sections have been updated and the new achievements present. If you have any questions, please feel free to ask and either me or my supporters should be able to answer you. Thanks again to everybody who used and favorited my guide(s)!
PsychoDriveBy  [author] 17 Aug @ 6:36am 
Alright, I have returned. I still need to get the Witch Mountain Chart and unlocks related to Witch Mountain, as well as get an updated version of the Shieldbearer. Everything else I can think of has been corrected, but let me know if that is not the case. Thank you all for being patient and thank you all for supporting my guide(s)!
Crit 2 Aug @ 4:56pm 
Congrats on the new addition to your family!
PsychoDriveBy  [author] 13 Apr @ 1:07am 
Sorry, about the neglect of this guide, in January my wife had our second child, making two kids under two, and I have been focused on trying to get game time in as much which has made some of my guides that need updating suffer. Please give me time to catch back up on this game and maybe I will get around to correctly updating the information soon.
Nirouku 27 Jan @ 6:49pm 
Shield bearer has been moved entirely from where you have him. Now he is a chance to spawn during a Calamity event.

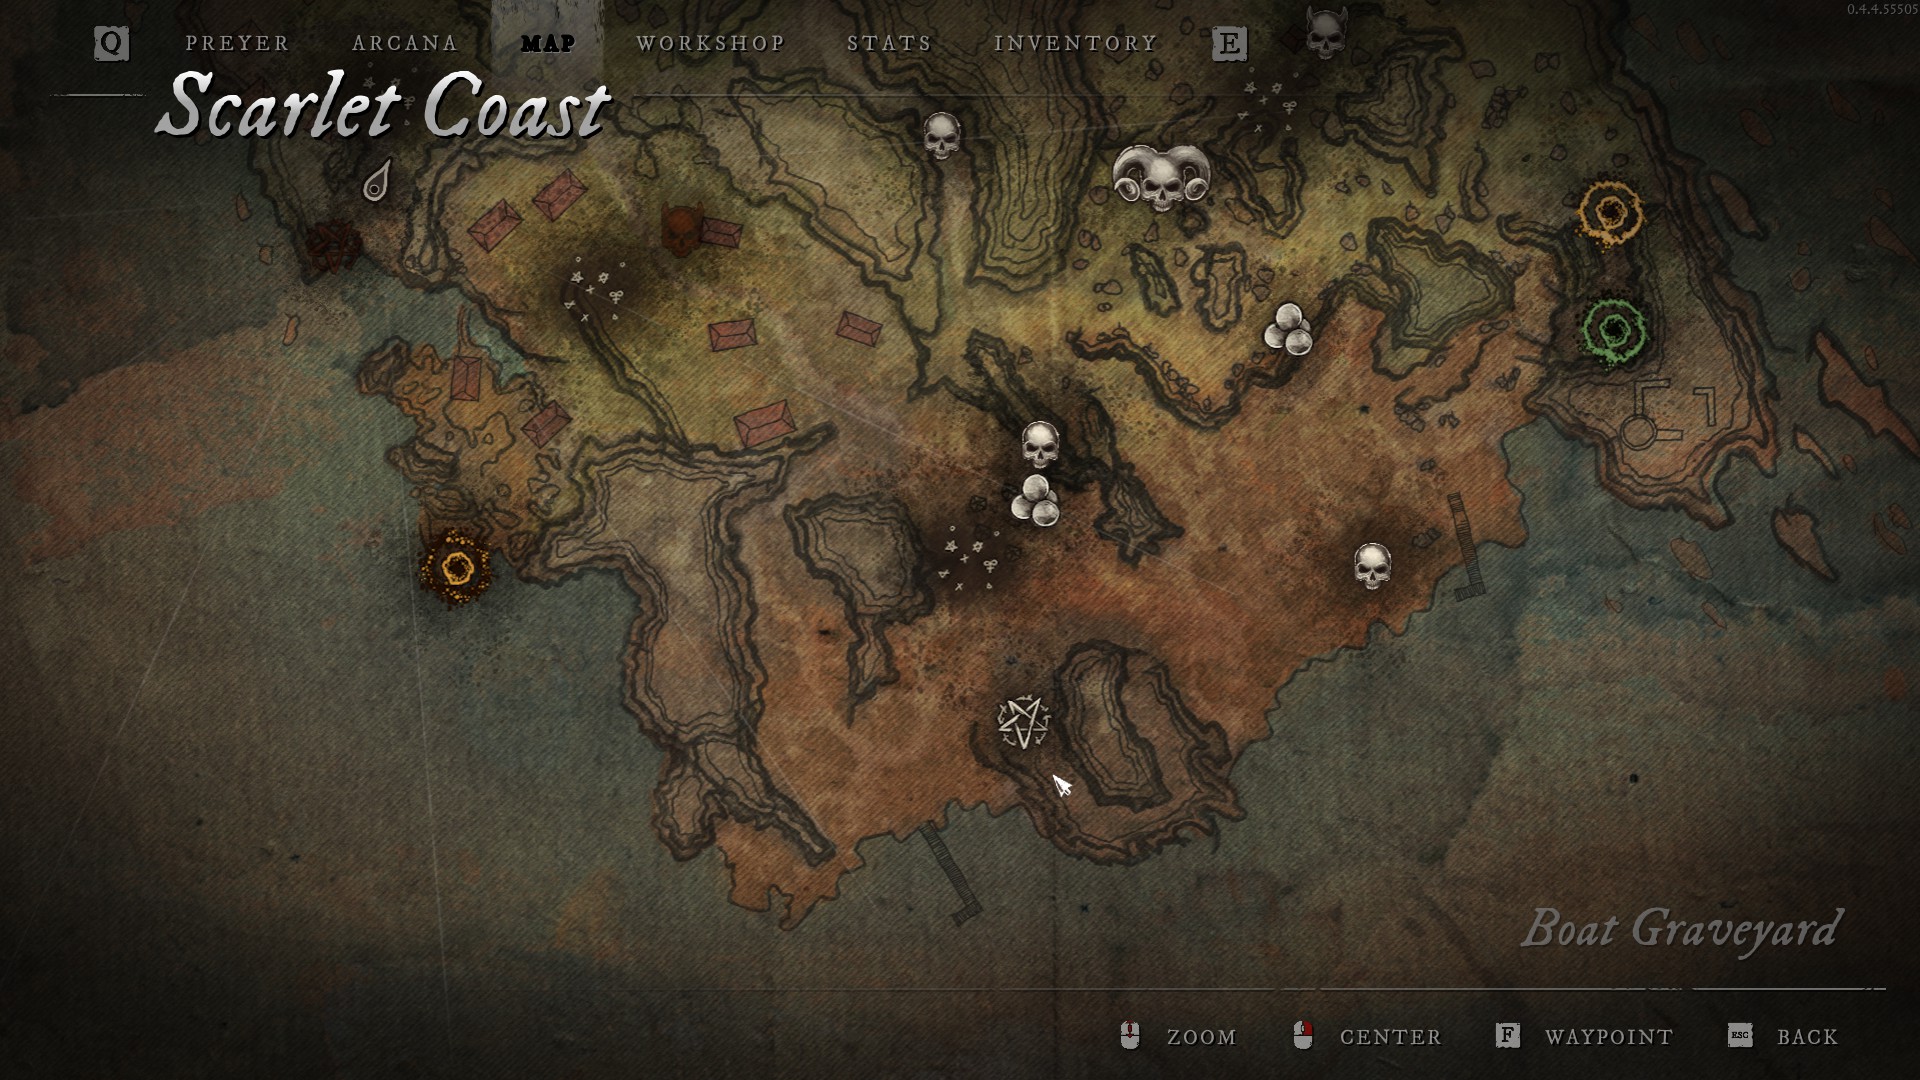
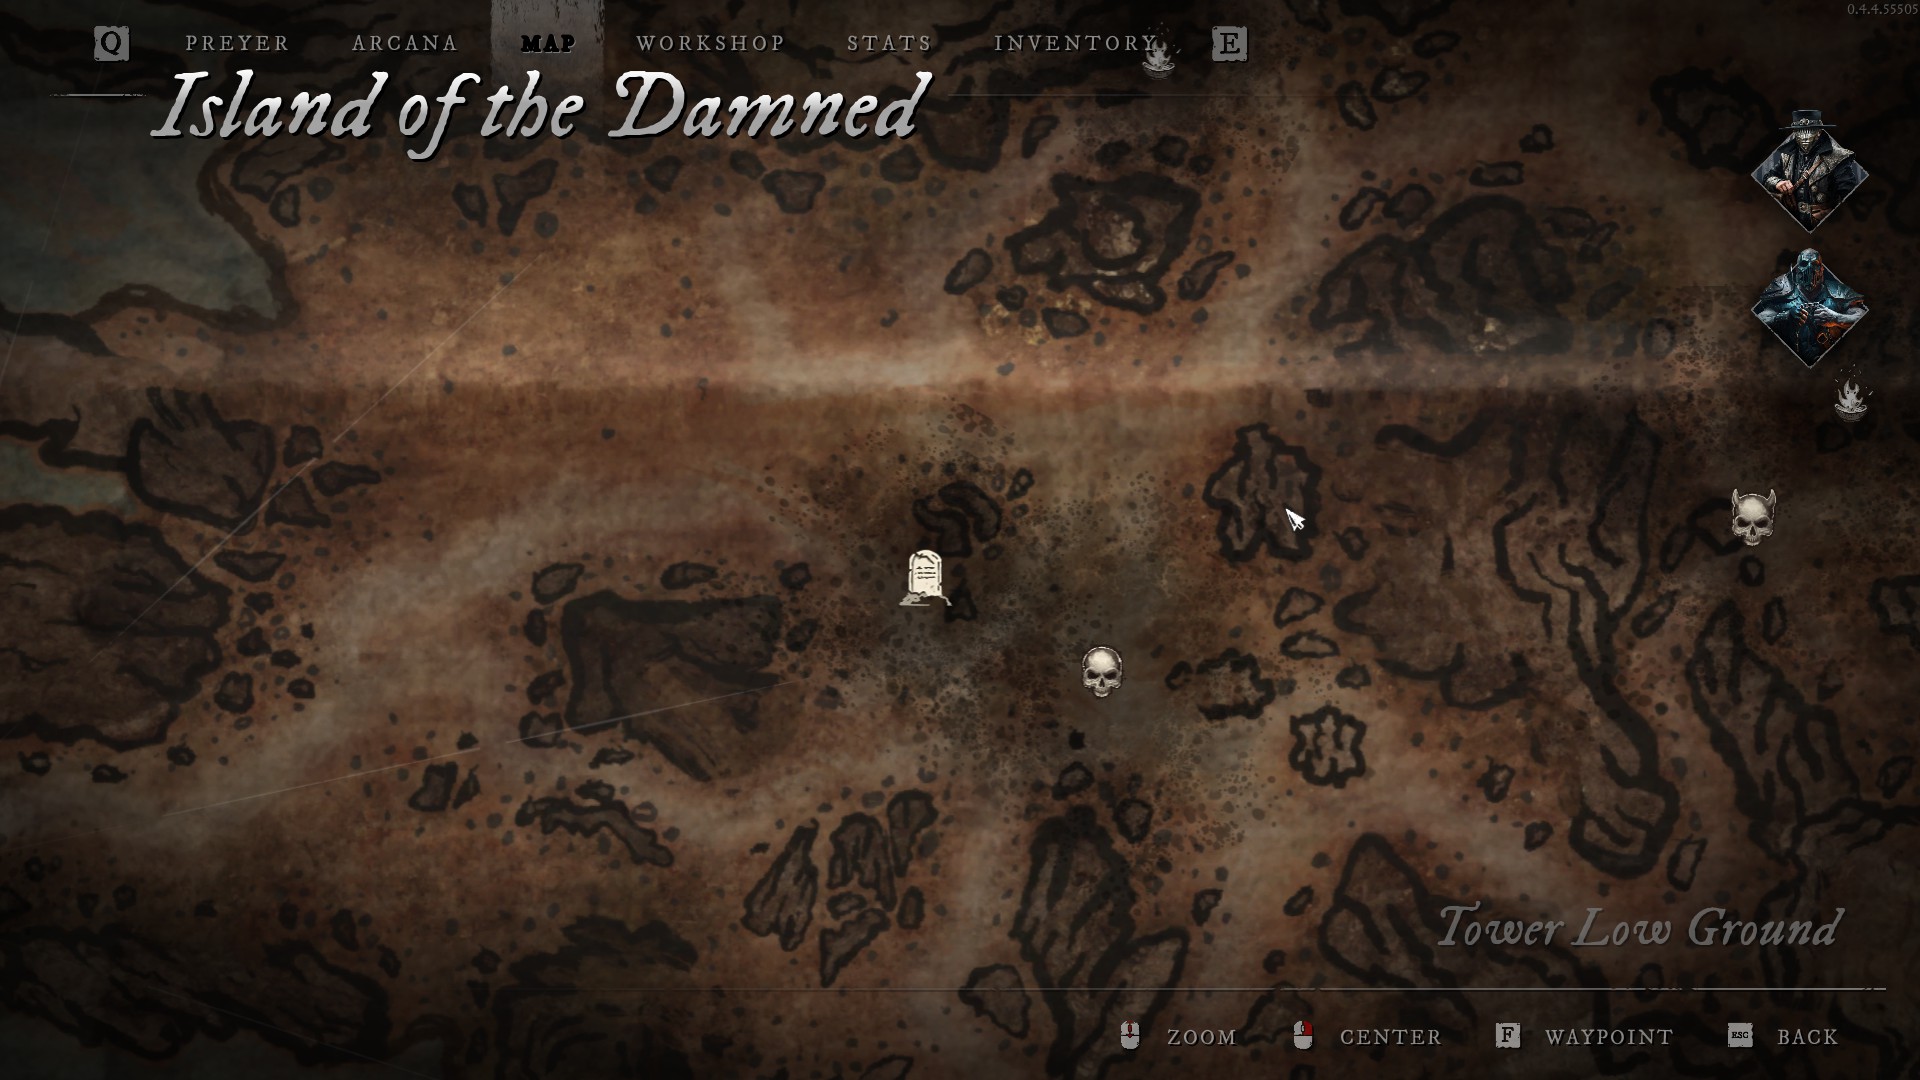
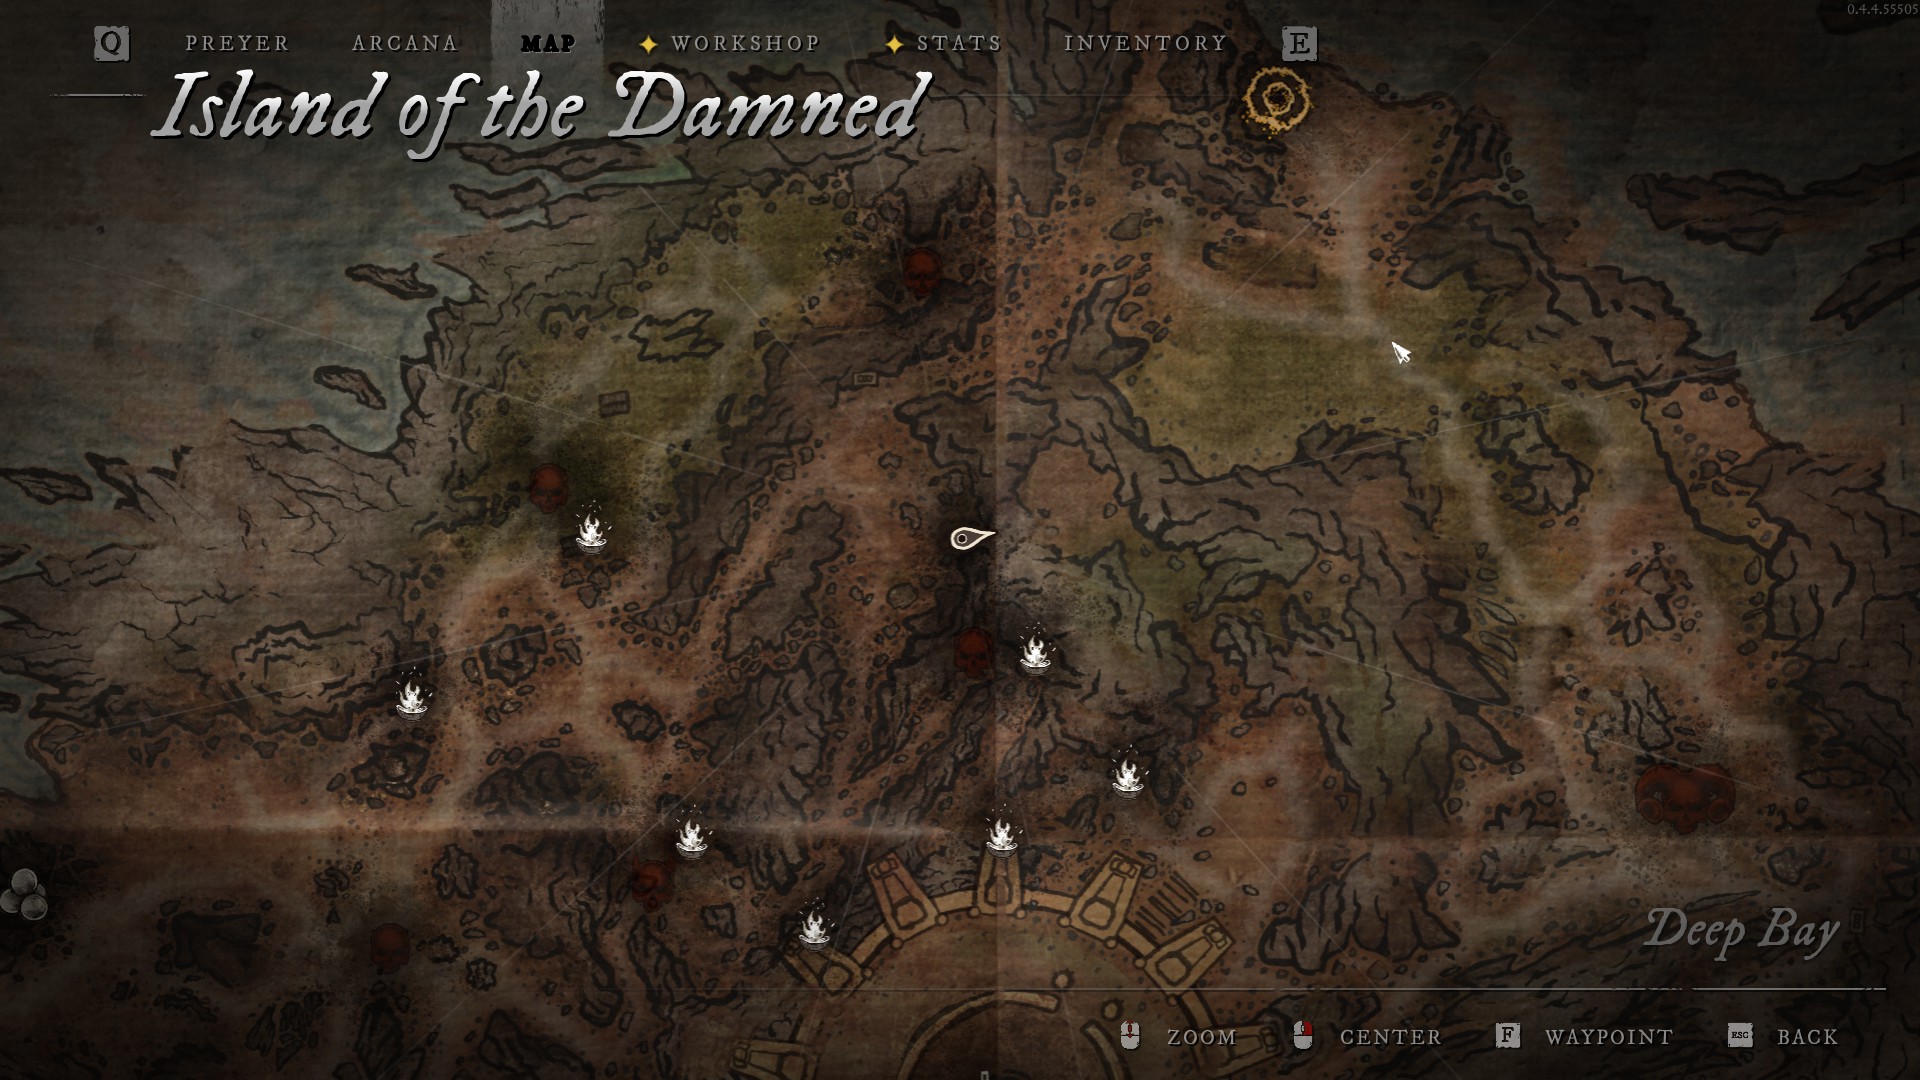
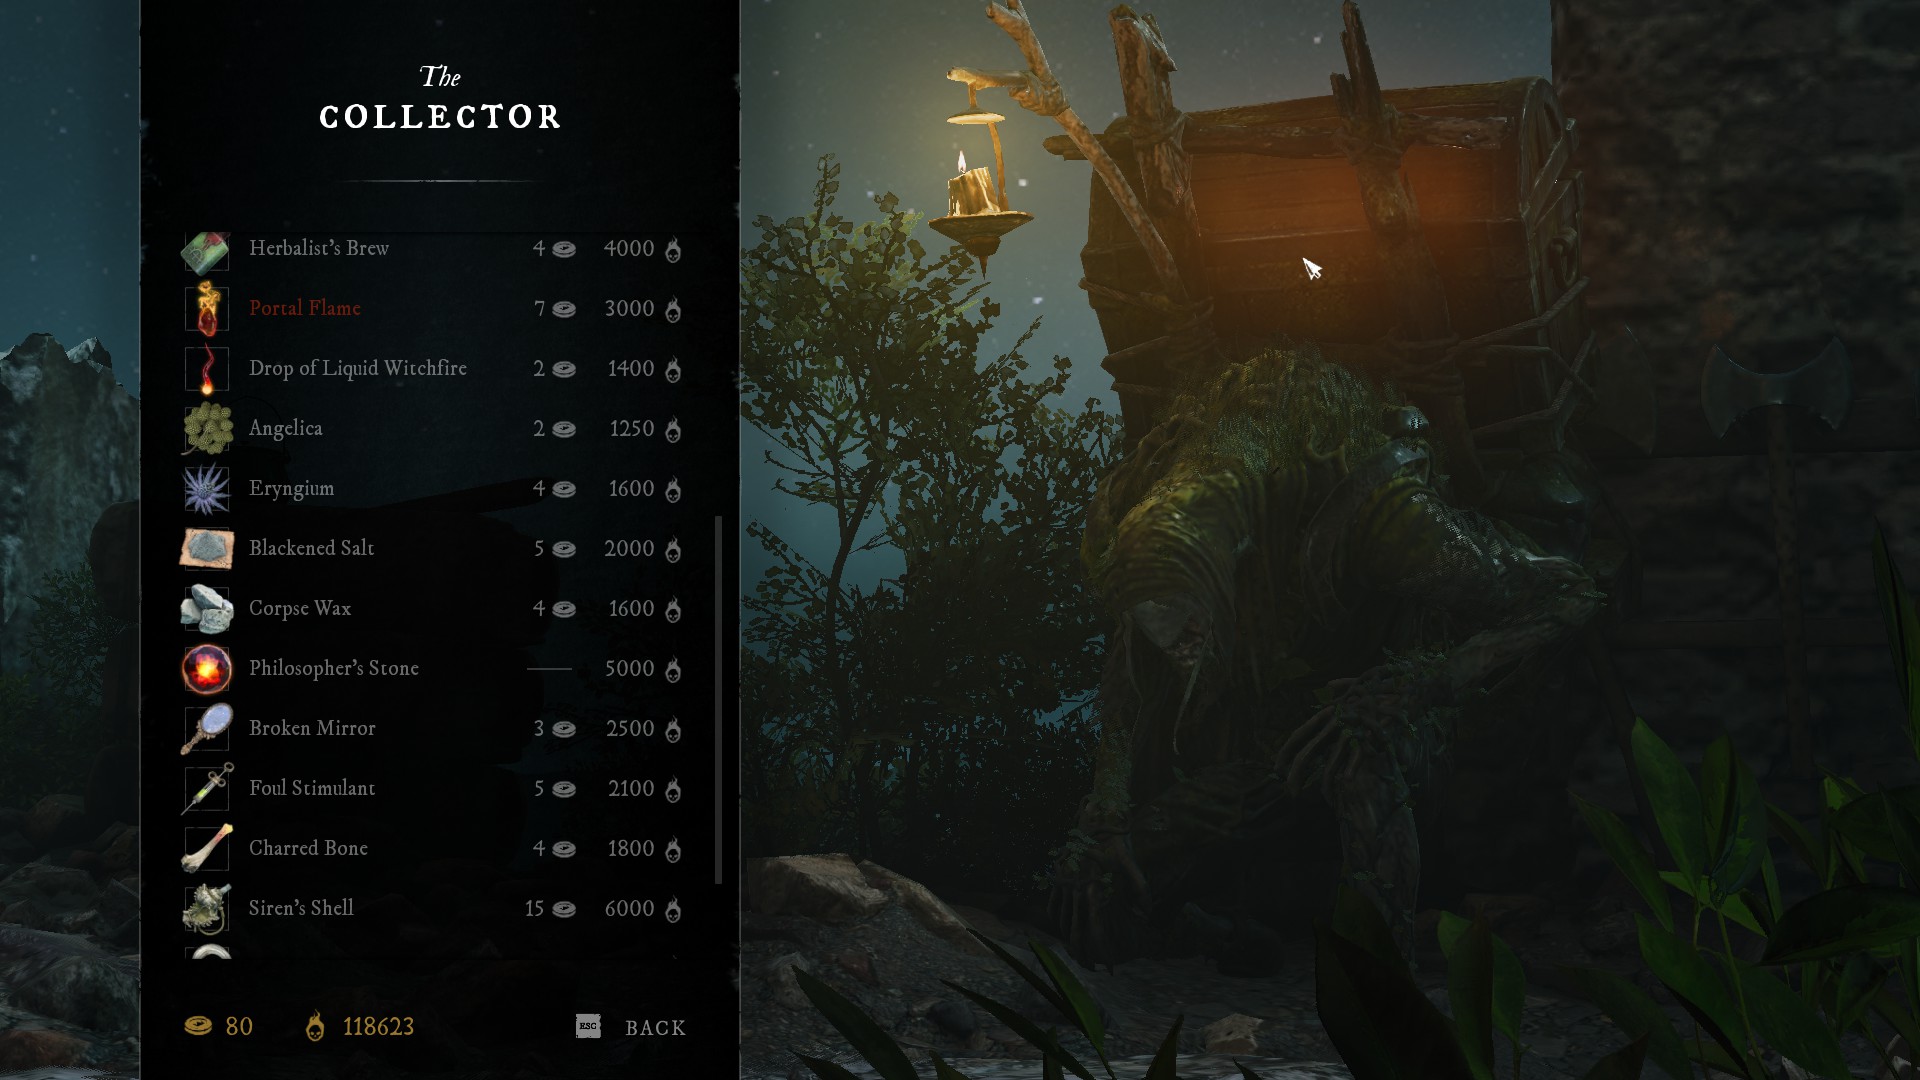
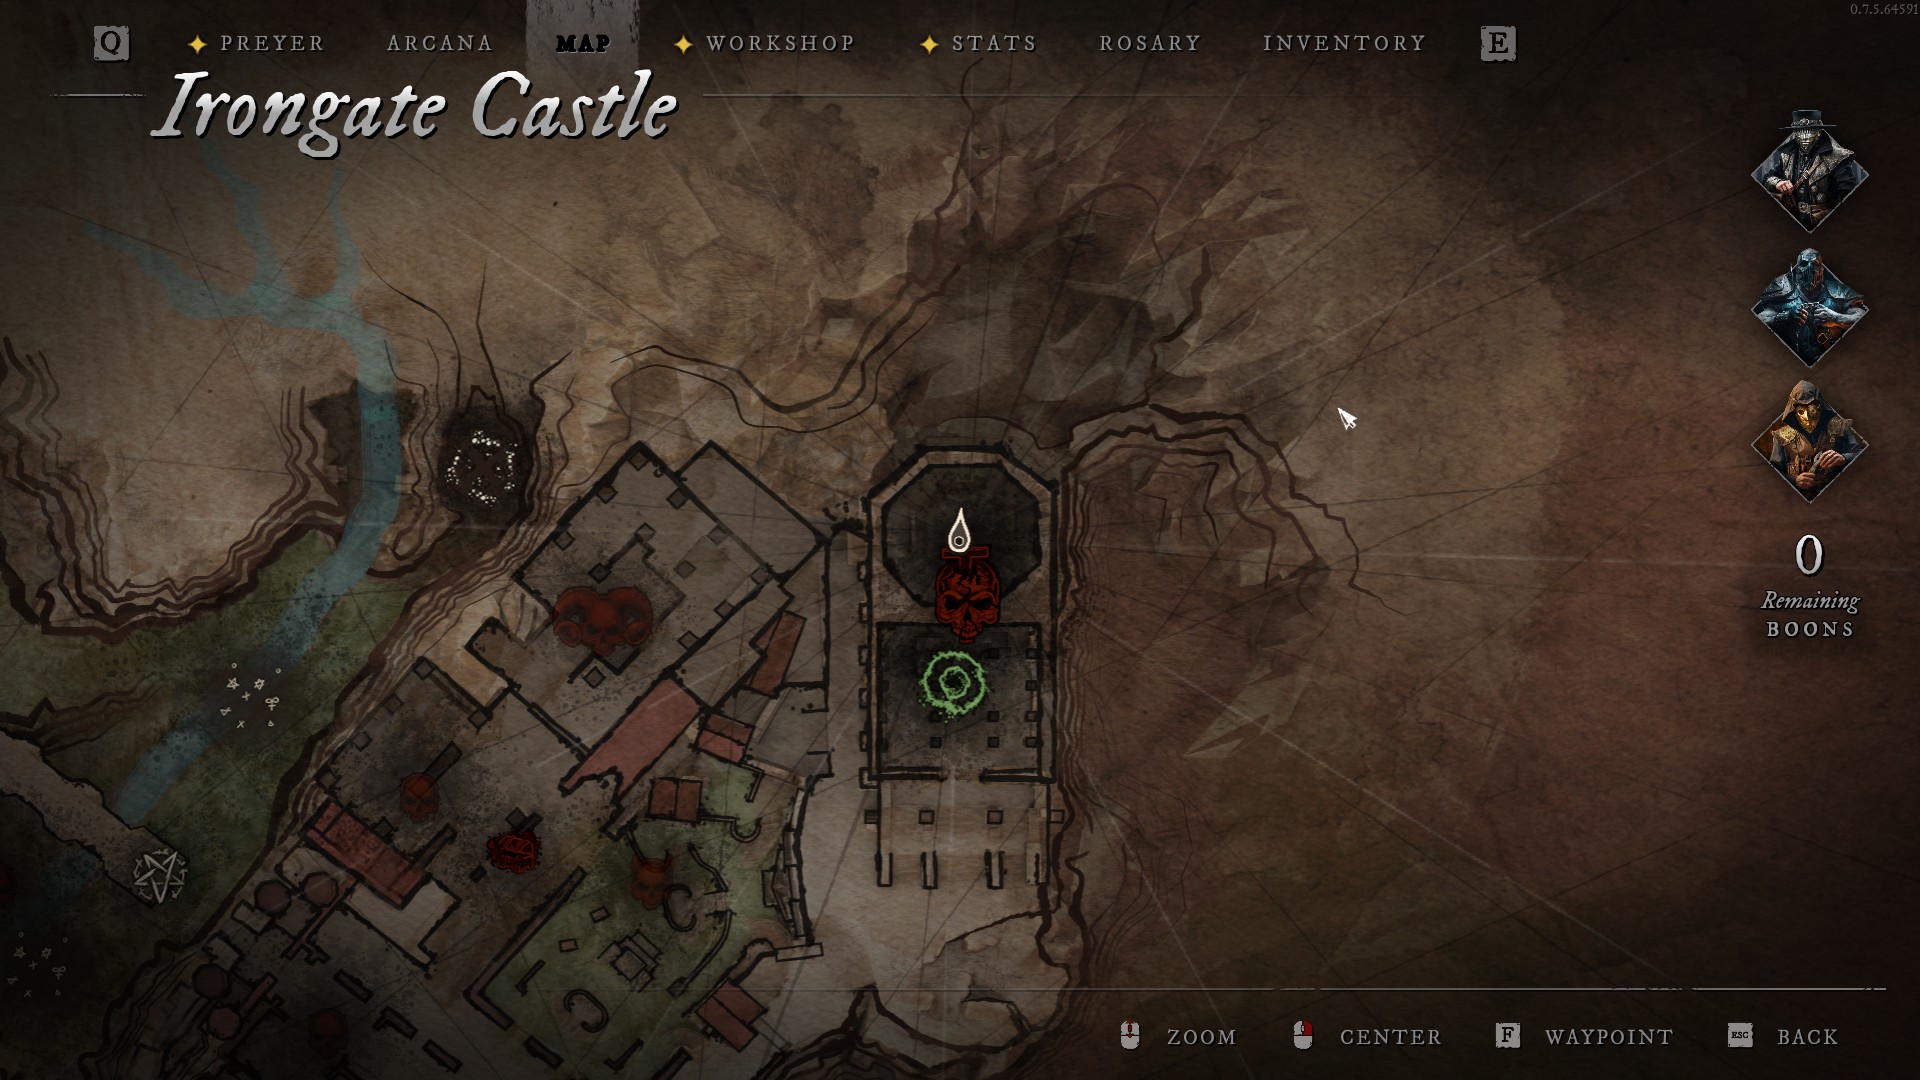
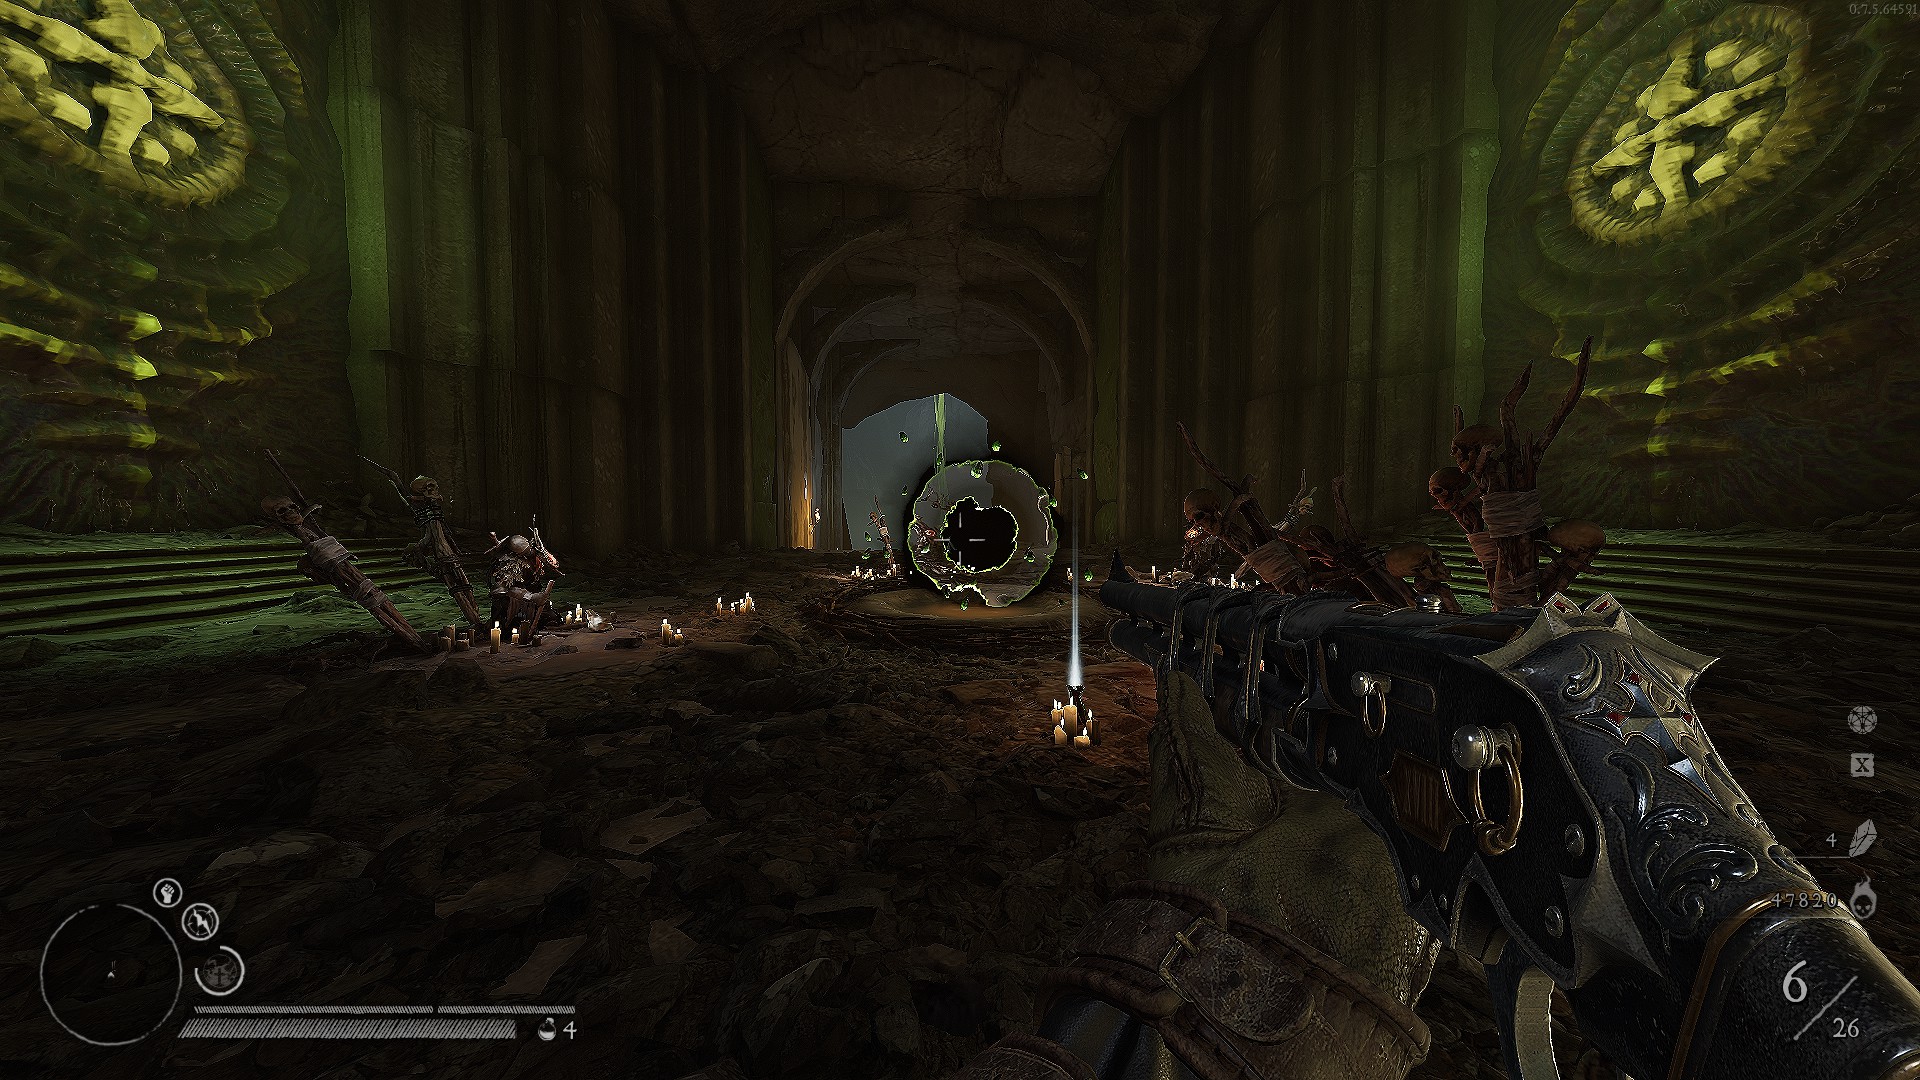
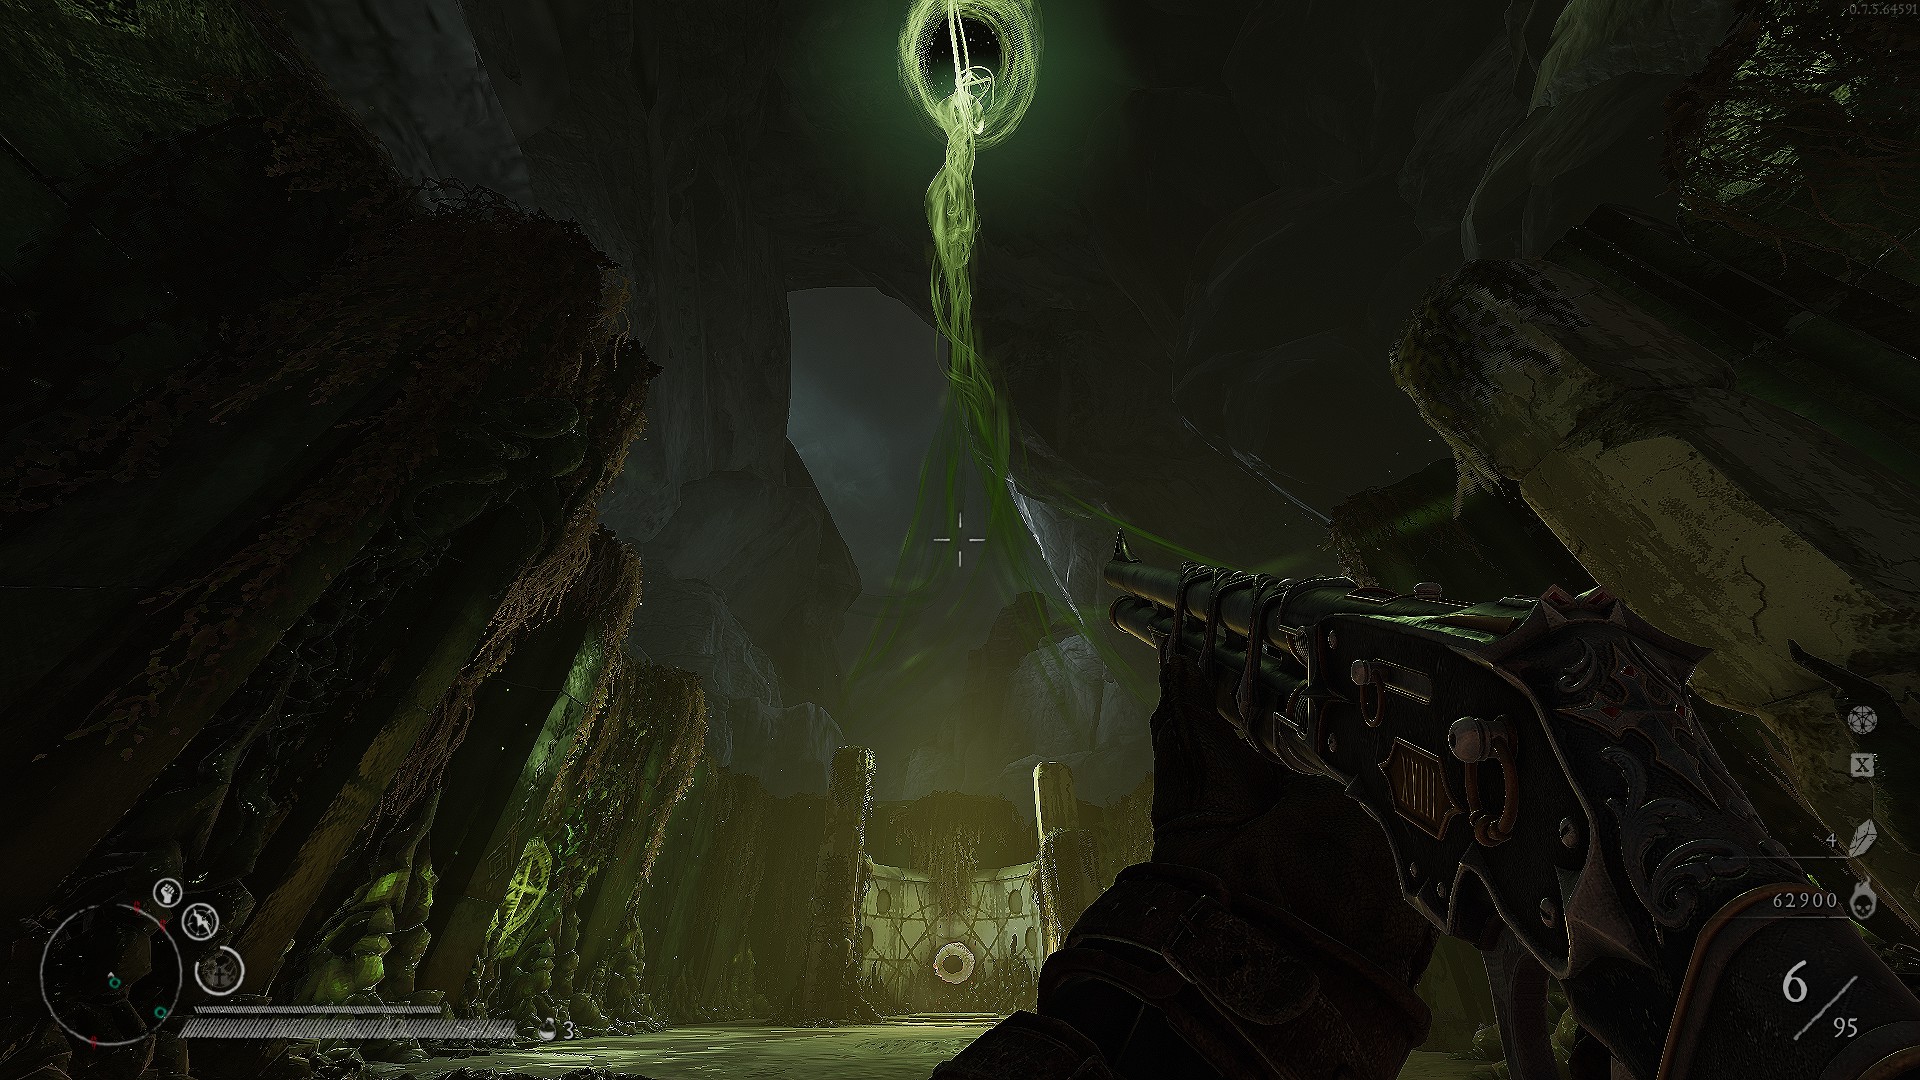
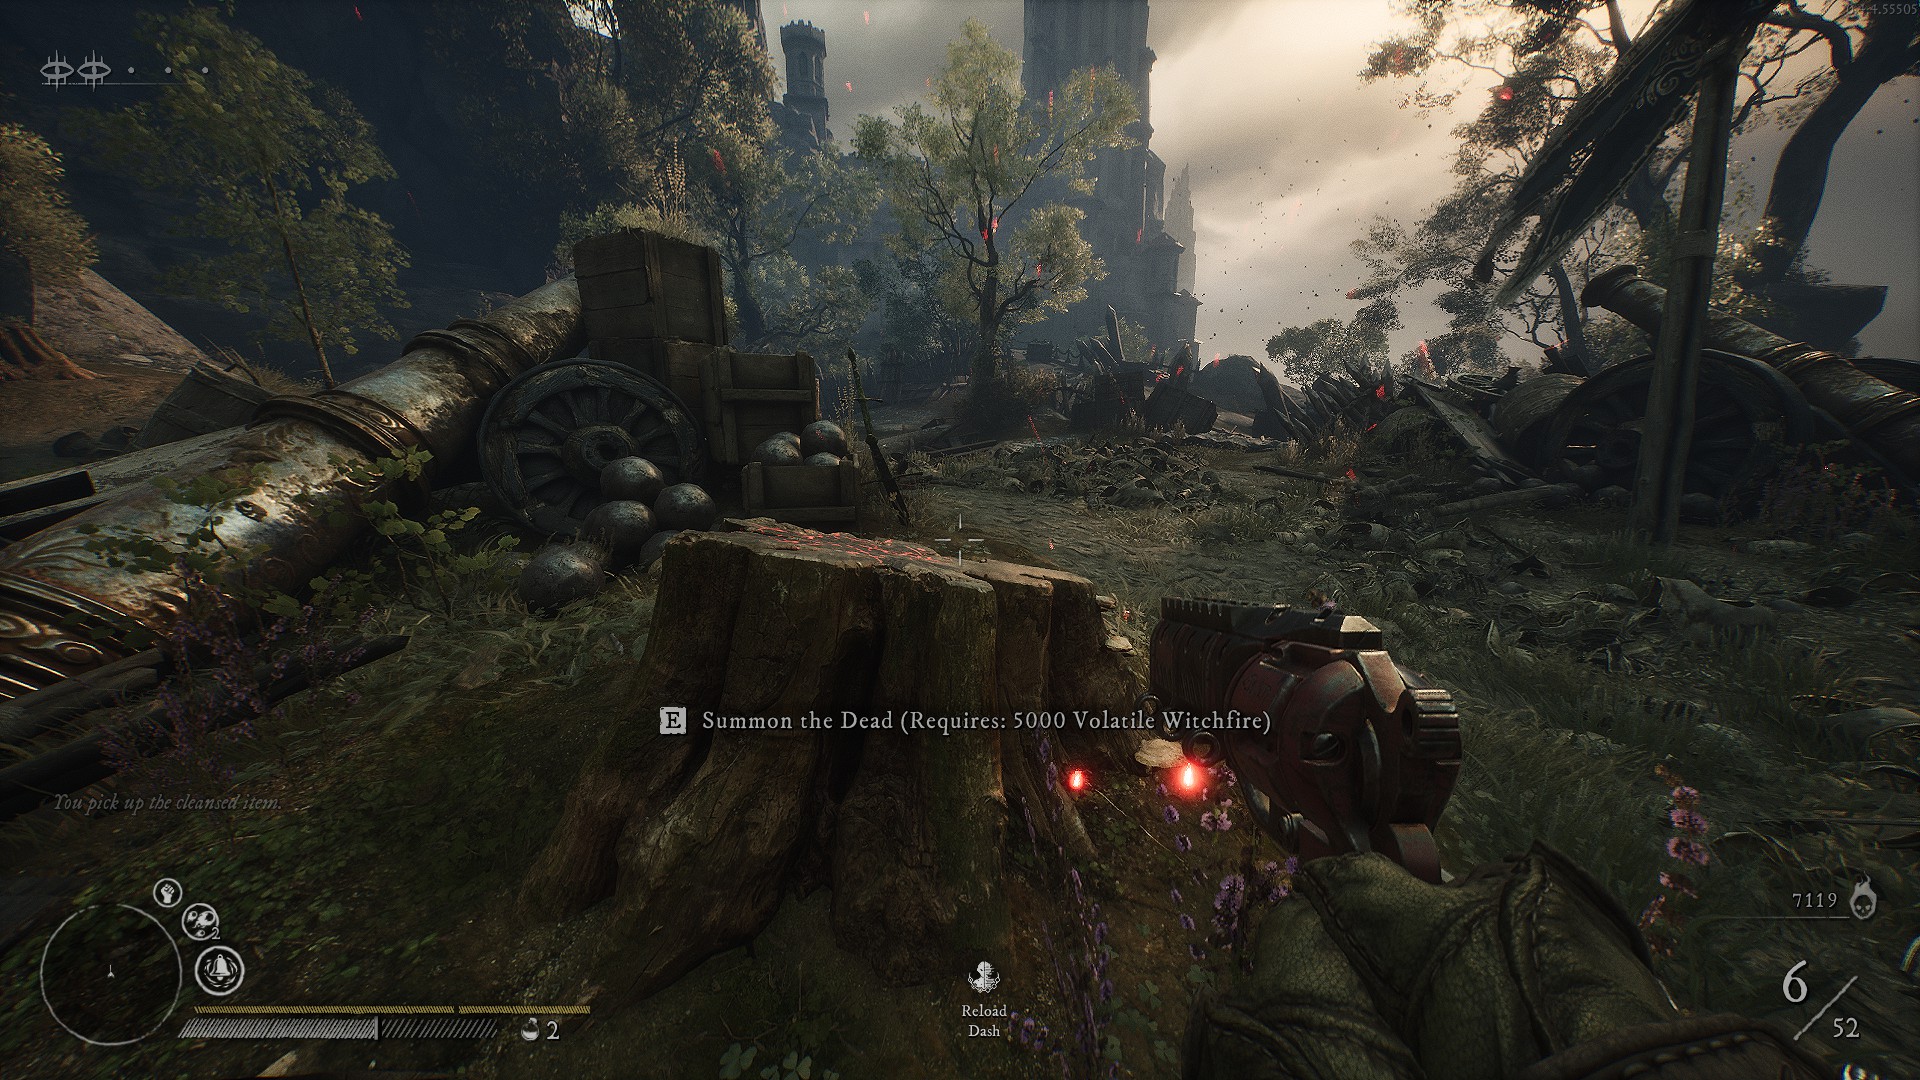
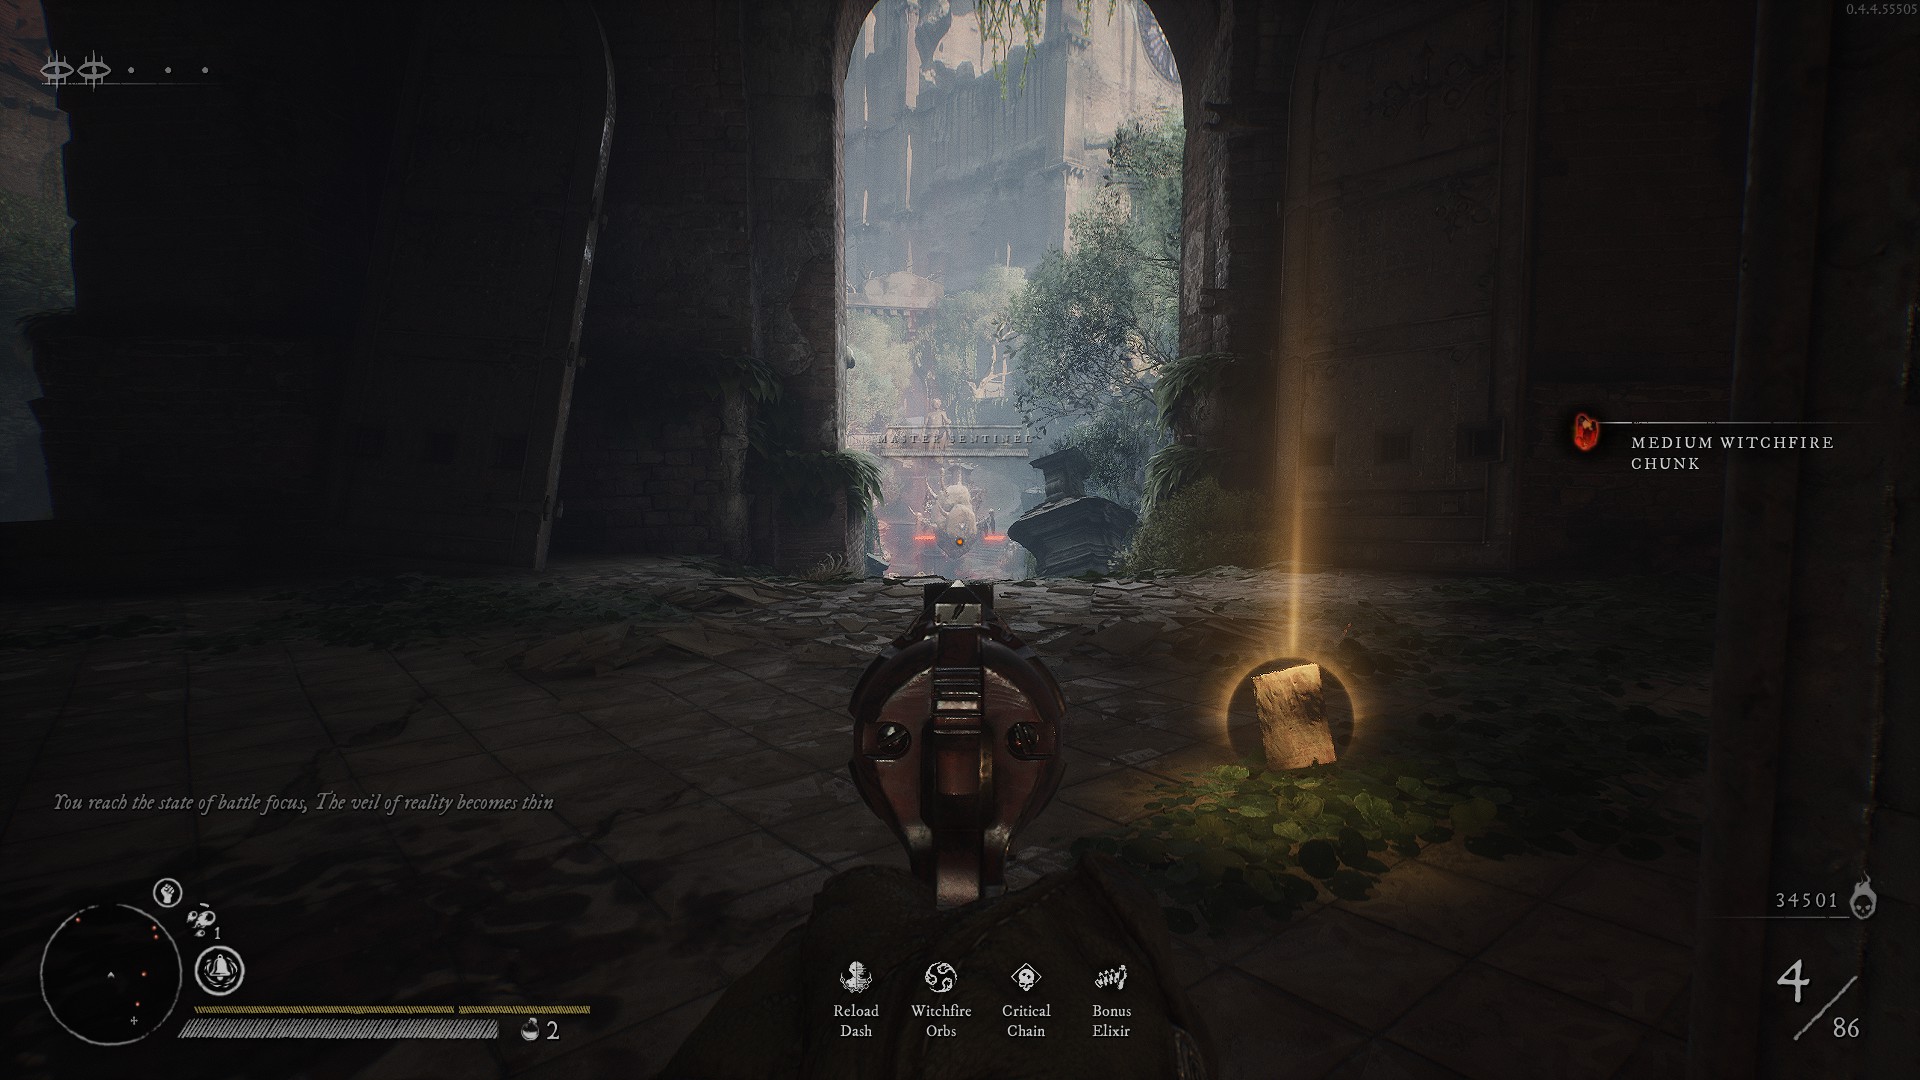
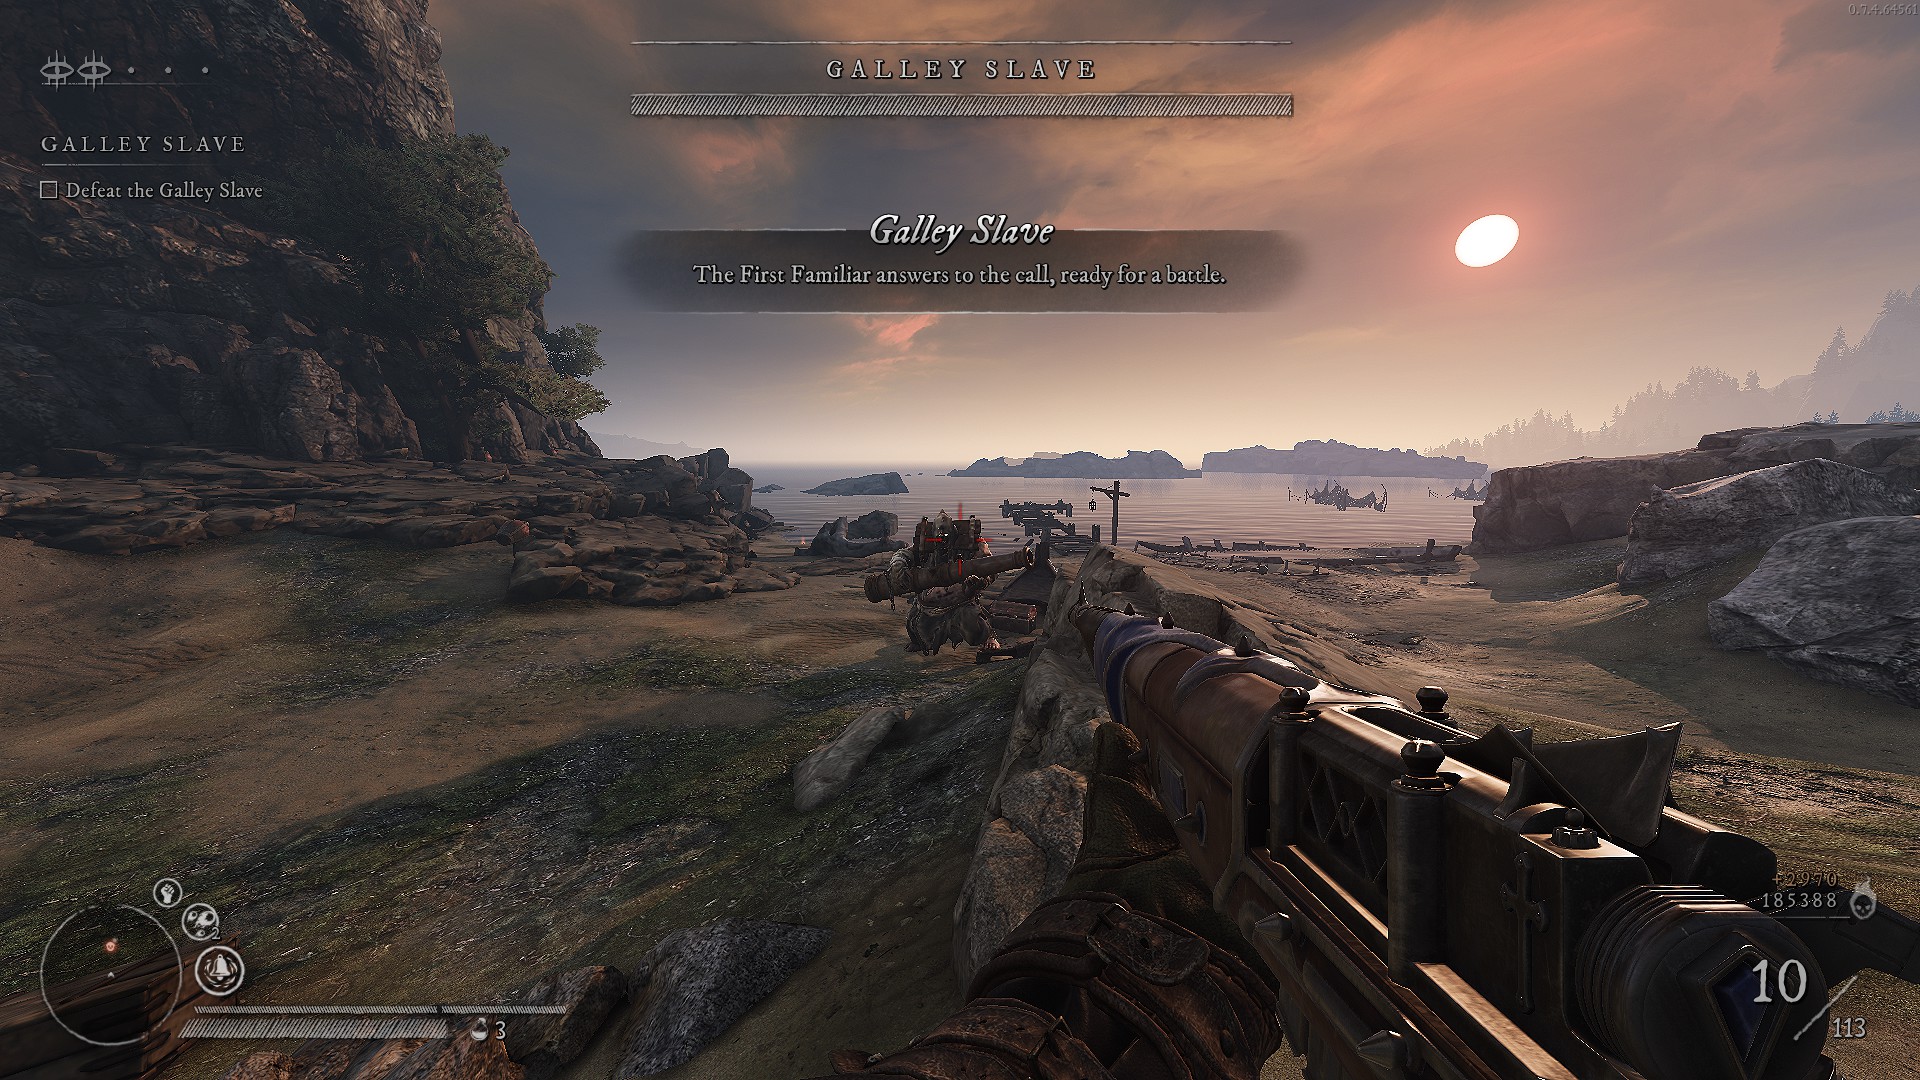
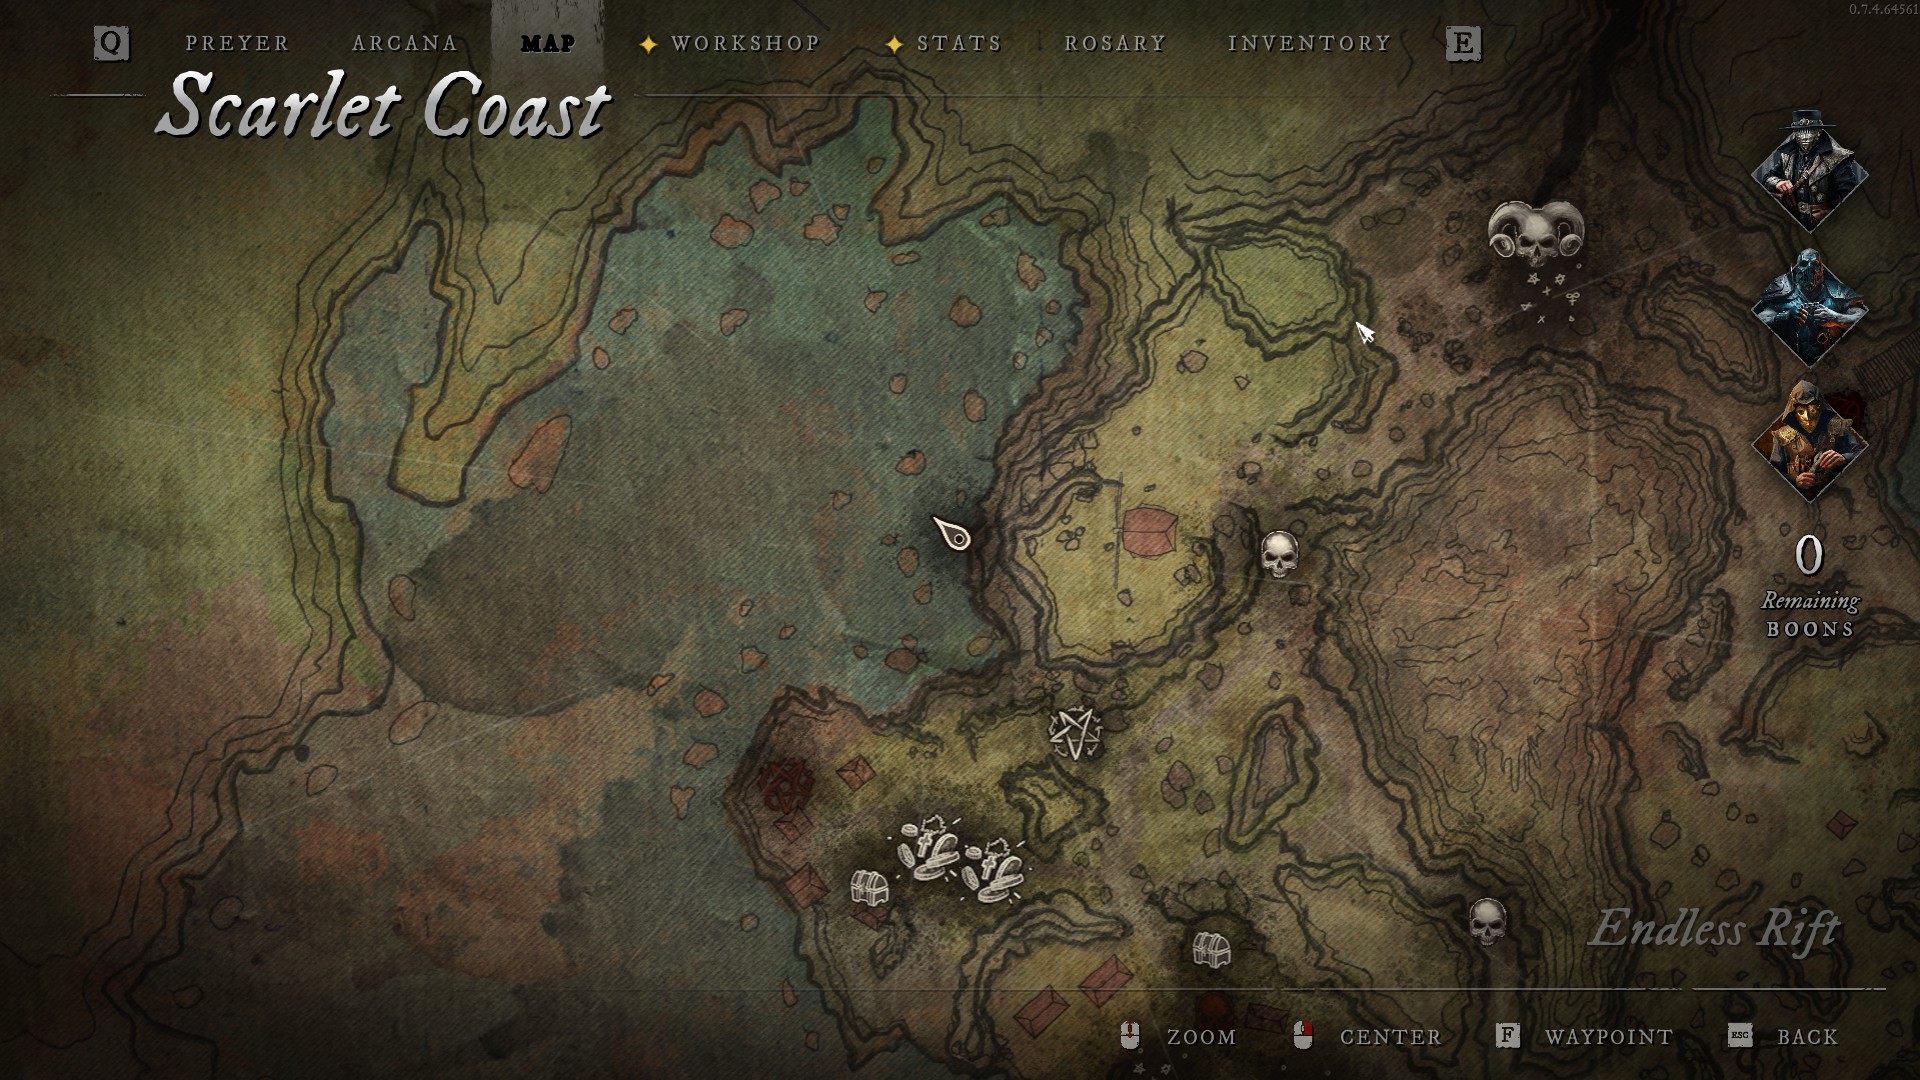
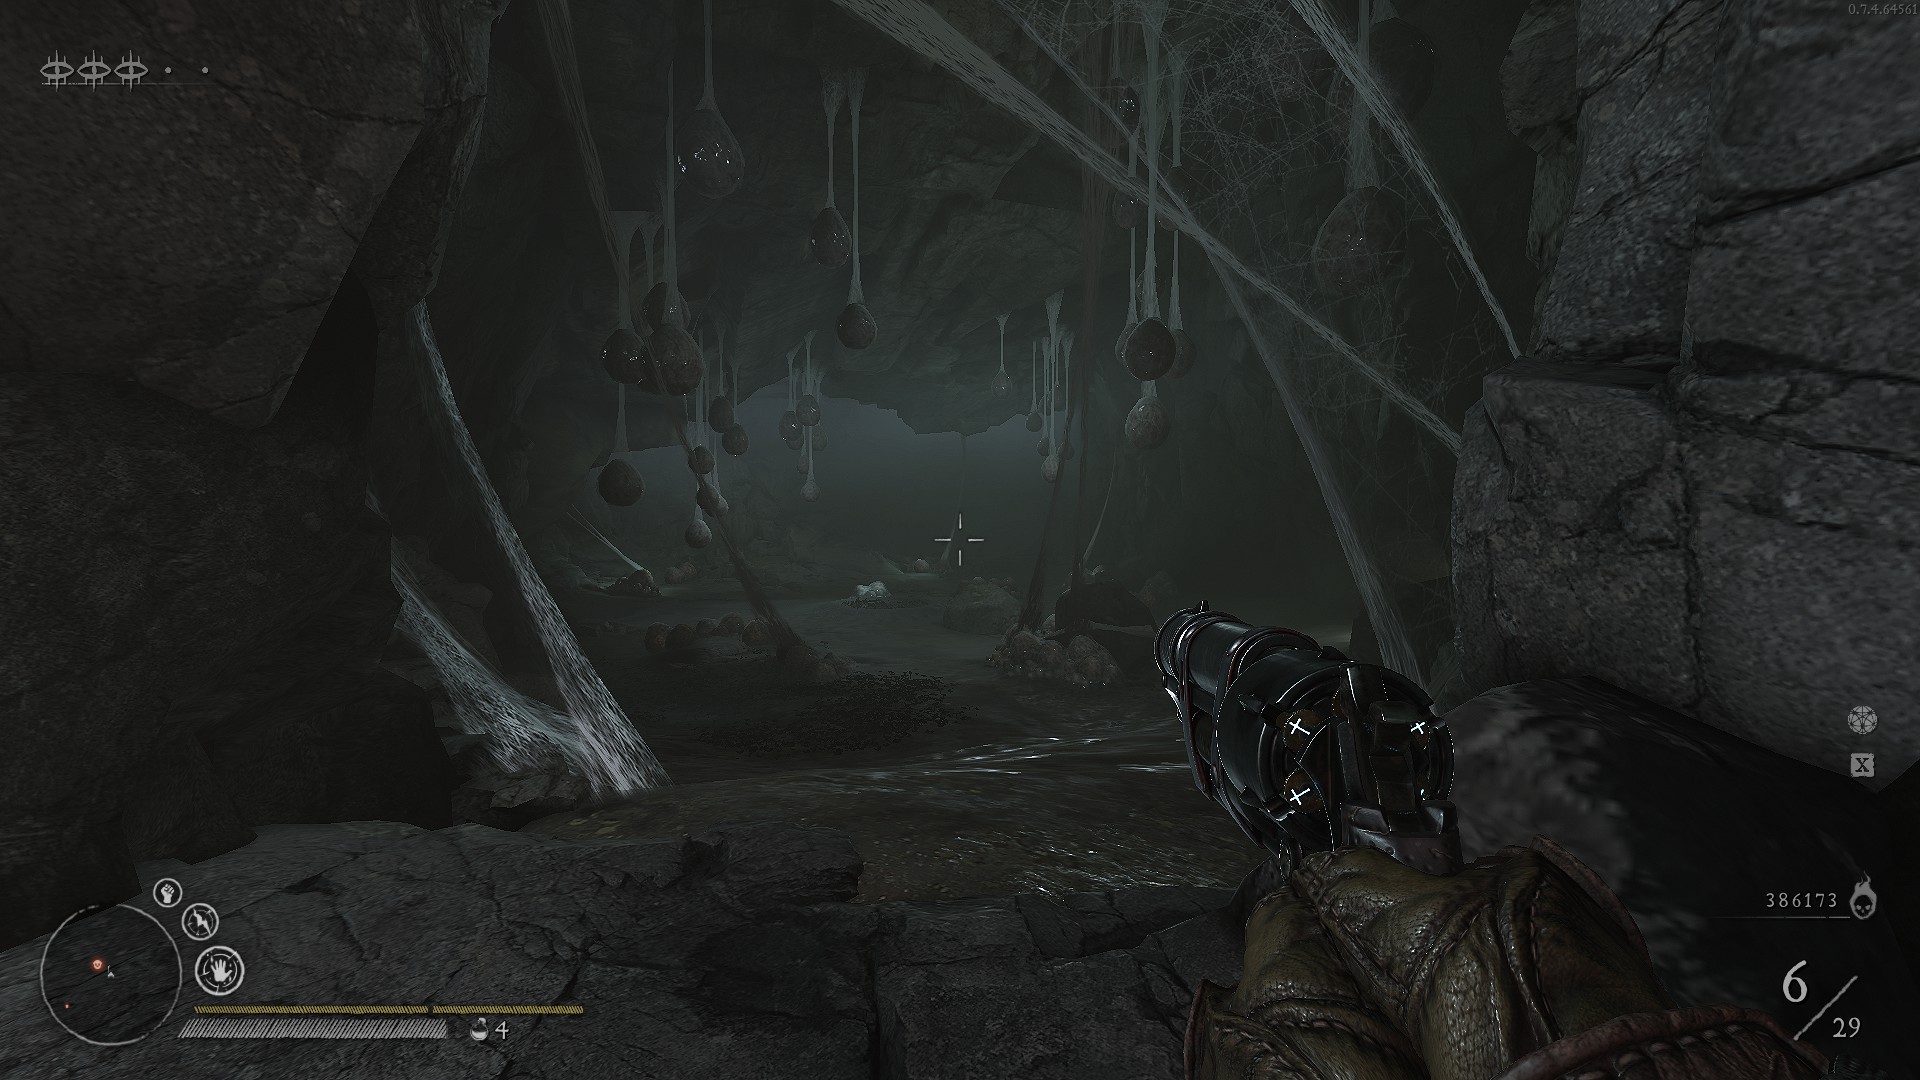
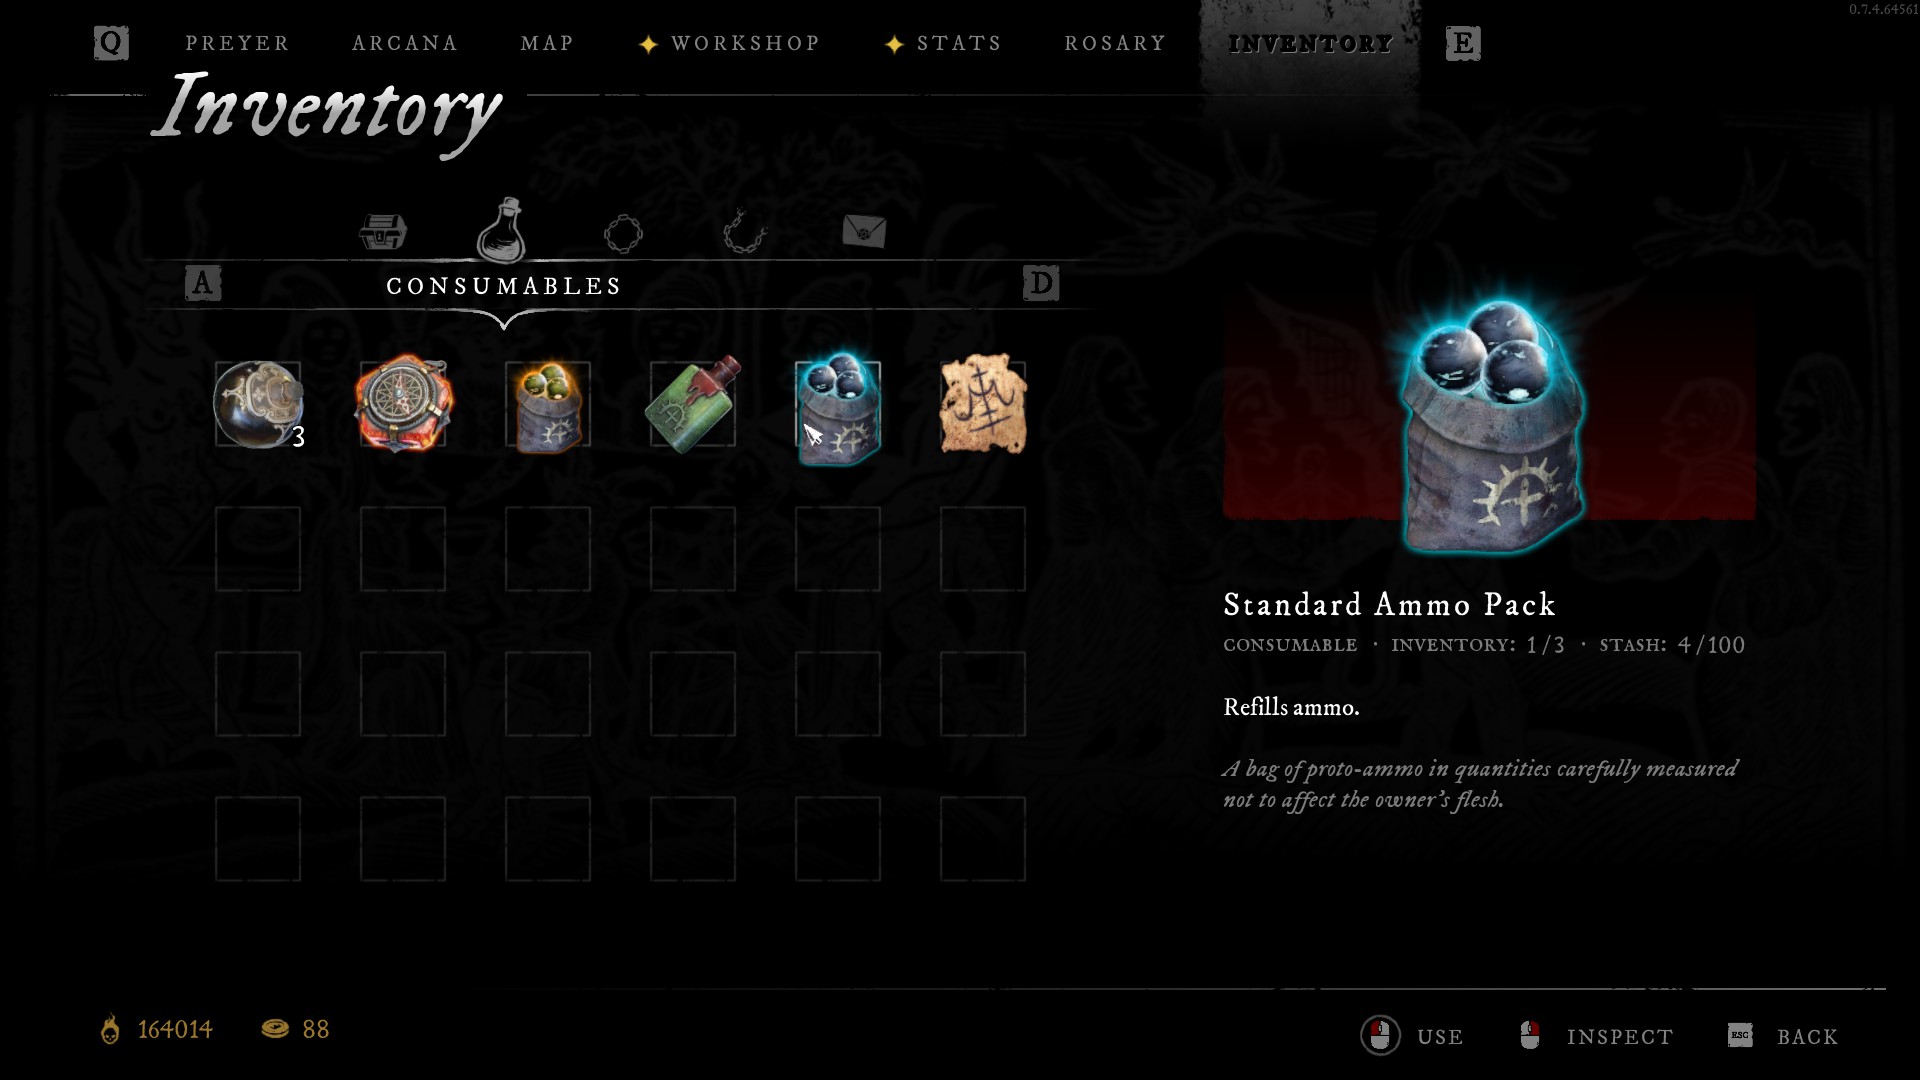
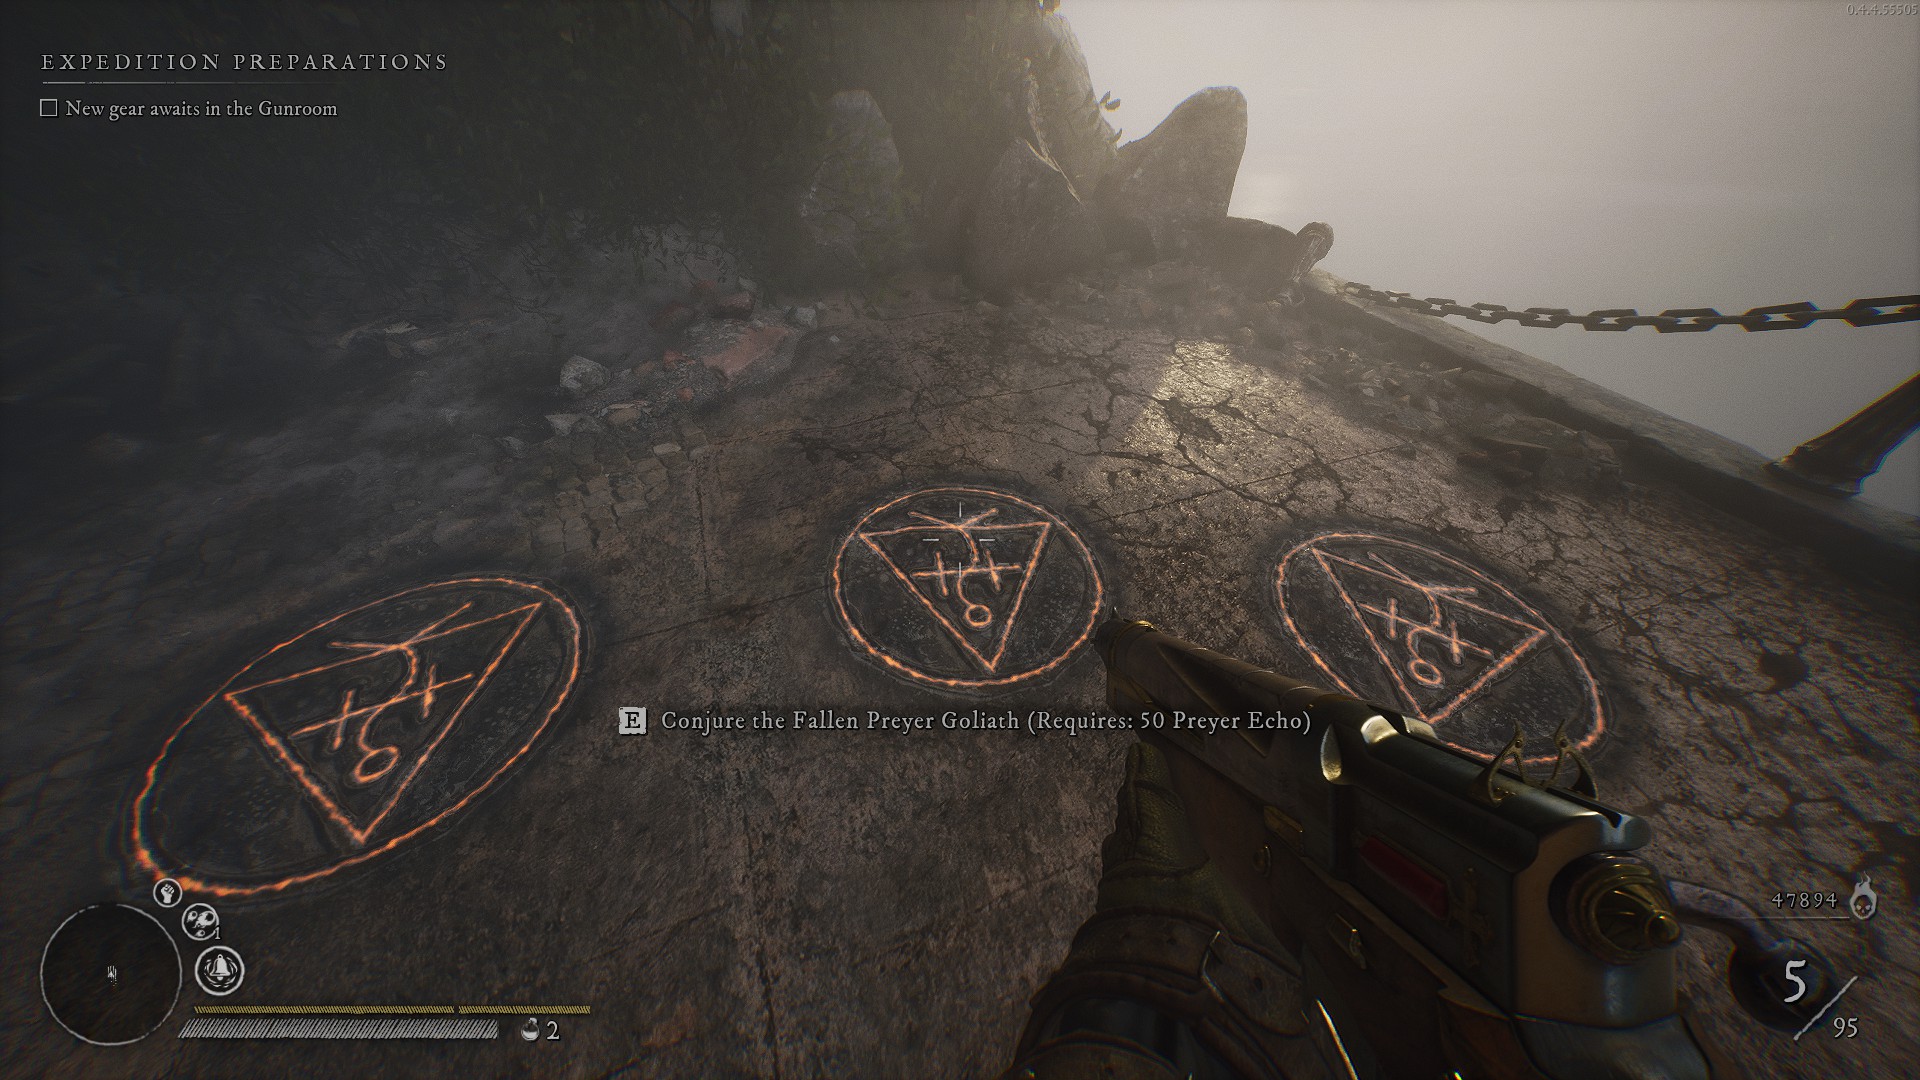
Galley Slave is the boss for Scarlet Coast now. You can either kill all the enemies on the map or use the Siren's Shell at the coast out of your inventory.
FlippinRad 11 Jan @ 10:17am 
Is event achievement glitched for anyone else?
Happy 30 Dec, 2024 @ 1:08pm 
i cant find Shieldbearer anywhere and im loosing my mind. i killed all bosses and cant find this one.
Asayeet 26 Dec, 2024 @ 8:09pm 
I think u switched up the Boss for the 'Kill a Galley Slave' Achievement which can be found on the bottom of Scarlet Coast after clearing every enemy area on the map. The Boss u mentioned is 'Dimacher' and i dont think theres any achievement for him yet.
Besides that, great guide :heartx: