

Install Steam
login
|
language
简体中文 (Simplified Chinese)
繁體中文 (Traditional Chinese)
日本語 (Japanese)
한국어 (Korean)
ไทย (Thai)
Български (Bulgarian)
Čeština (Czech)
Dansk (Danish)
Deutsch (German)
Español - España (Spanish - Spain)
Español - Latinoamérica (Spanish - Latin America)
Ελληνικά (Greek)
Français (French)
Italiano (Italian)
Bahasa Indonesia (Indonesian)
Magyar (Hungarian)
Nederlands (Dutch)
Norsk (Norwegian)
Polski (Polish)
Português (Portuguese - Portugal)
Português - Brasil (Portuguese - Brazil)
Română (Romanian)
Русский (Russian)
Suomi (Finnish)
Svenska (Swedish)
Türkçe (Turkish)
Tiếng Việt (Vietnamese)
Українська (Ukrainian)
Report a translation problem


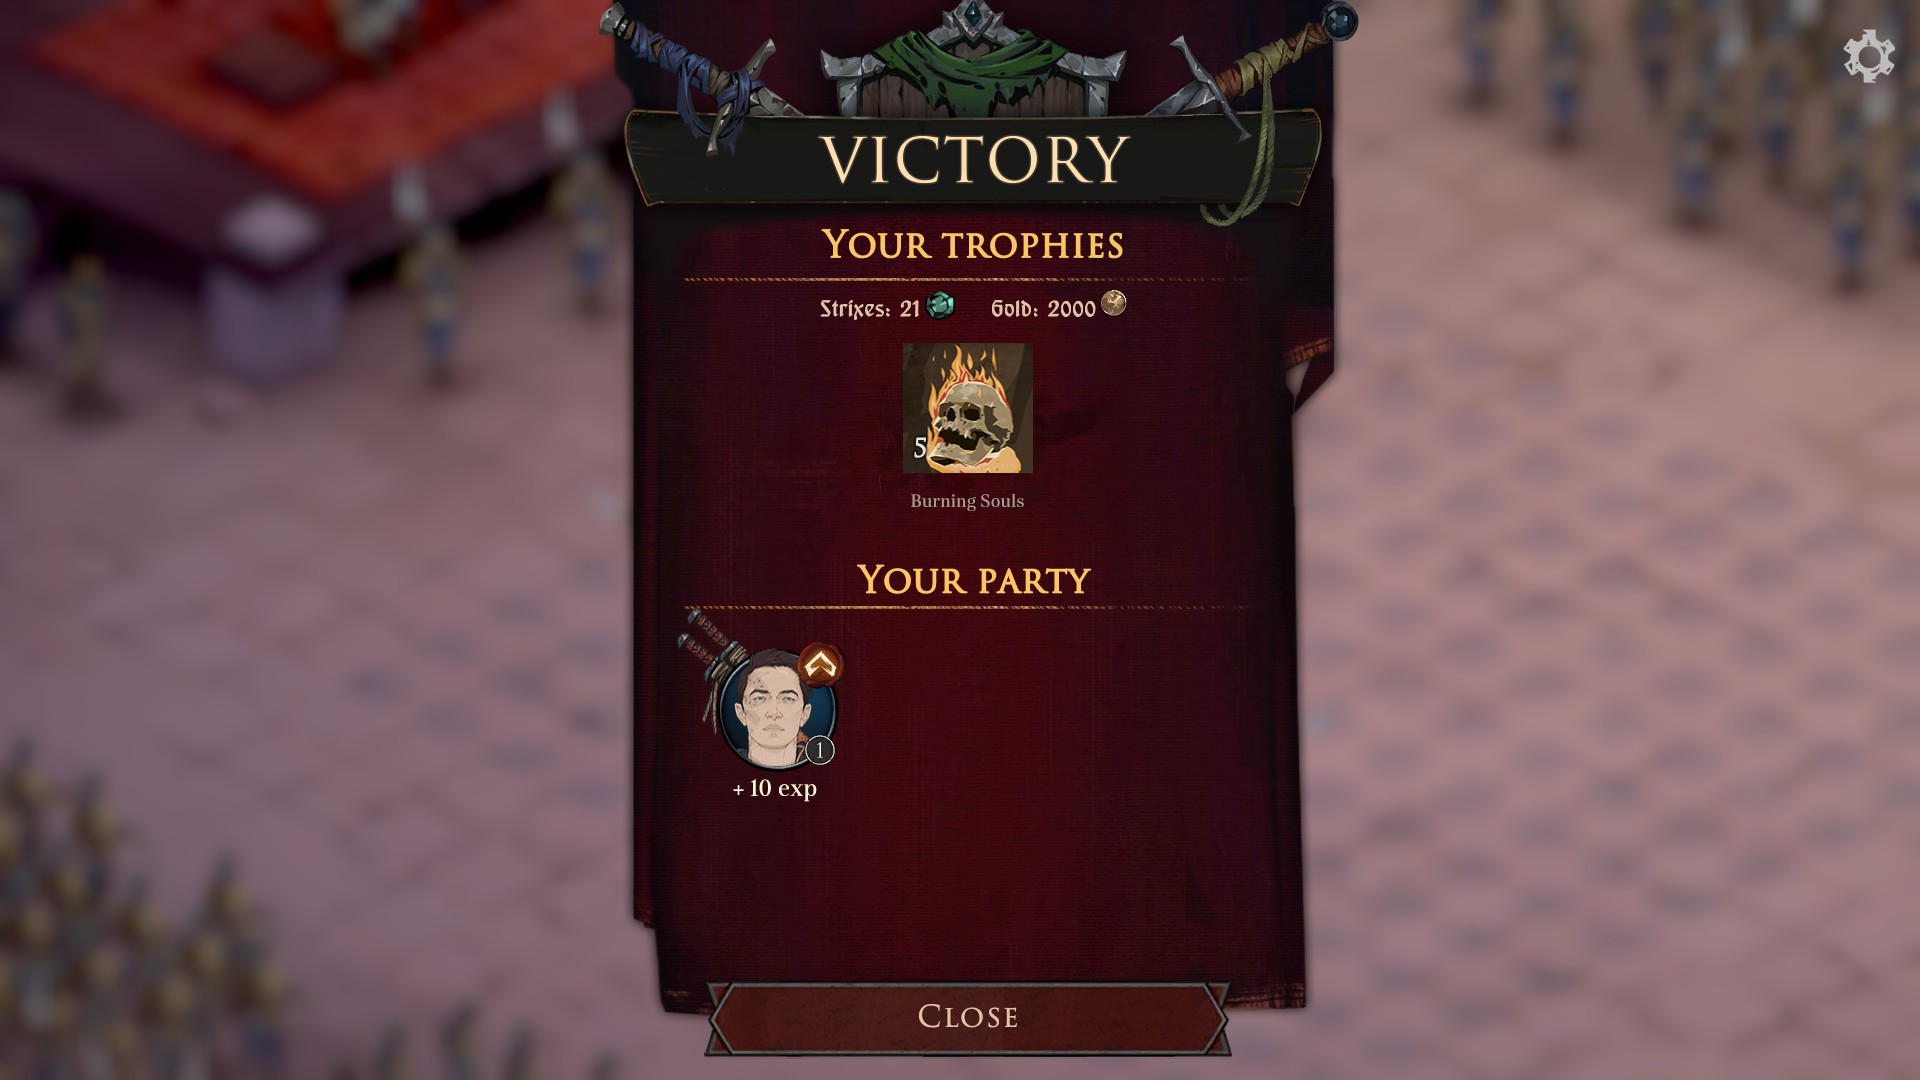


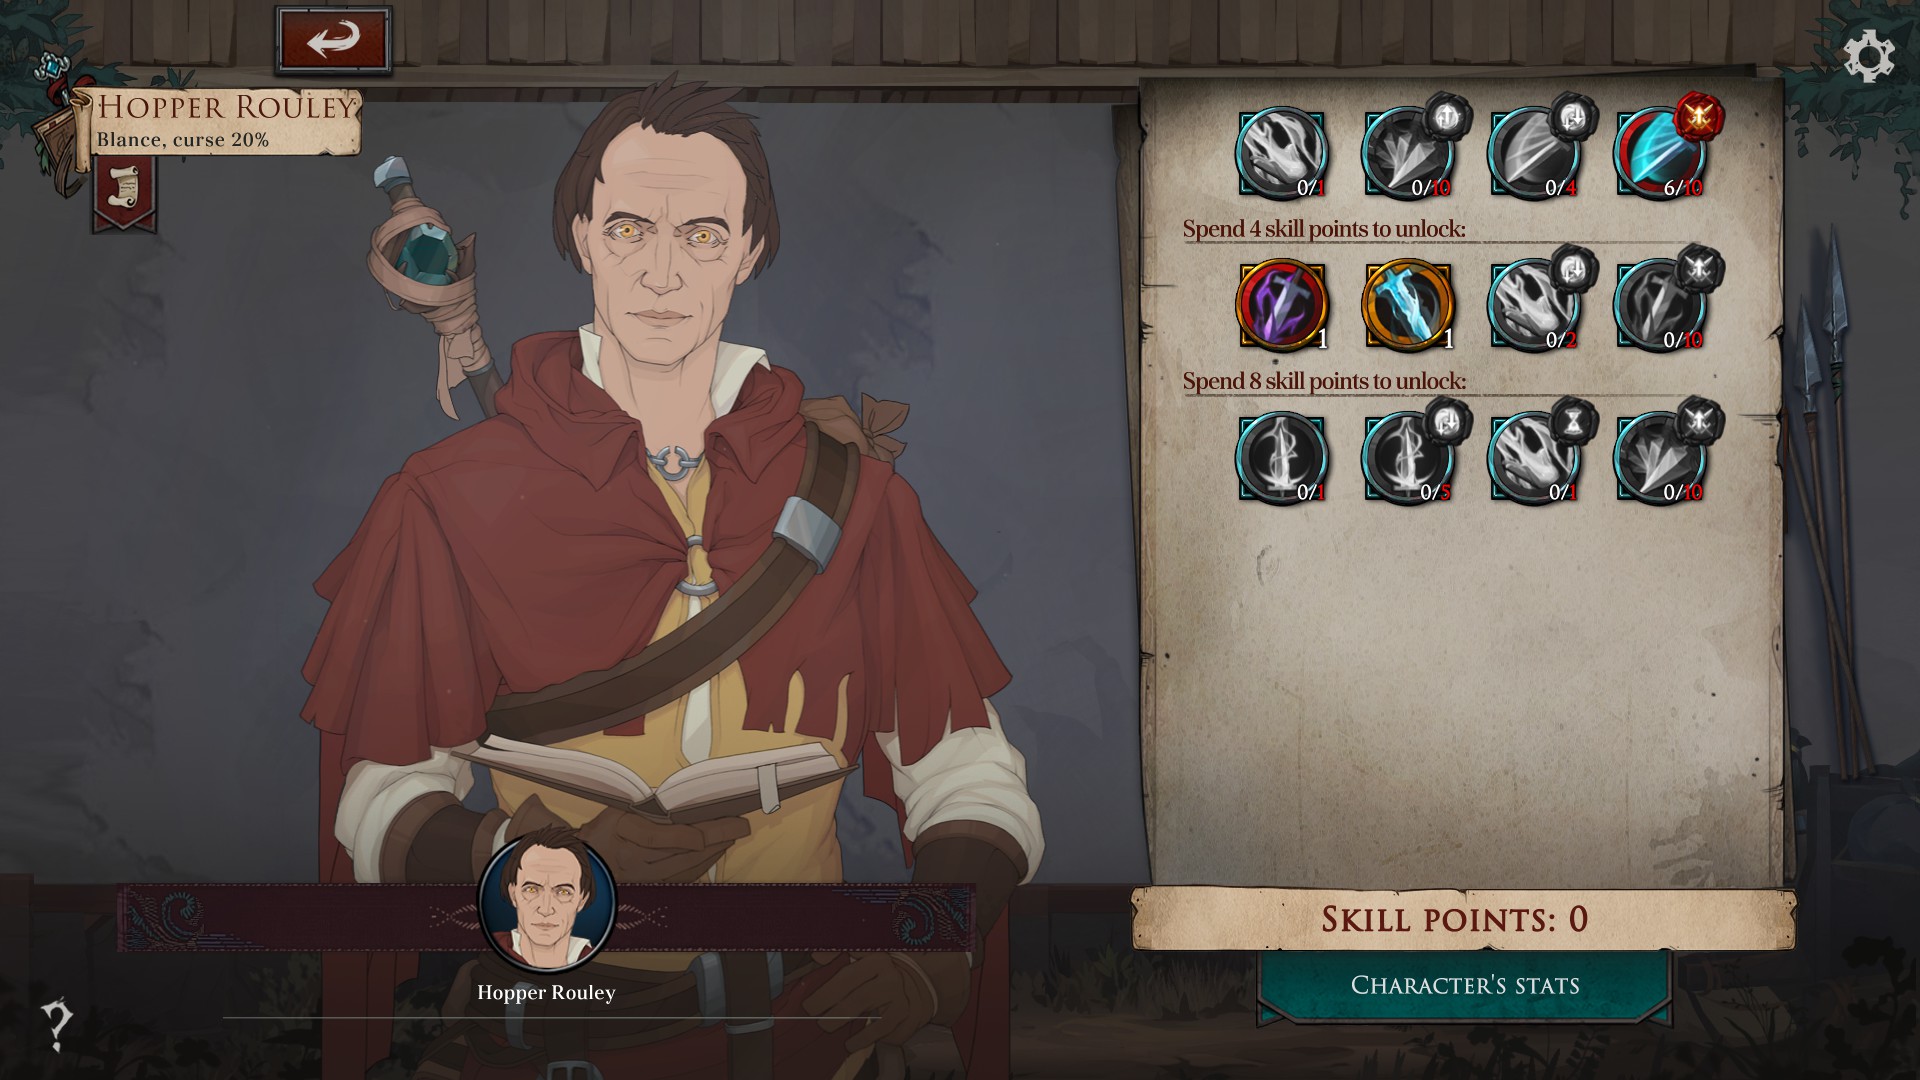


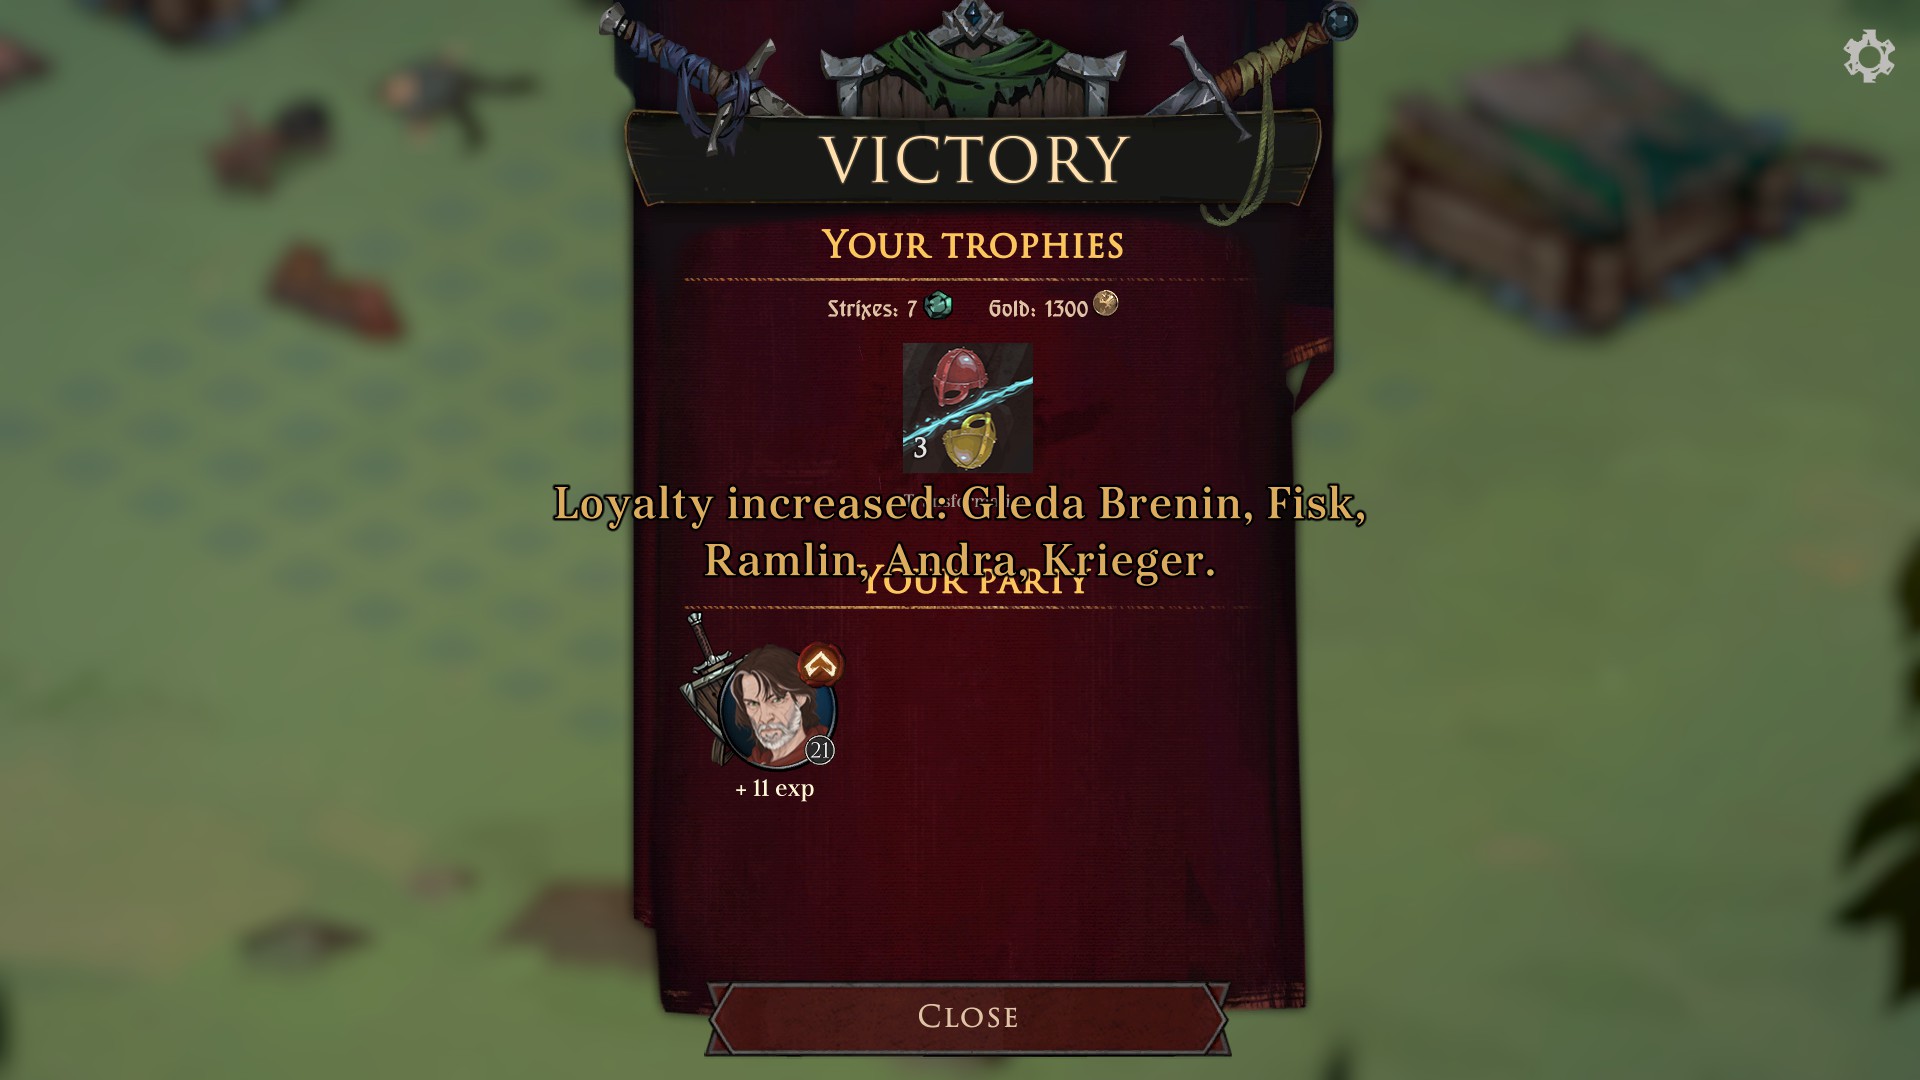


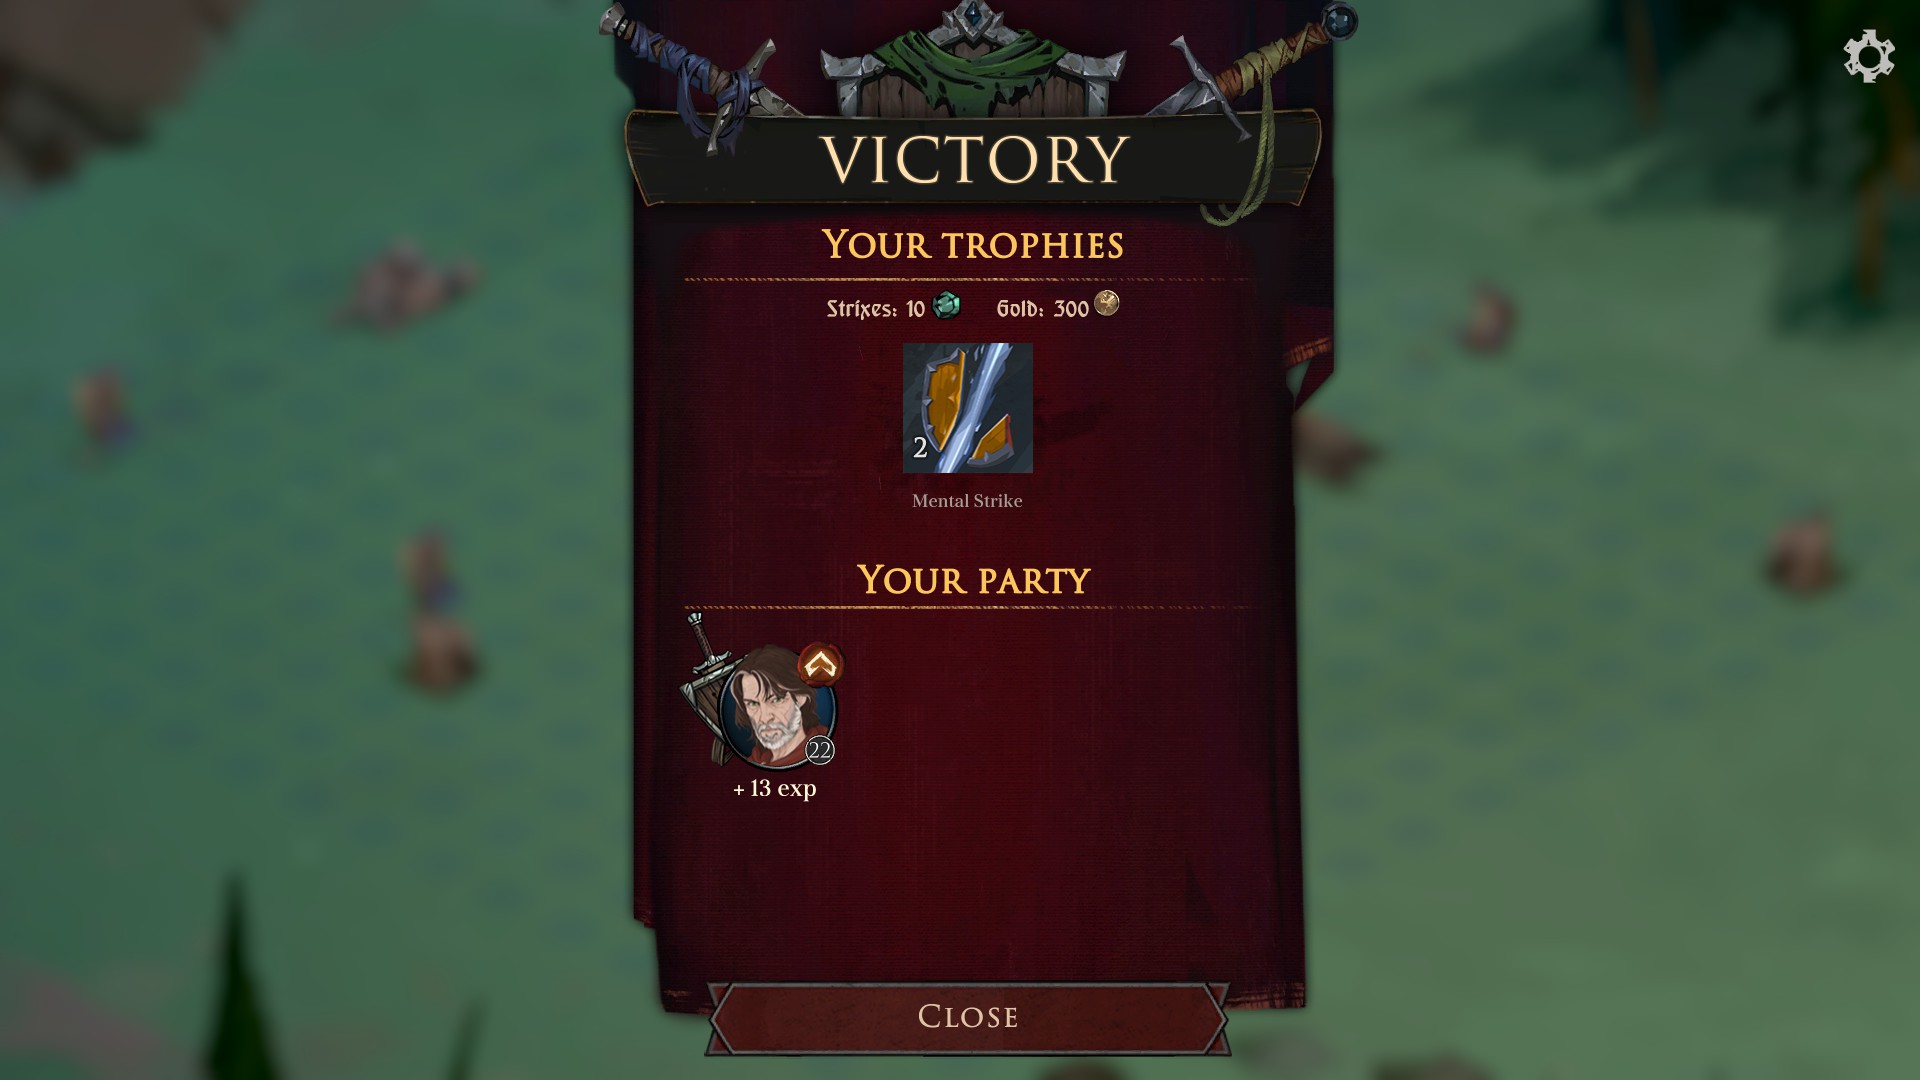


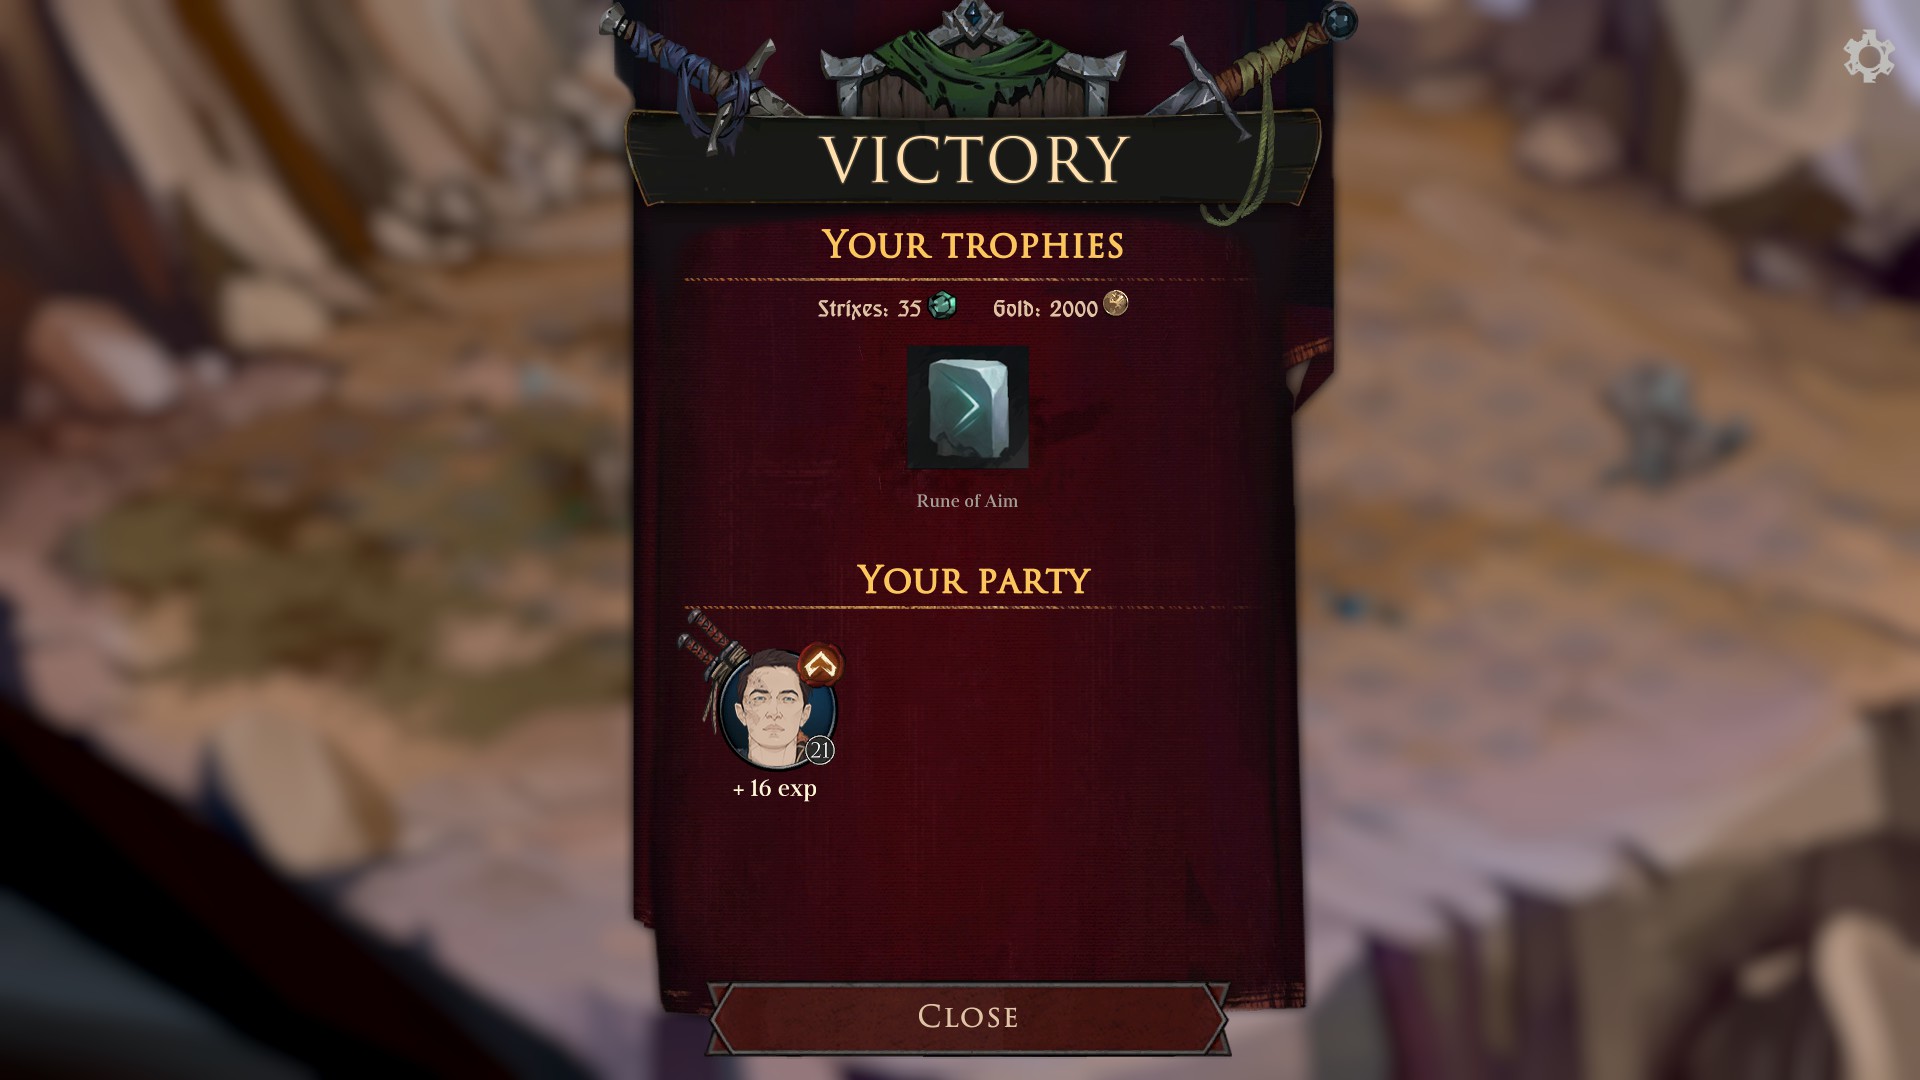


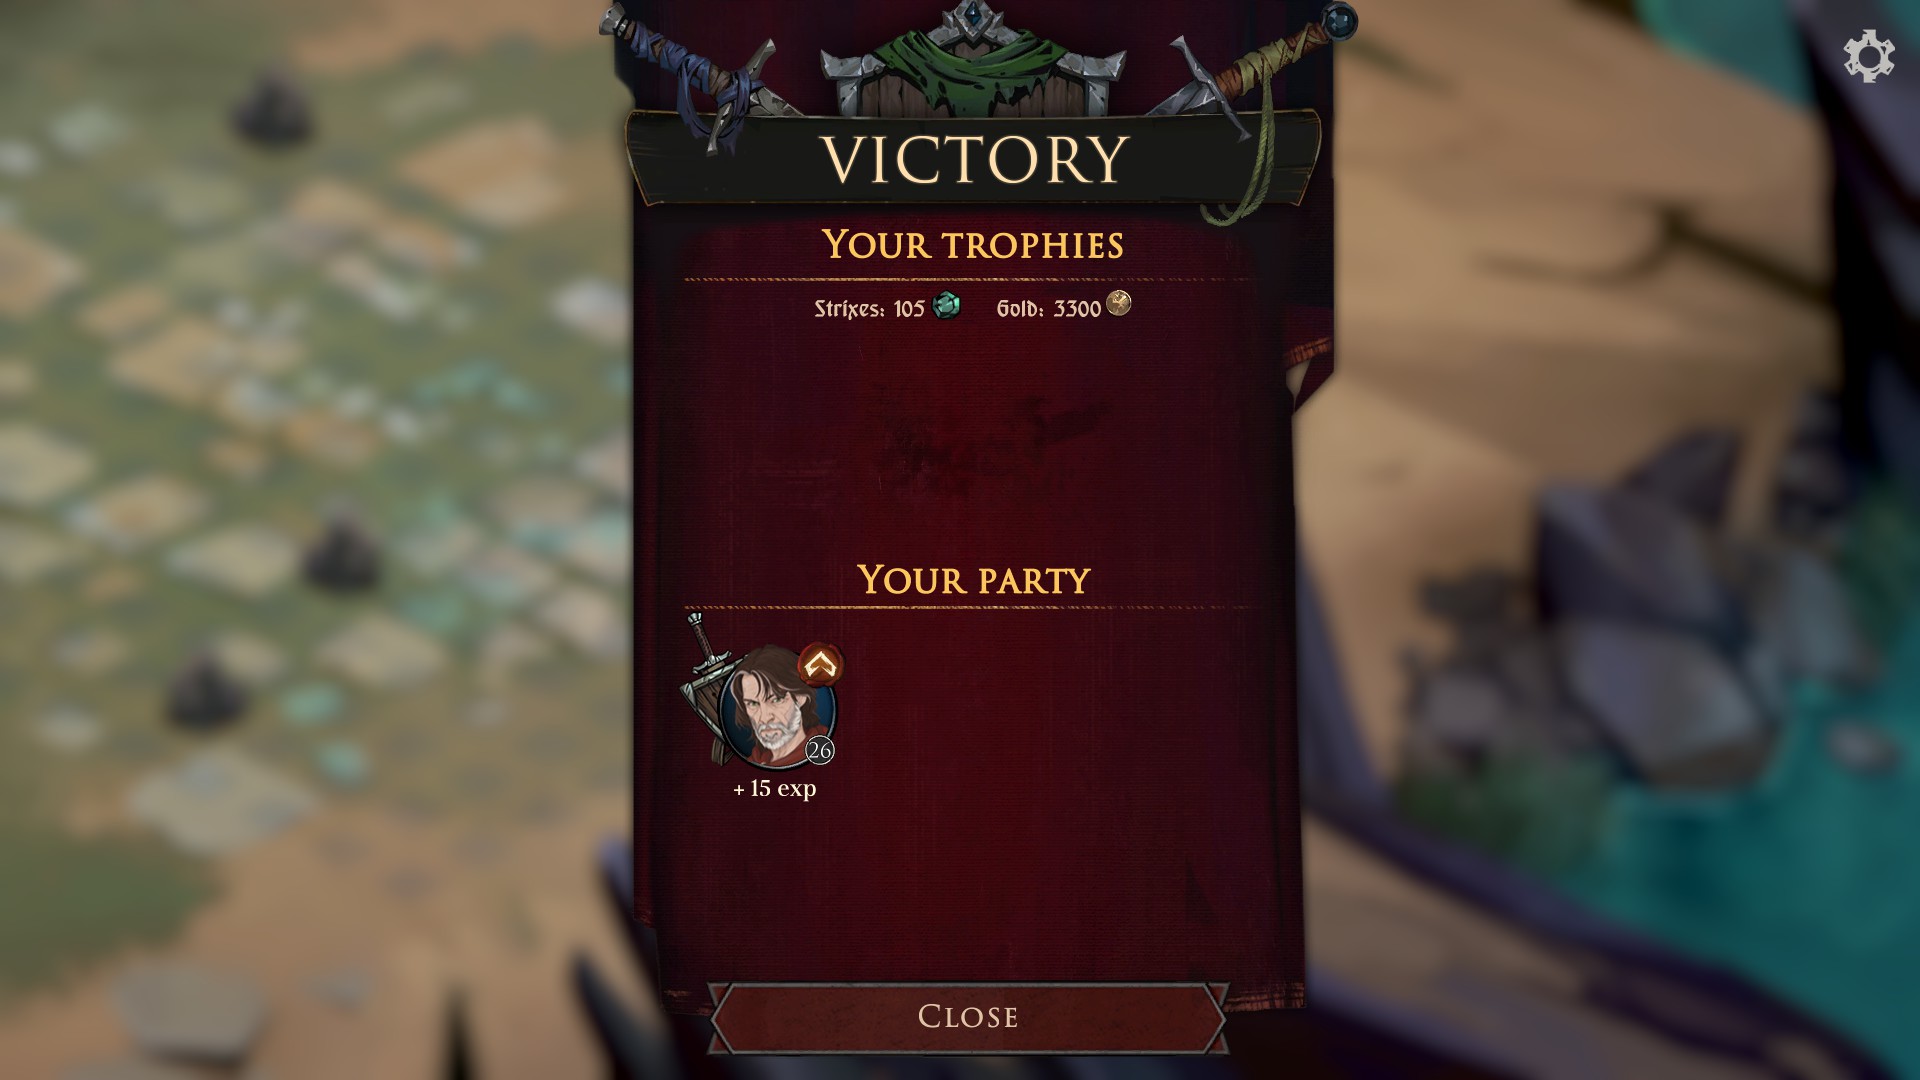


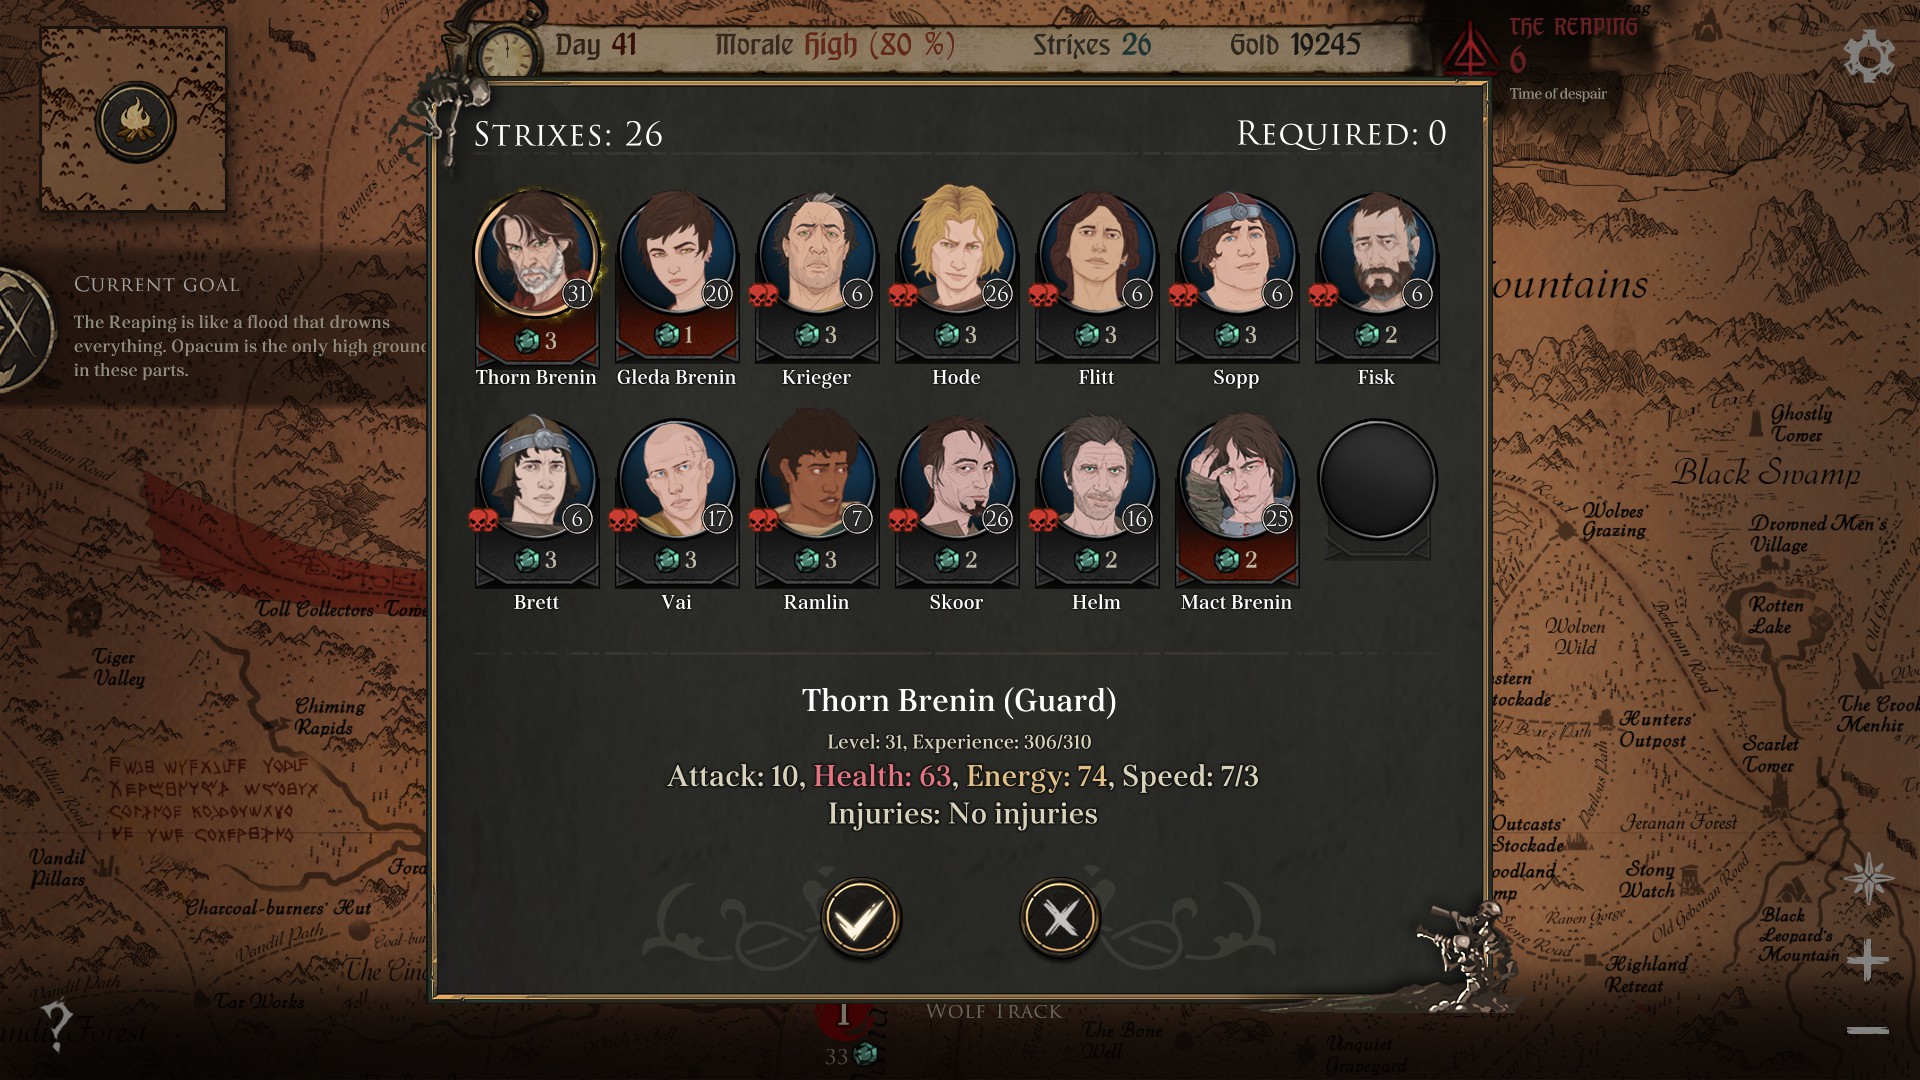


Skills are: Destructive Anger (+1 Attack per Anger), Aggression (-3 cooldown to Knockback, -1 activation time), Endurance 1/3 (+3 energy, +1 walking);
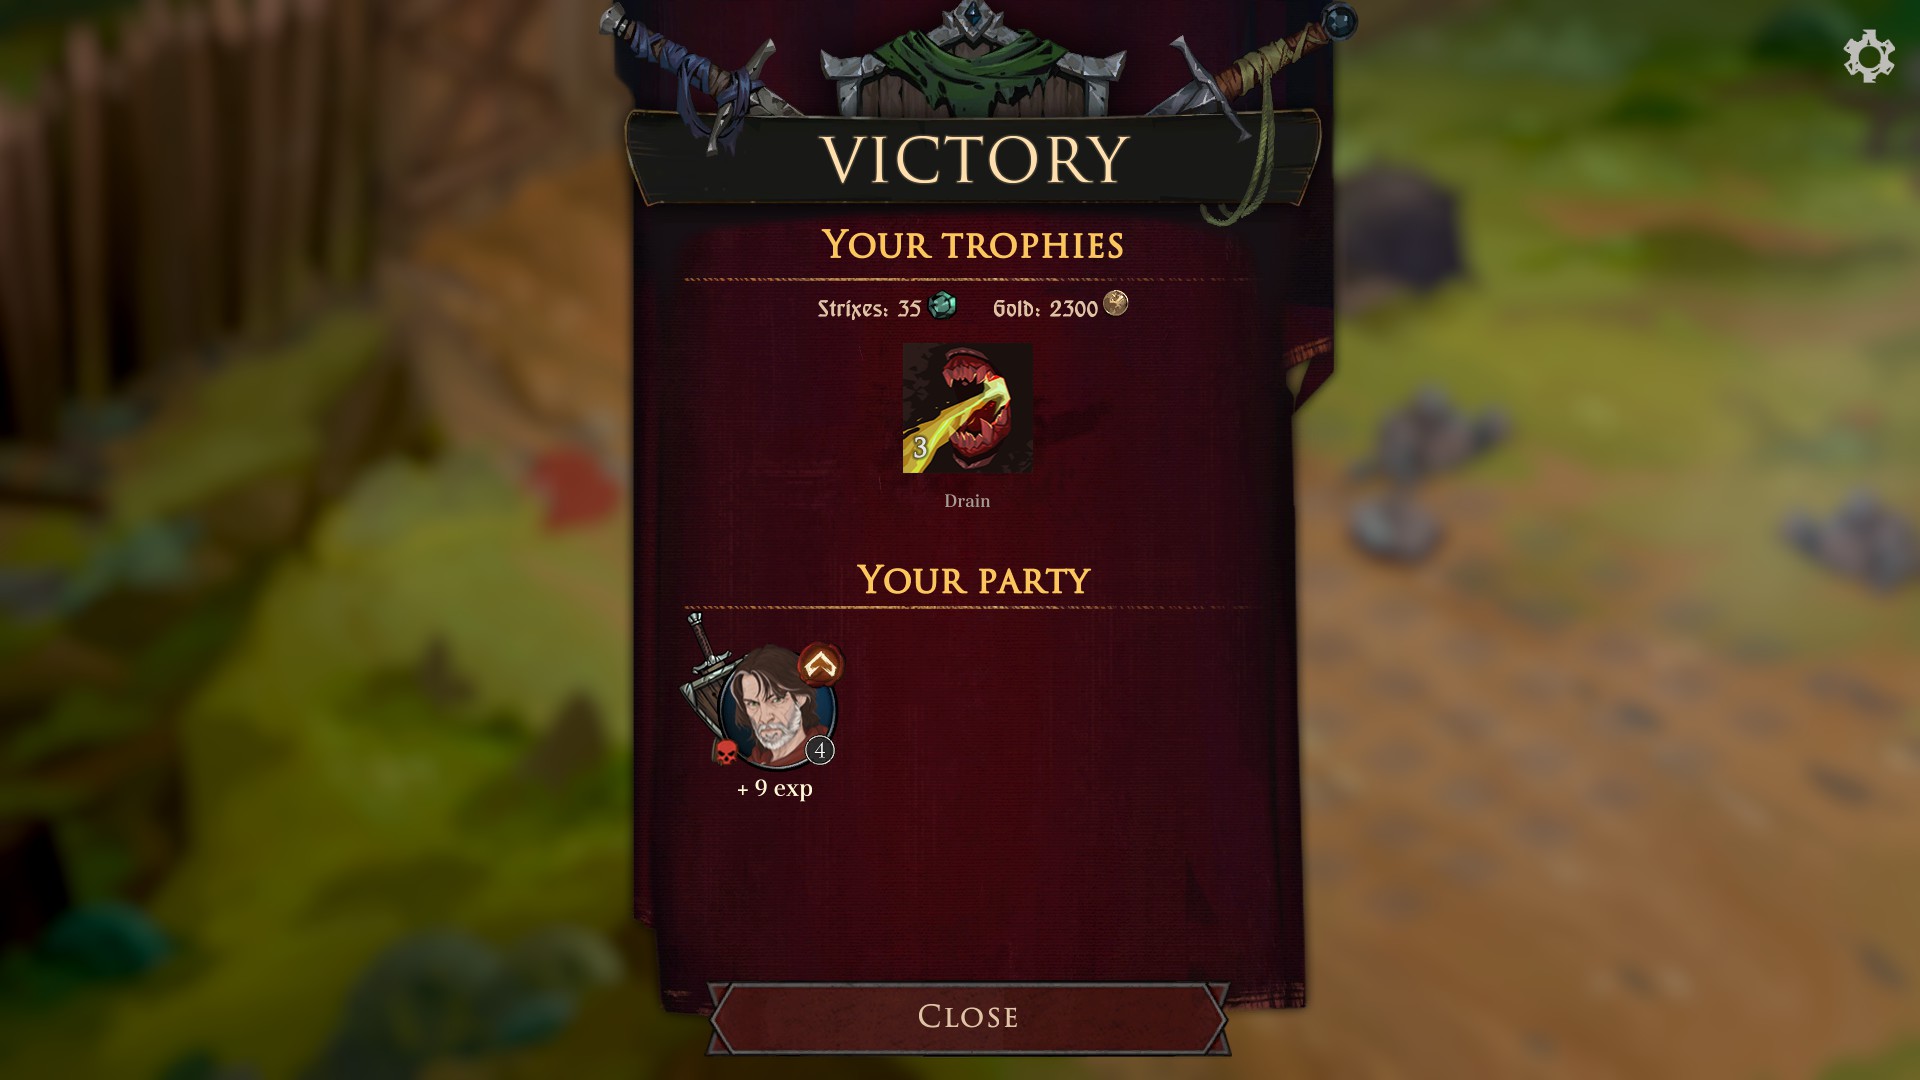
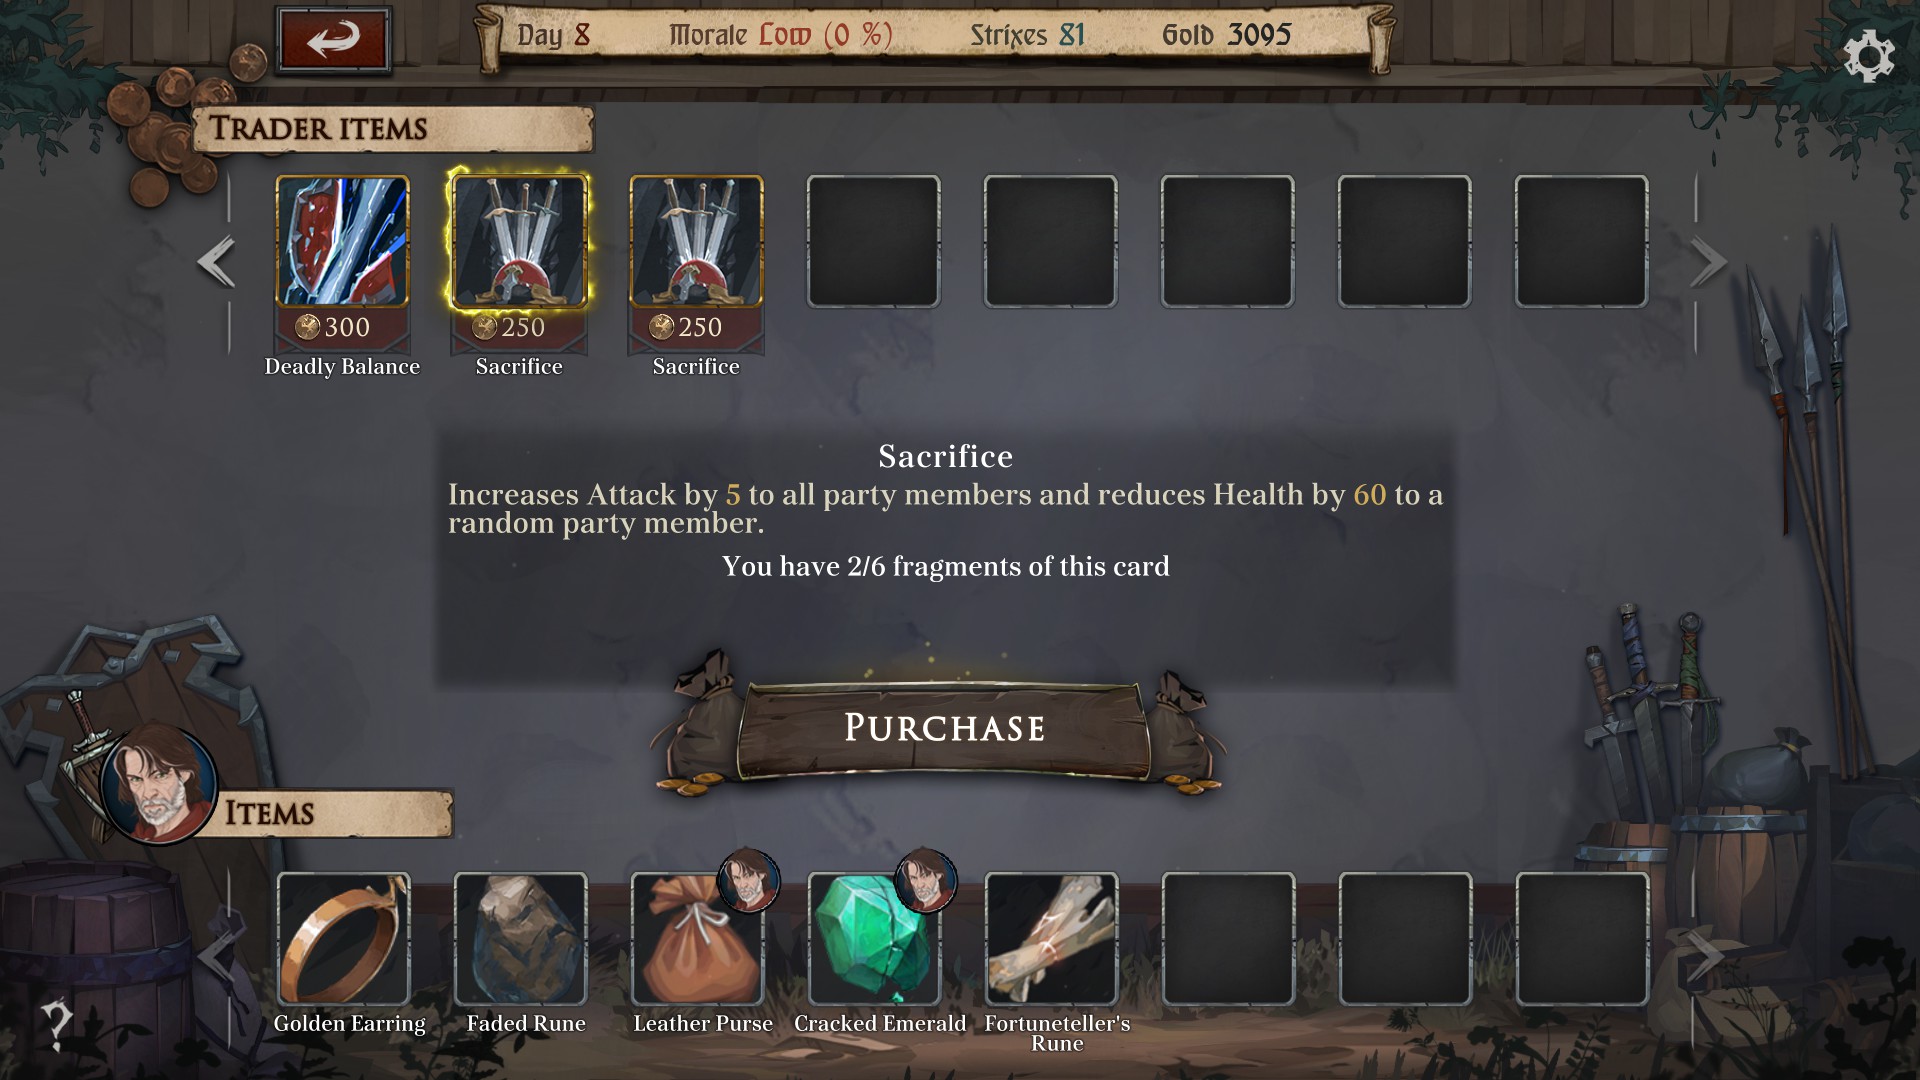
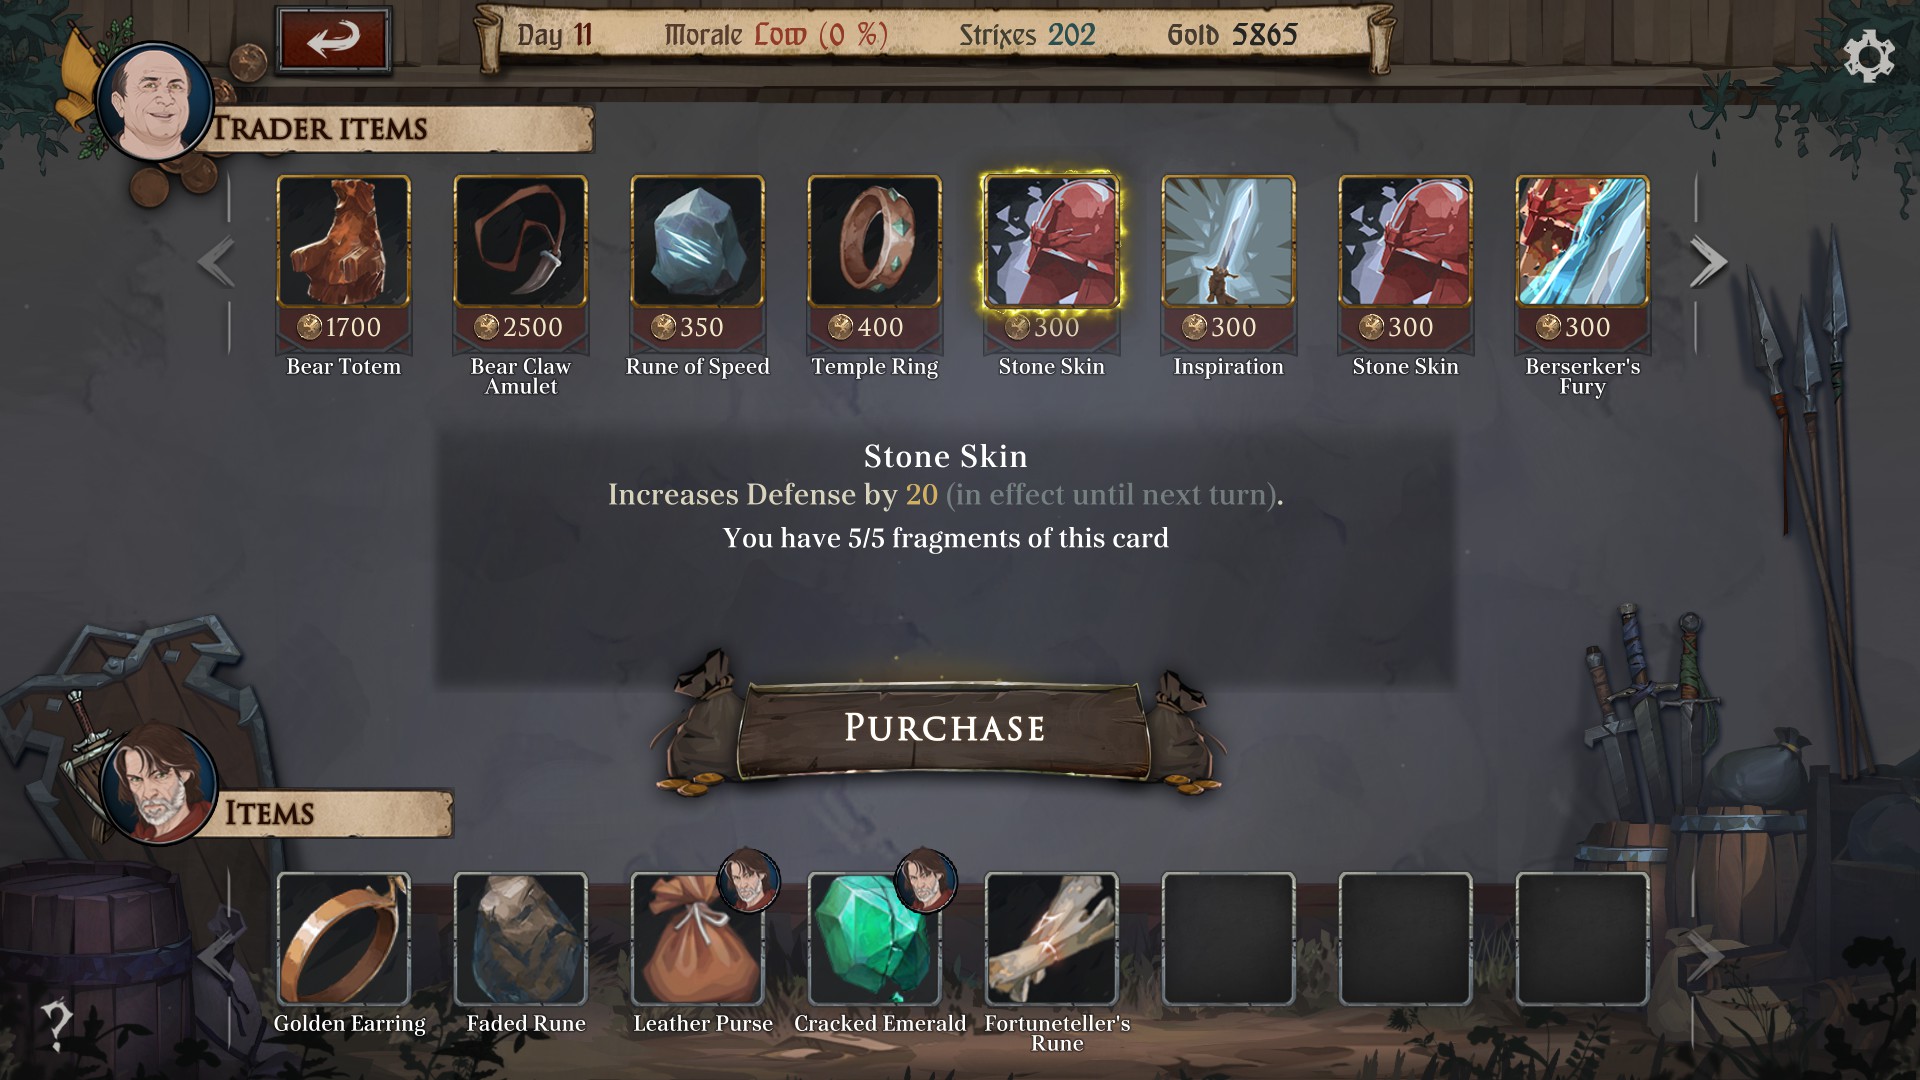
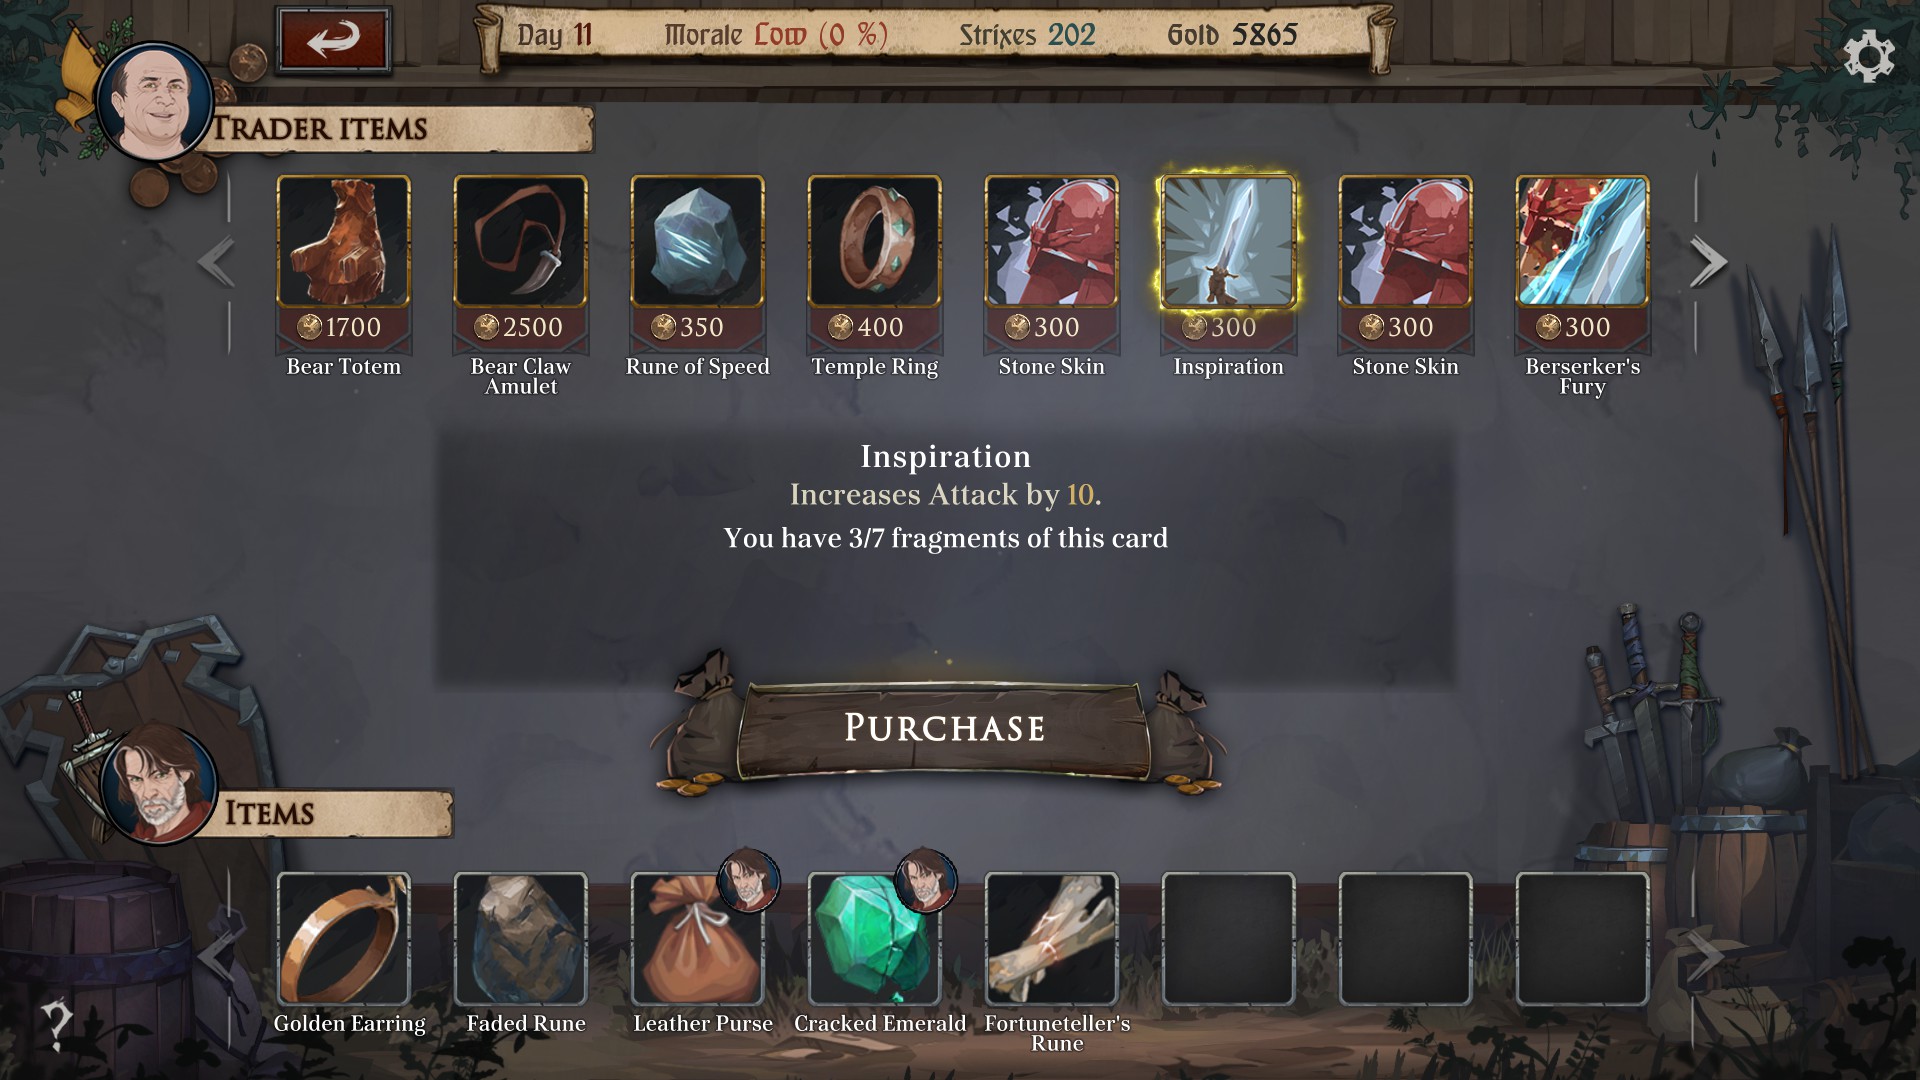
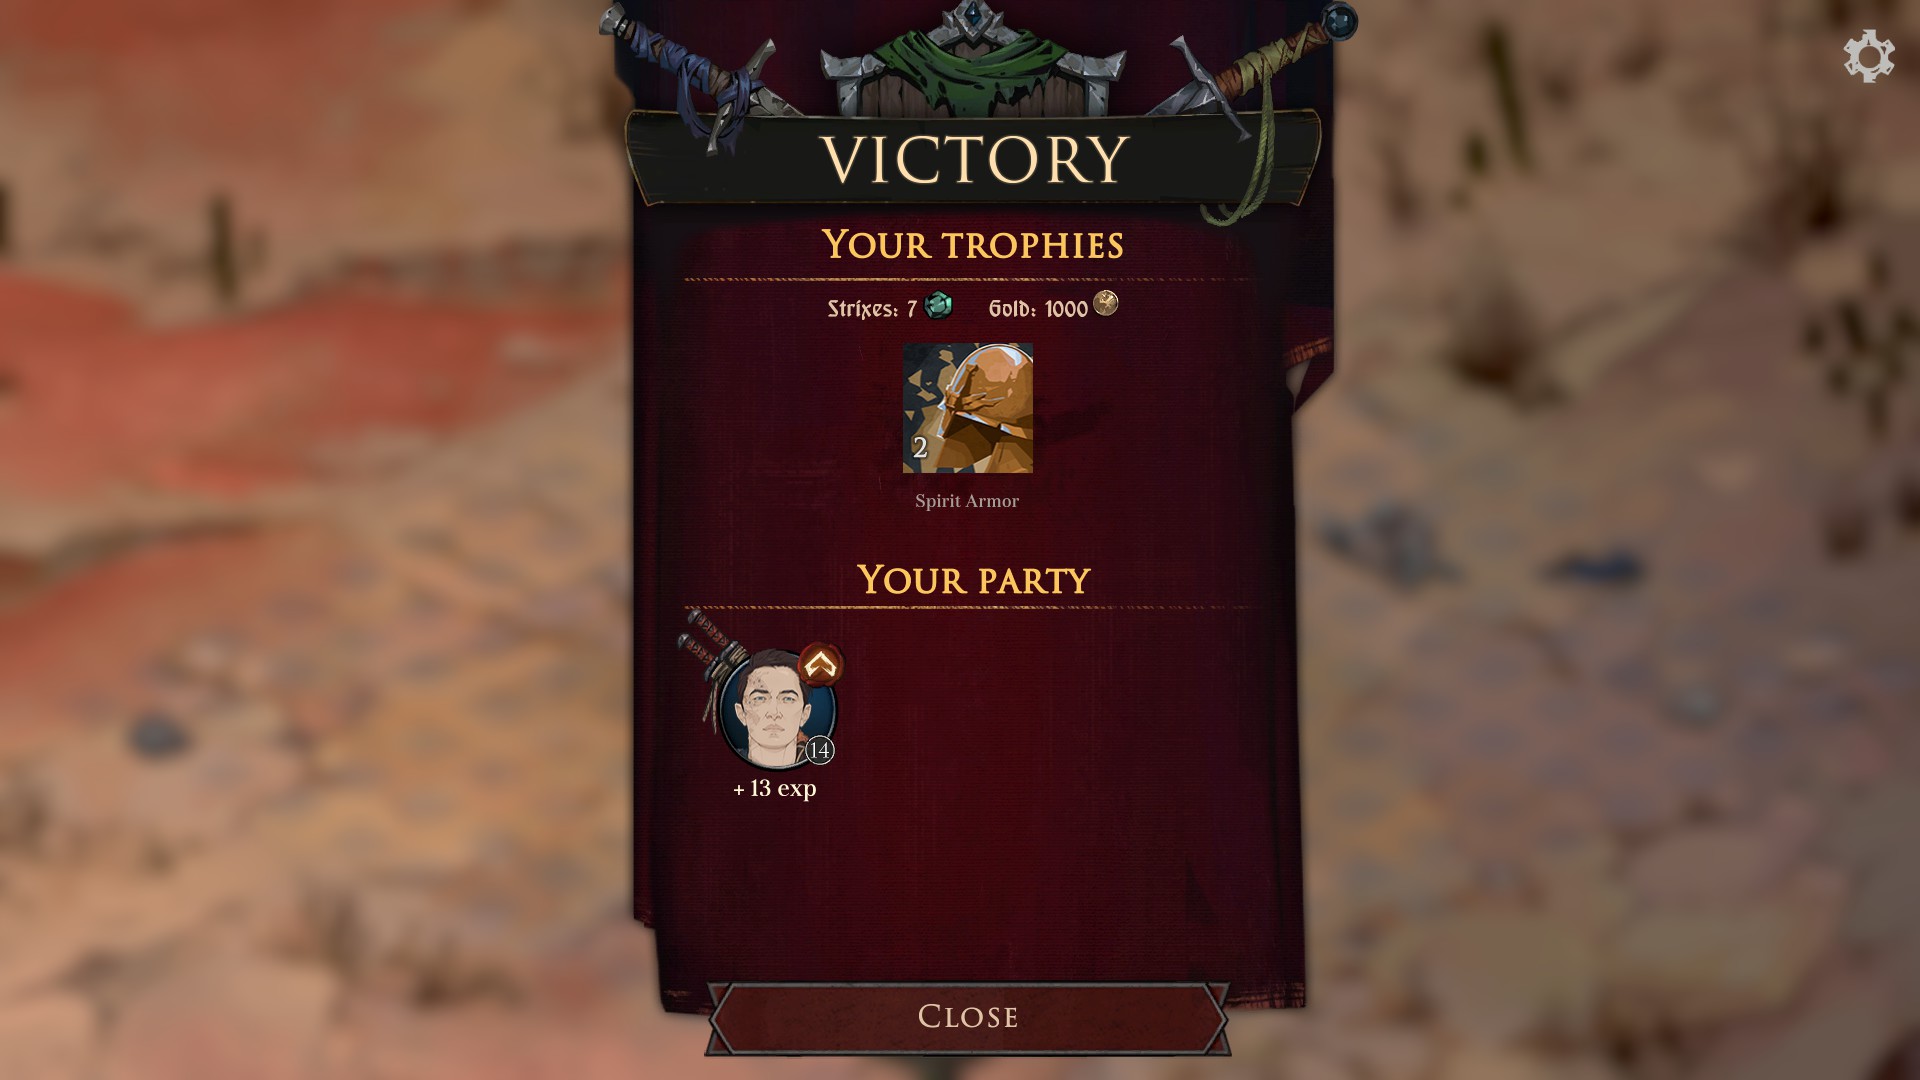
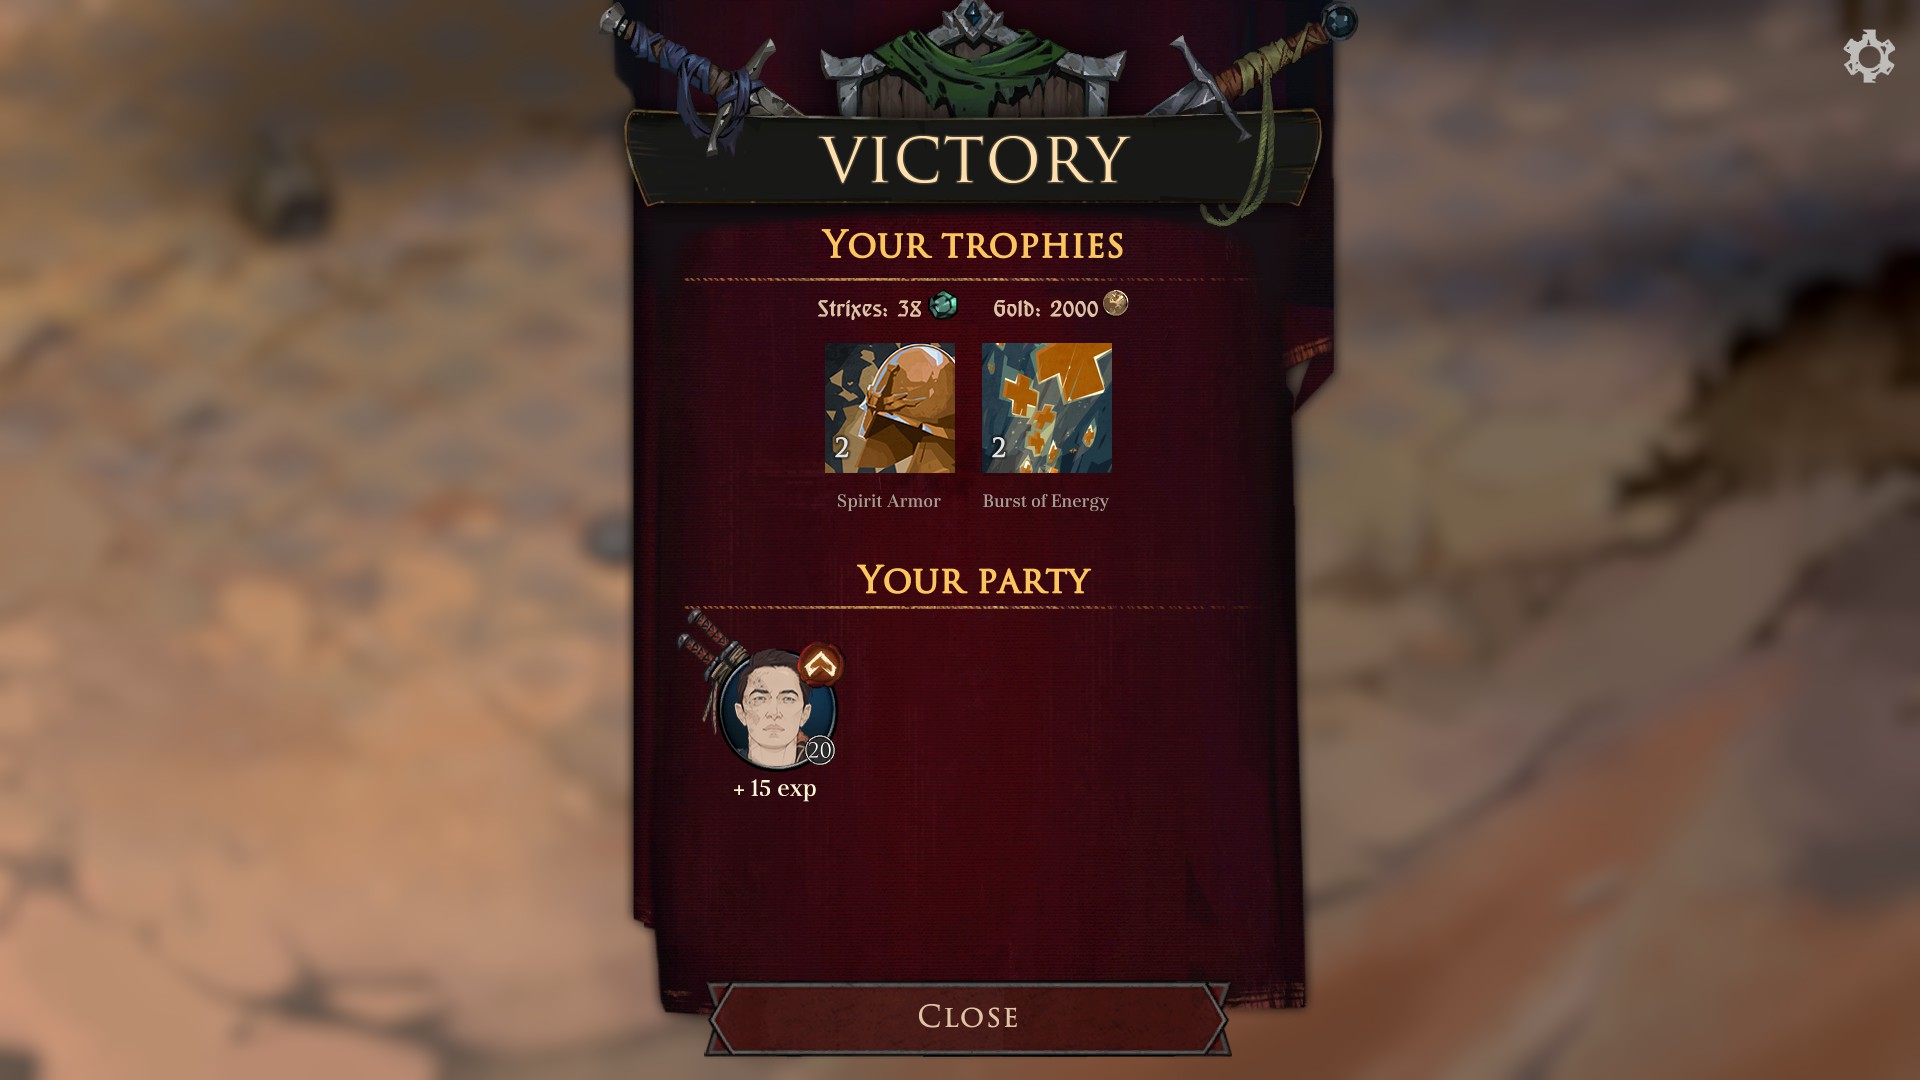
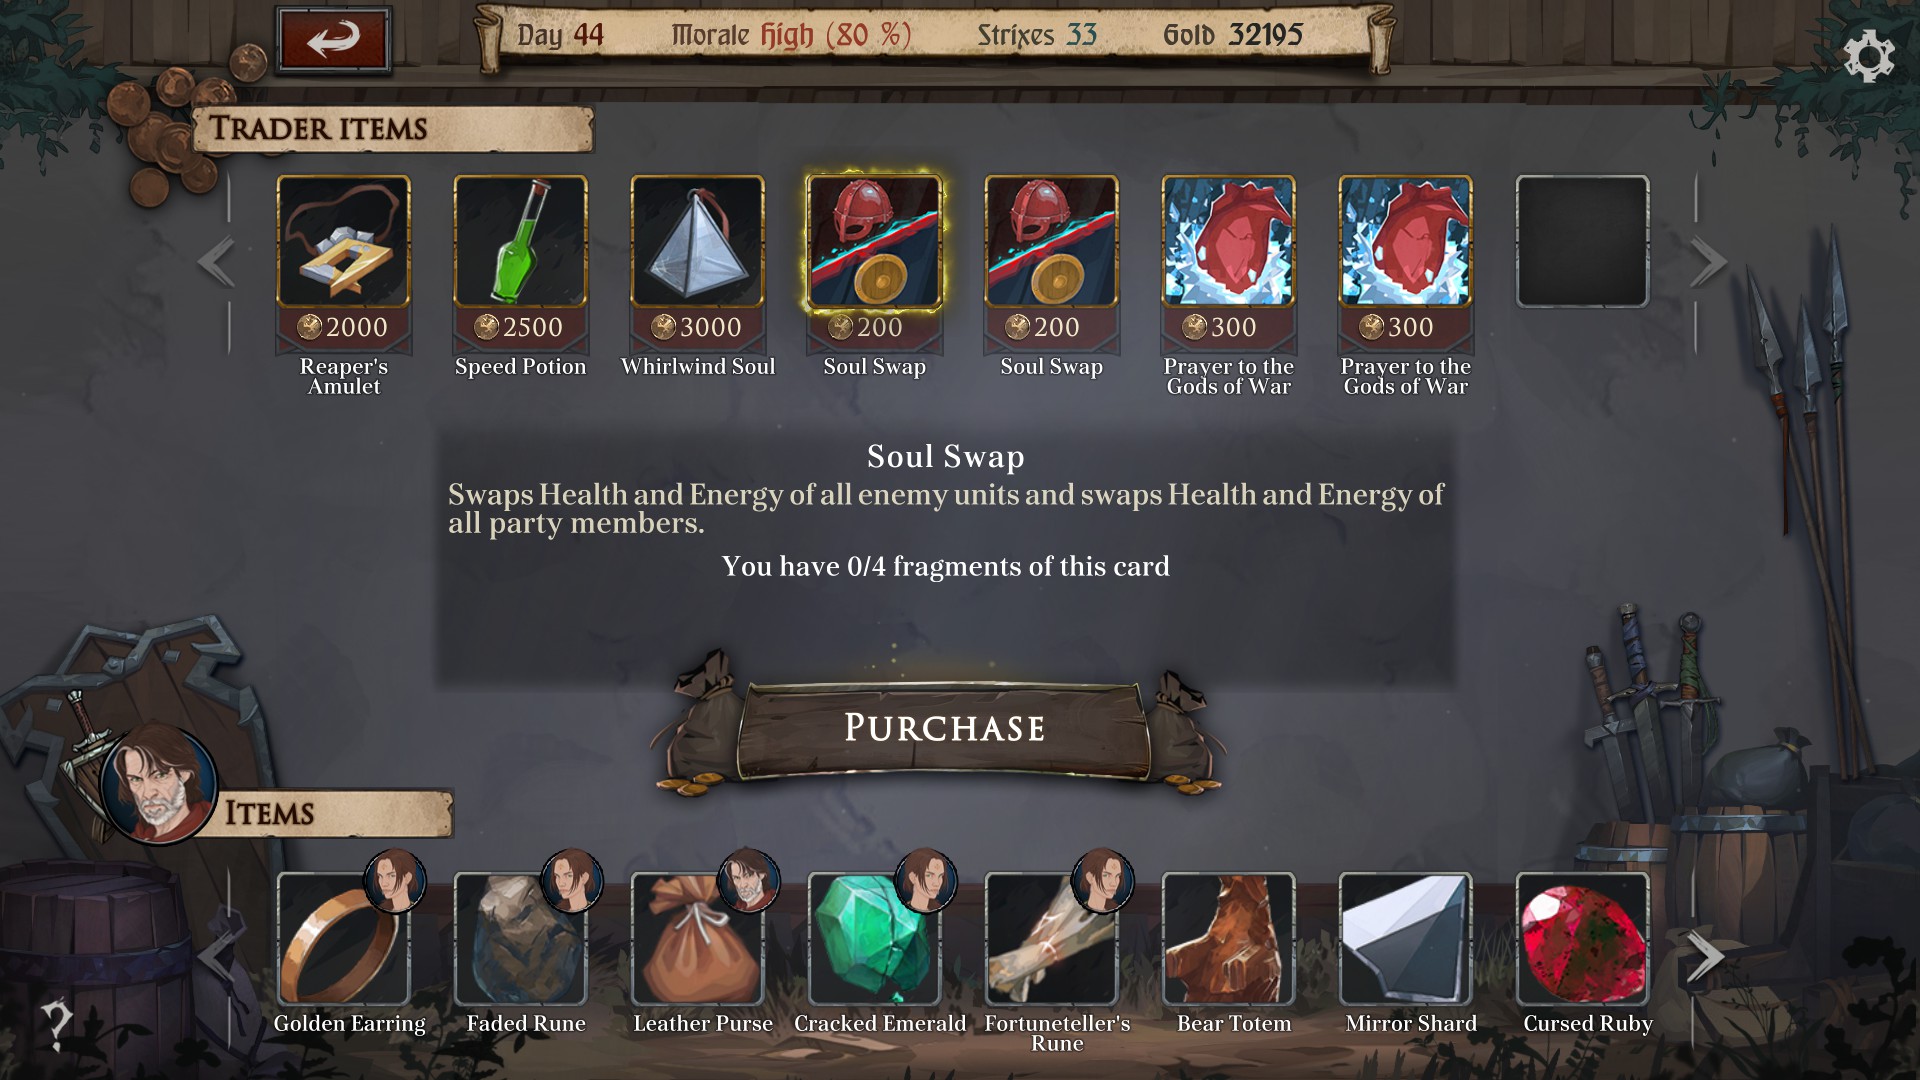
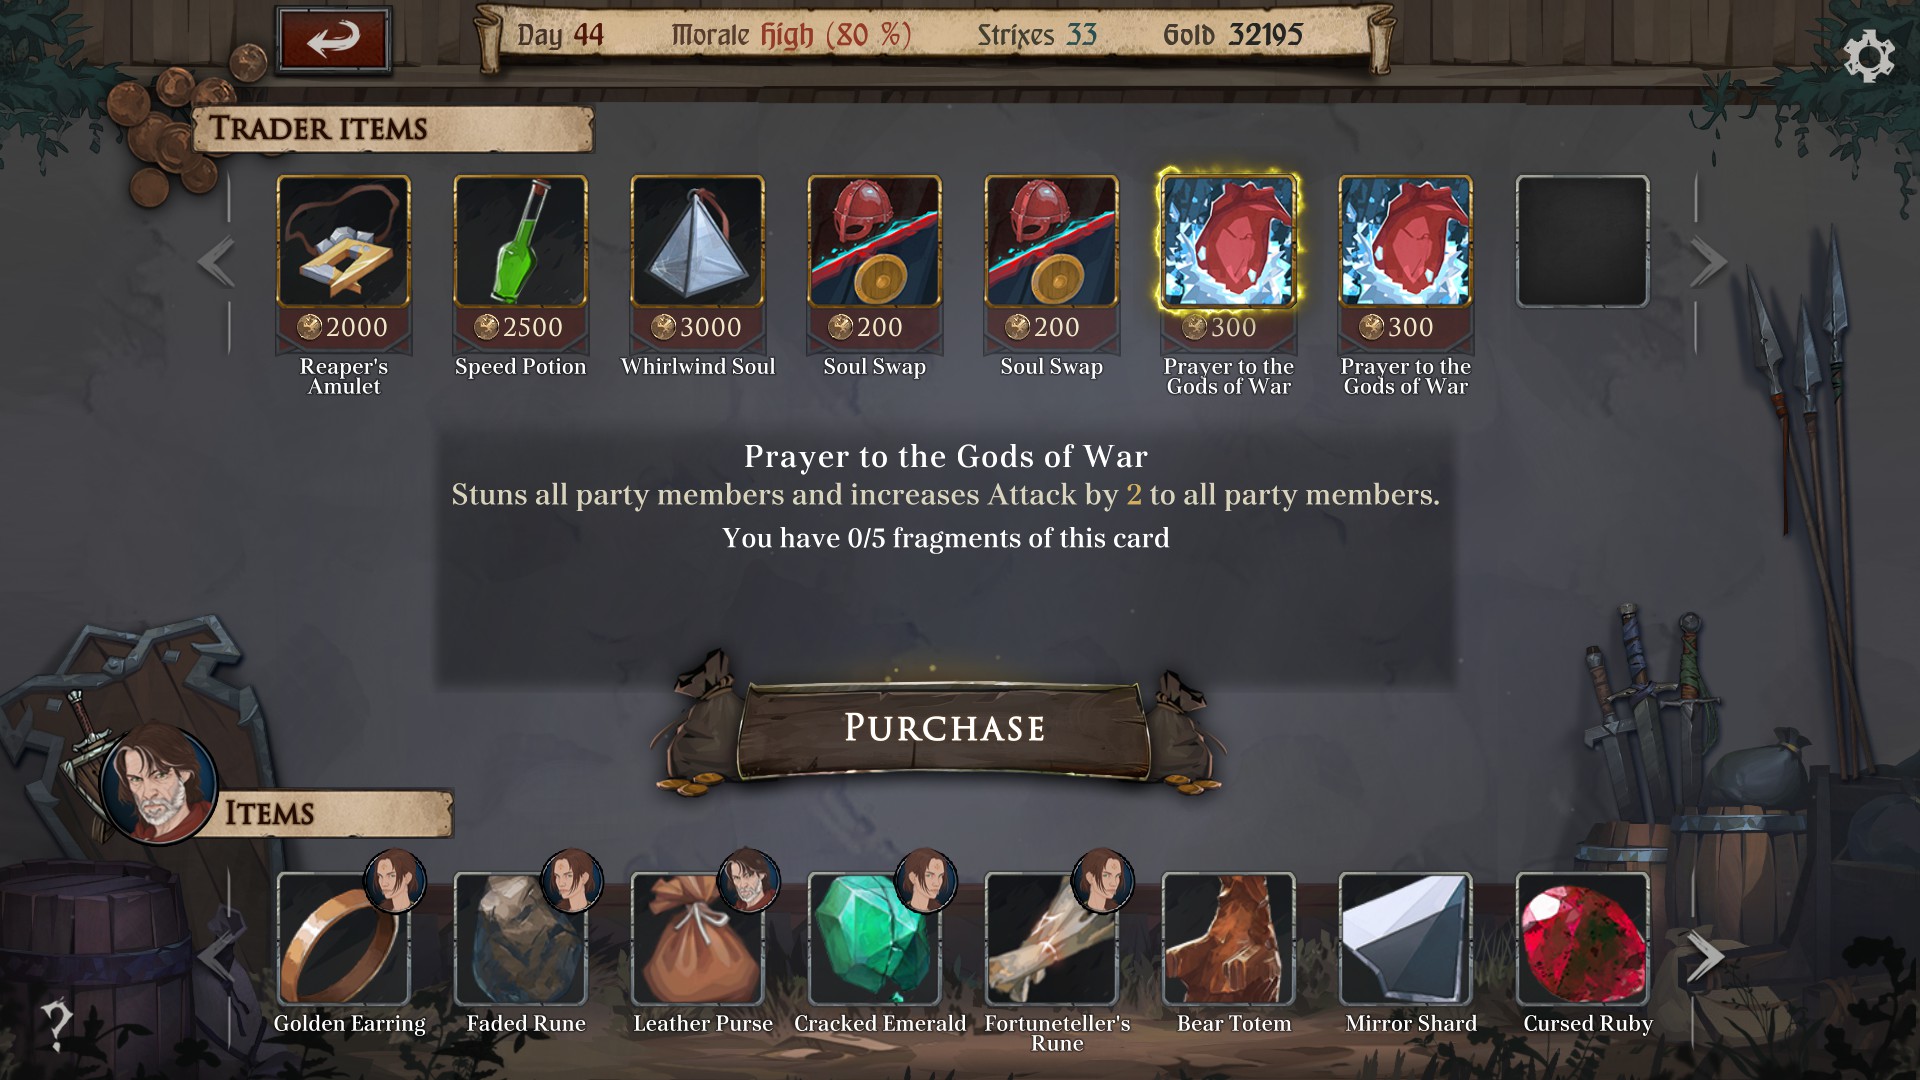
Cards are in this order: 1) Energy Surge (+10 energy), 2) Bloody Harvest (-20 armor to everyone), 3) Spirit Armor (+10 armor), 4) Drain (+20 health), 5) Thirst for Destruction (+7 attack, -10 walking distance);
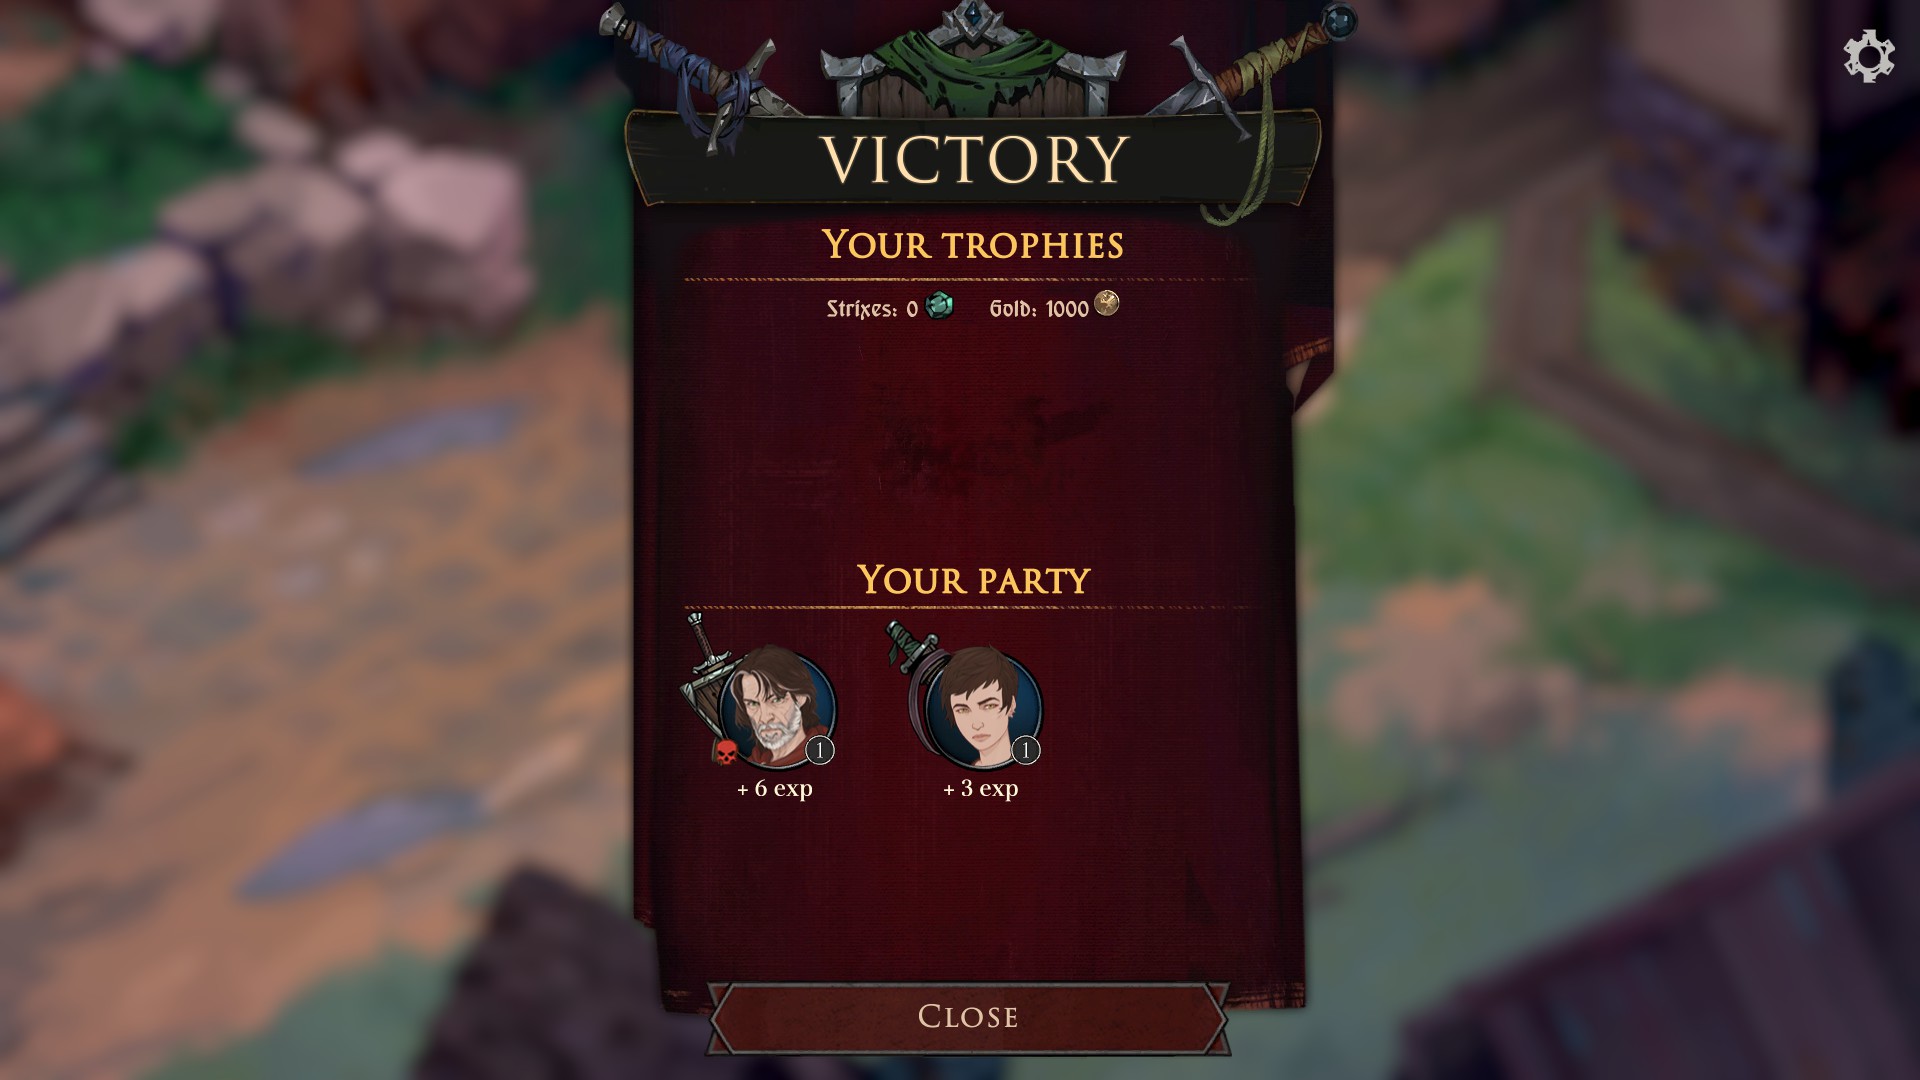
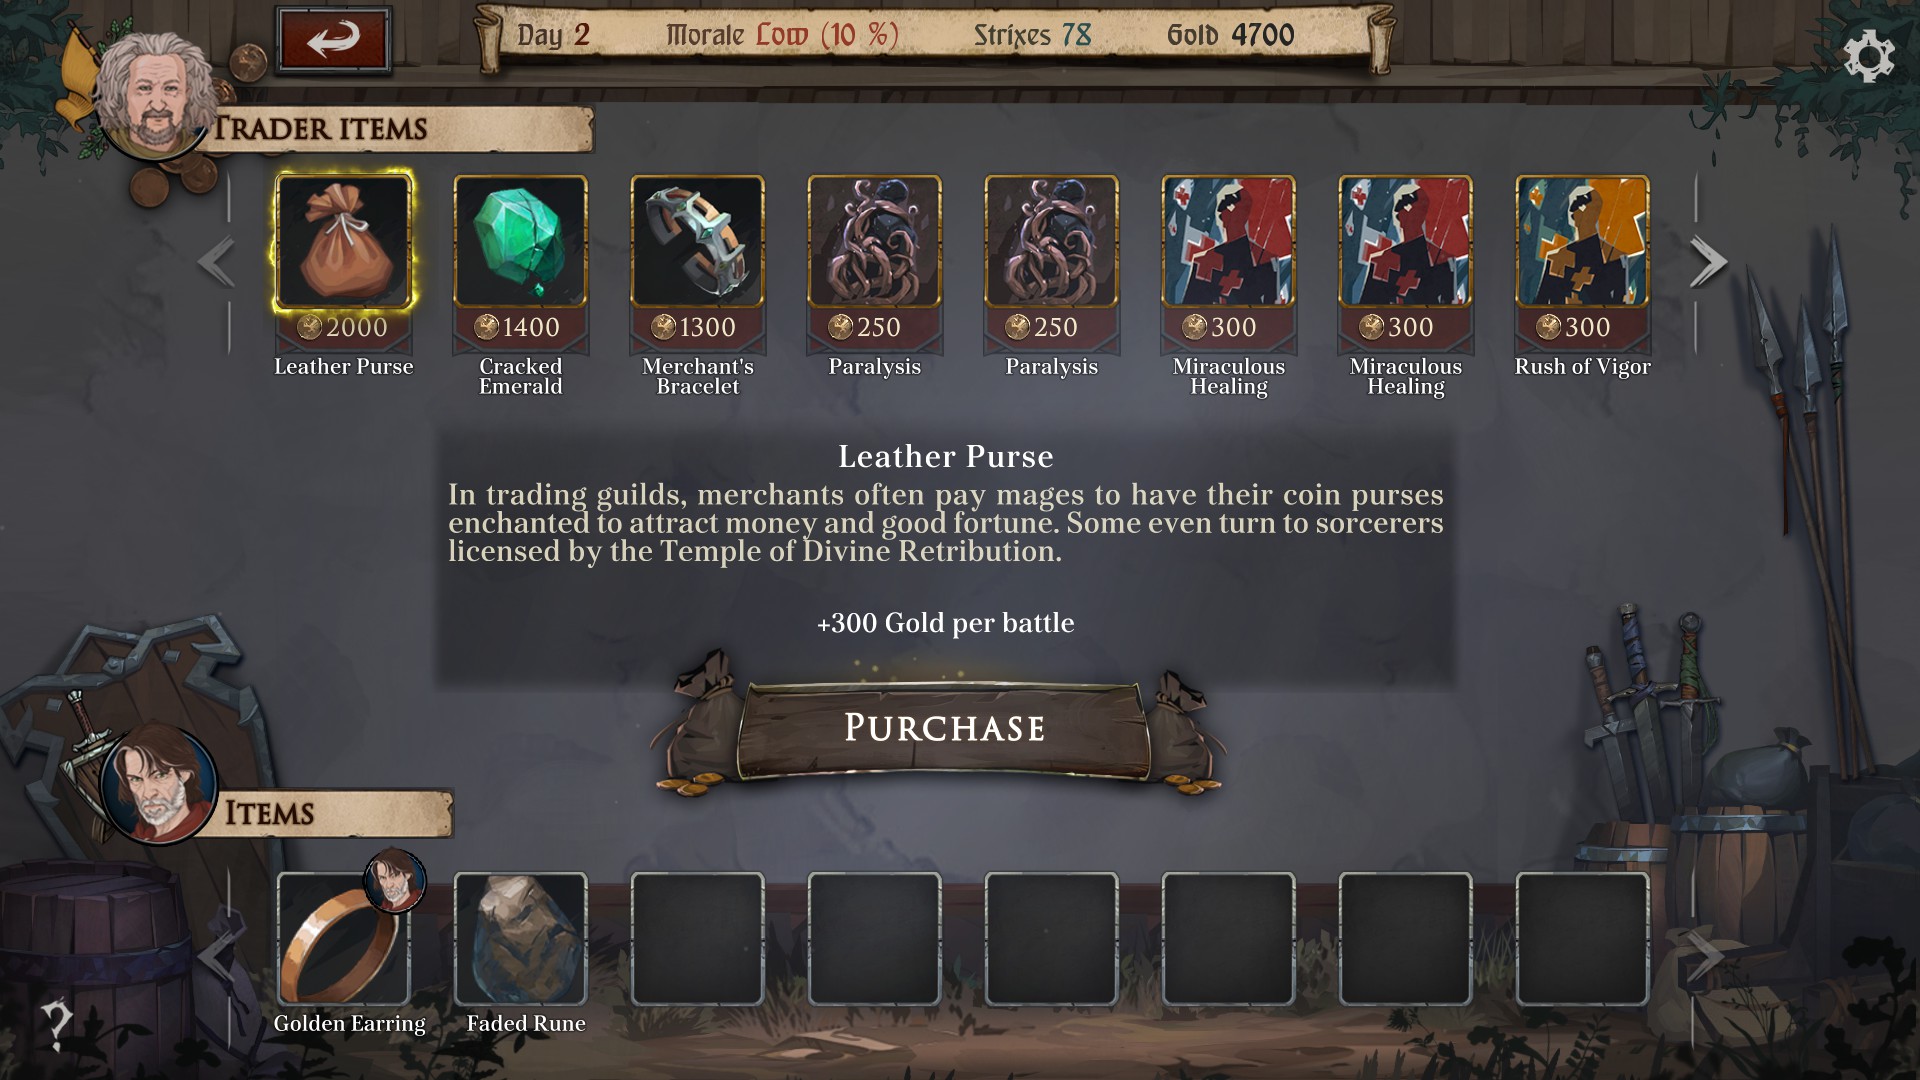
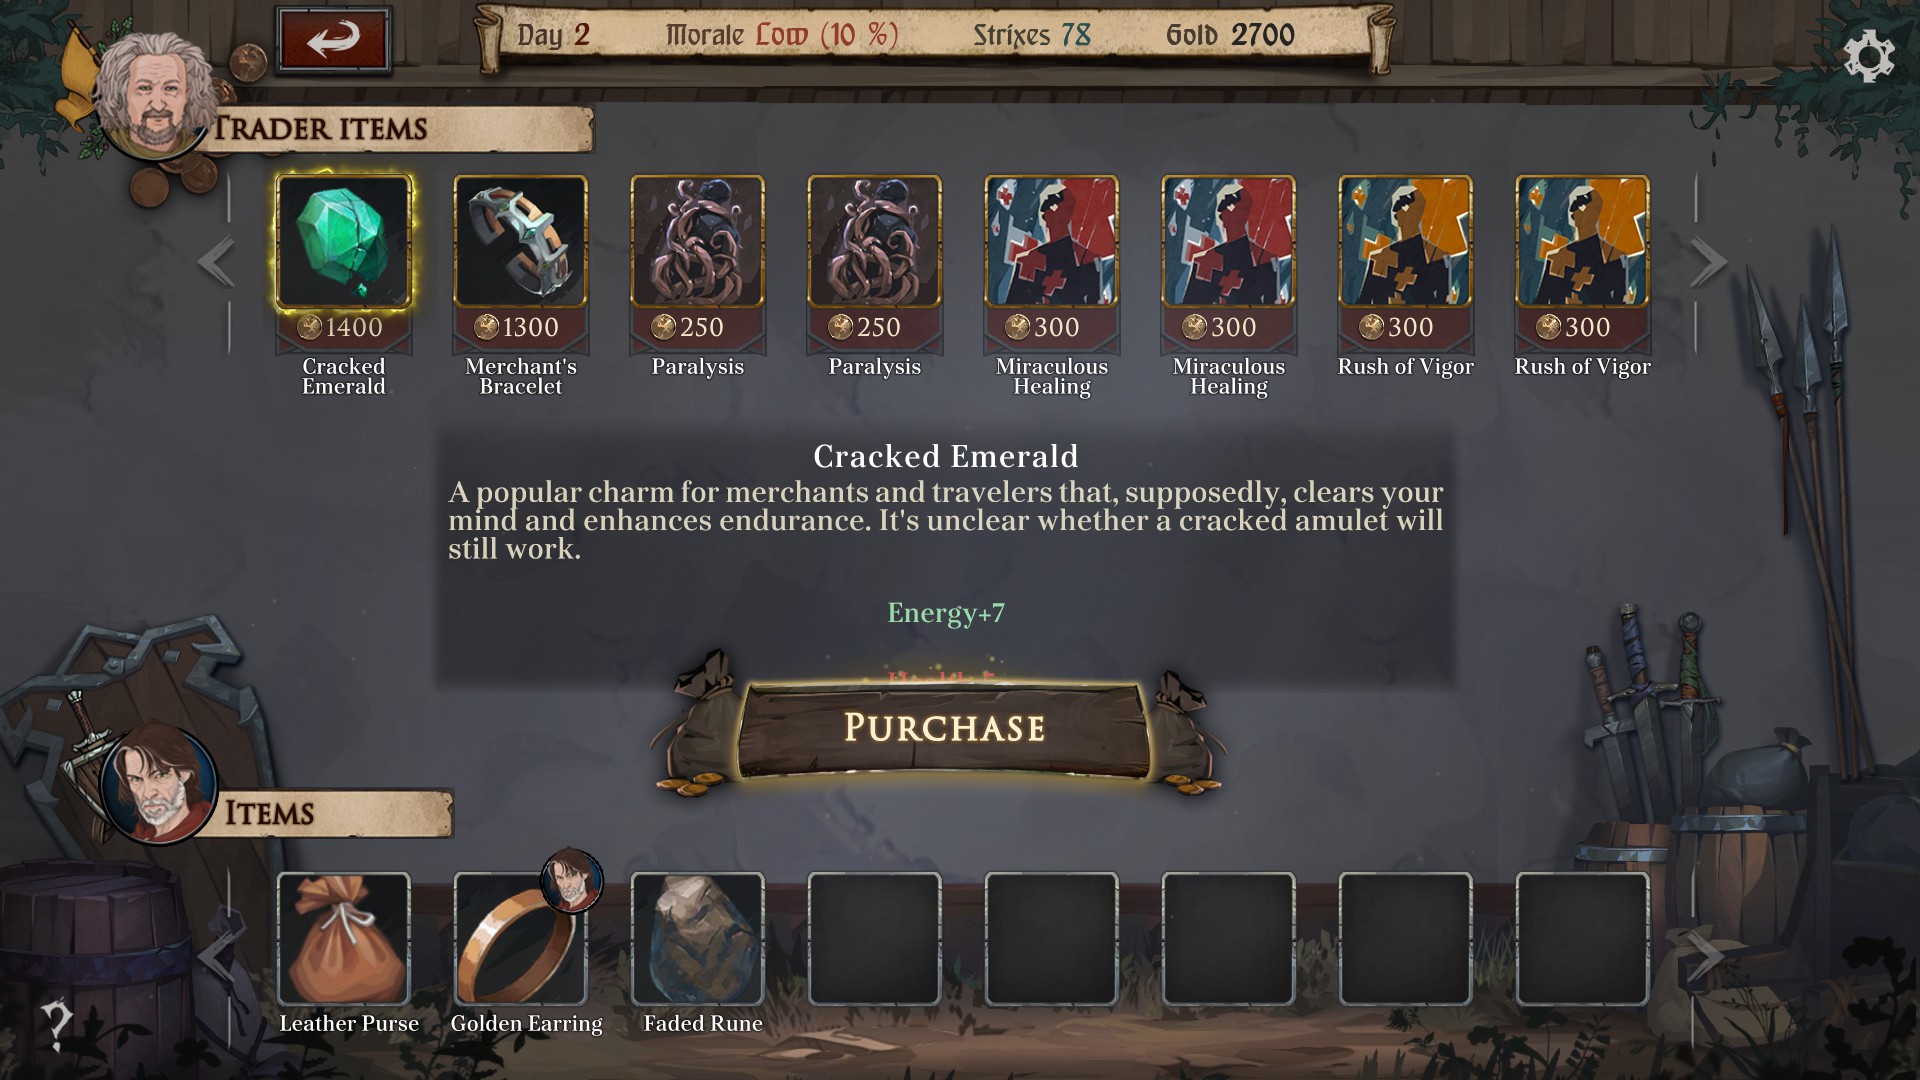
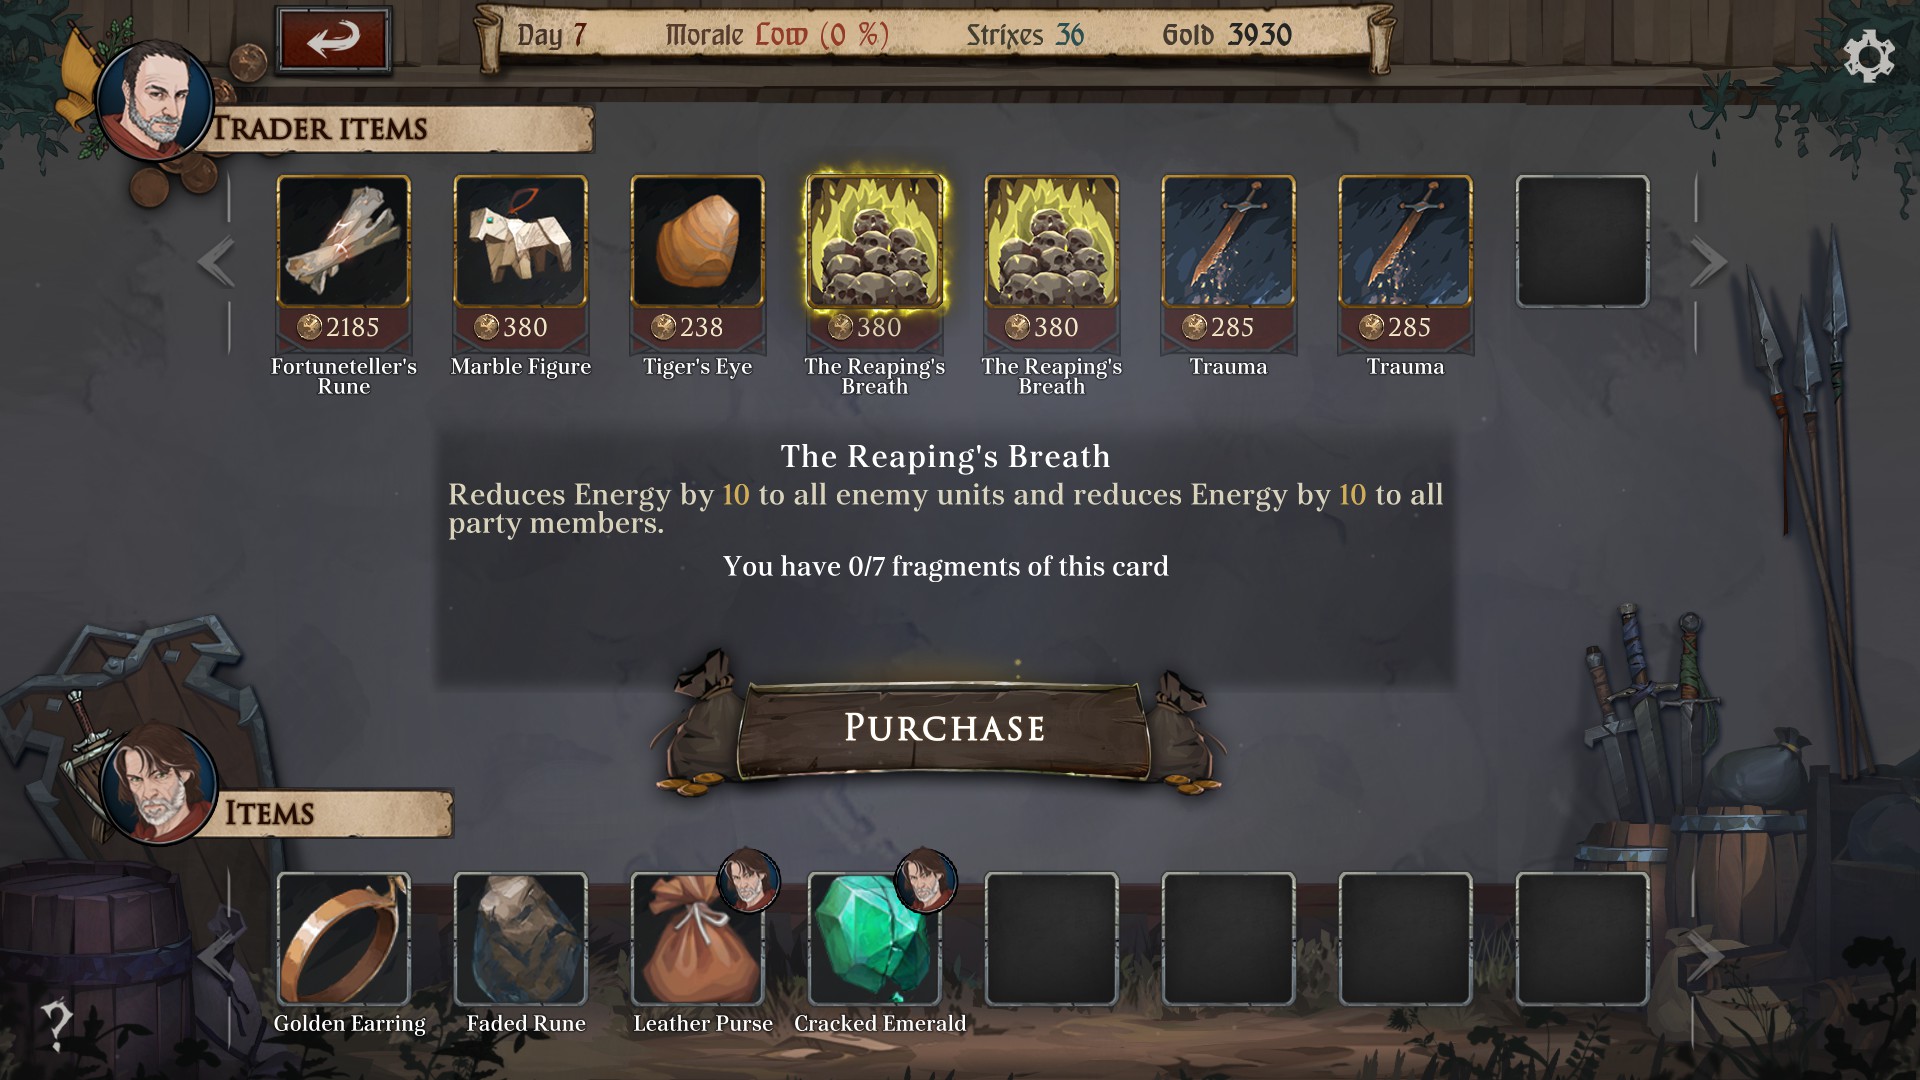
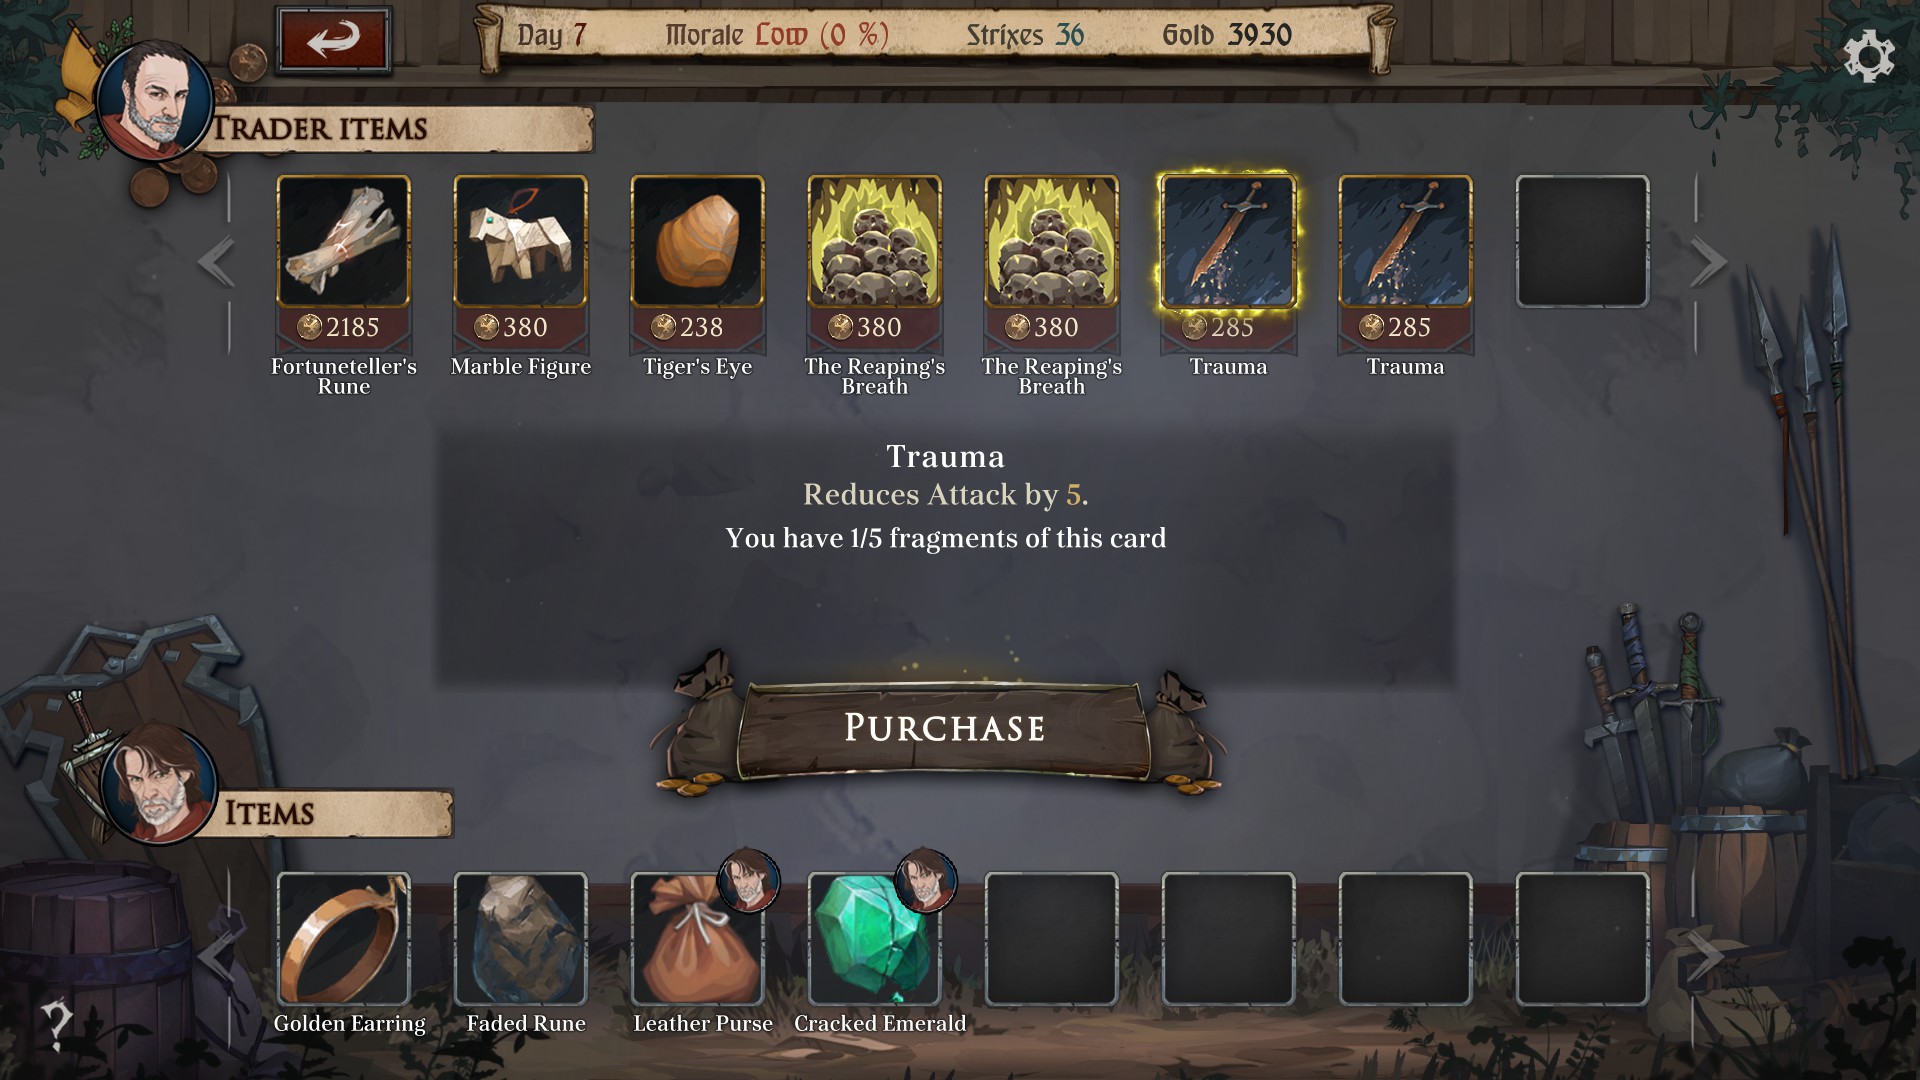
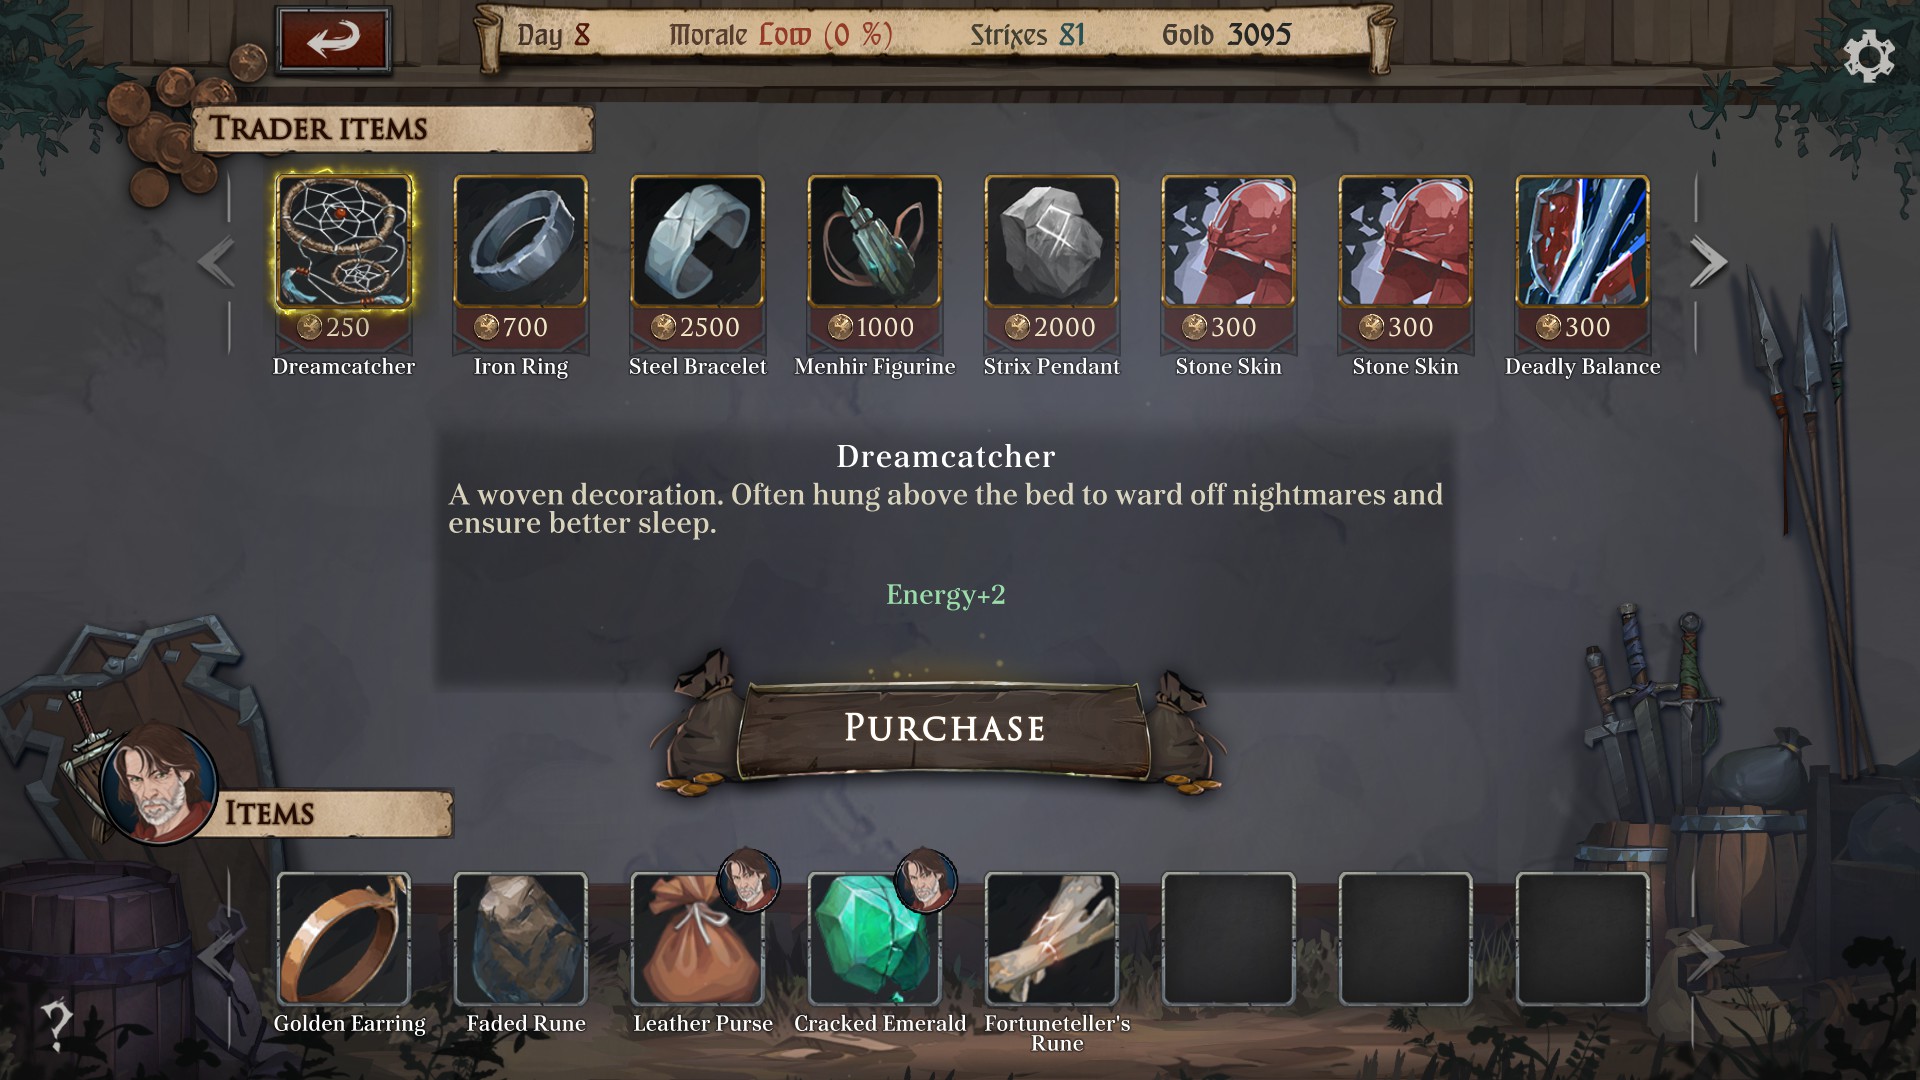
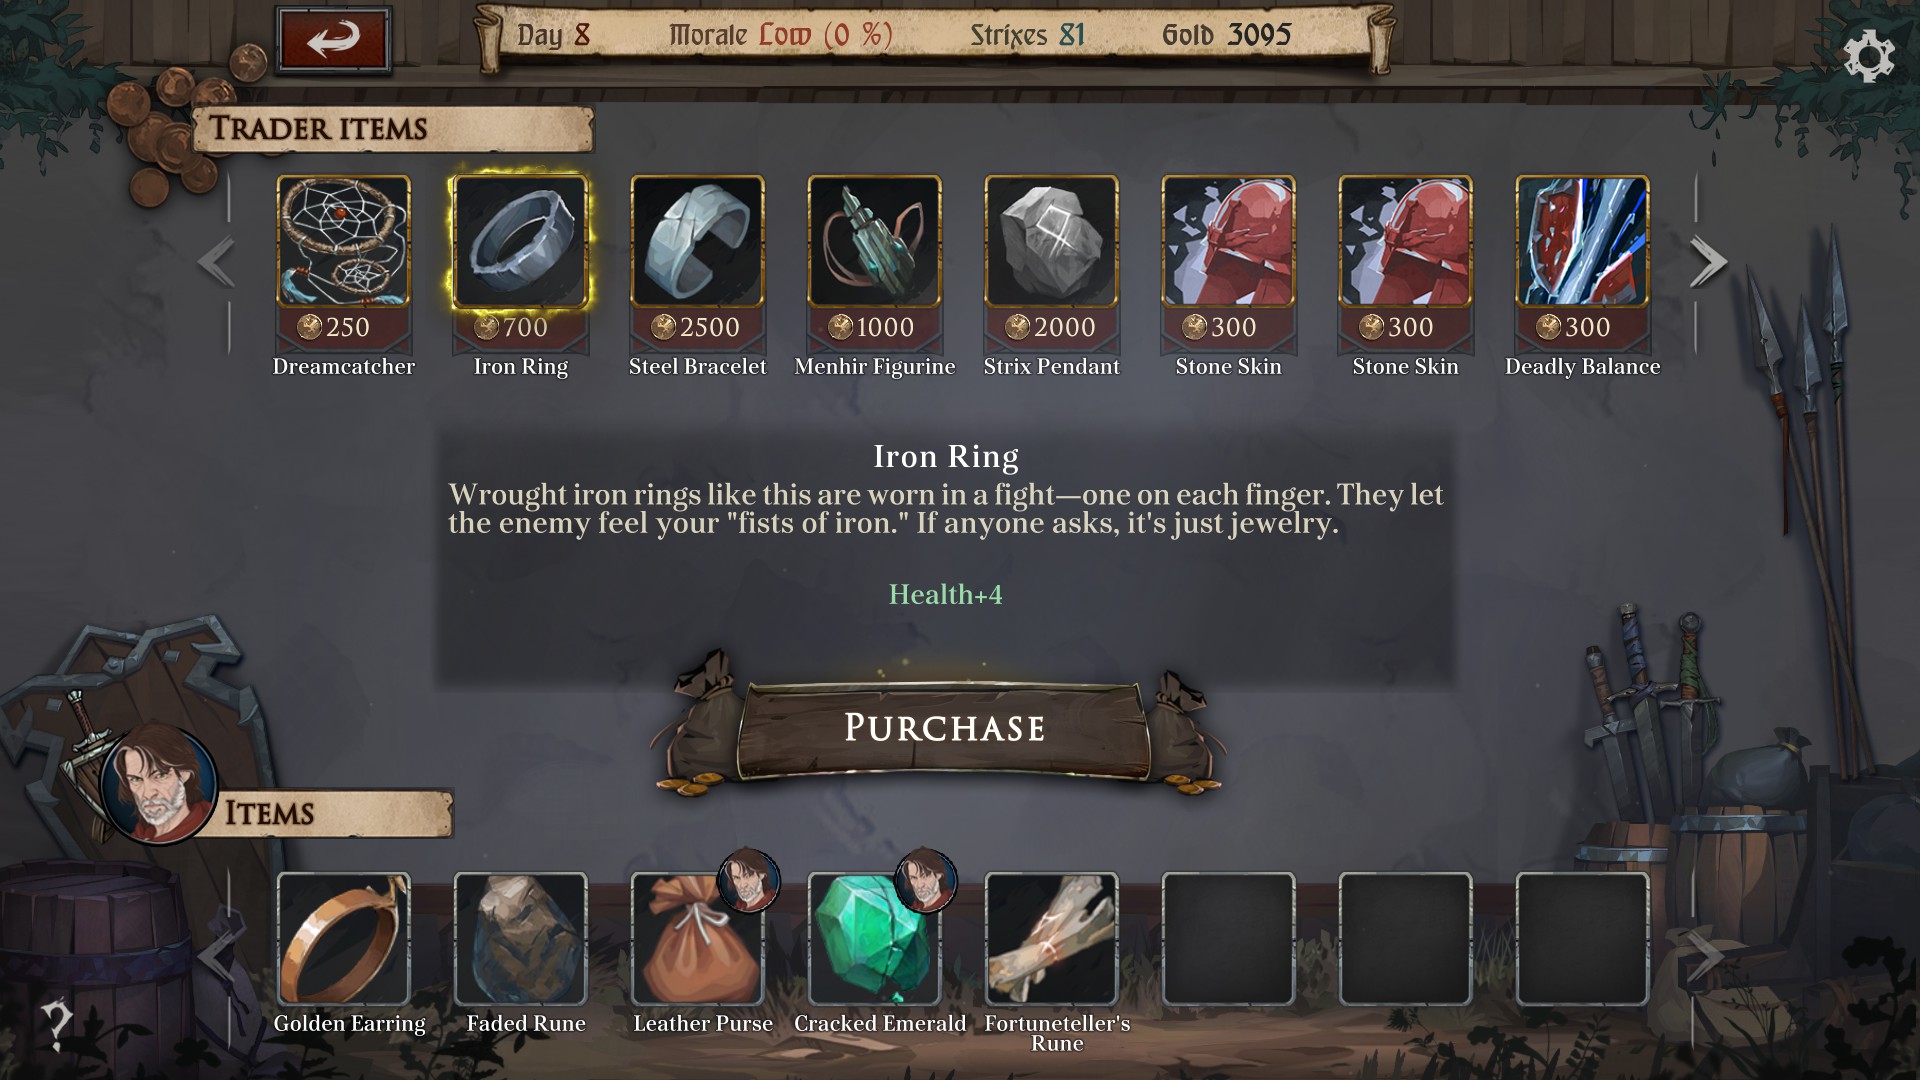
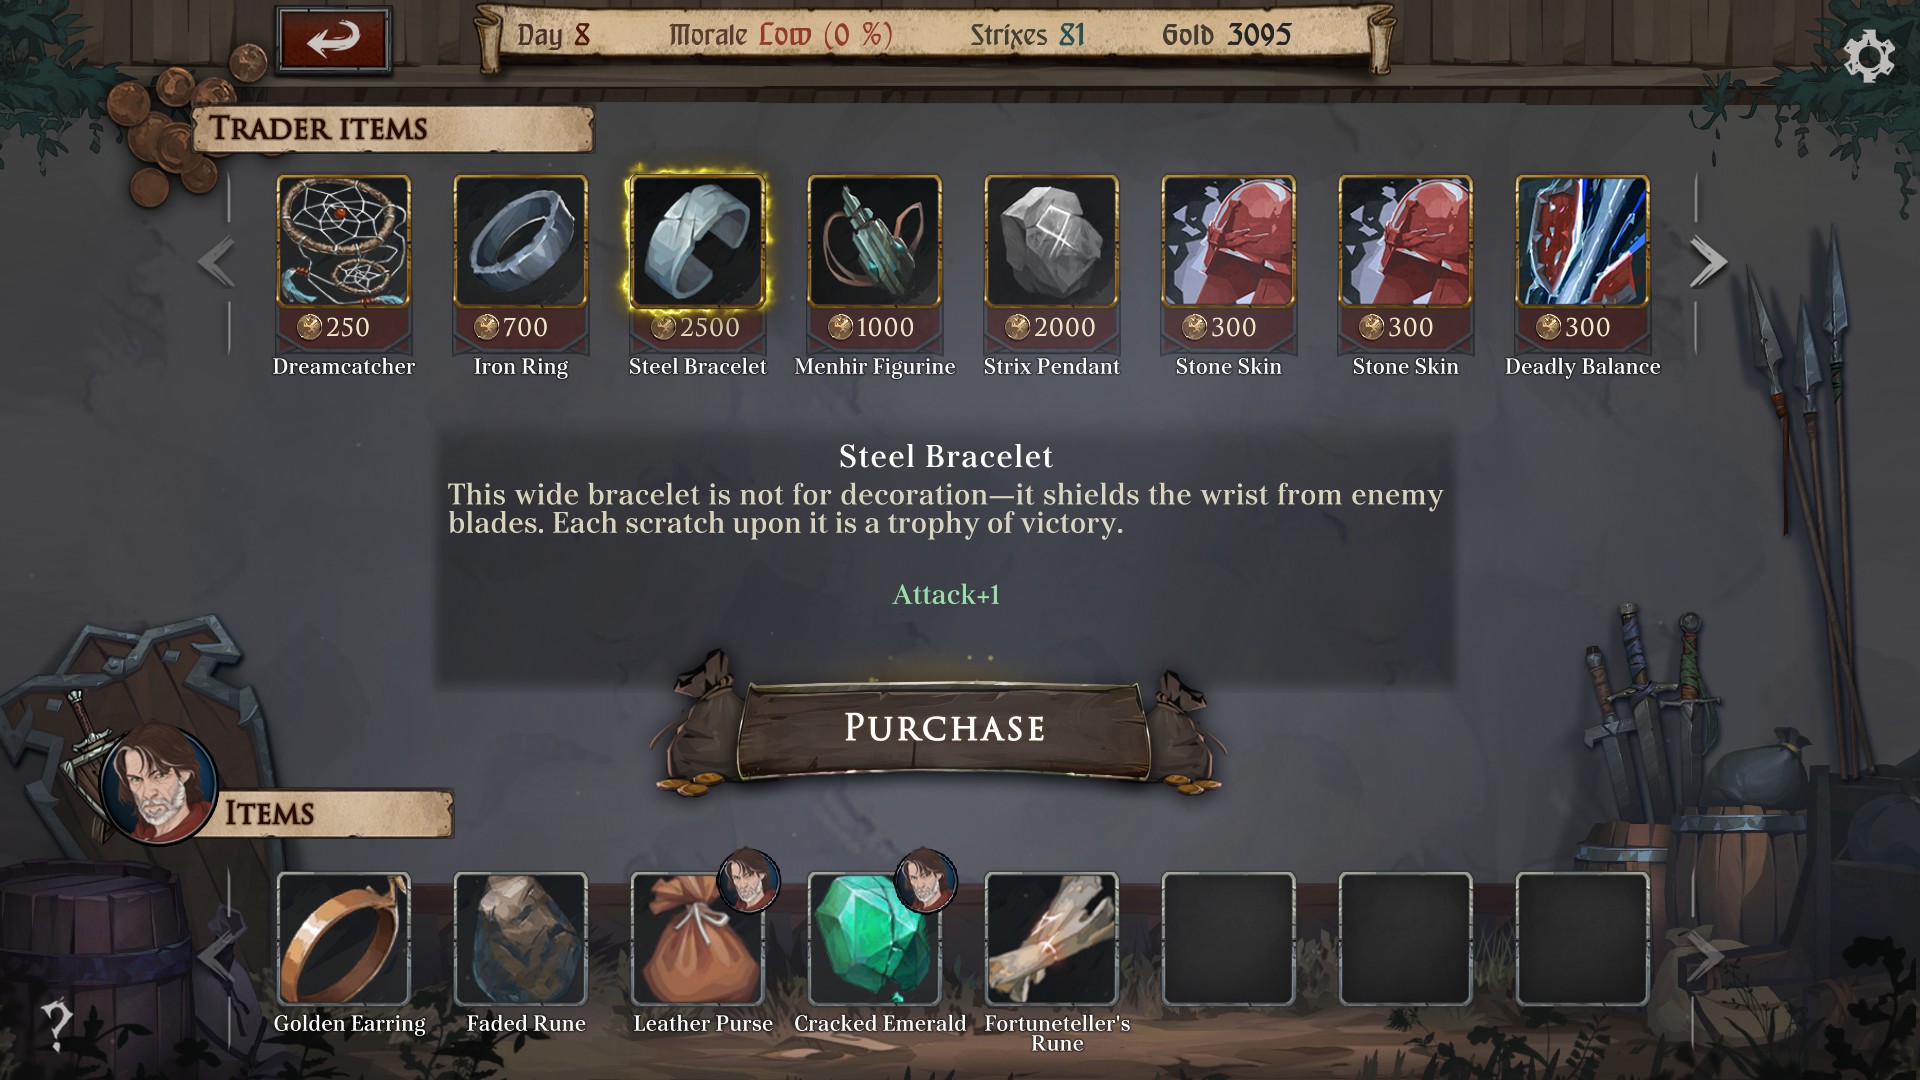
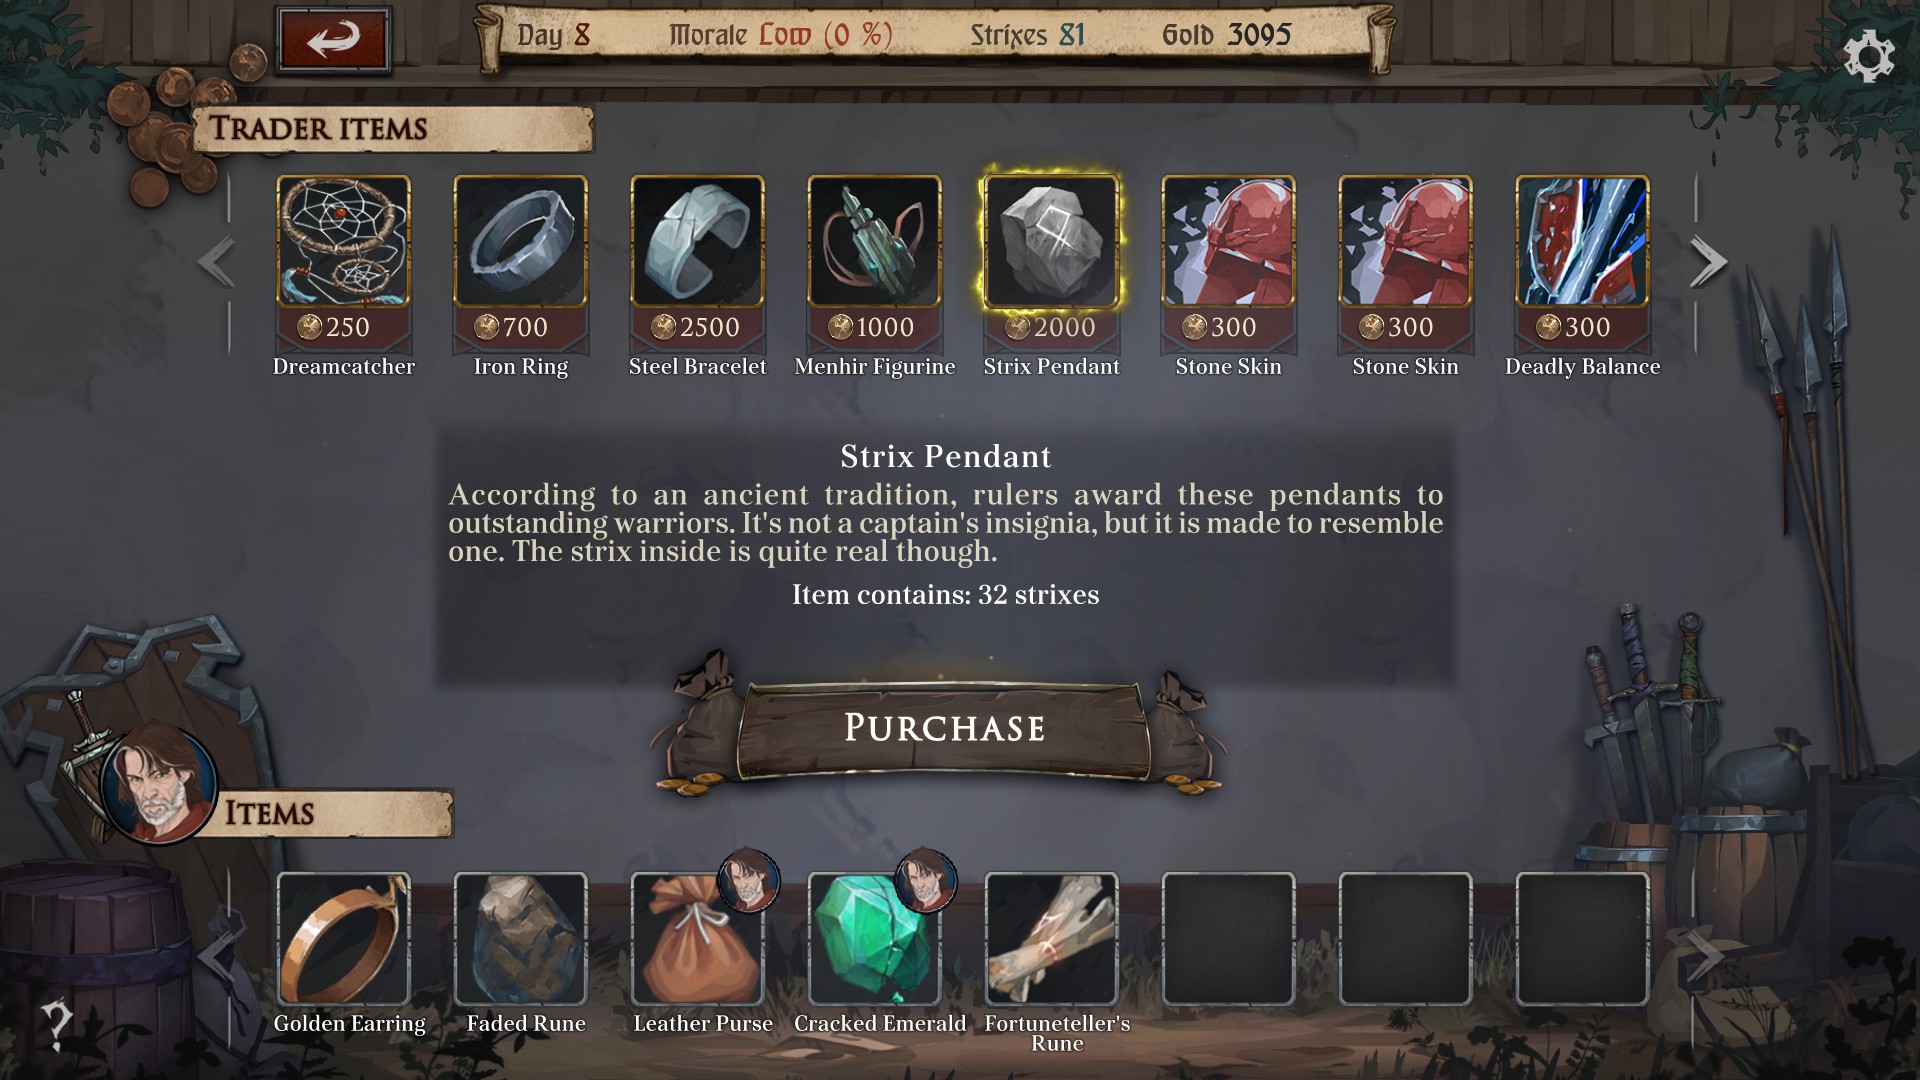
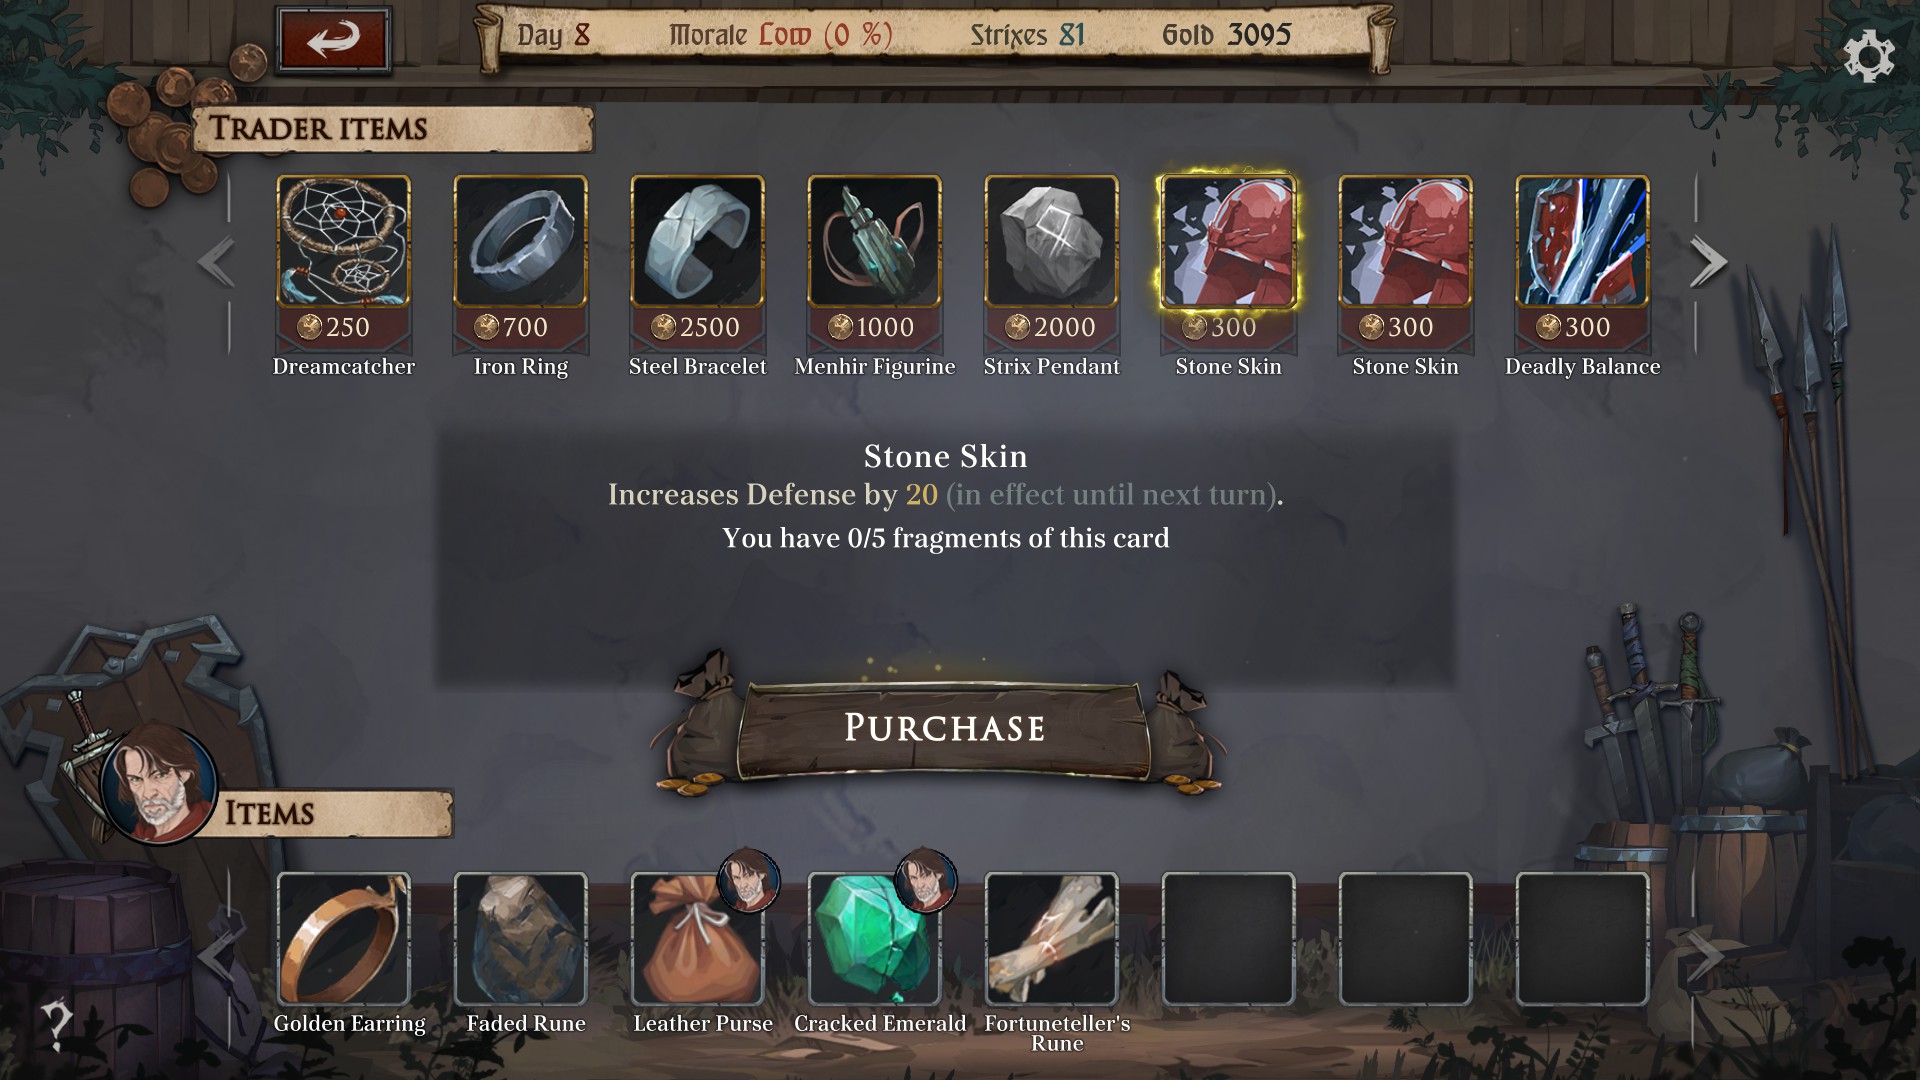
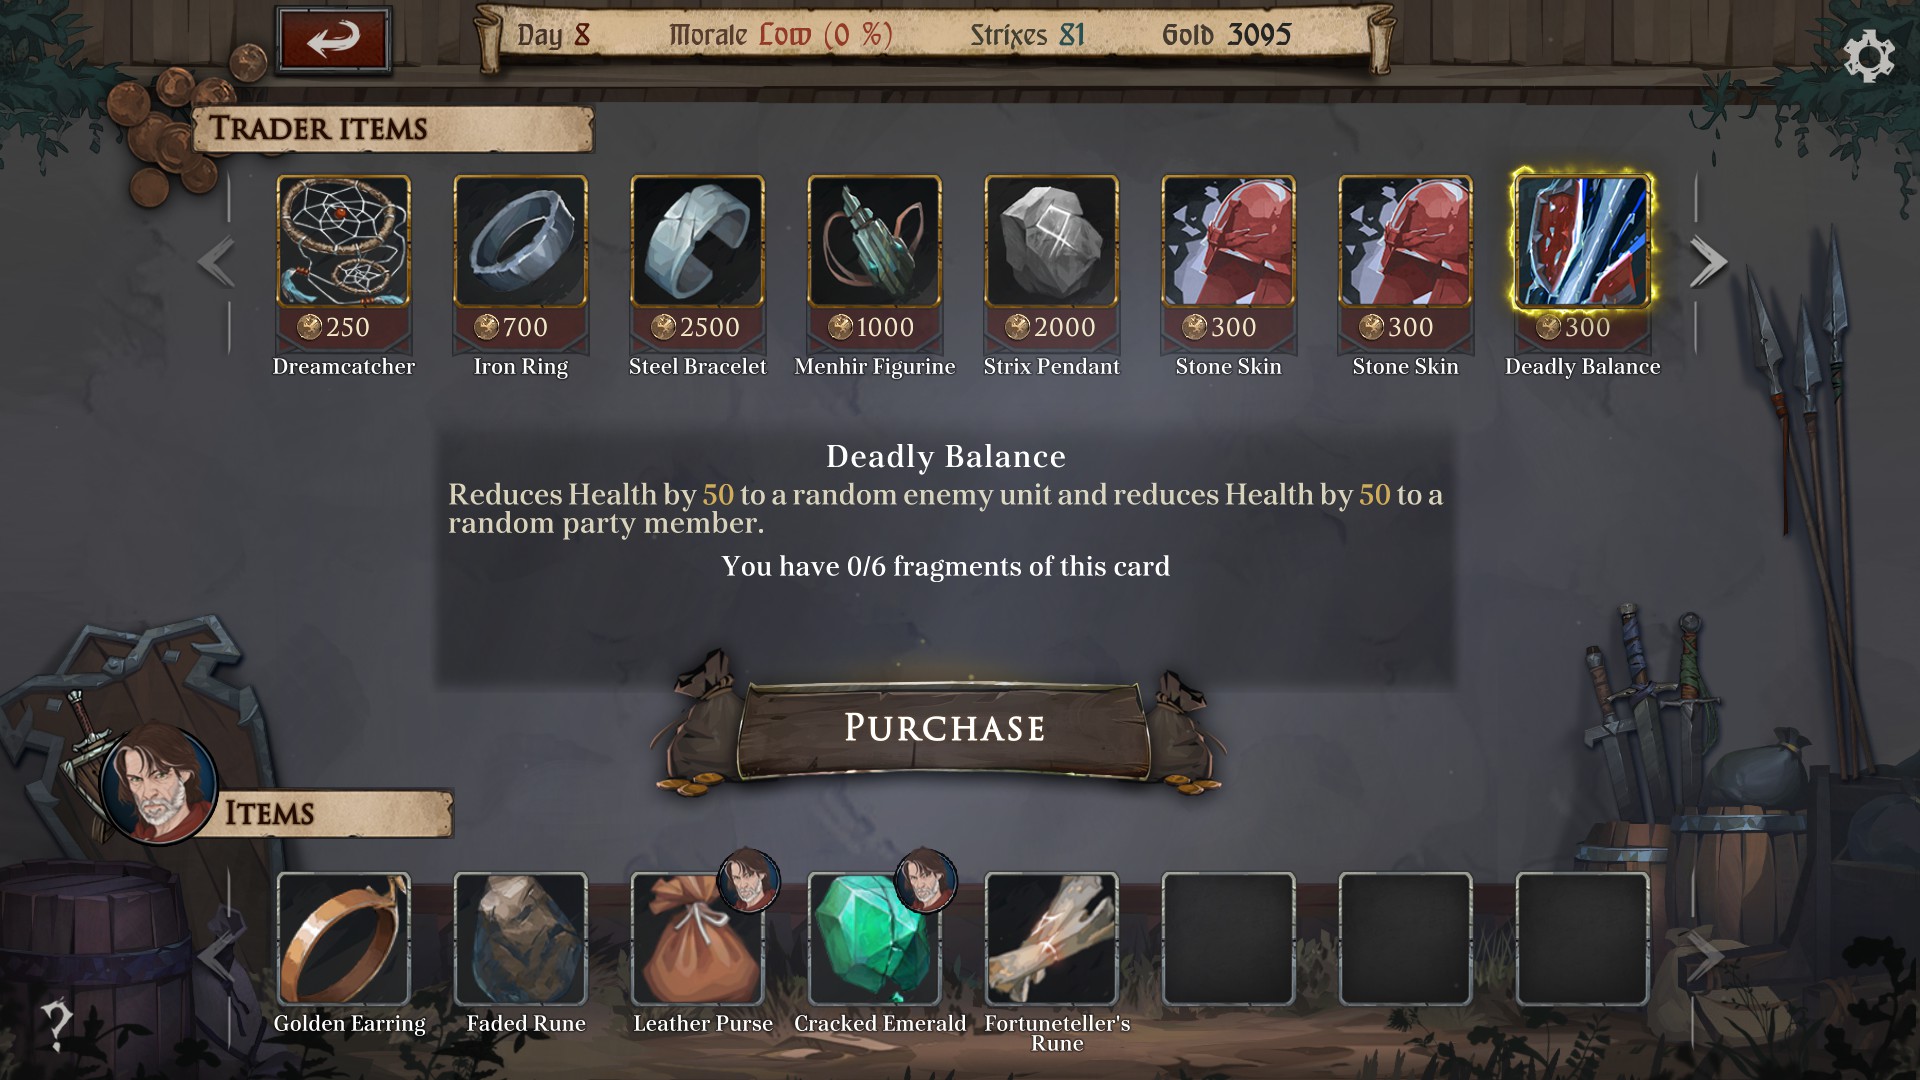
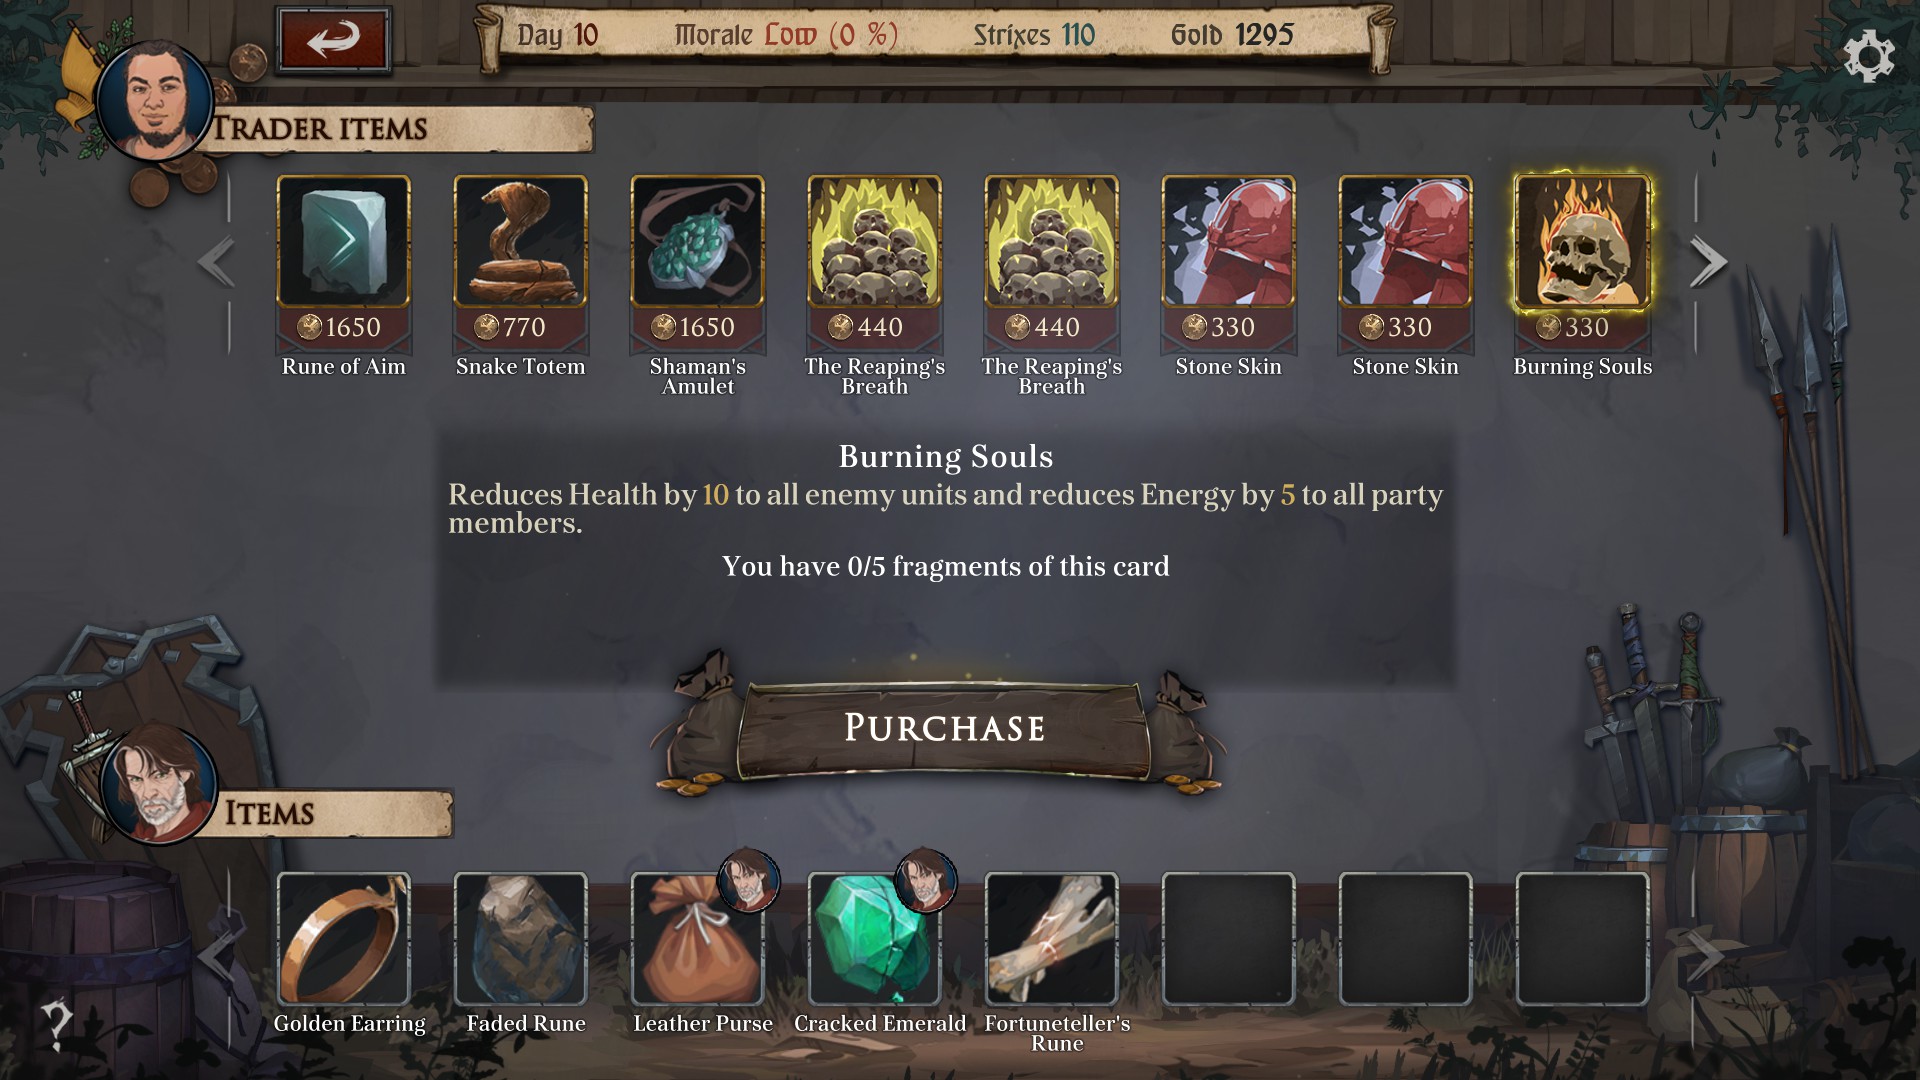
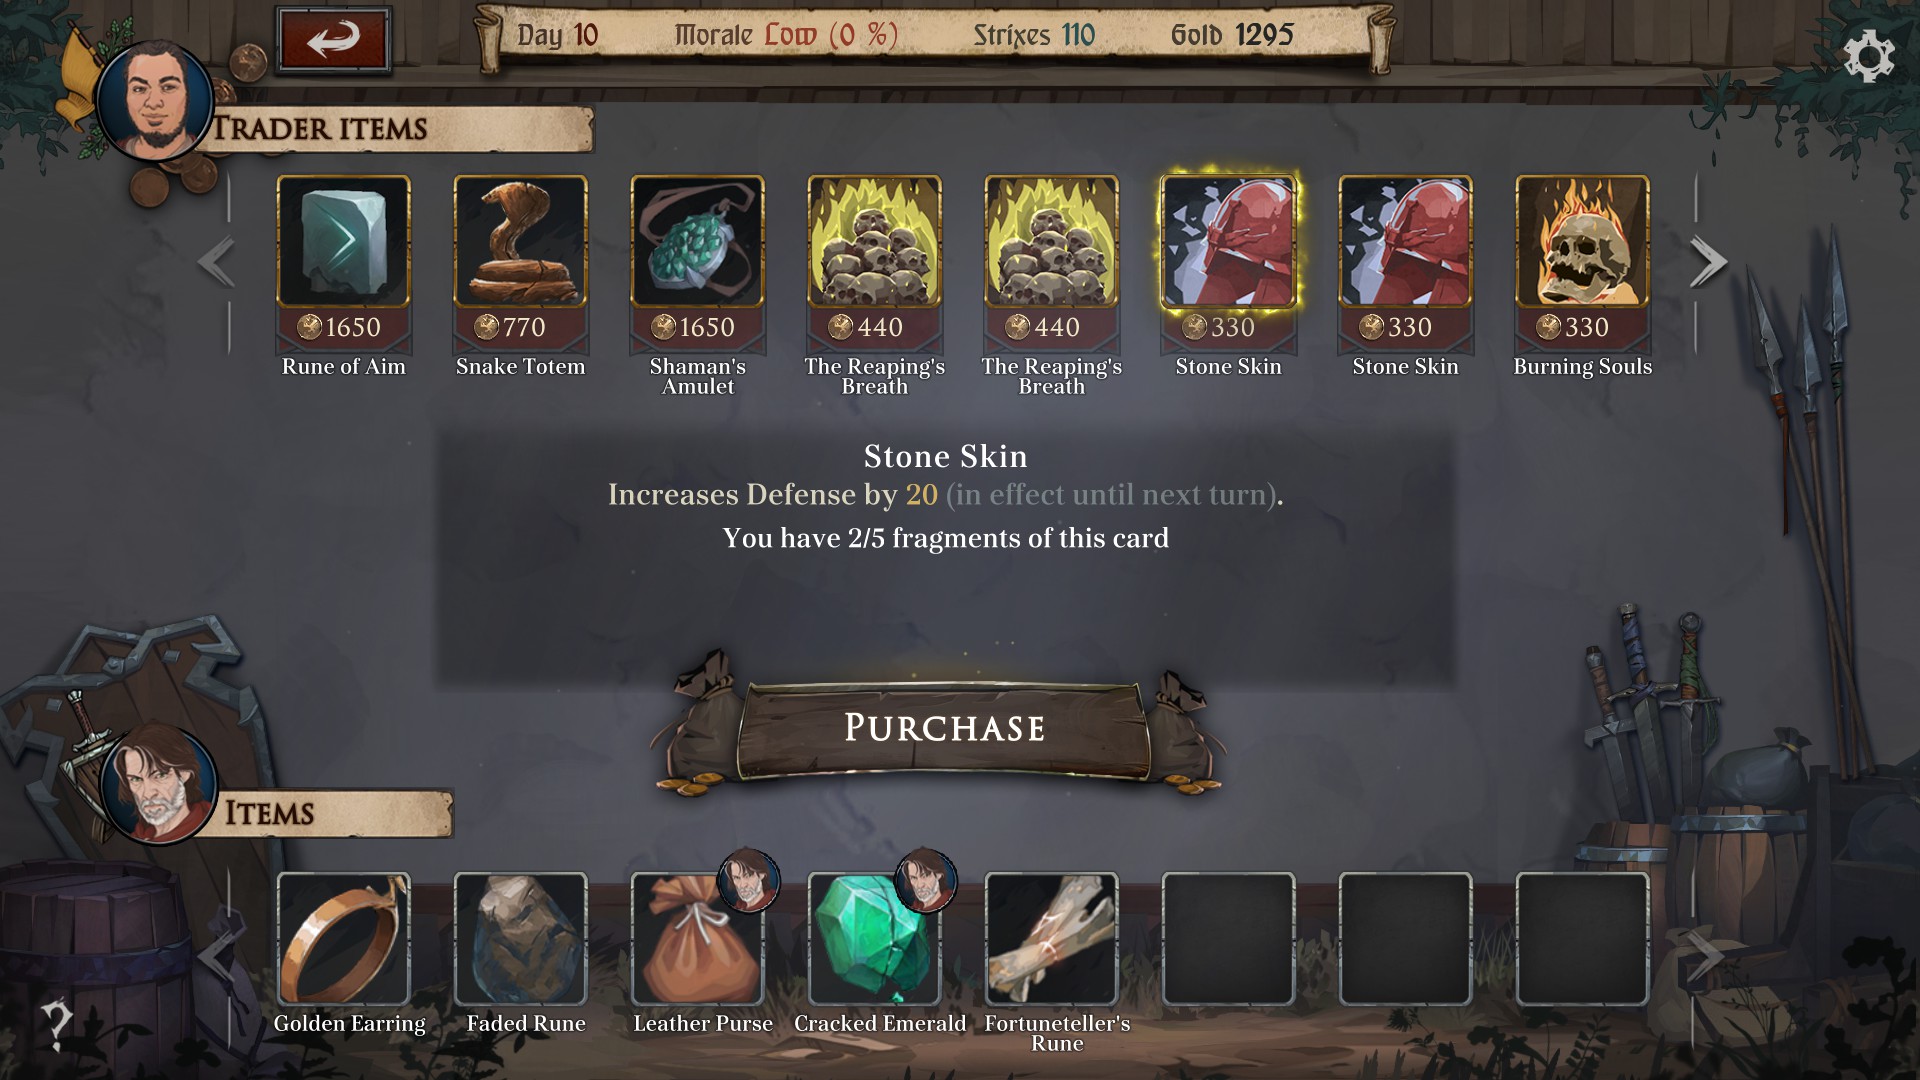
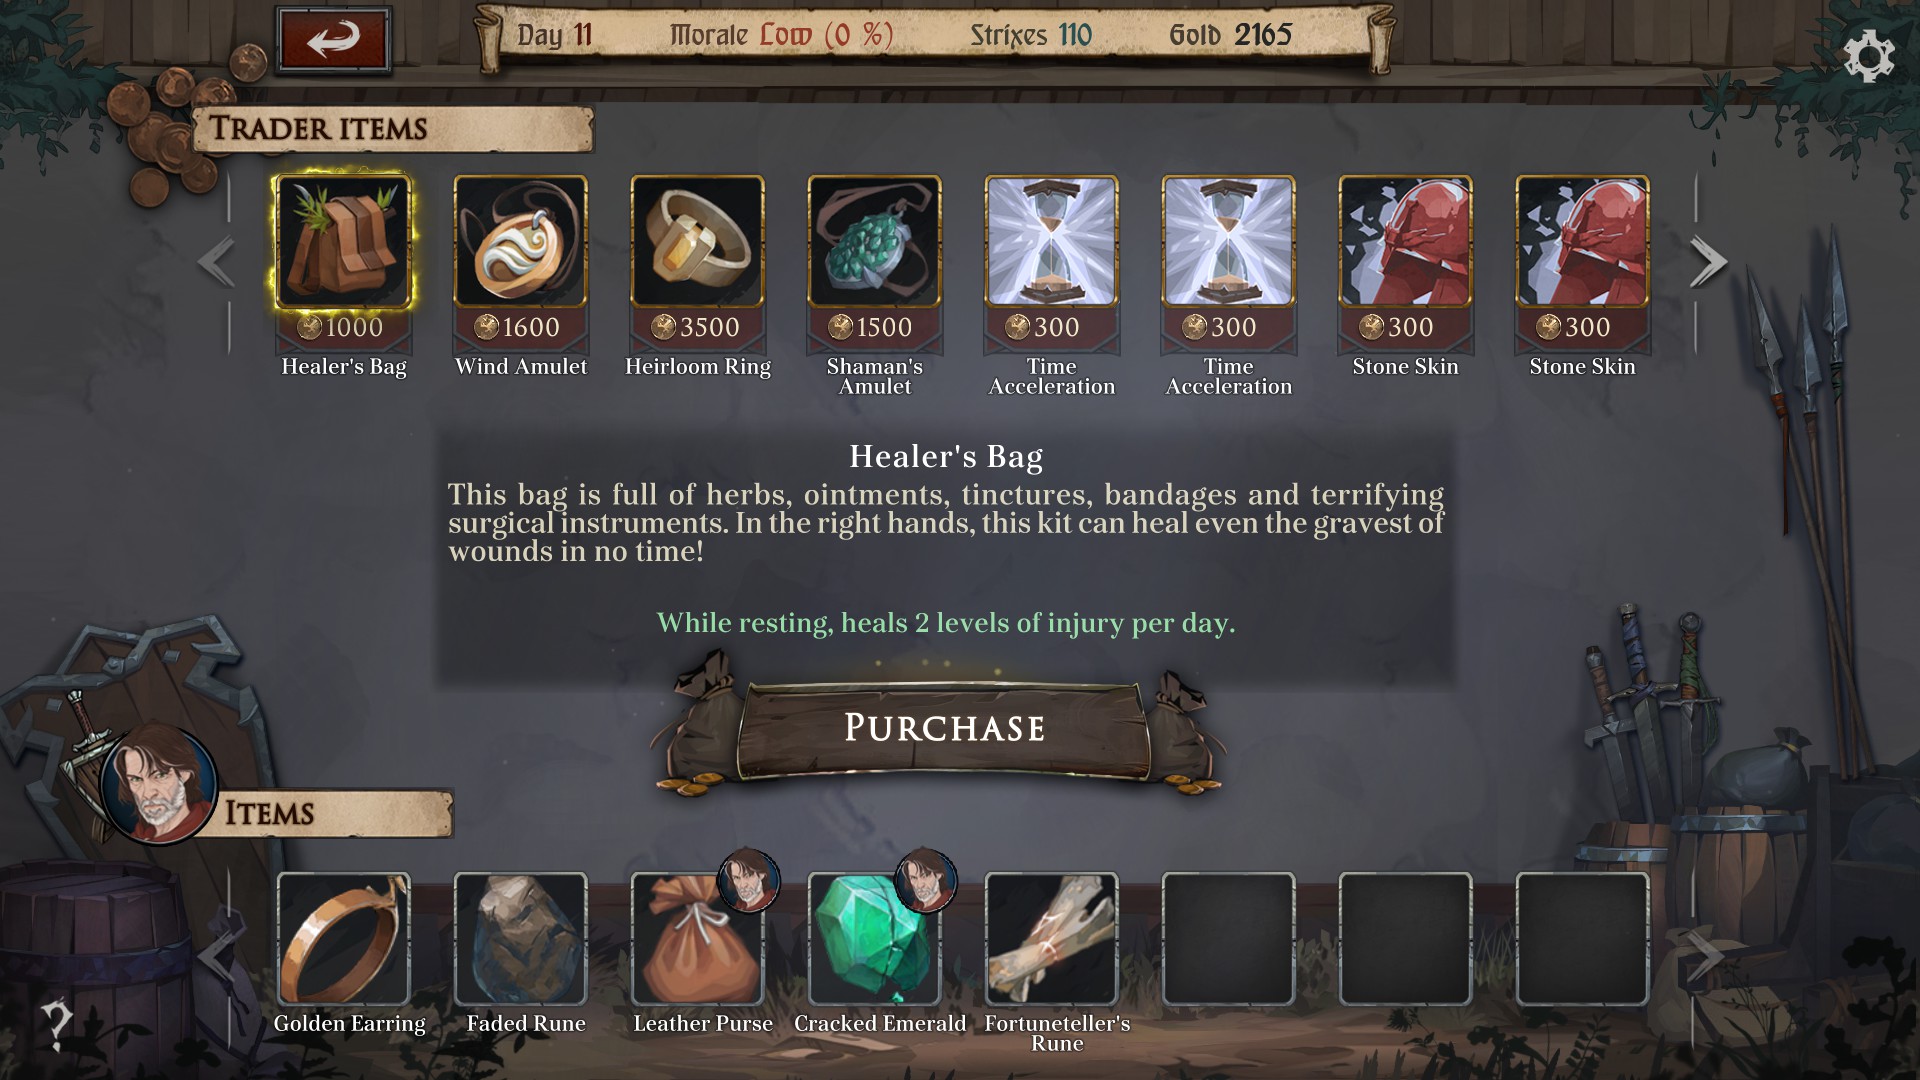
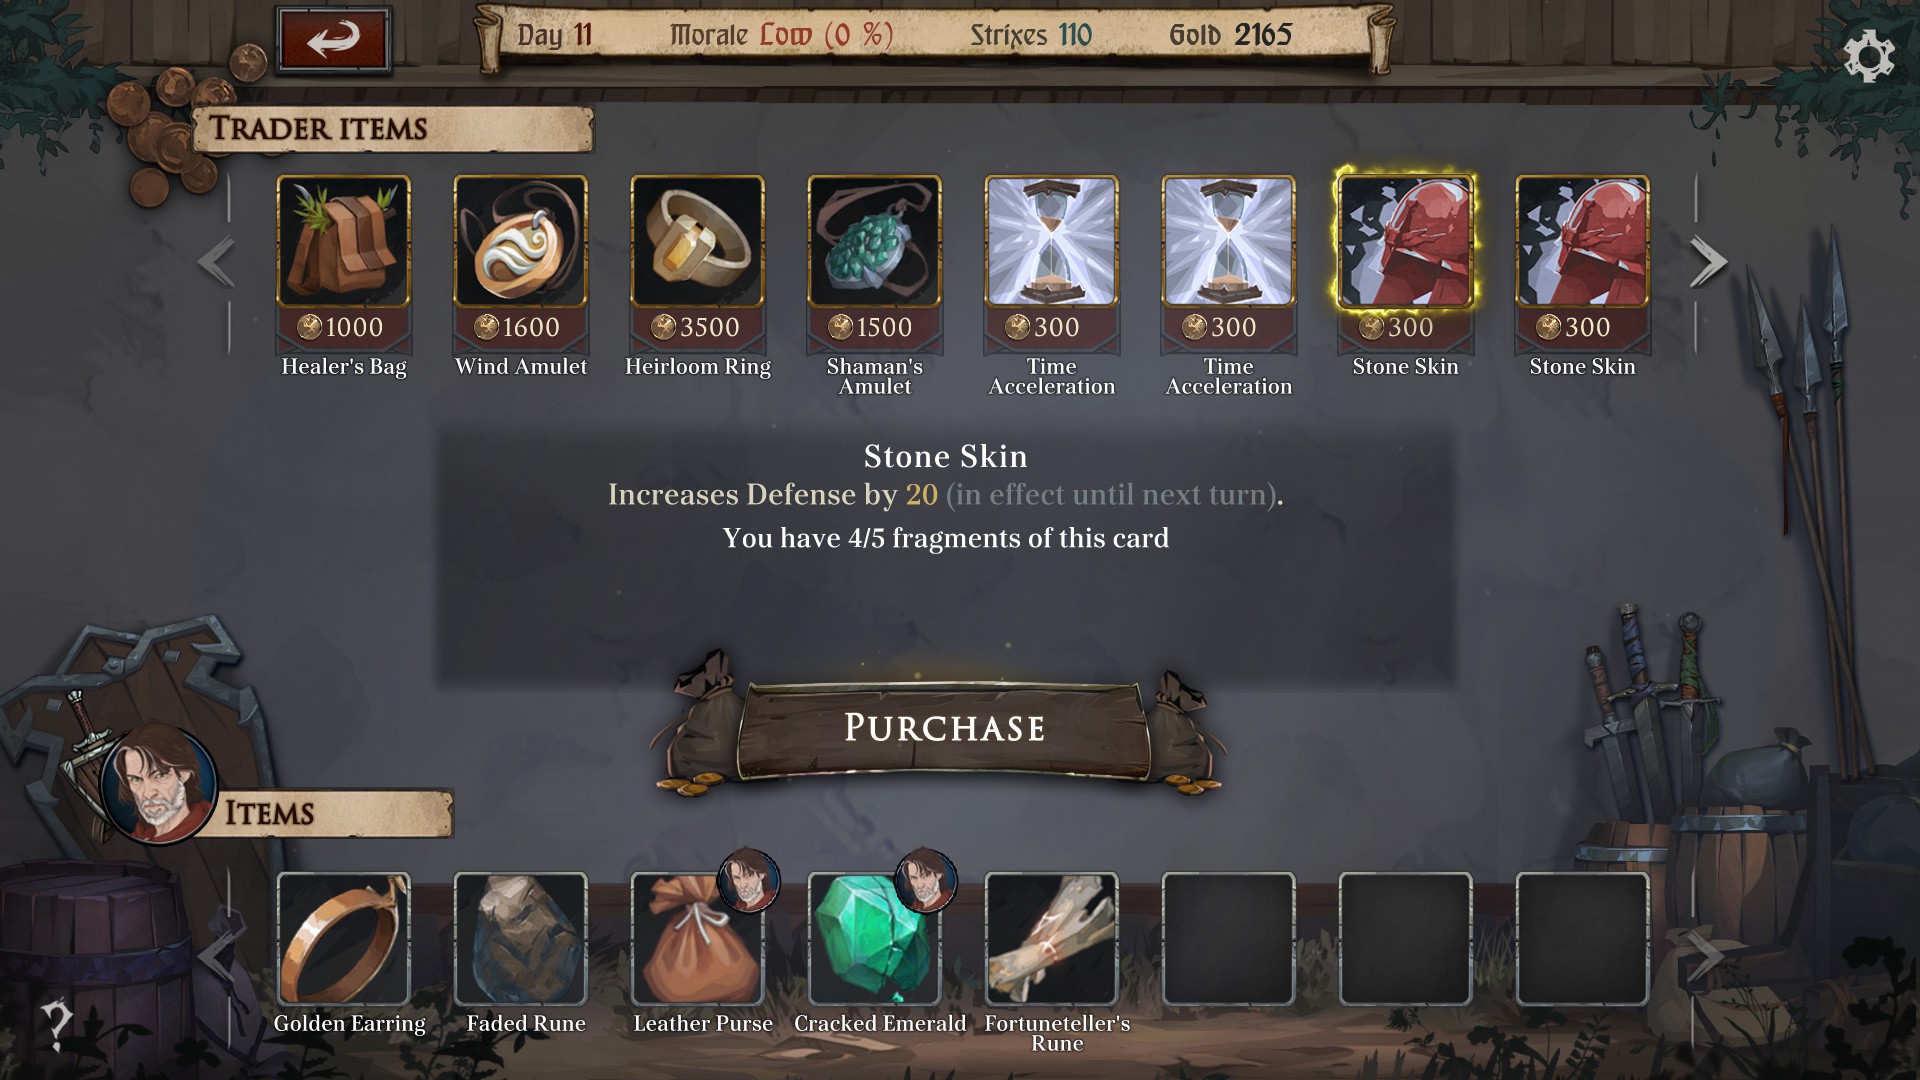
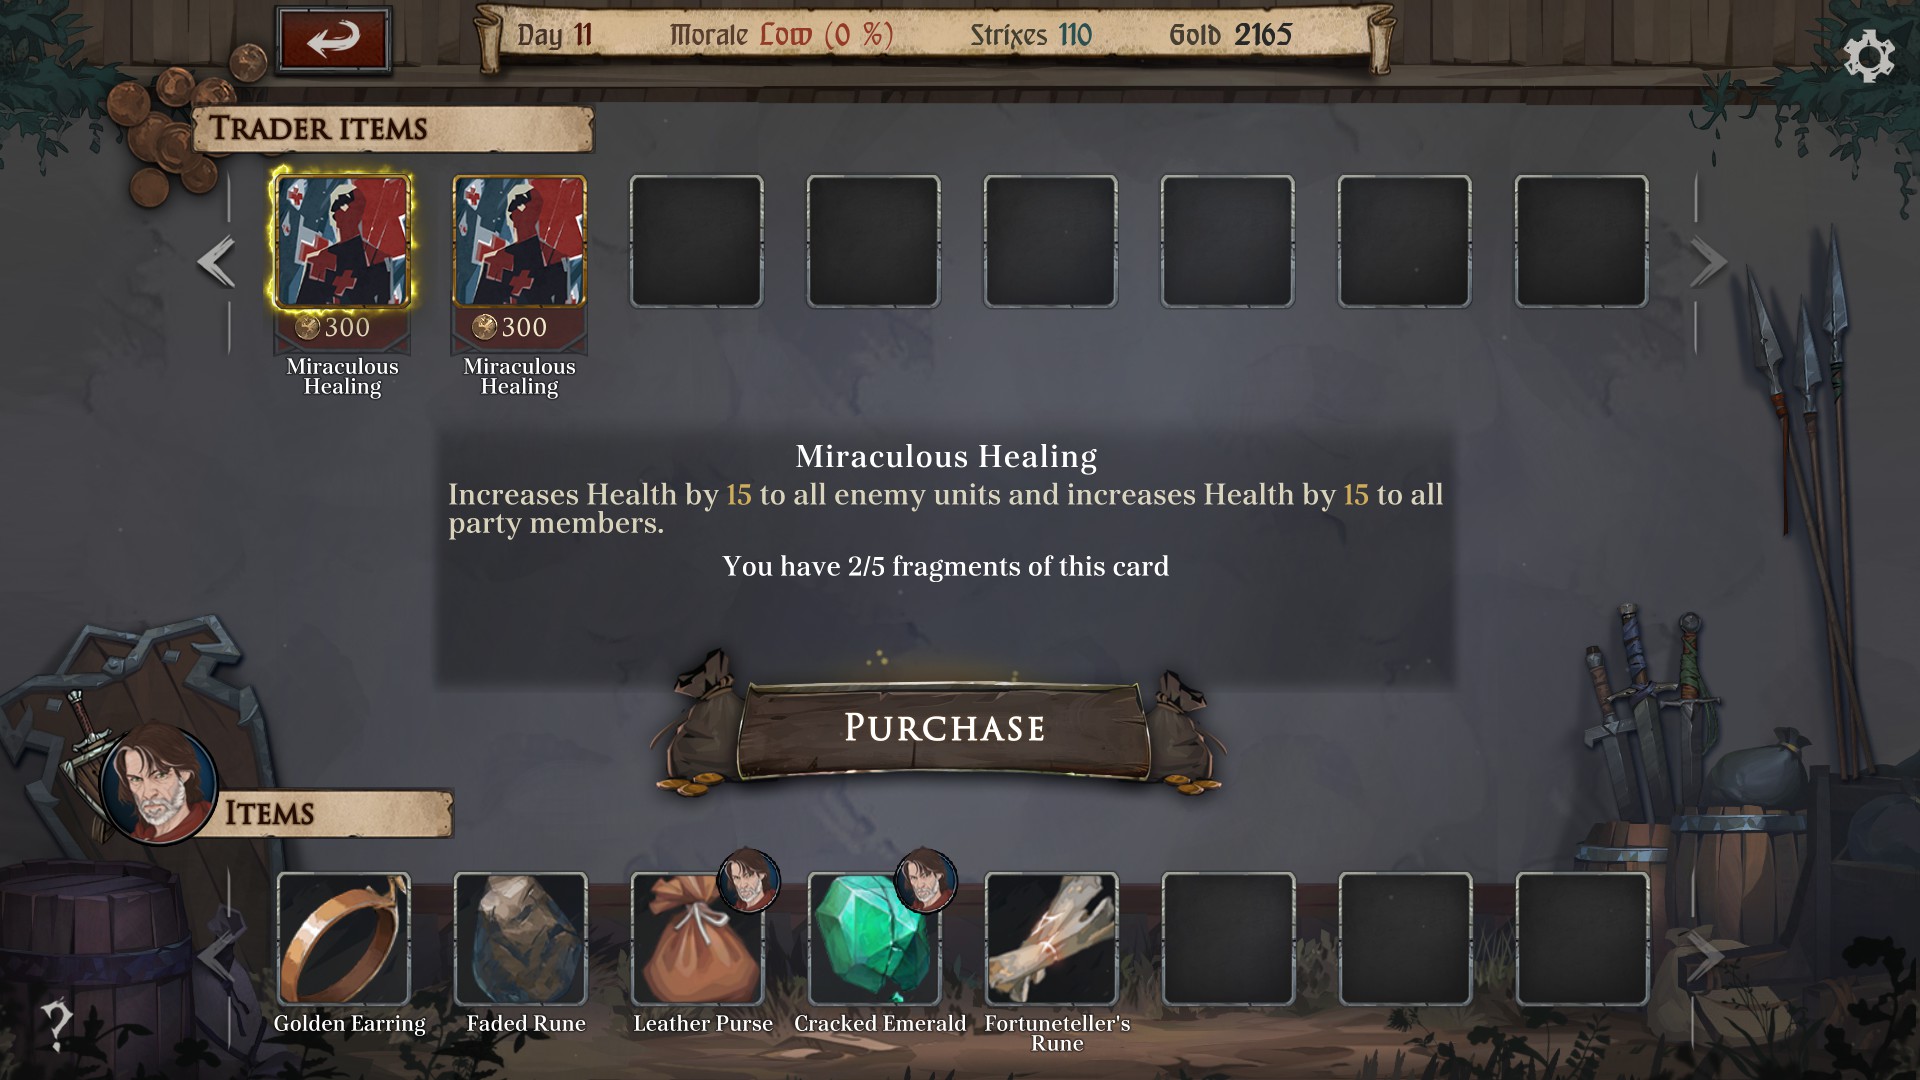
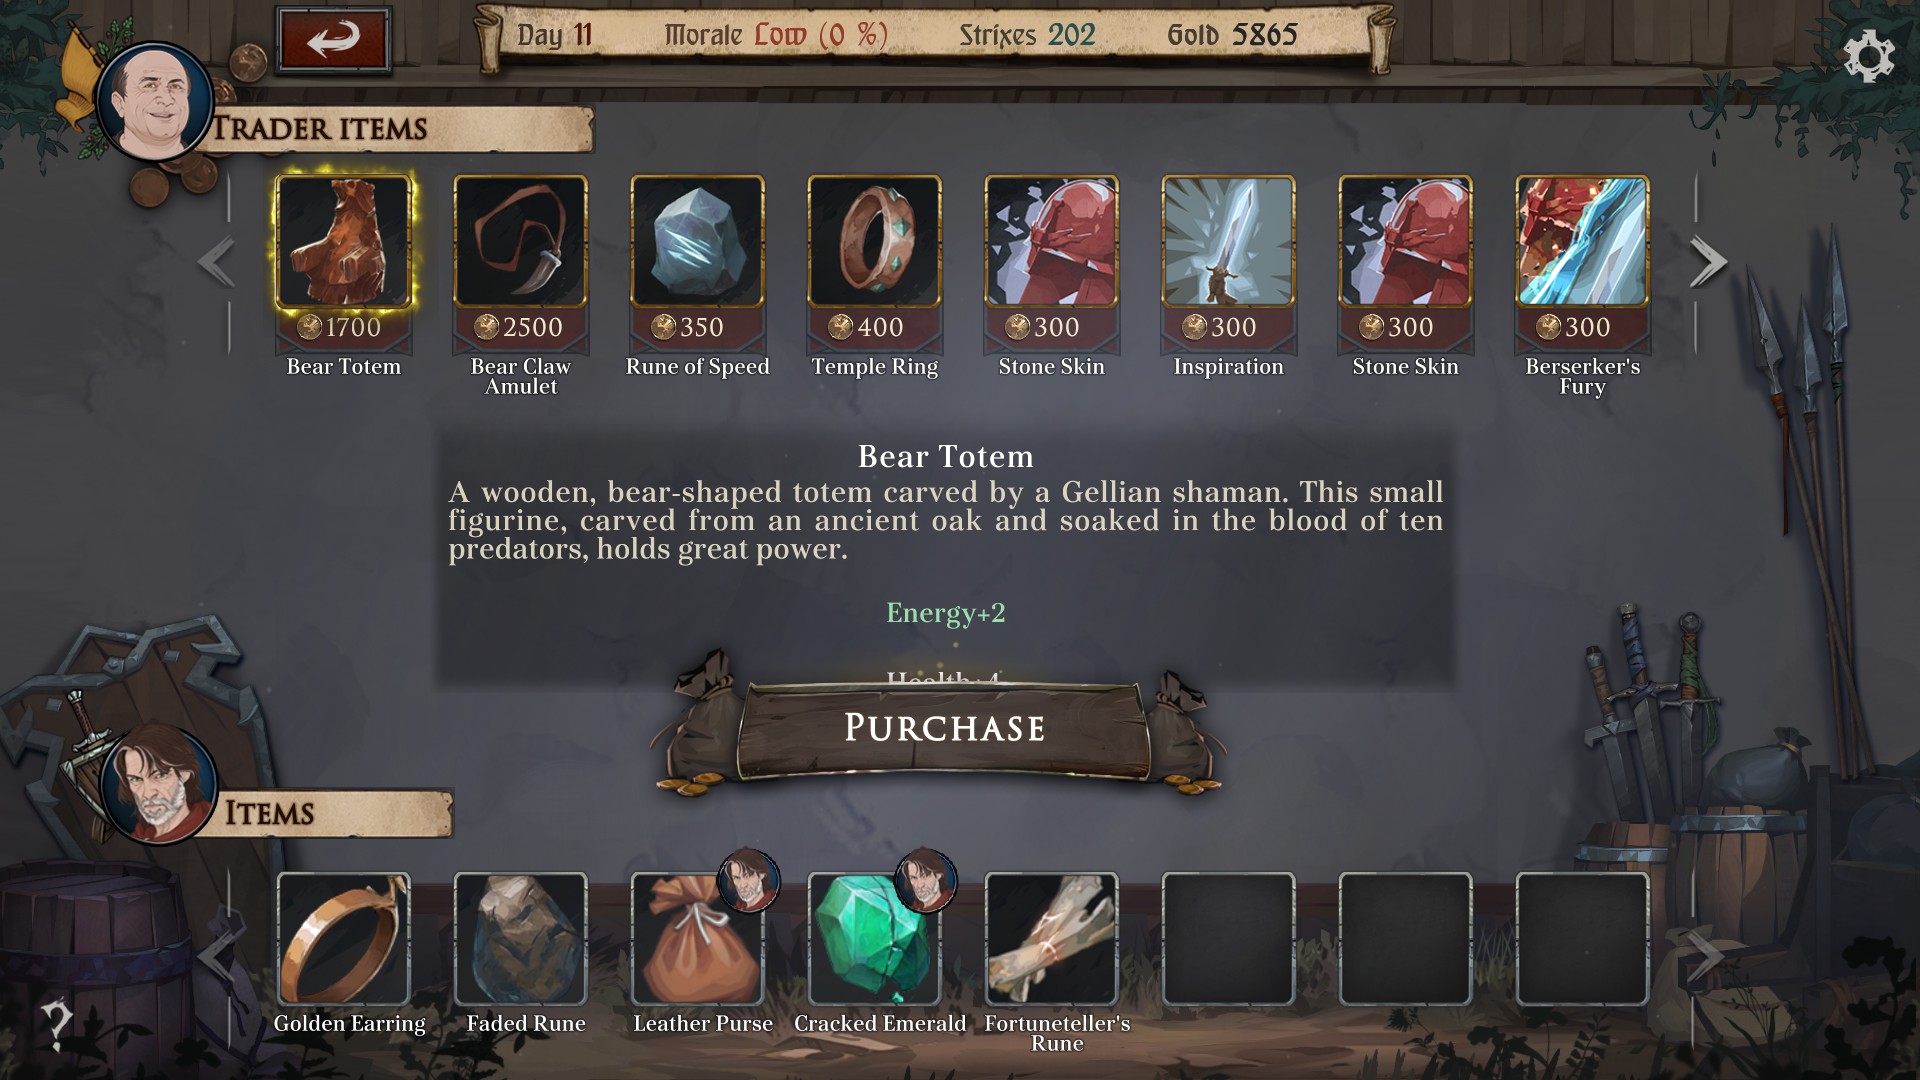
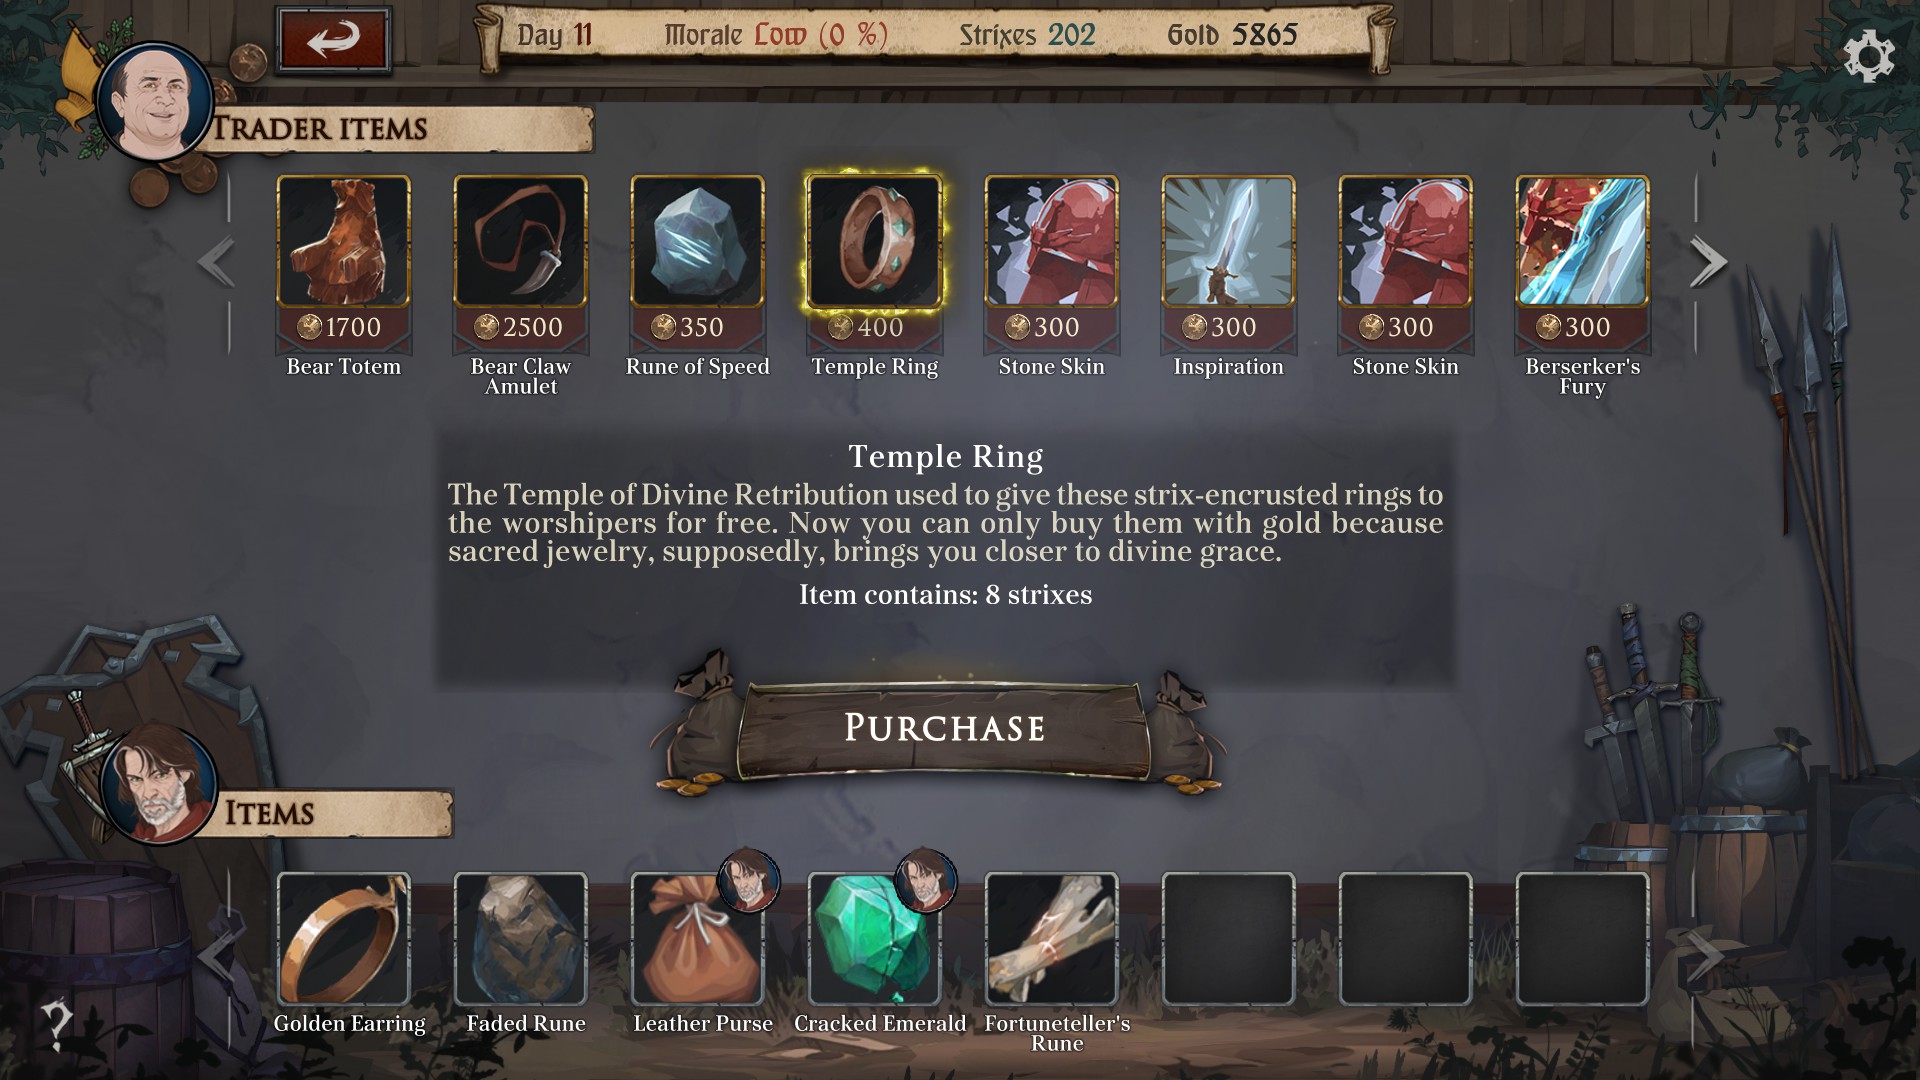
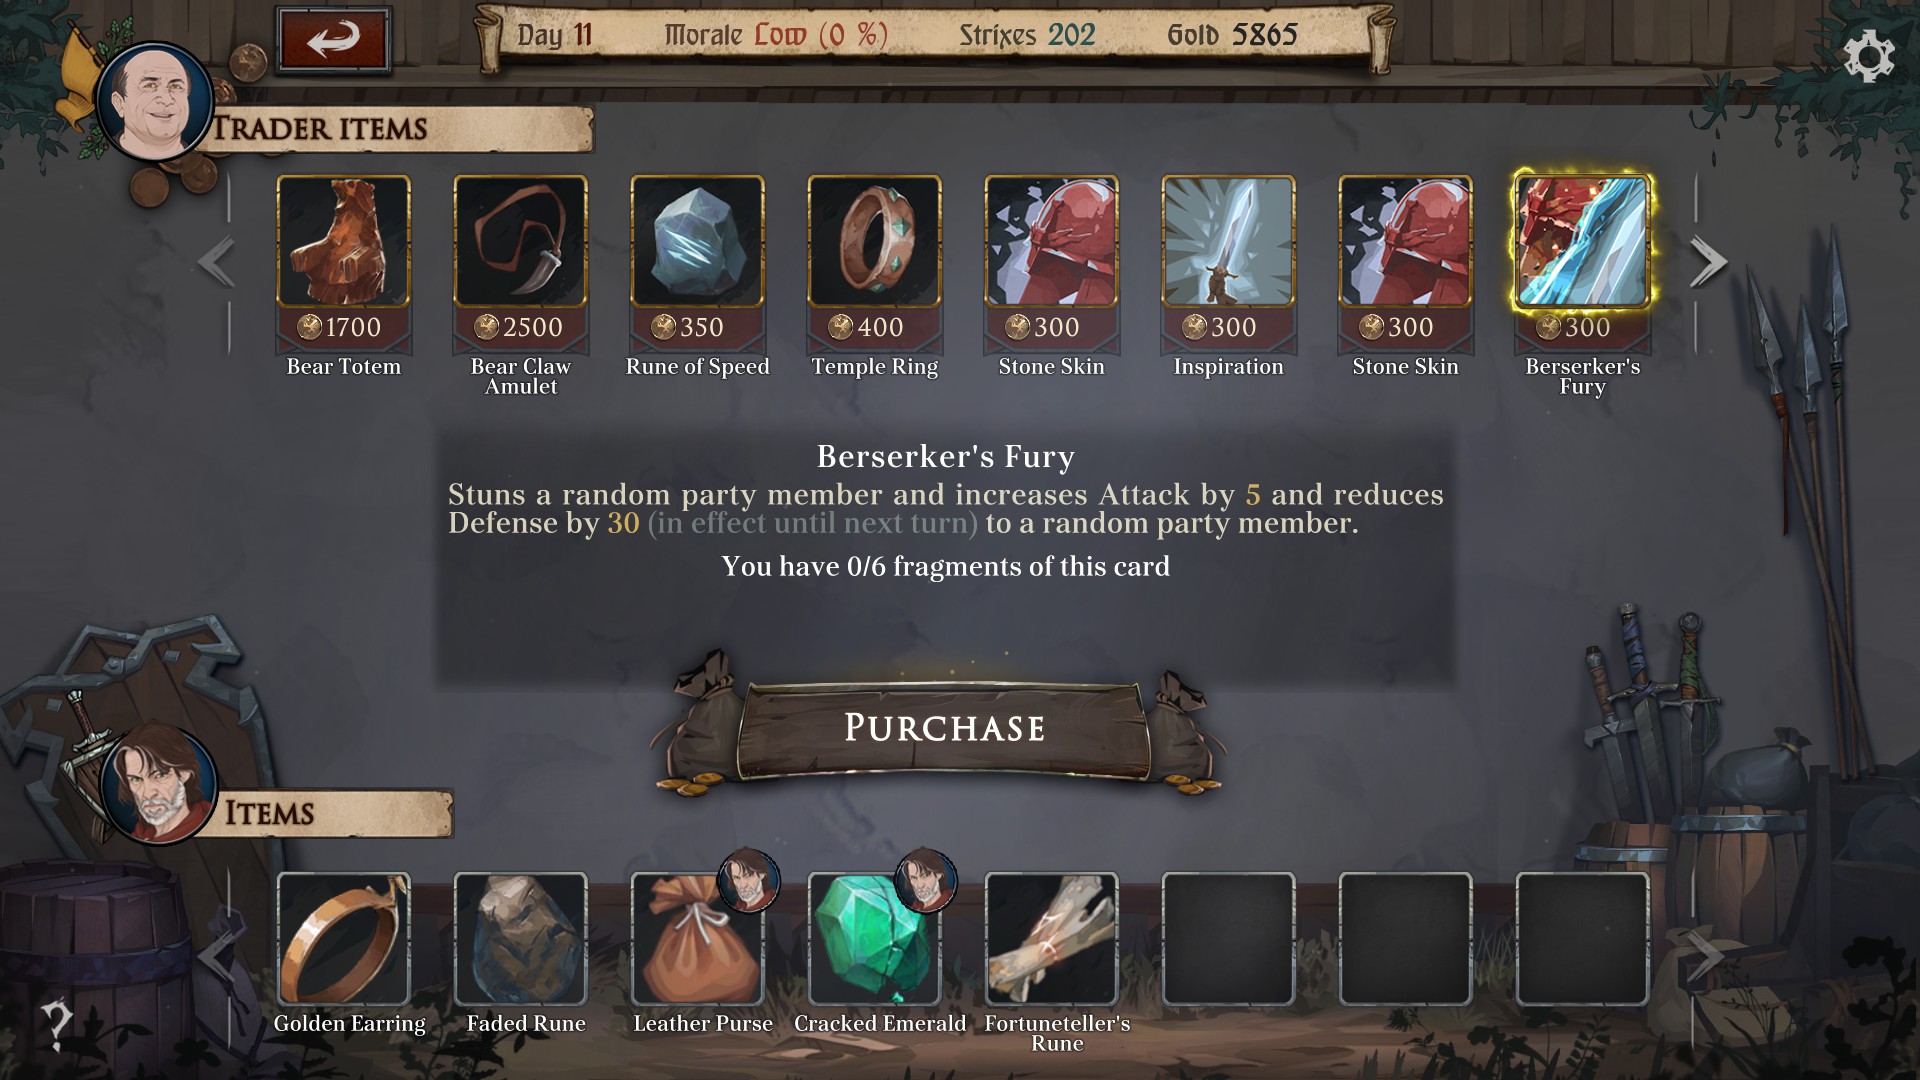
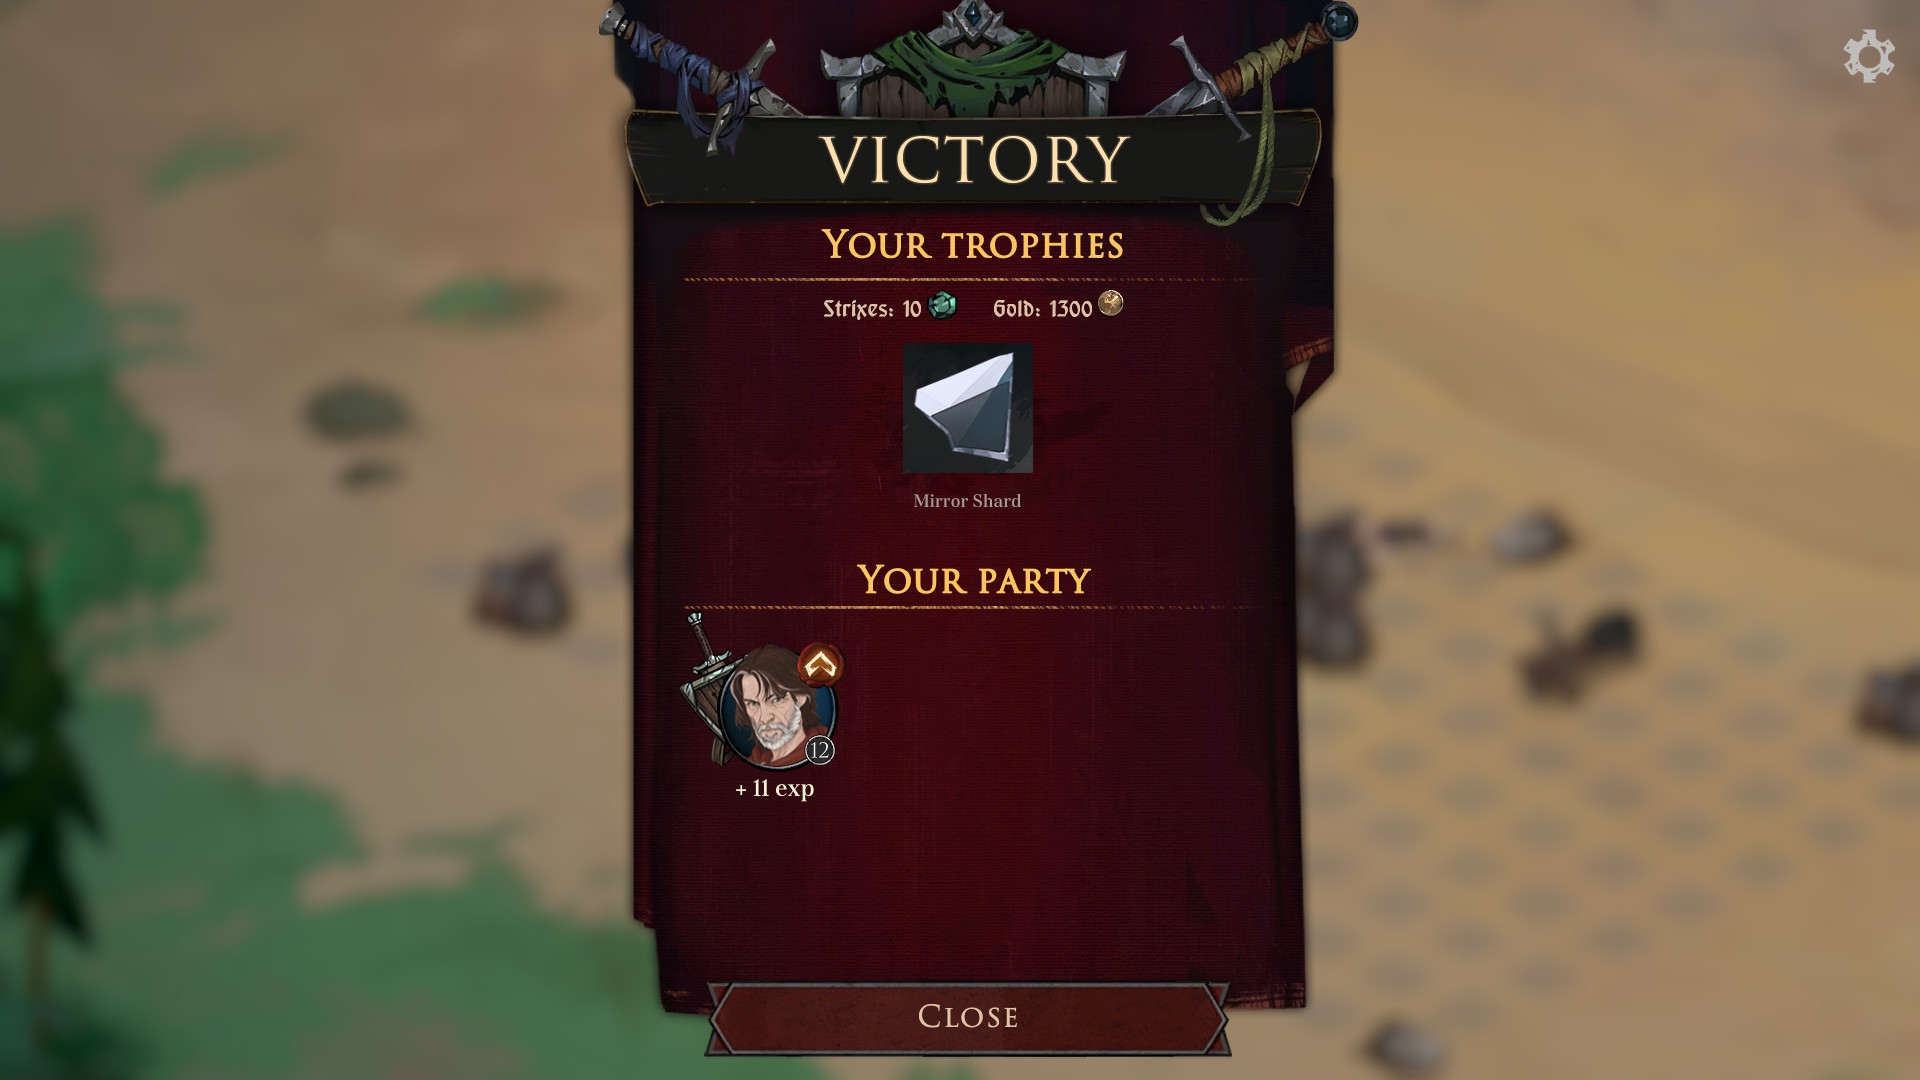
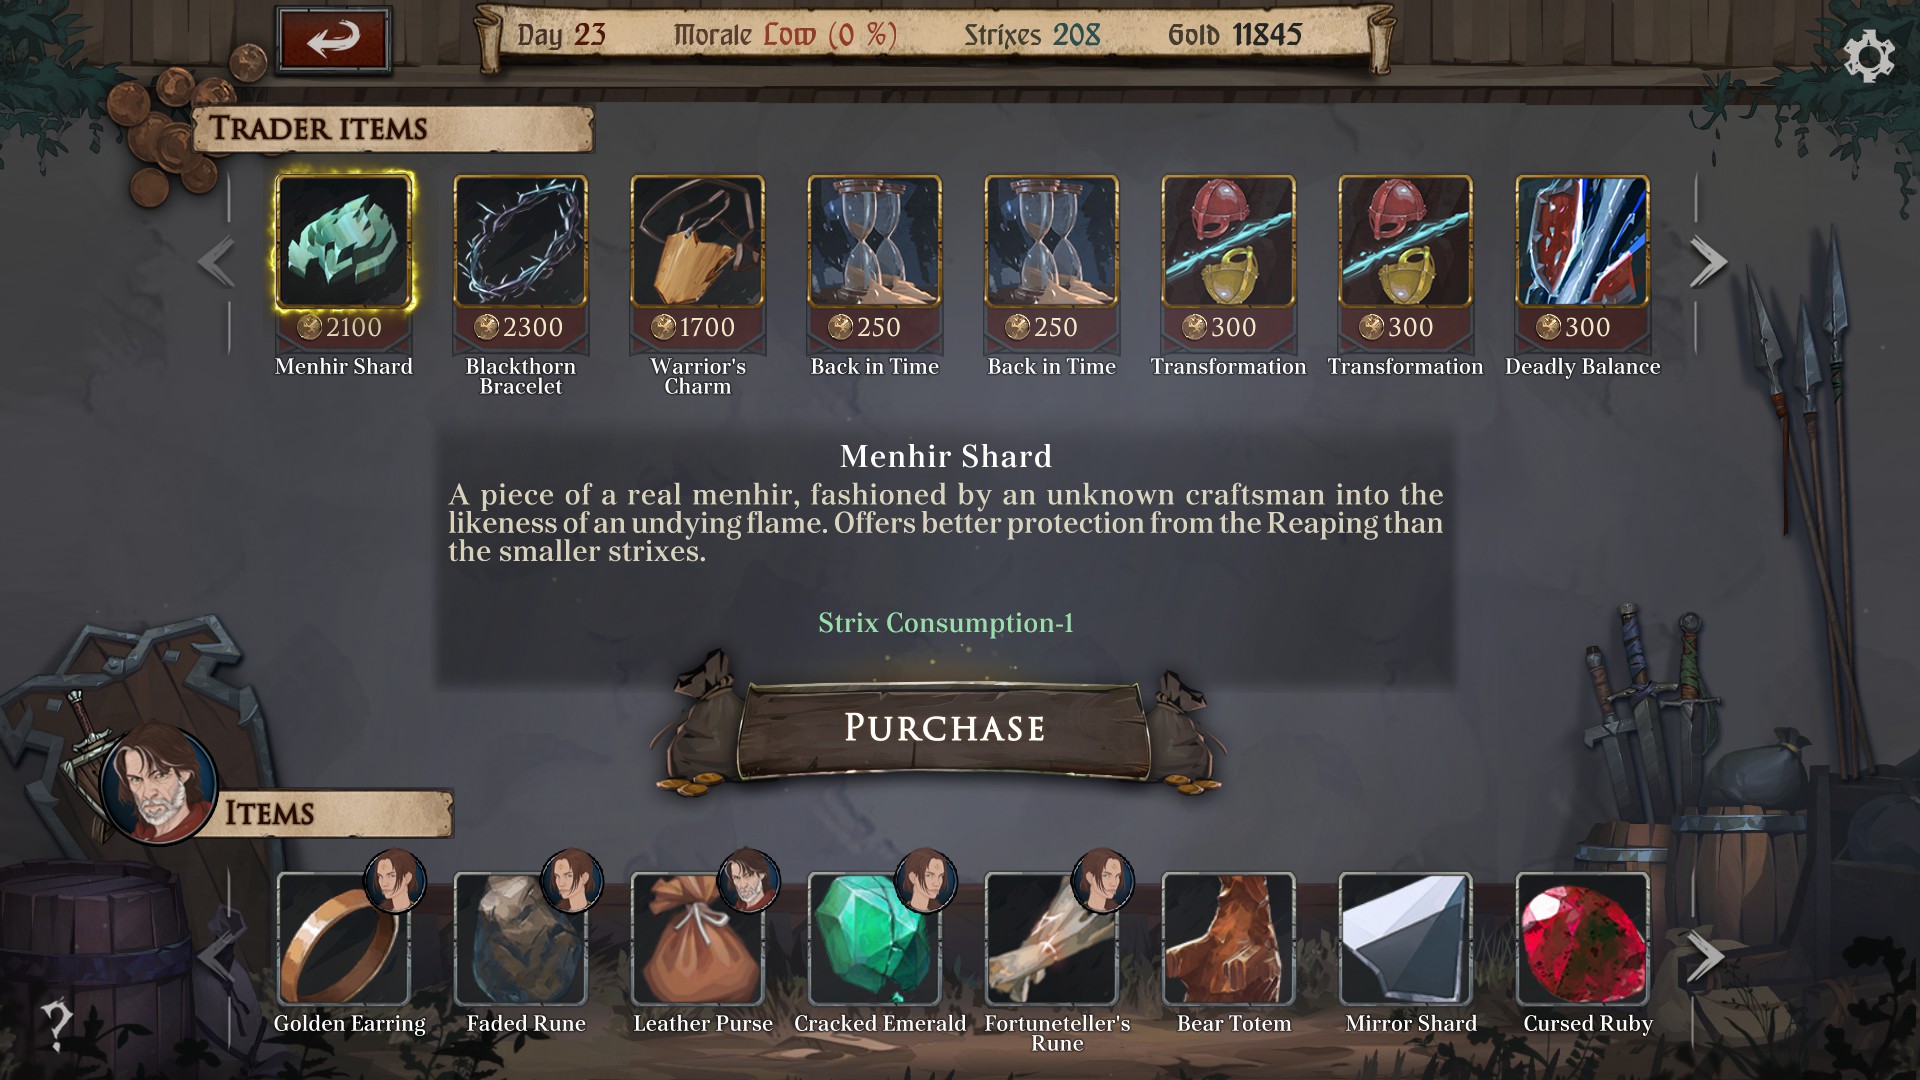
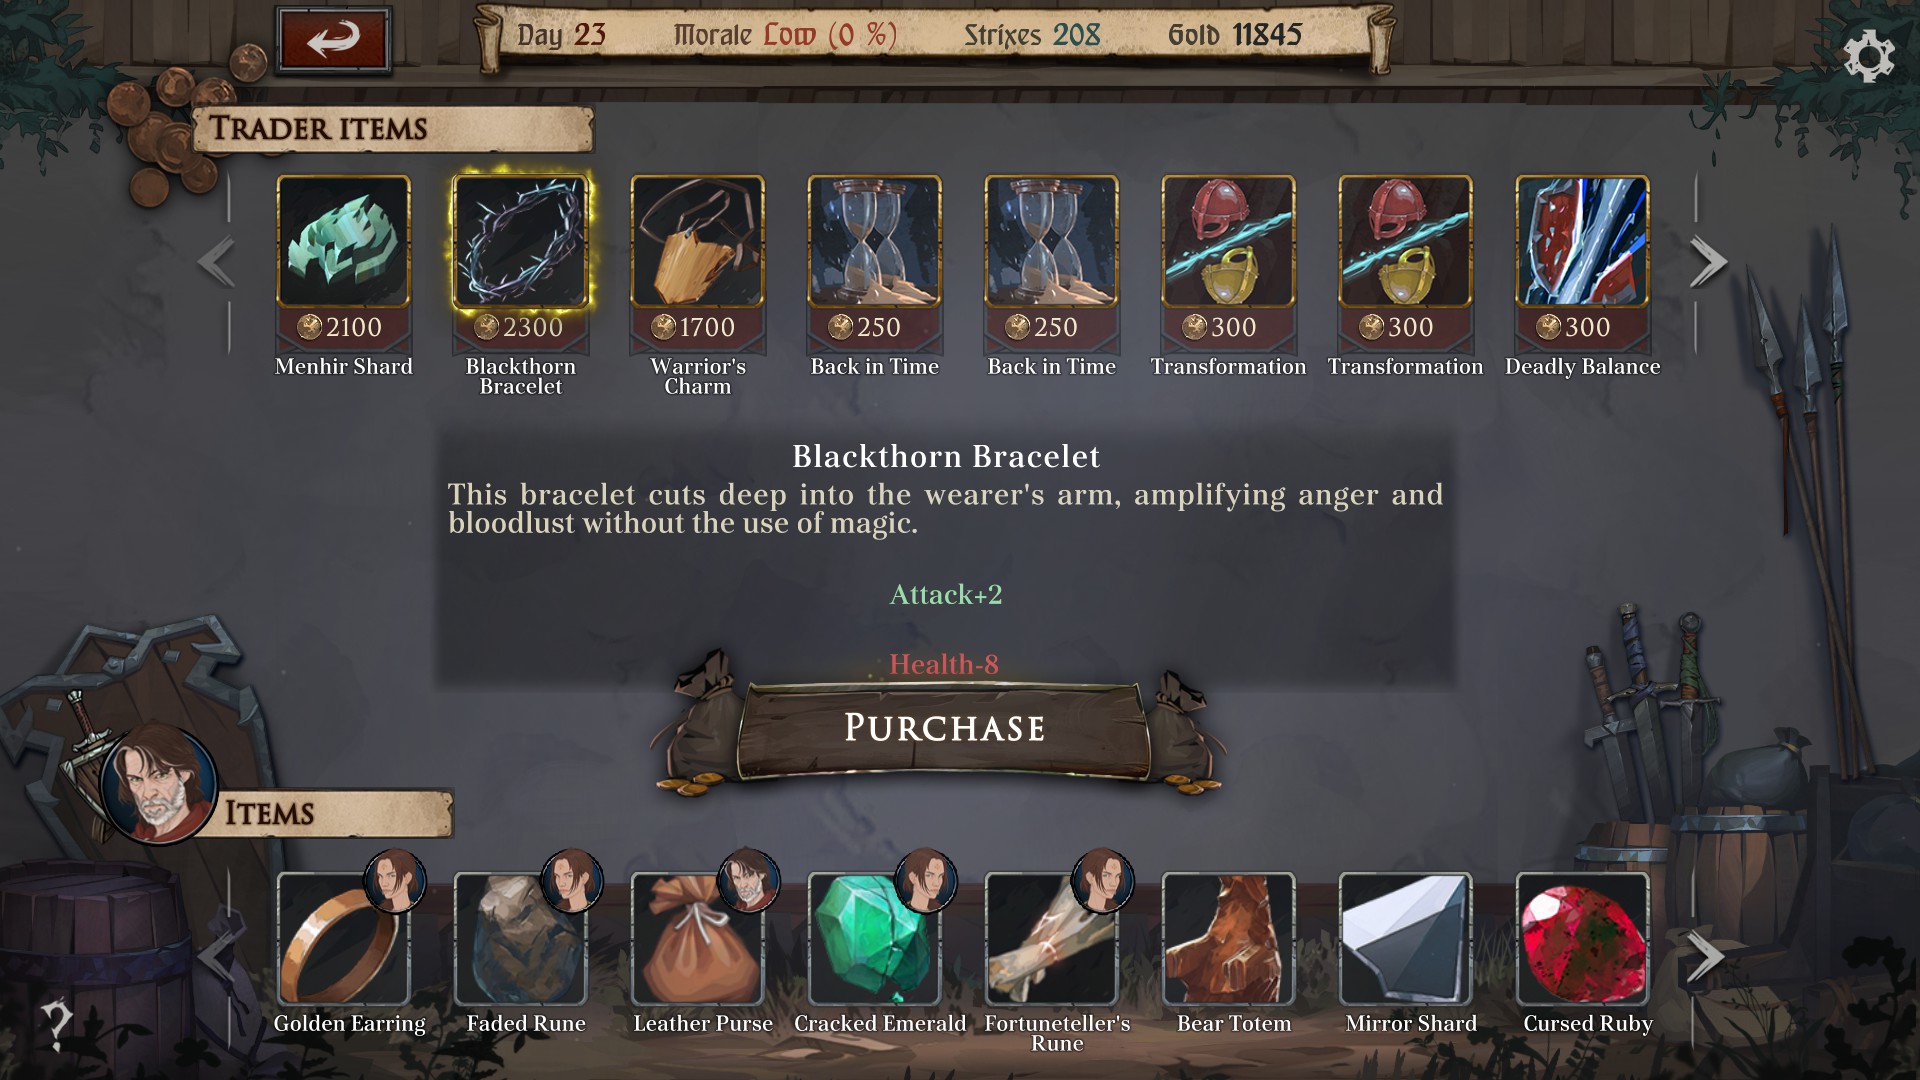
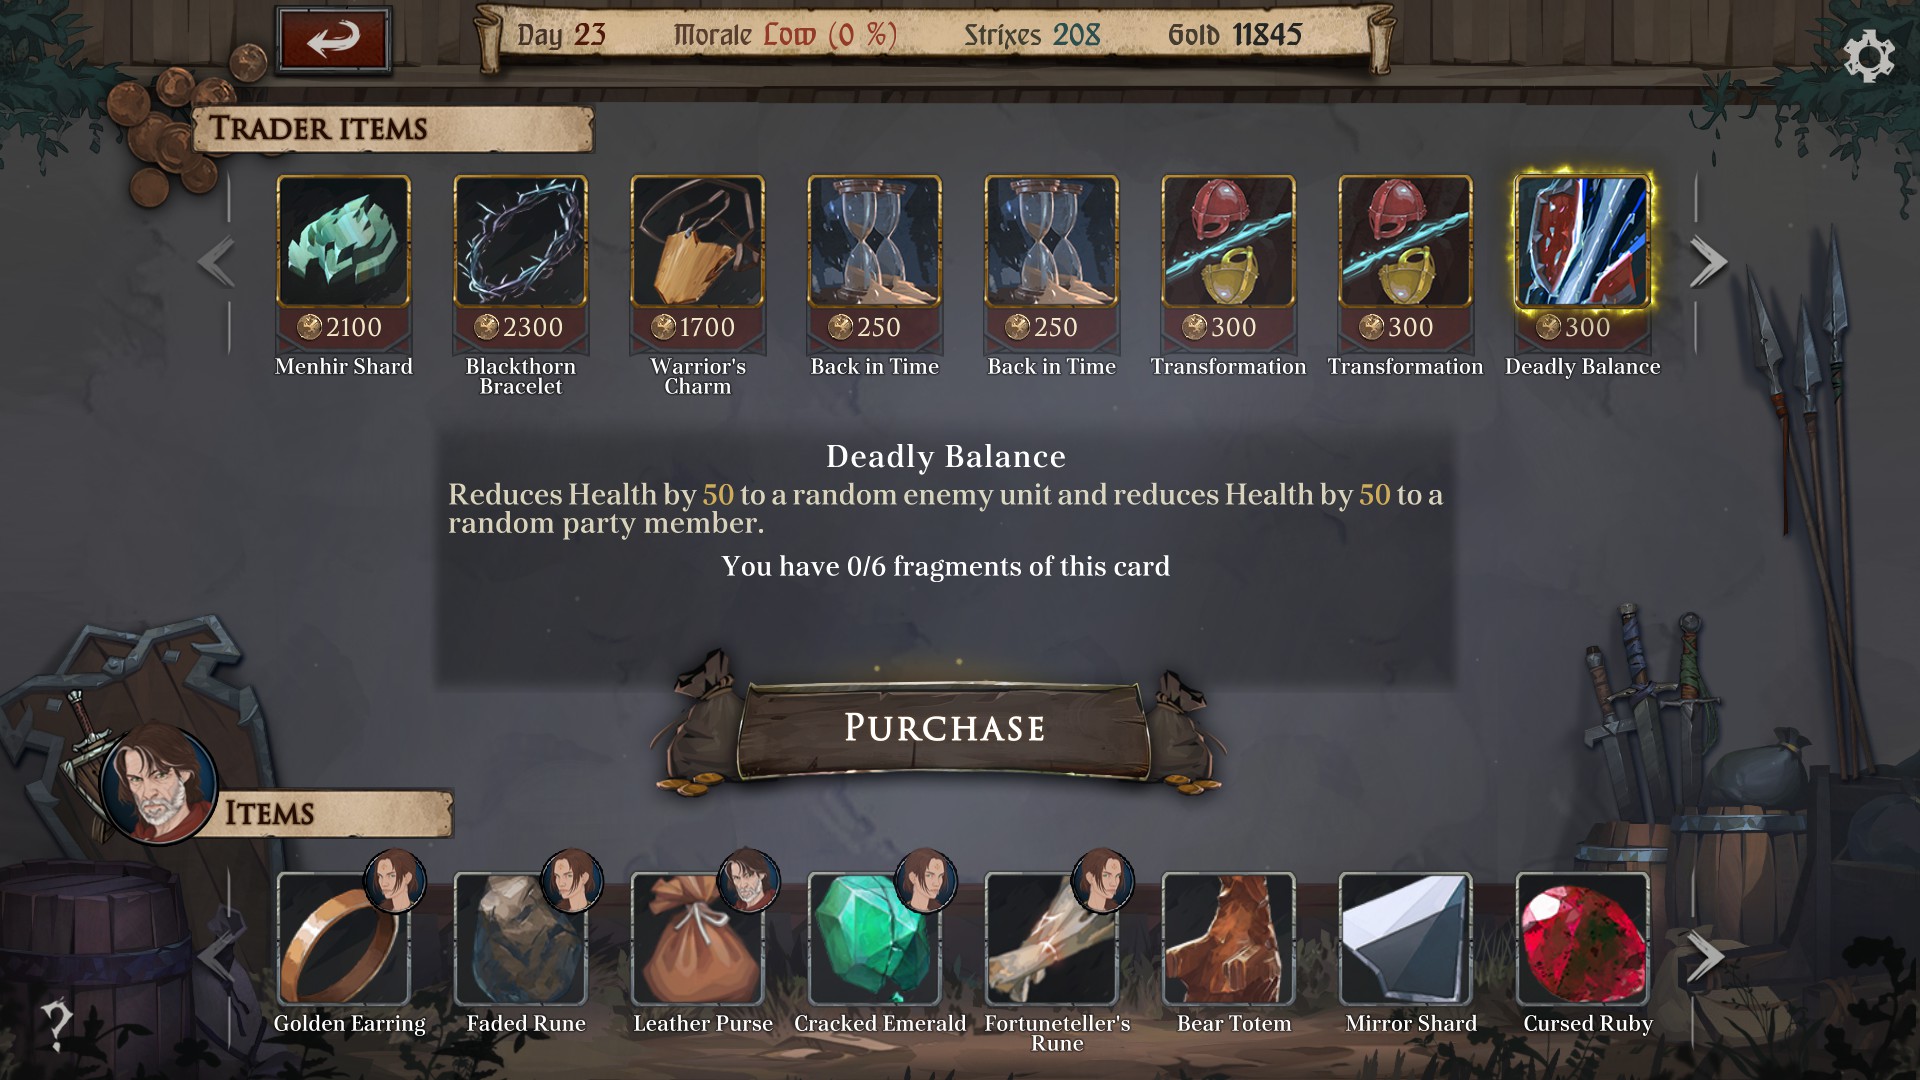
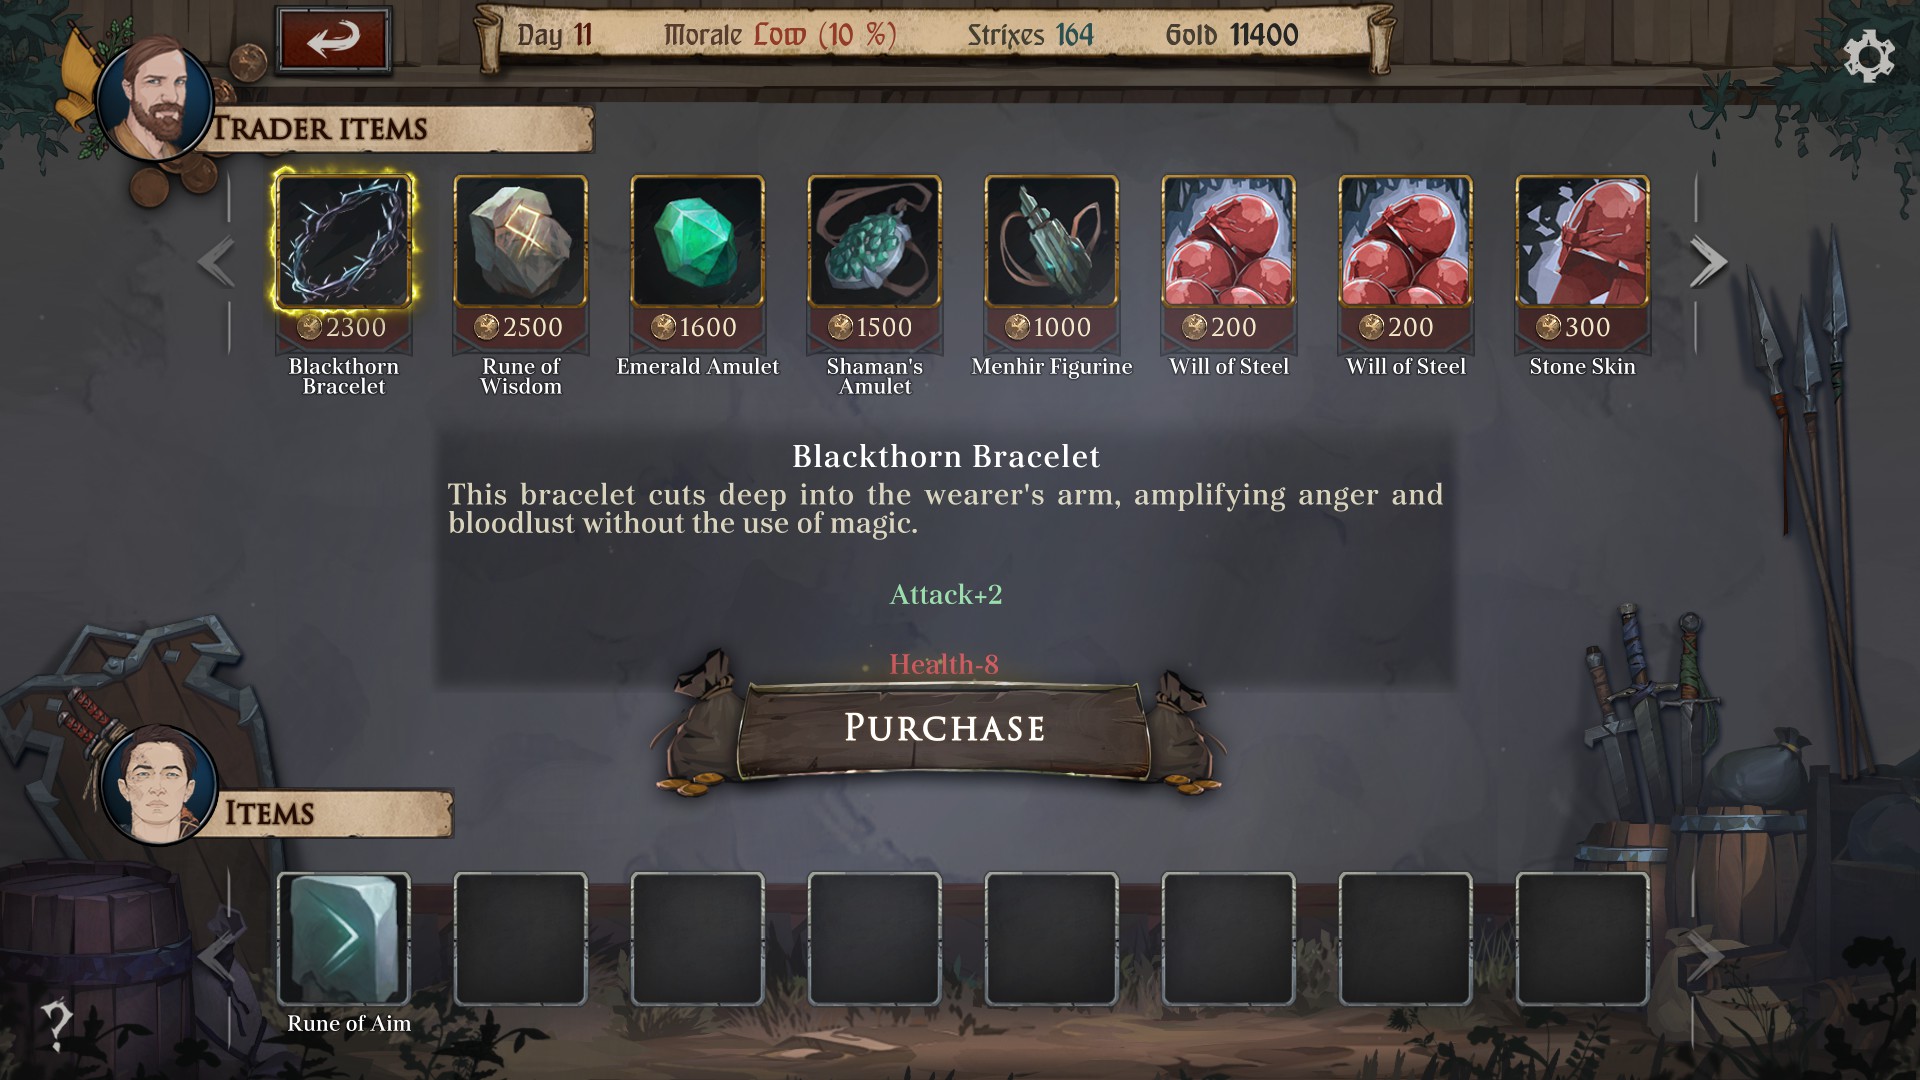
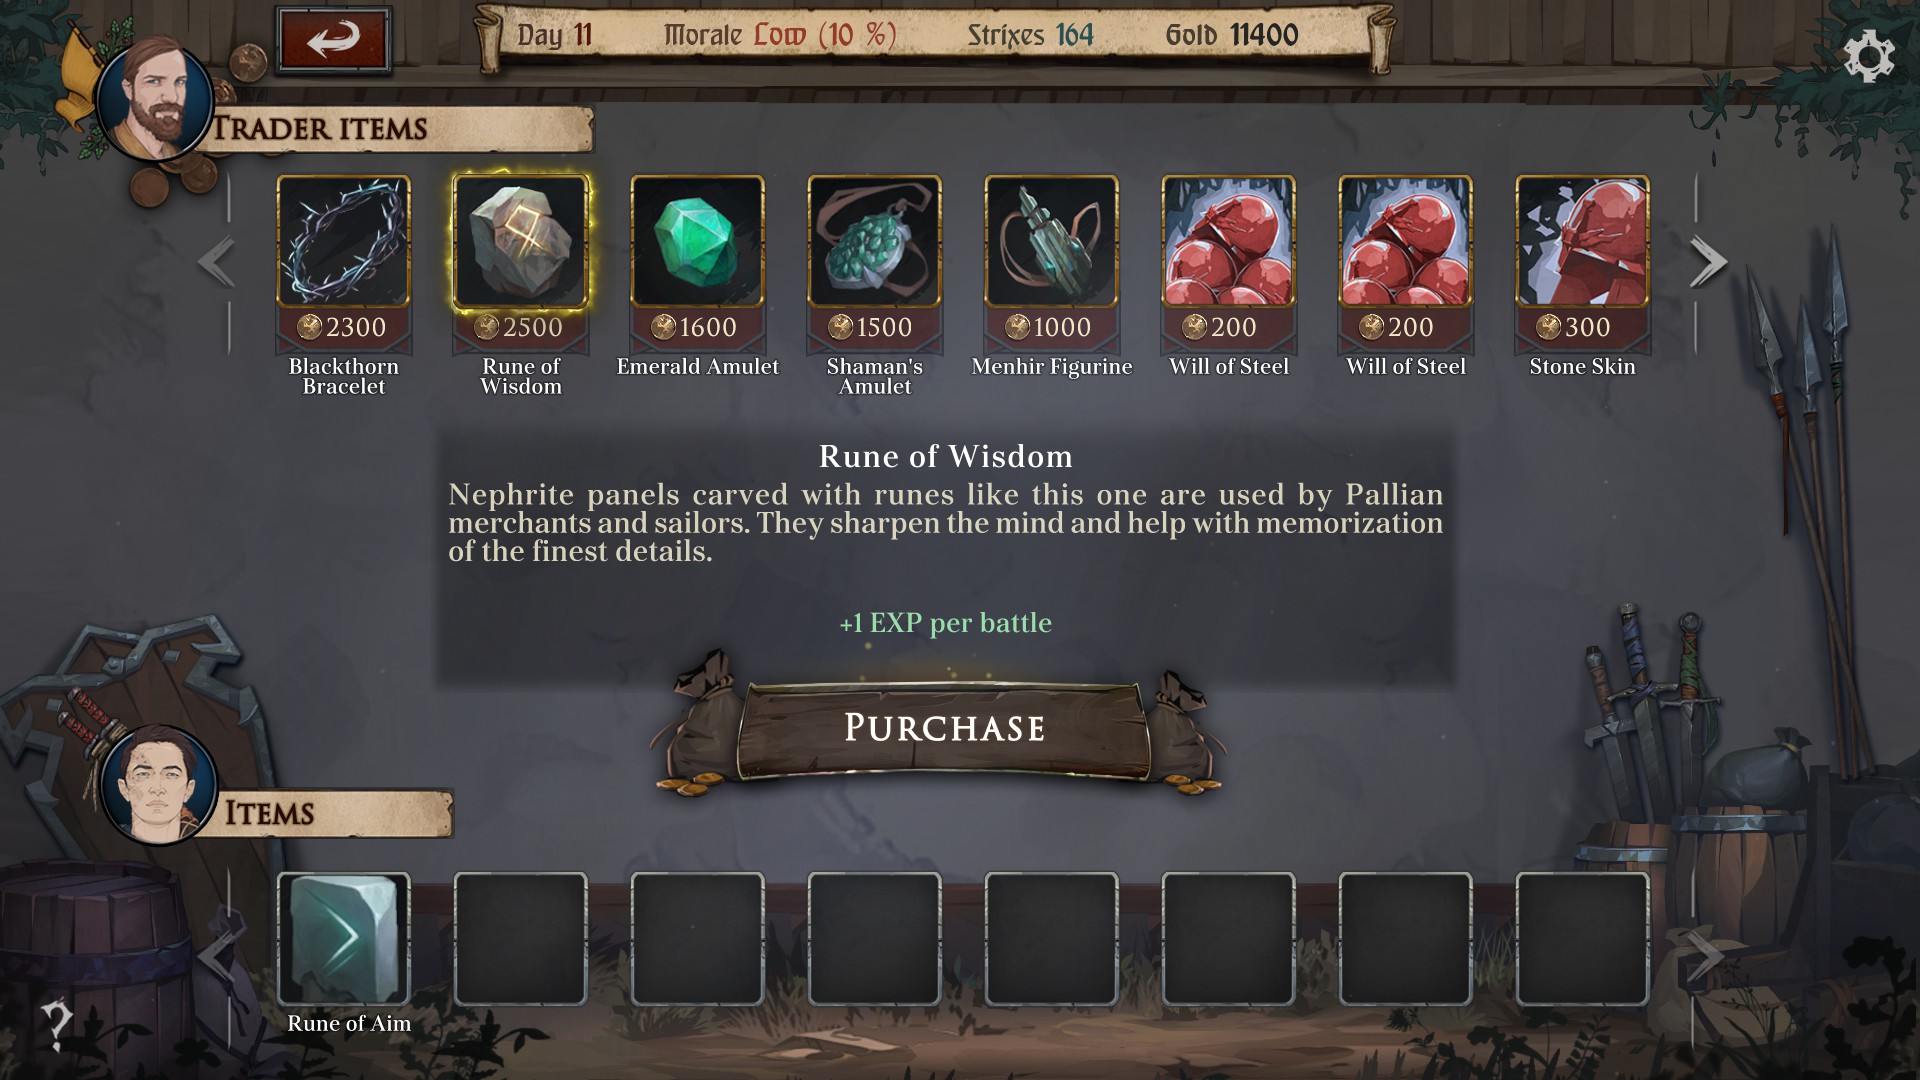
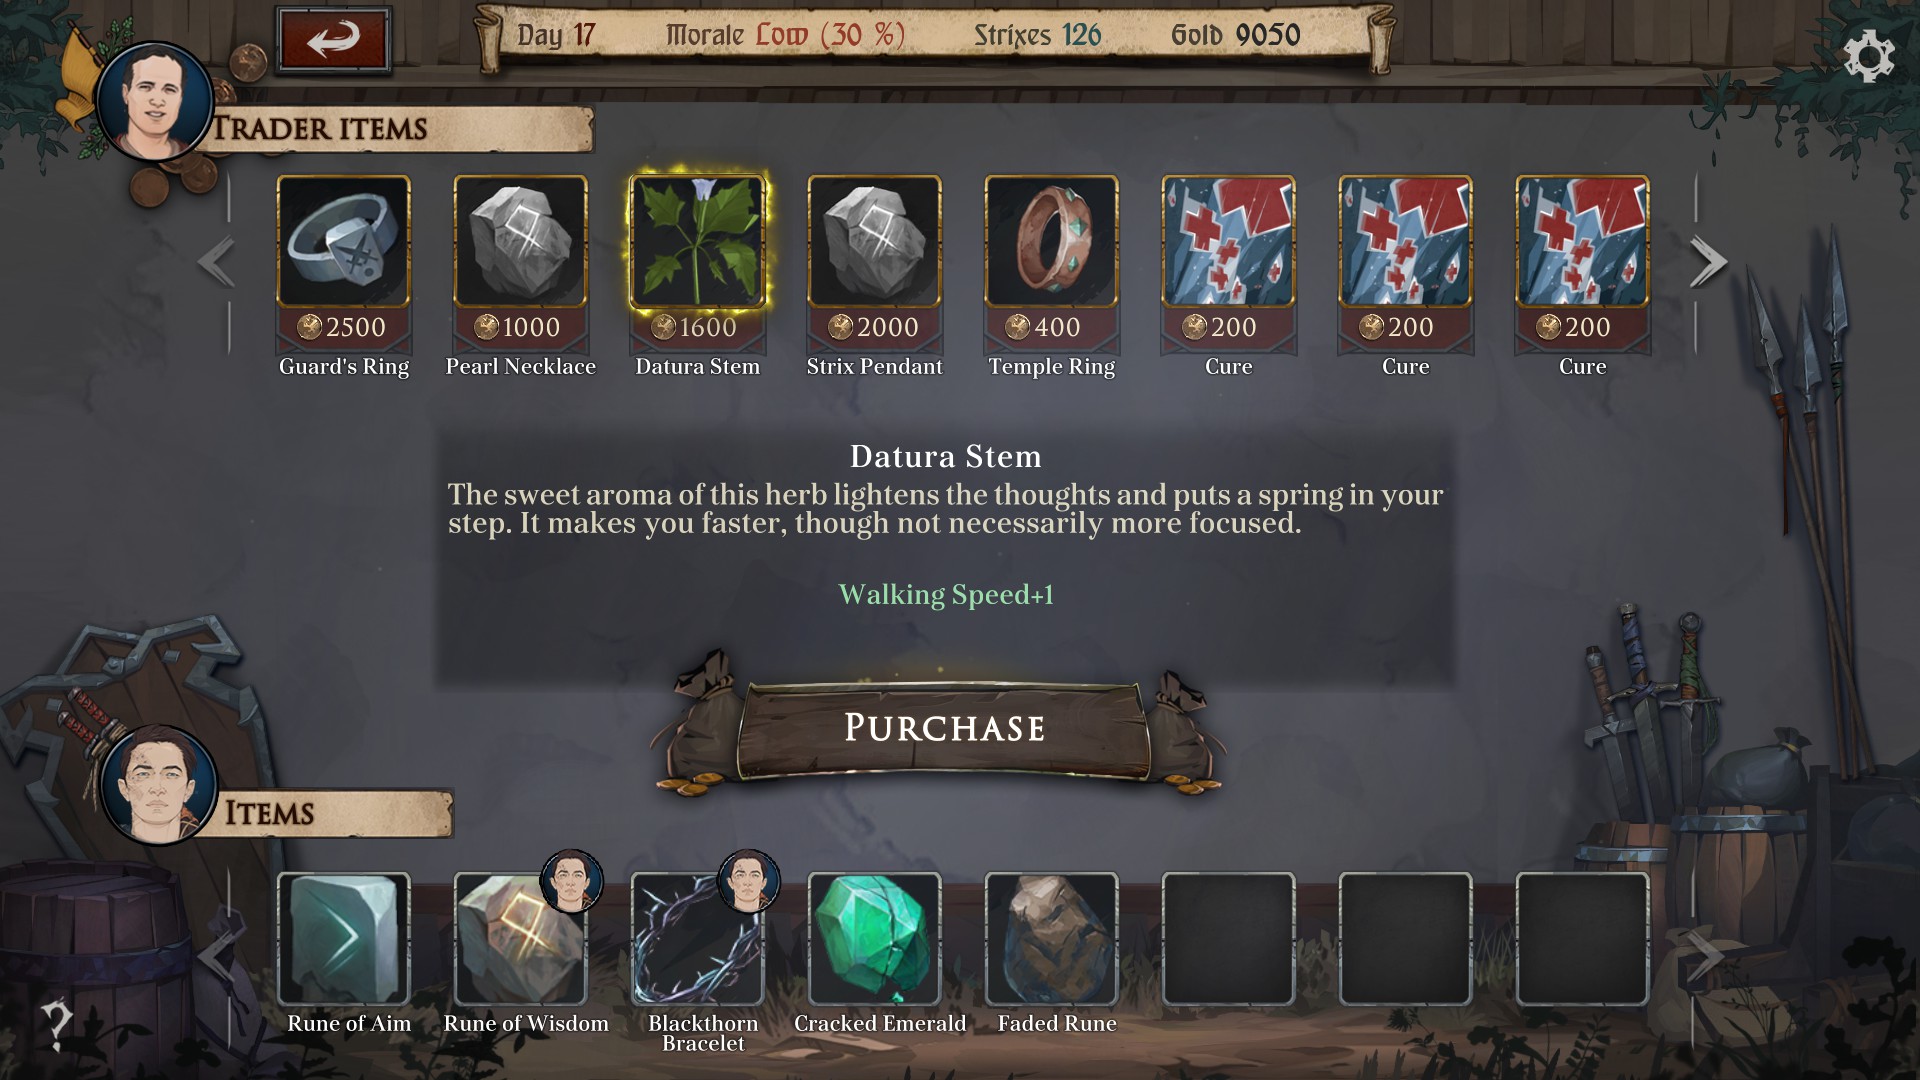
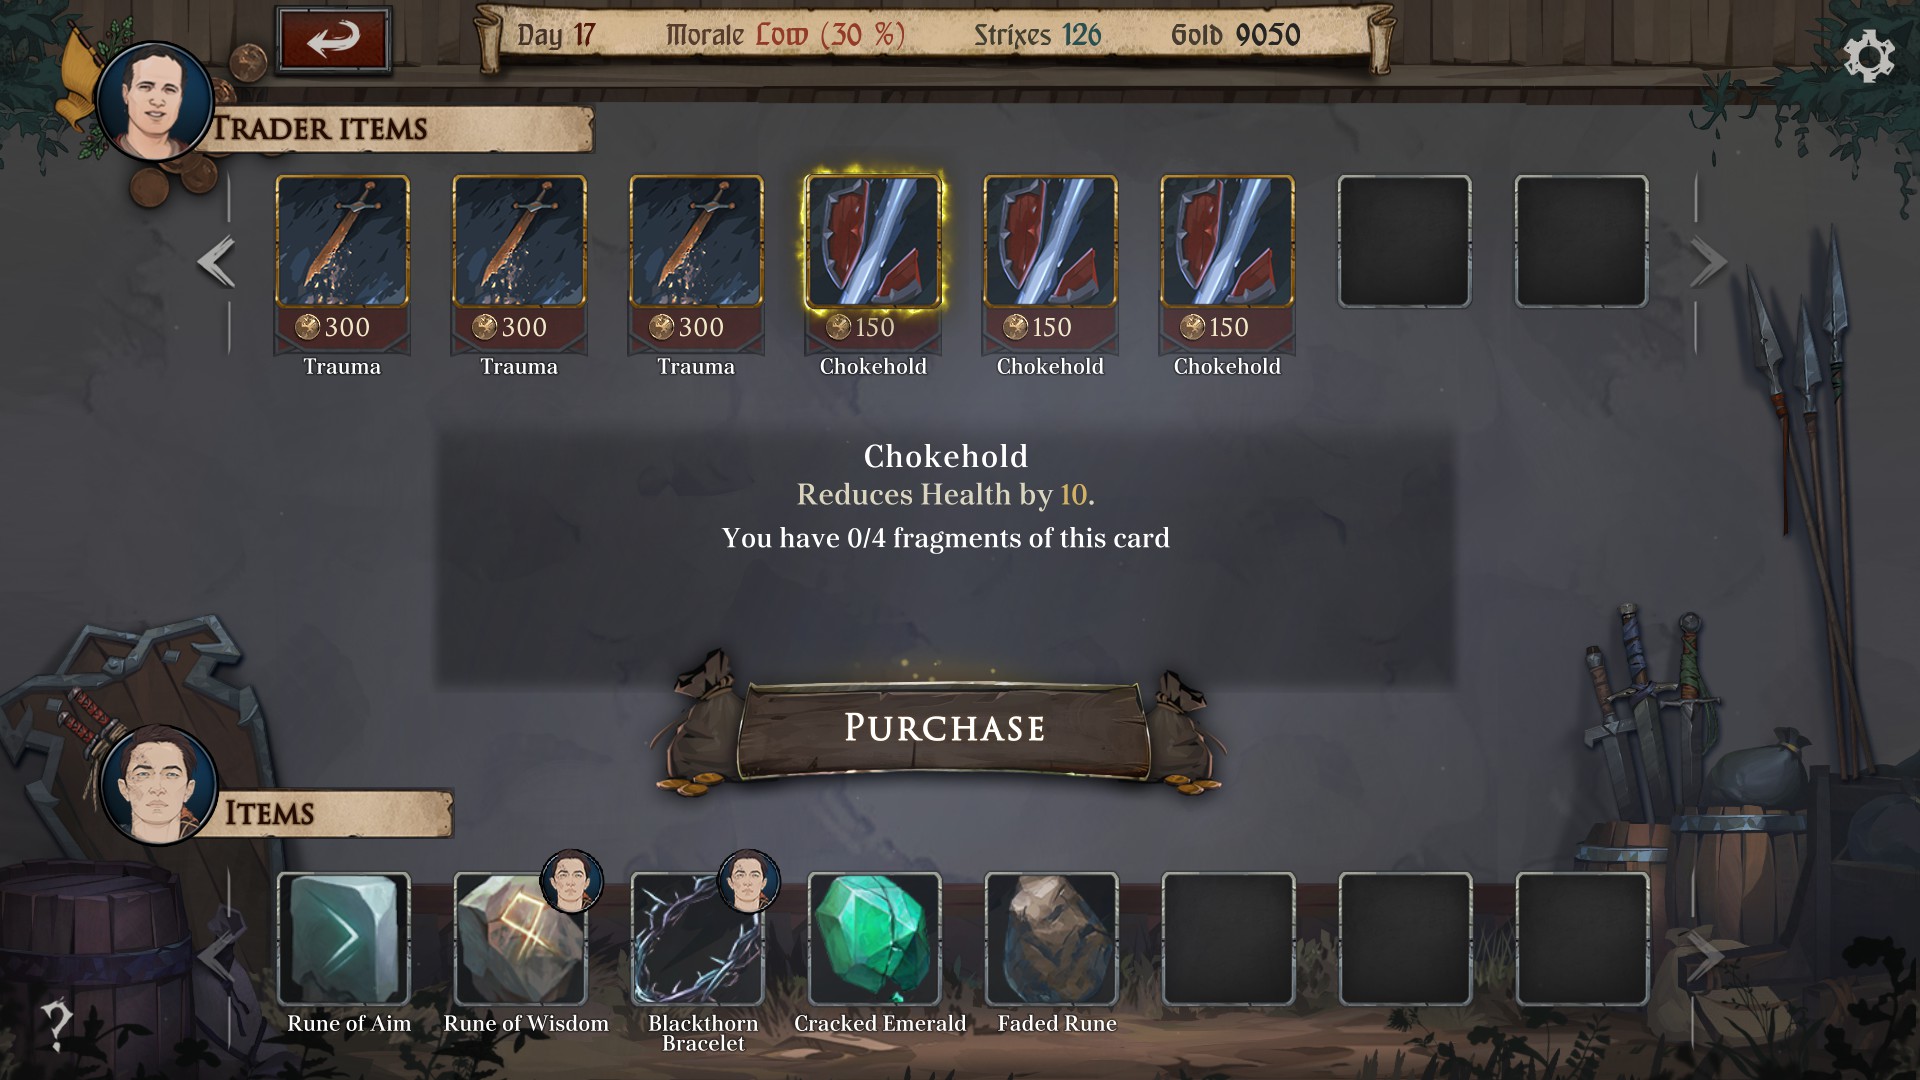
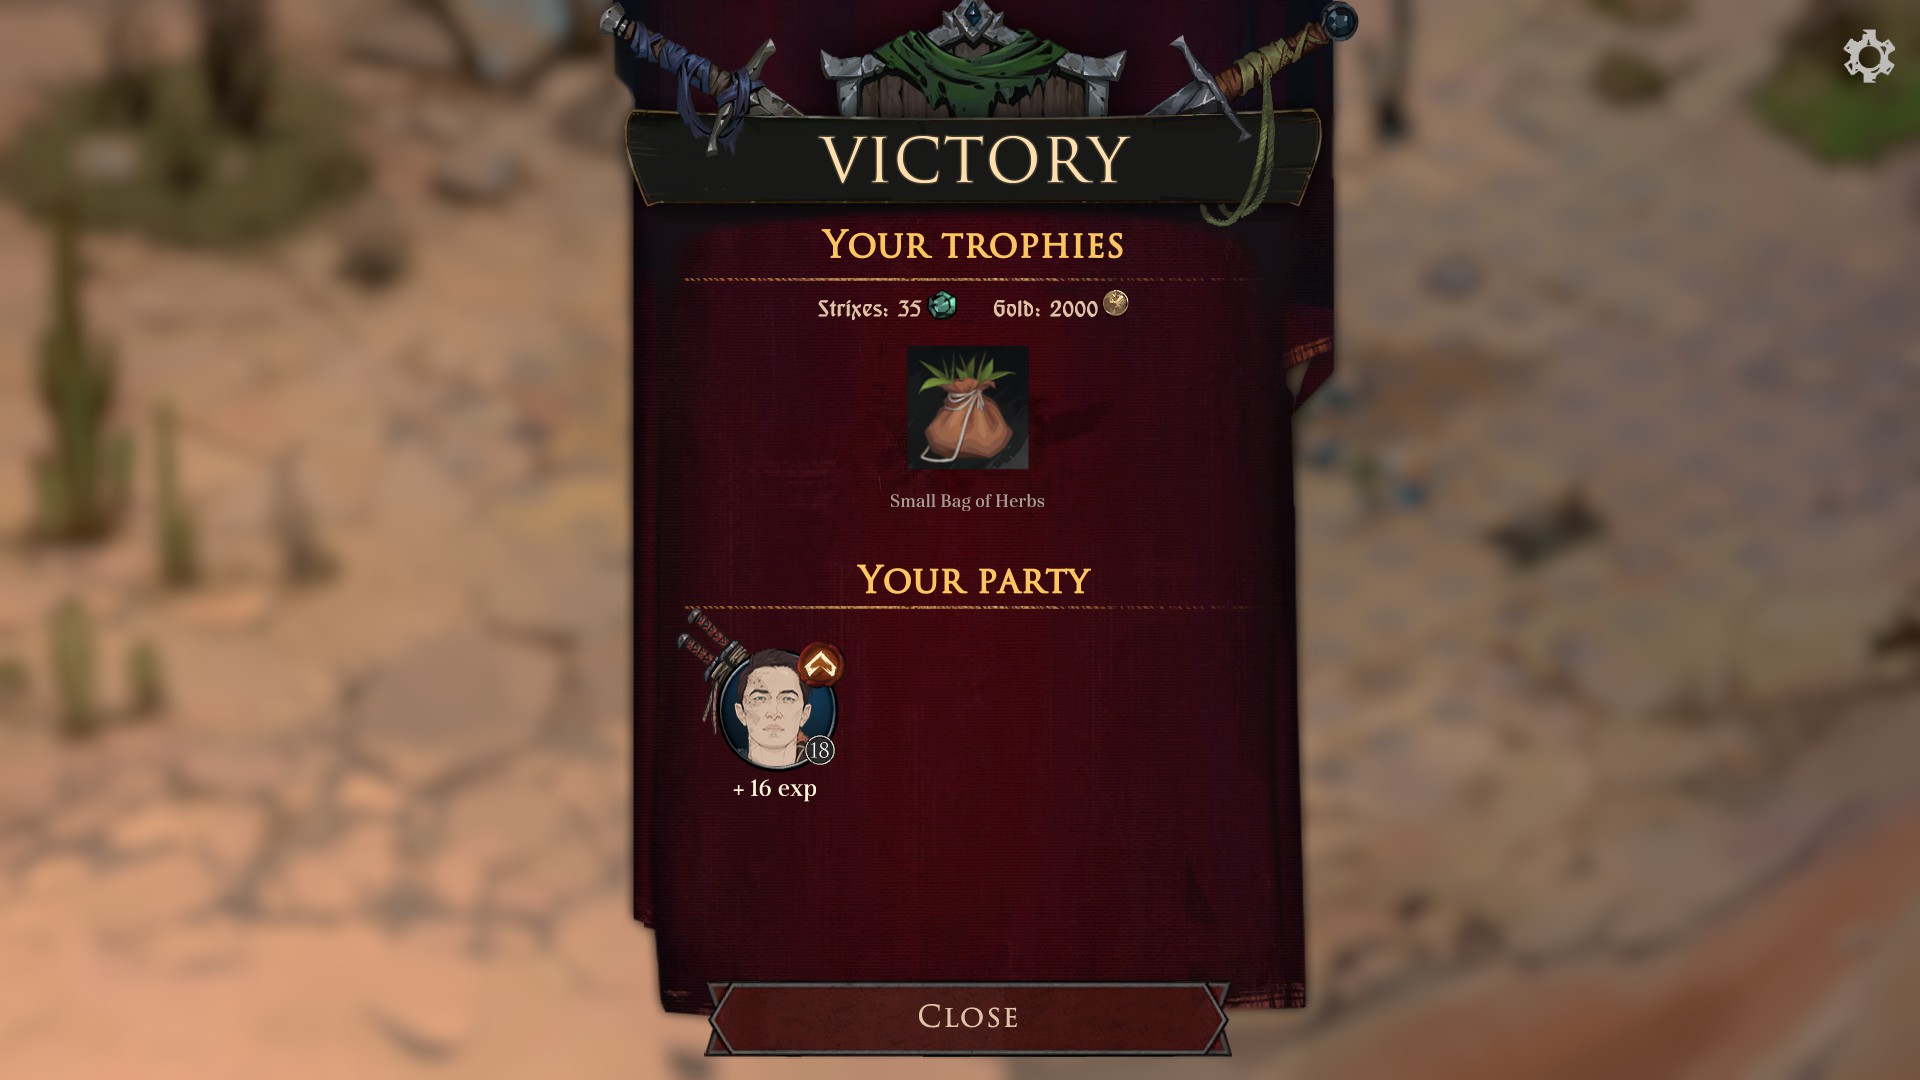
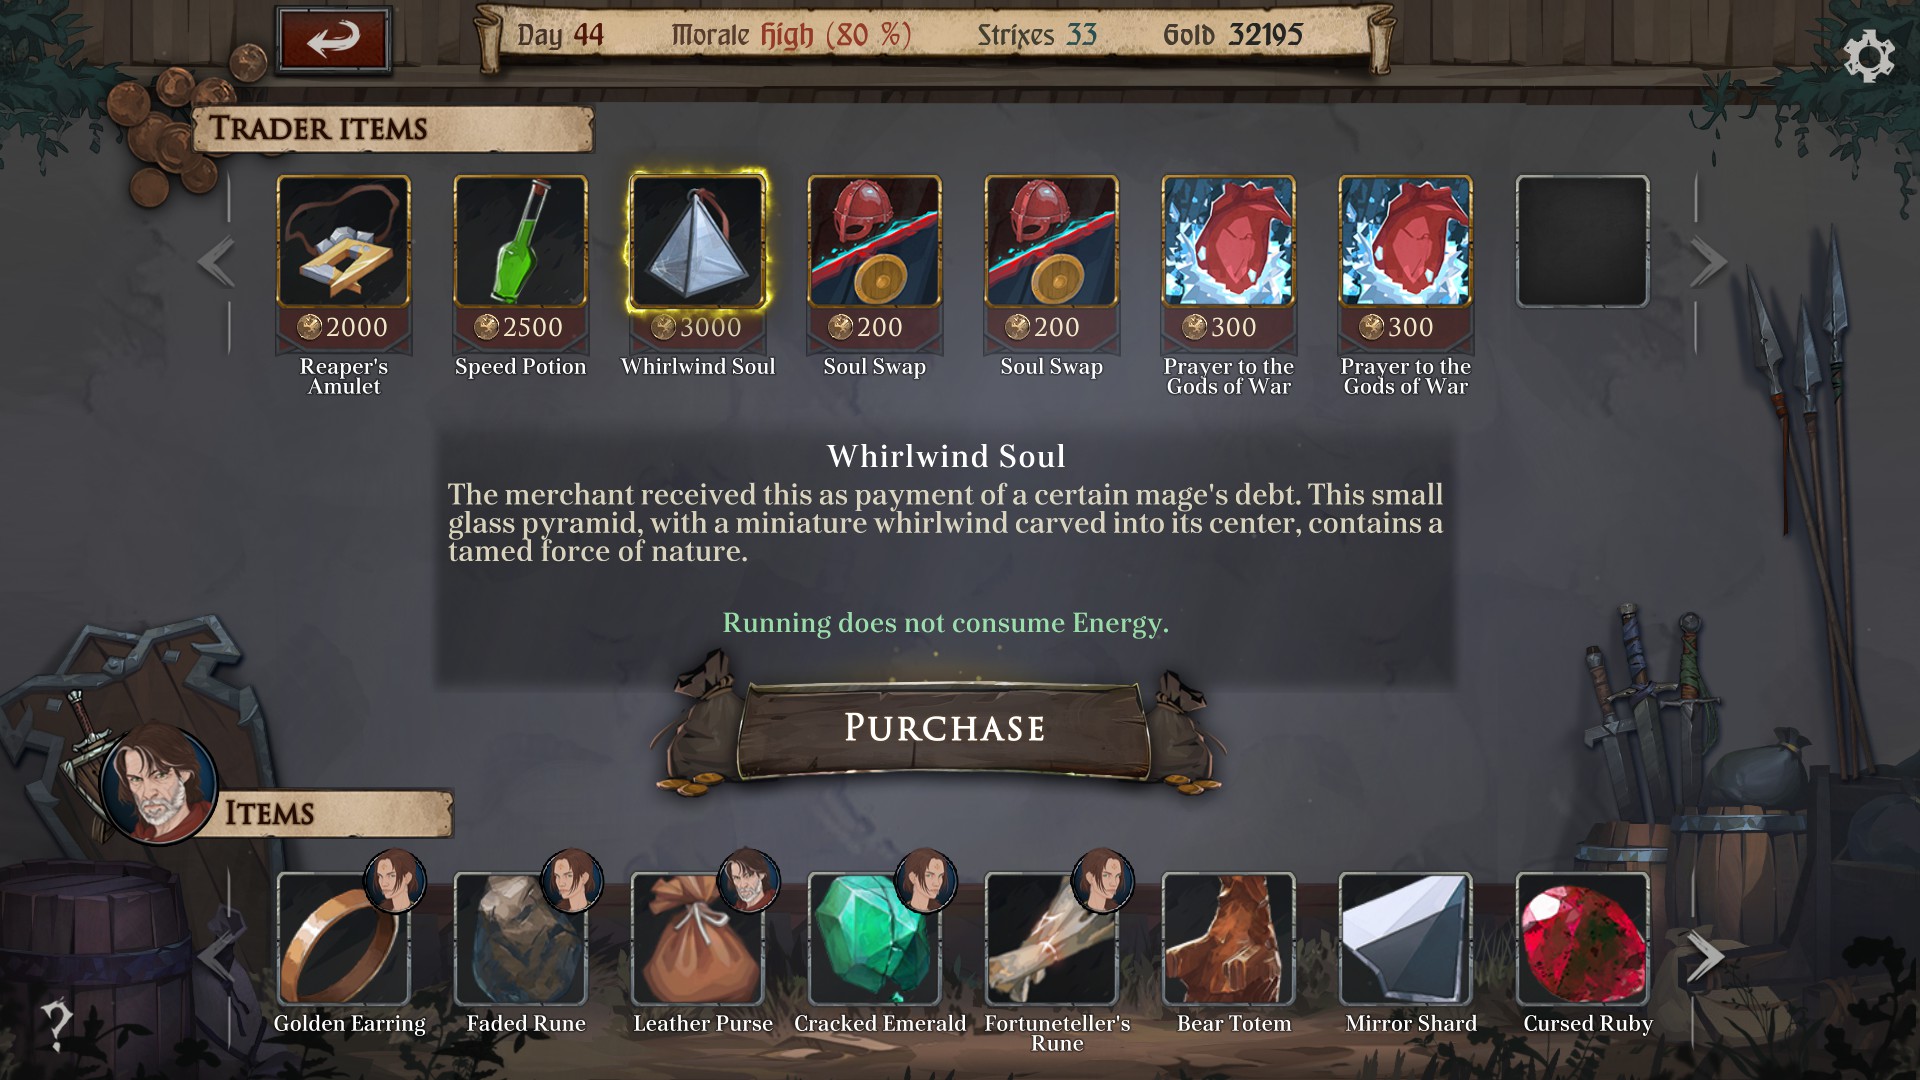
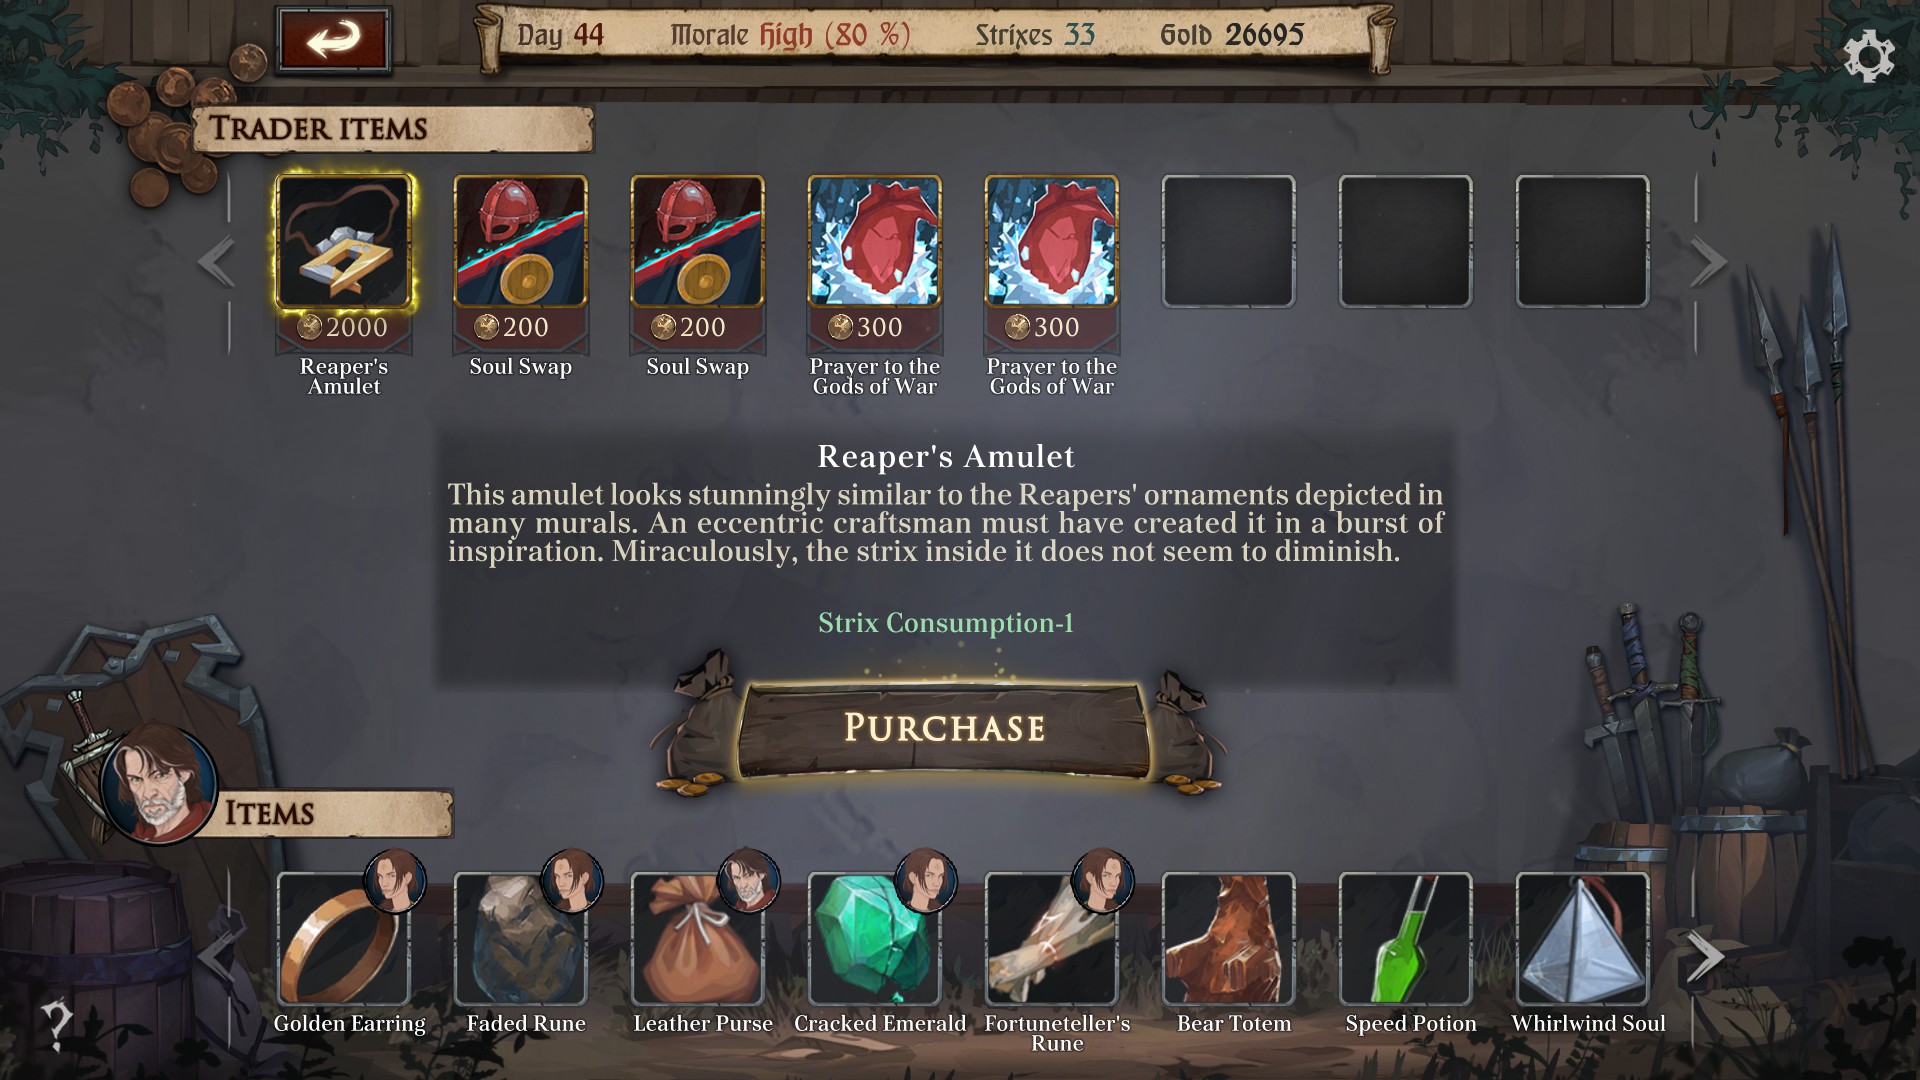
Items: Cracked Emerald (+7 energy, -5 health), Leather Purse;
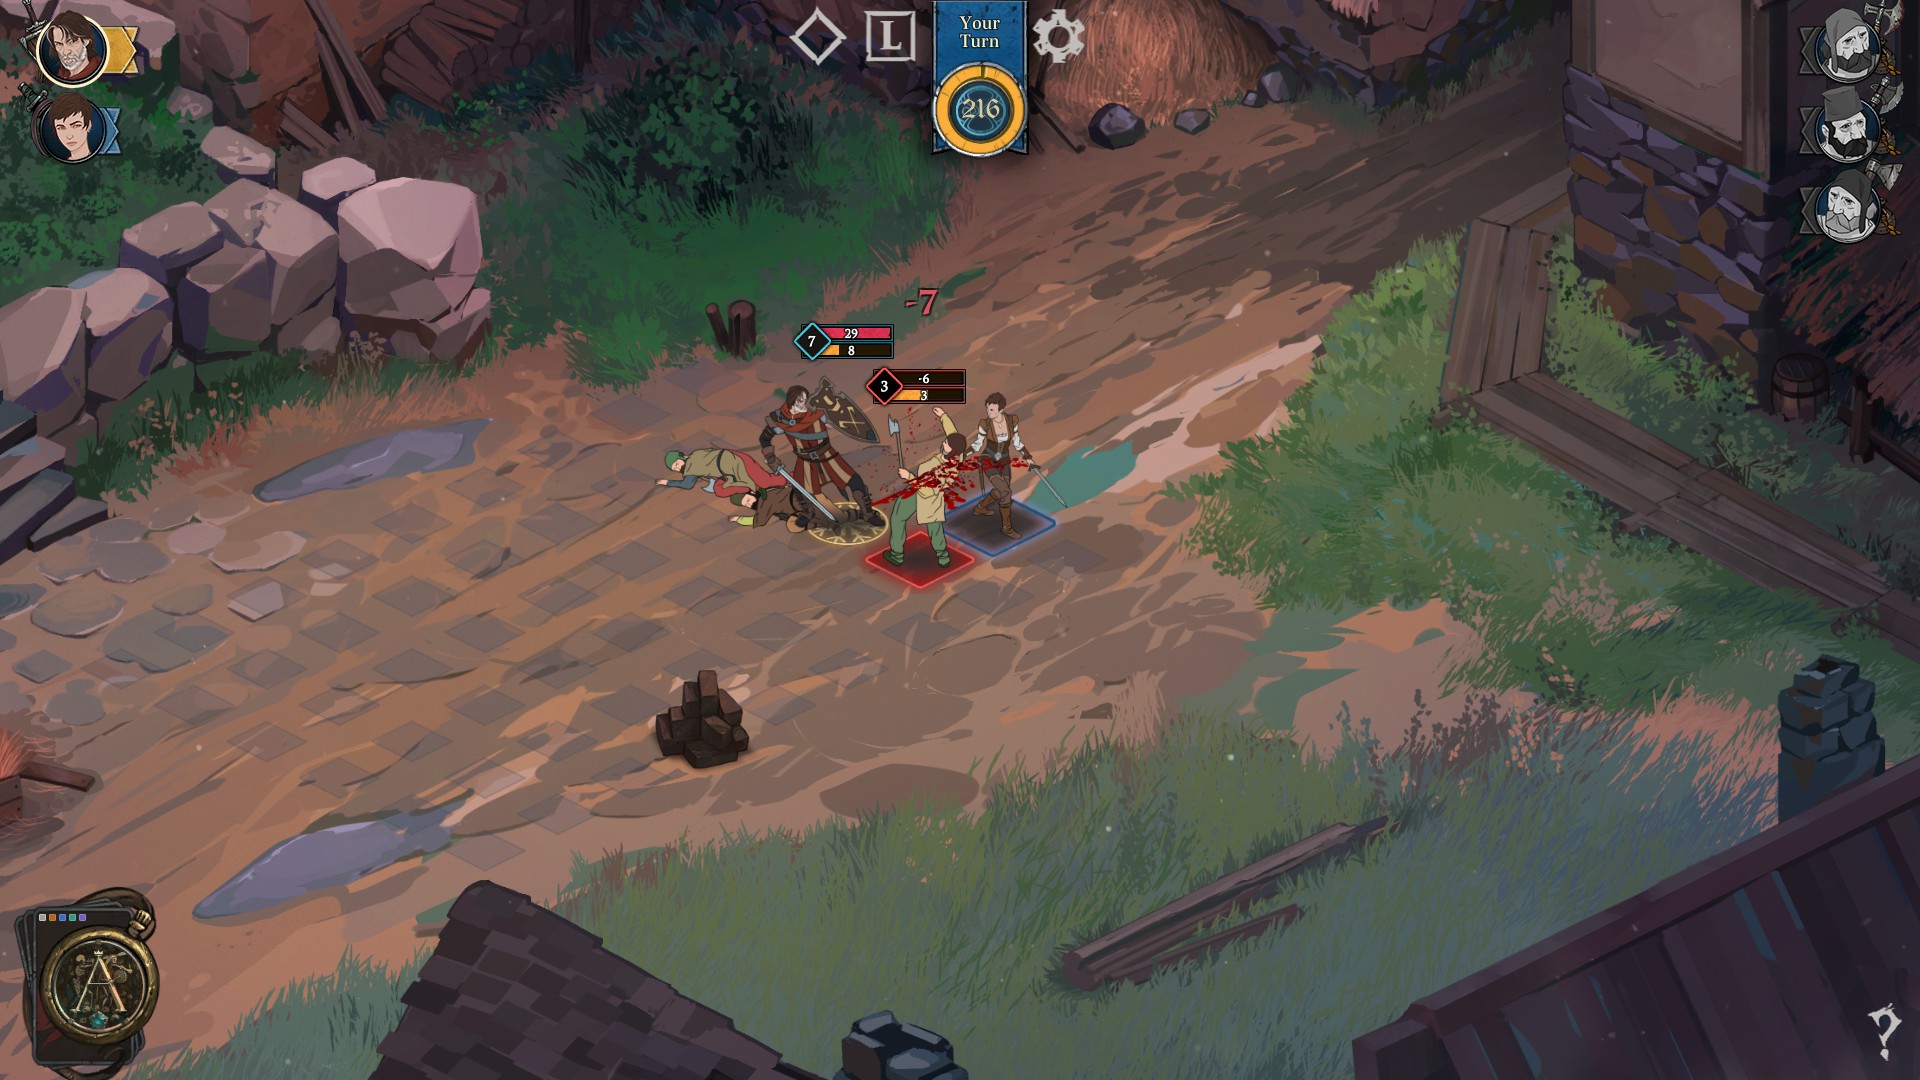
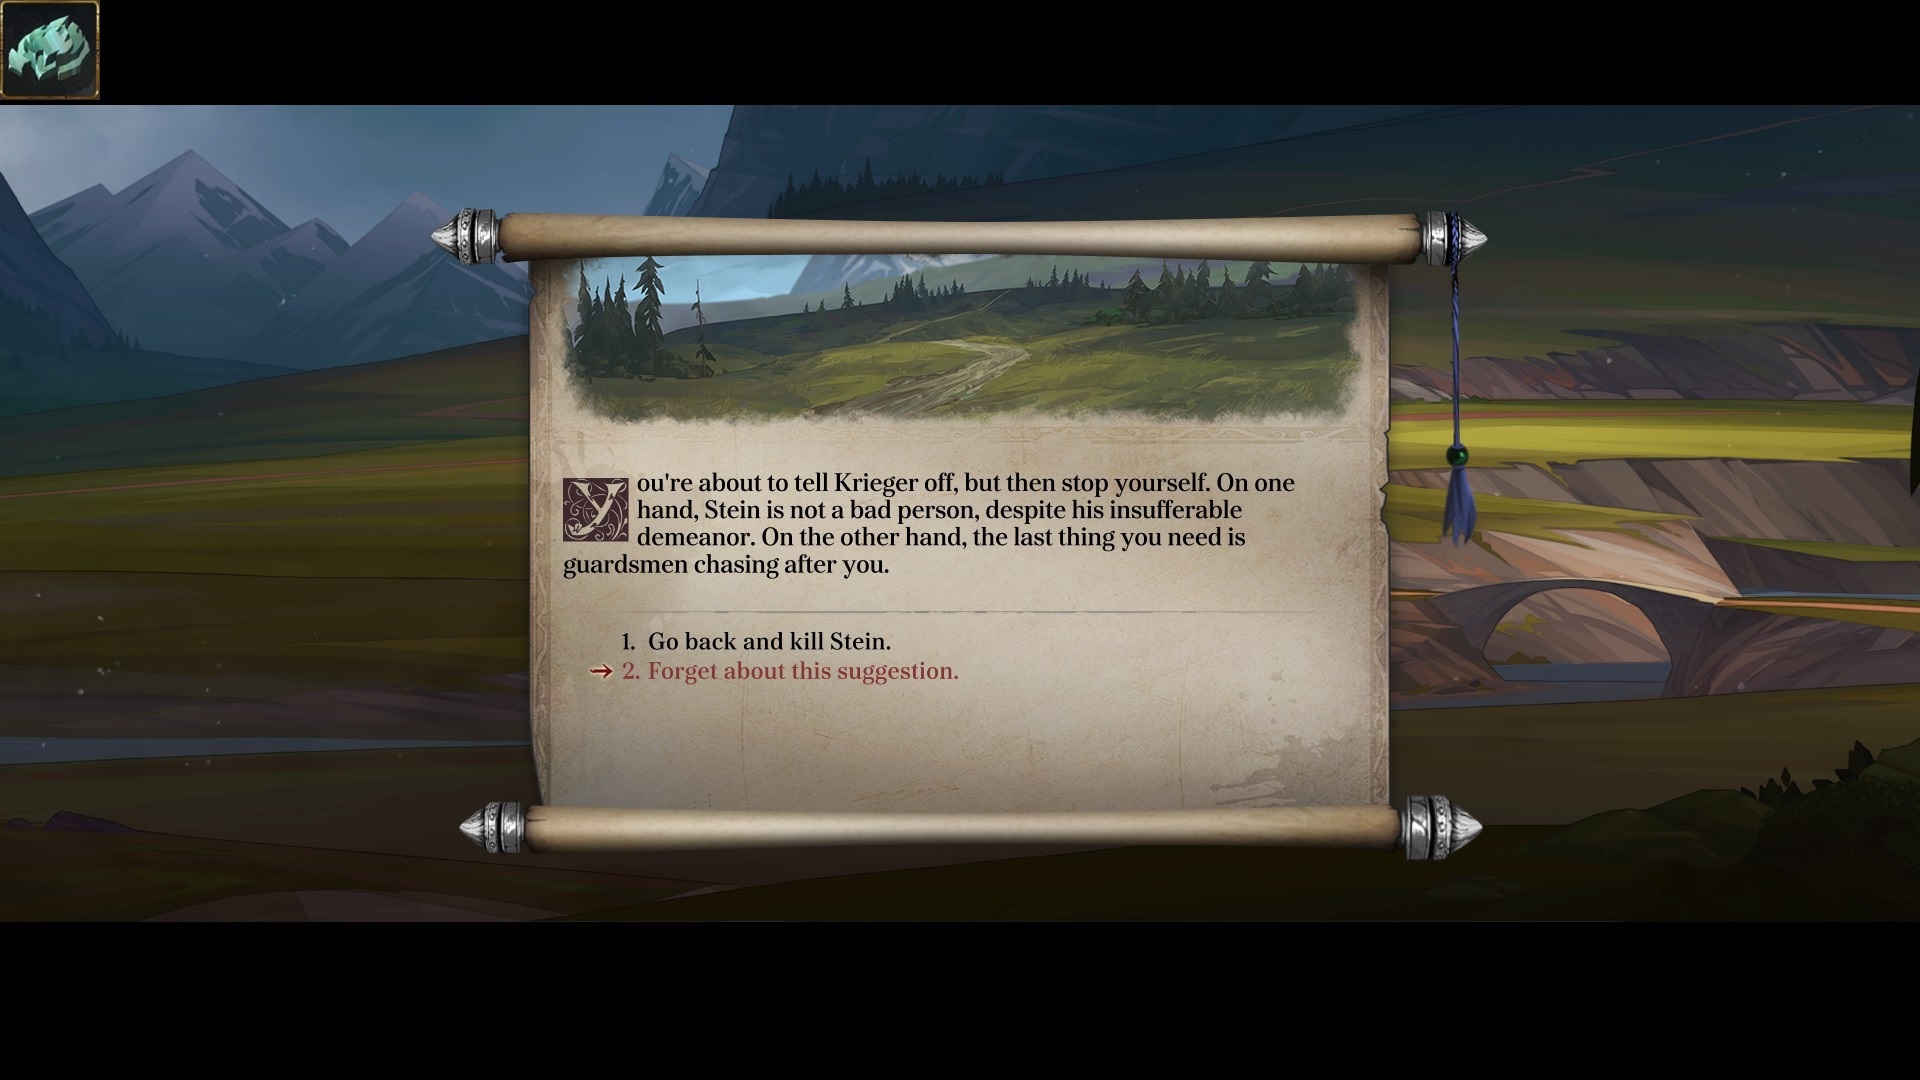
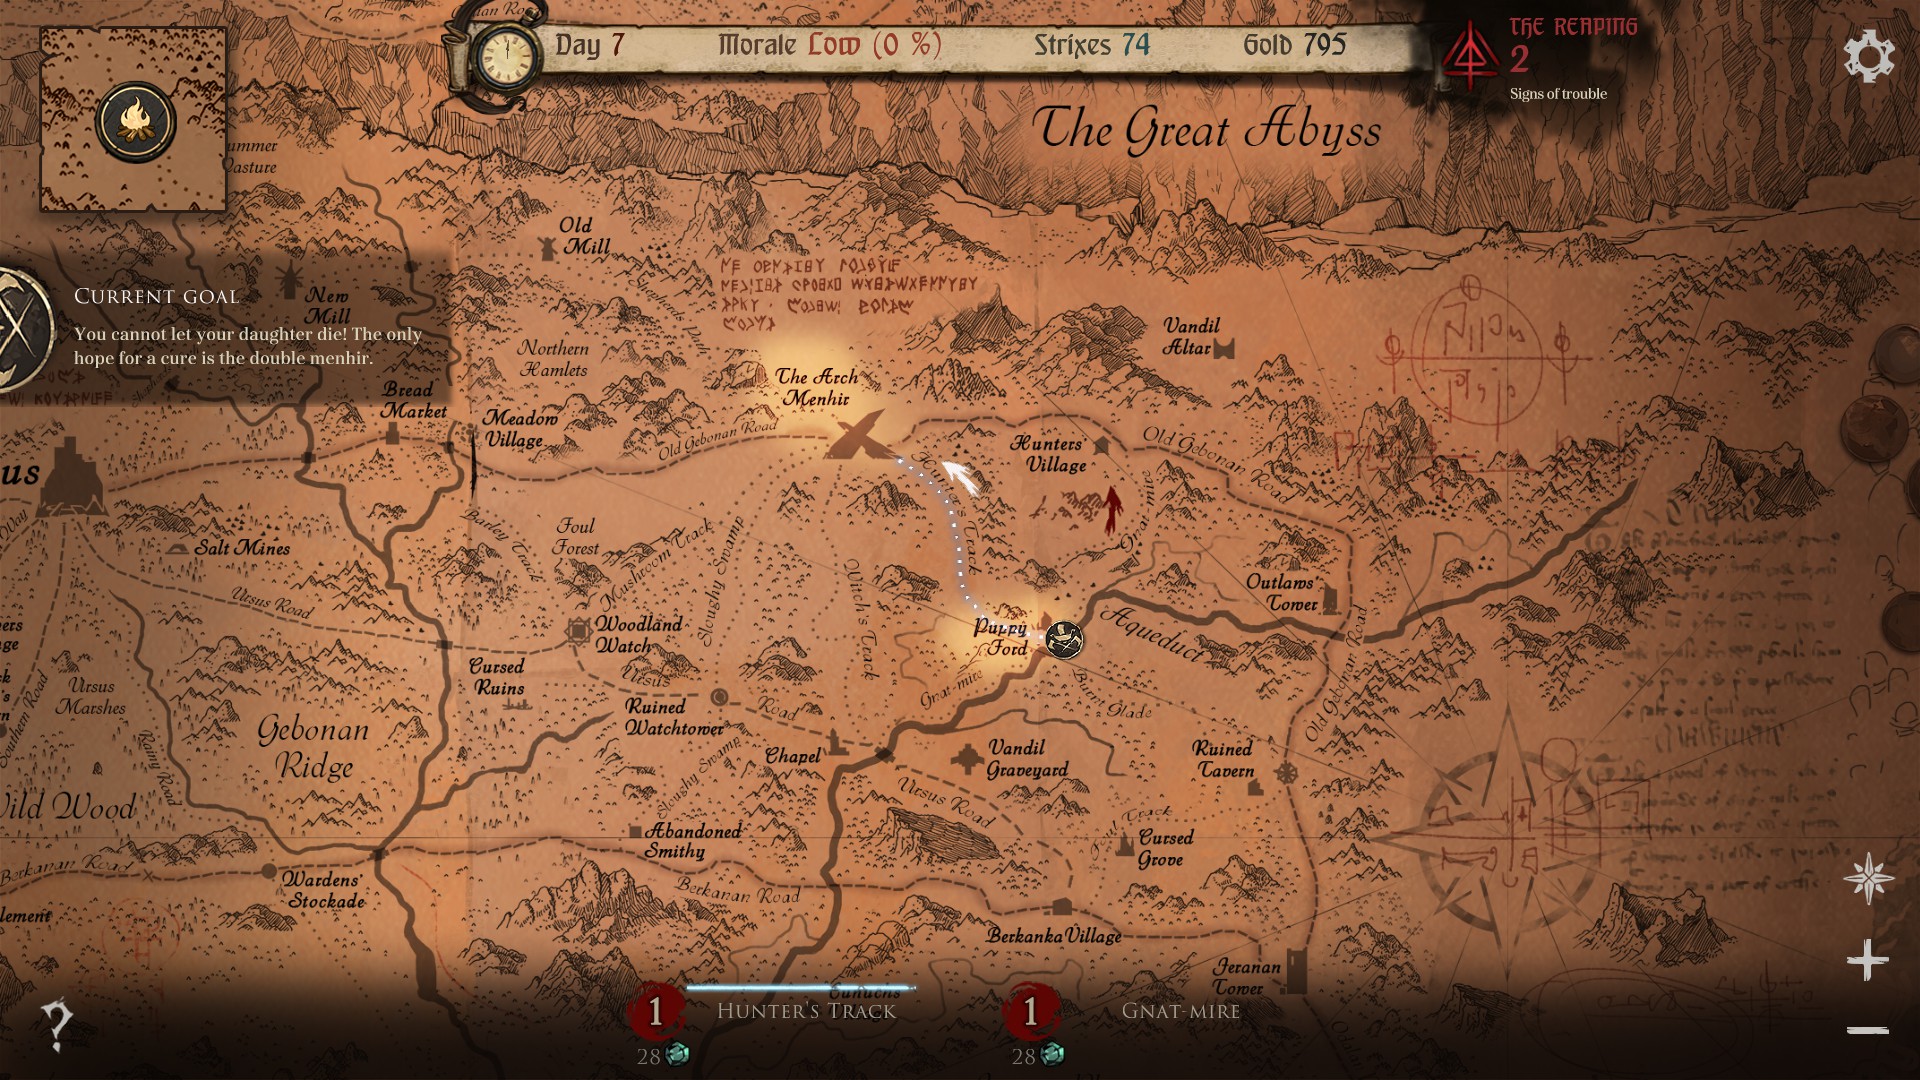
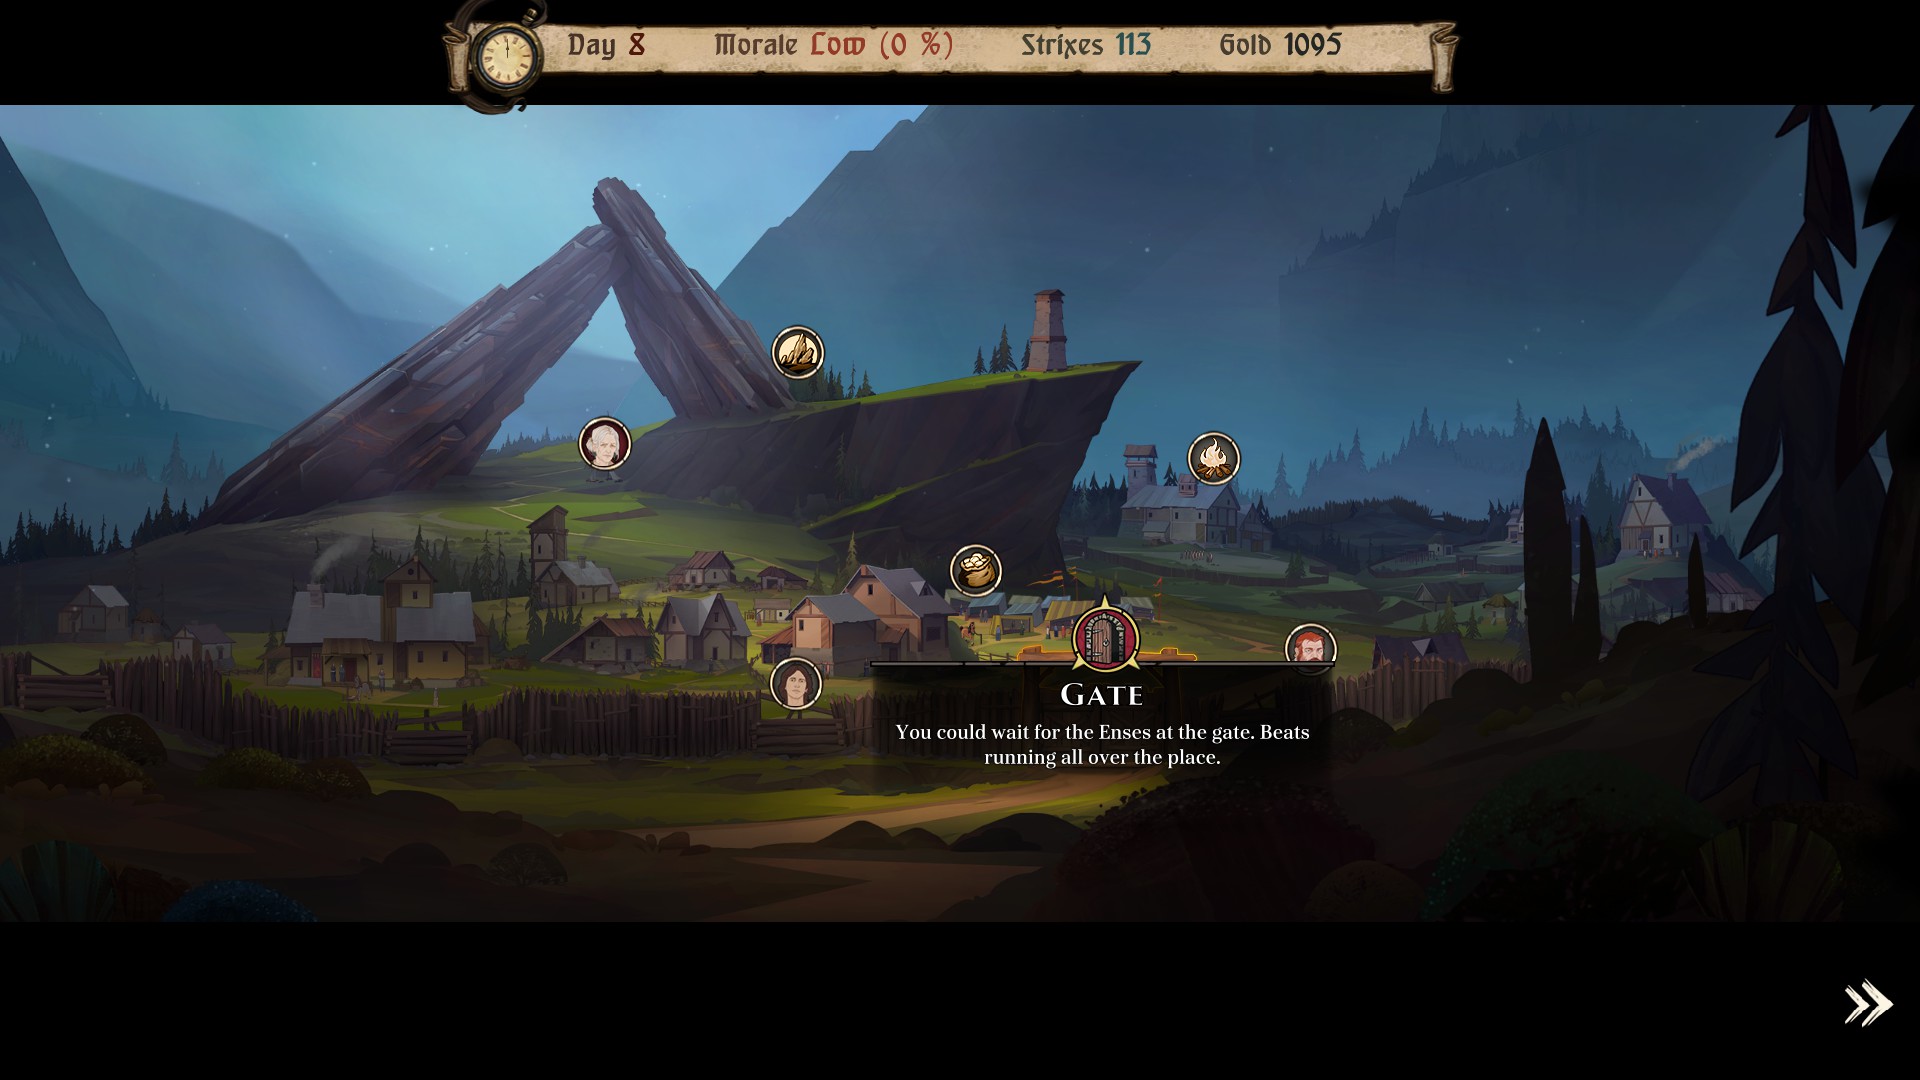
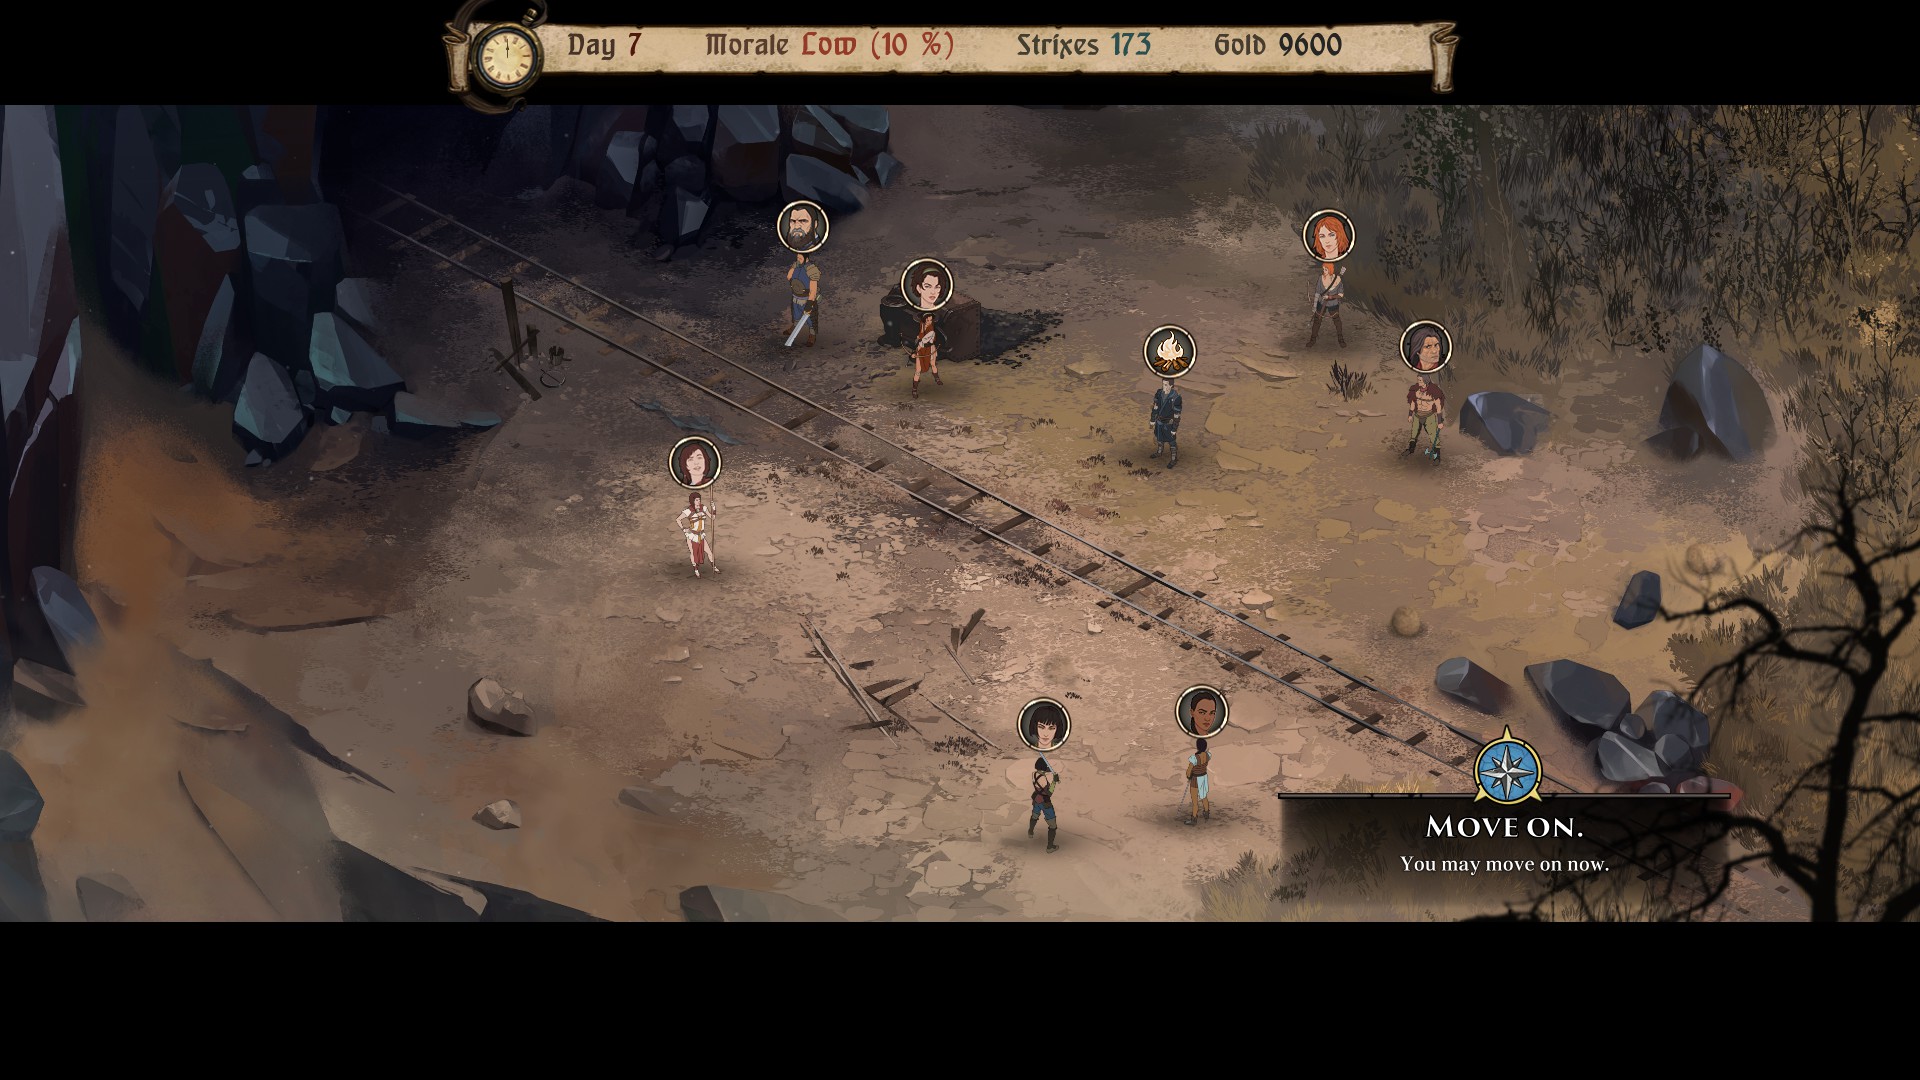
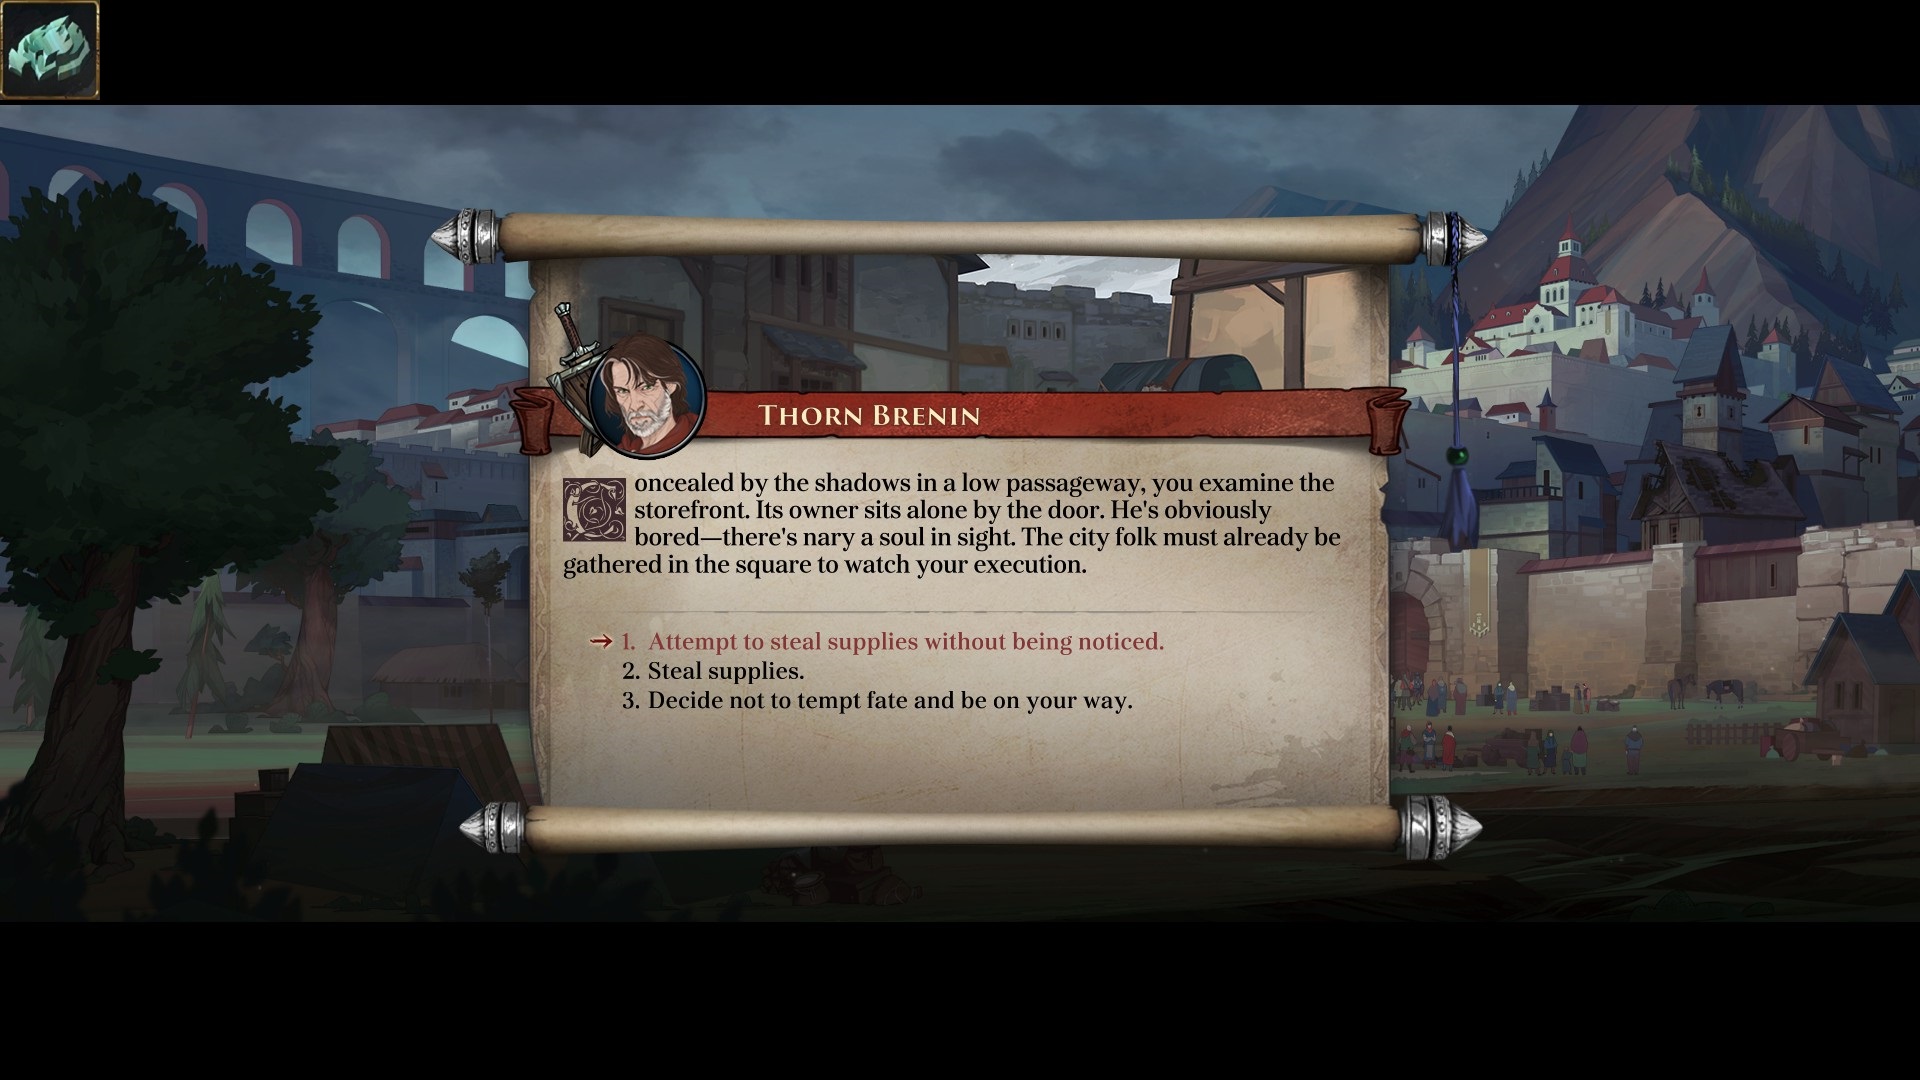
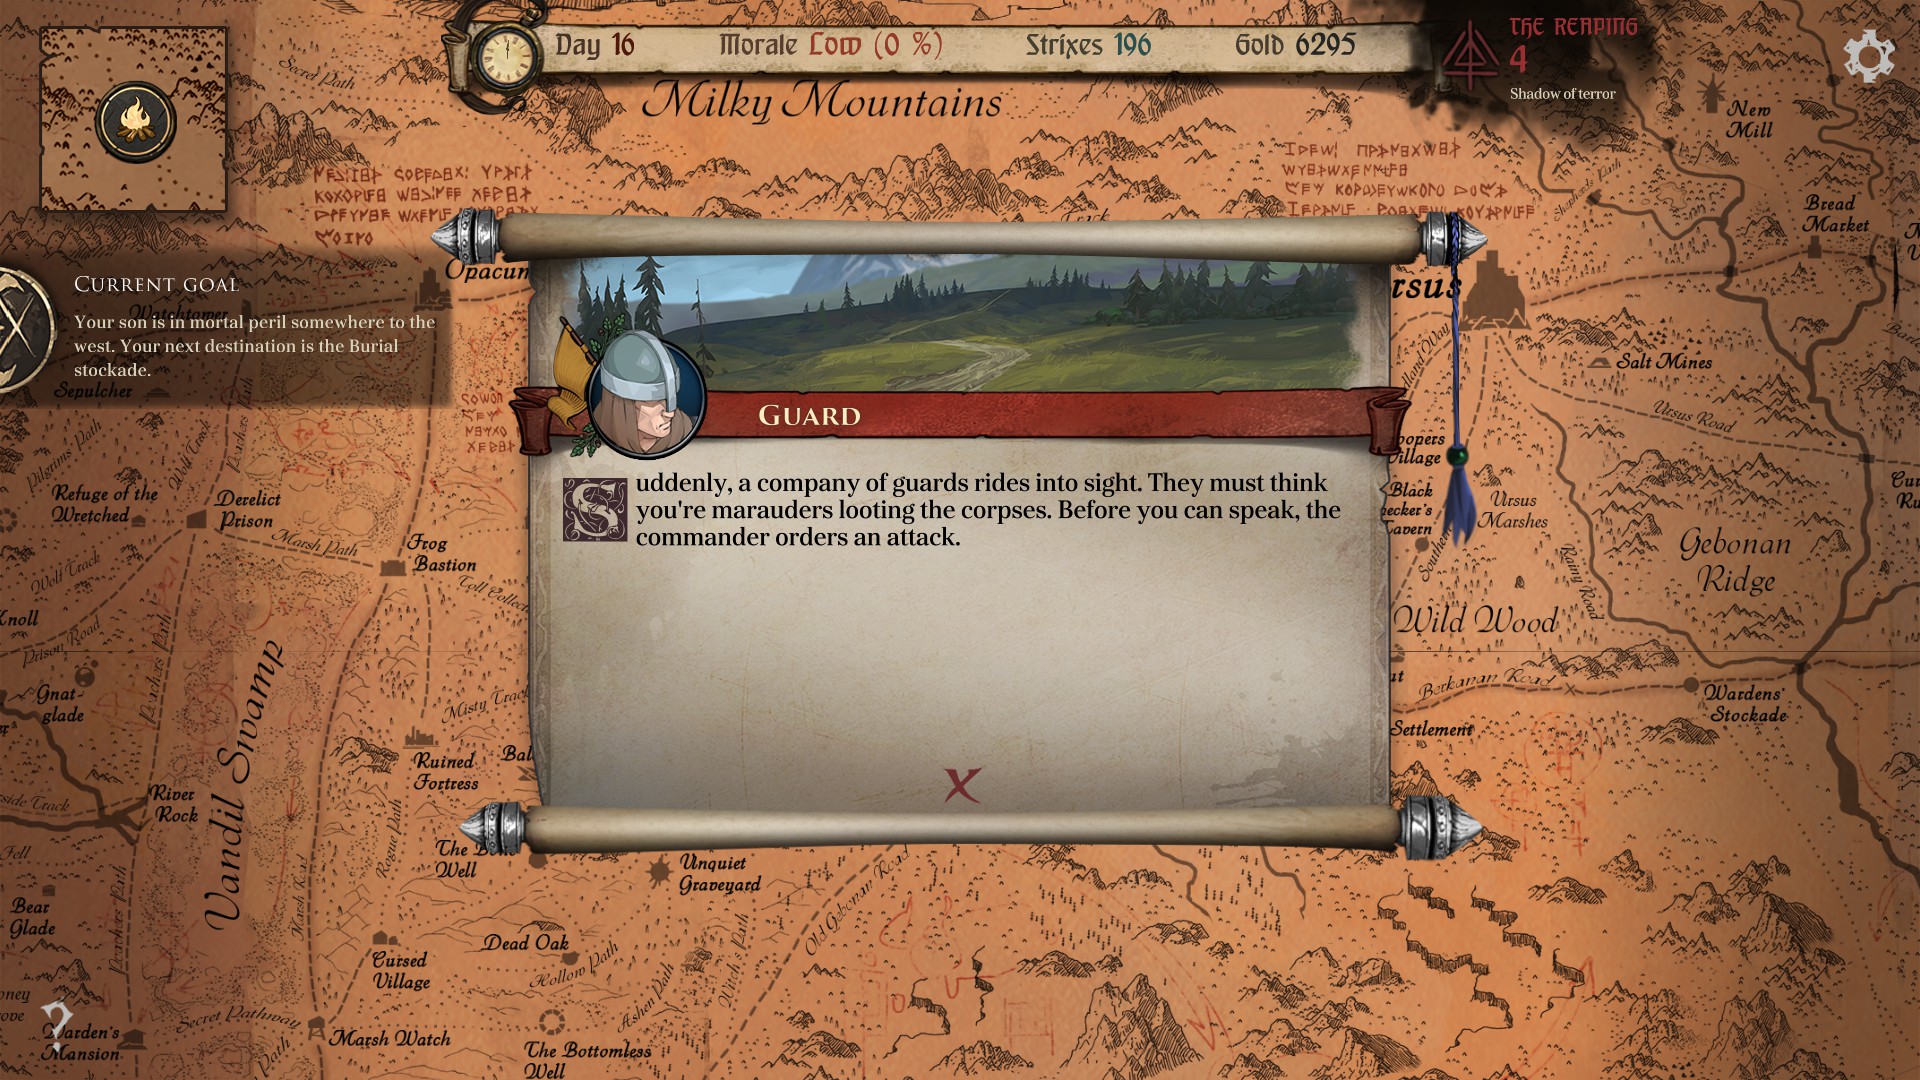
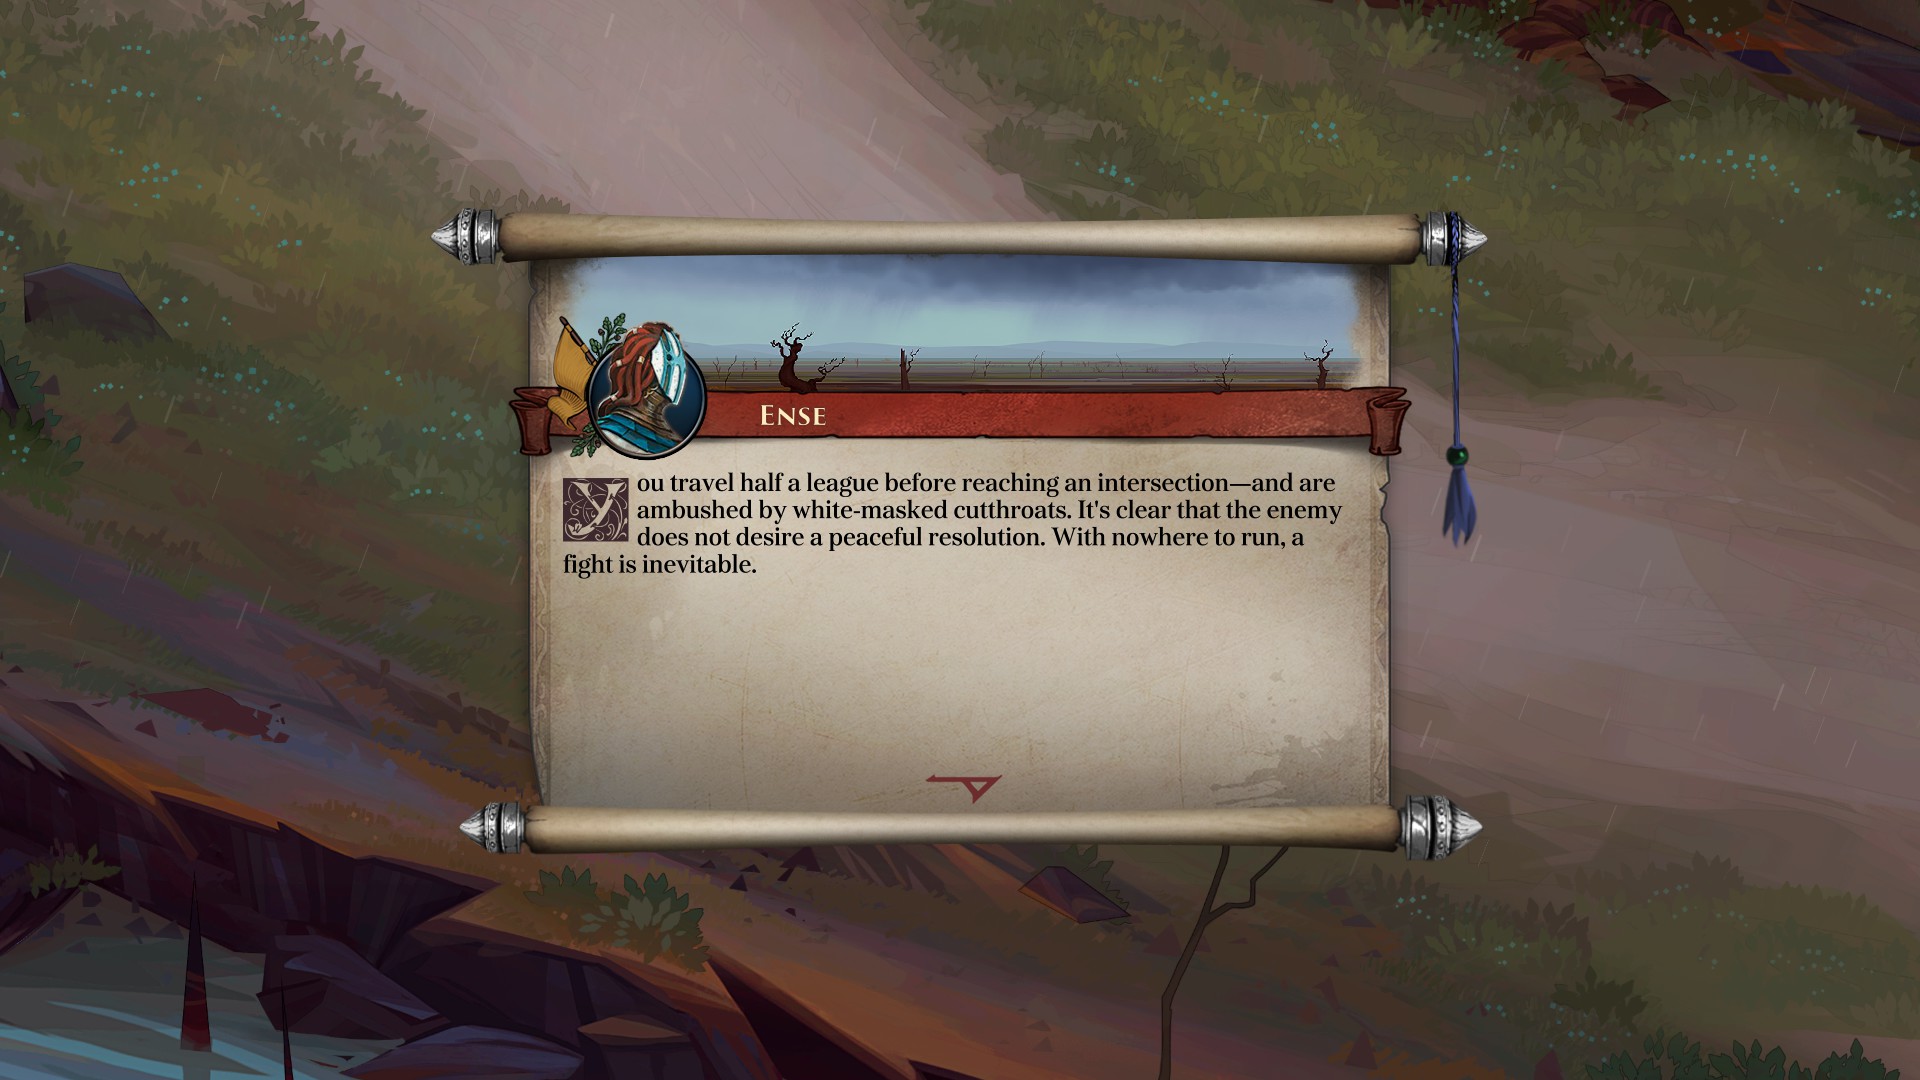
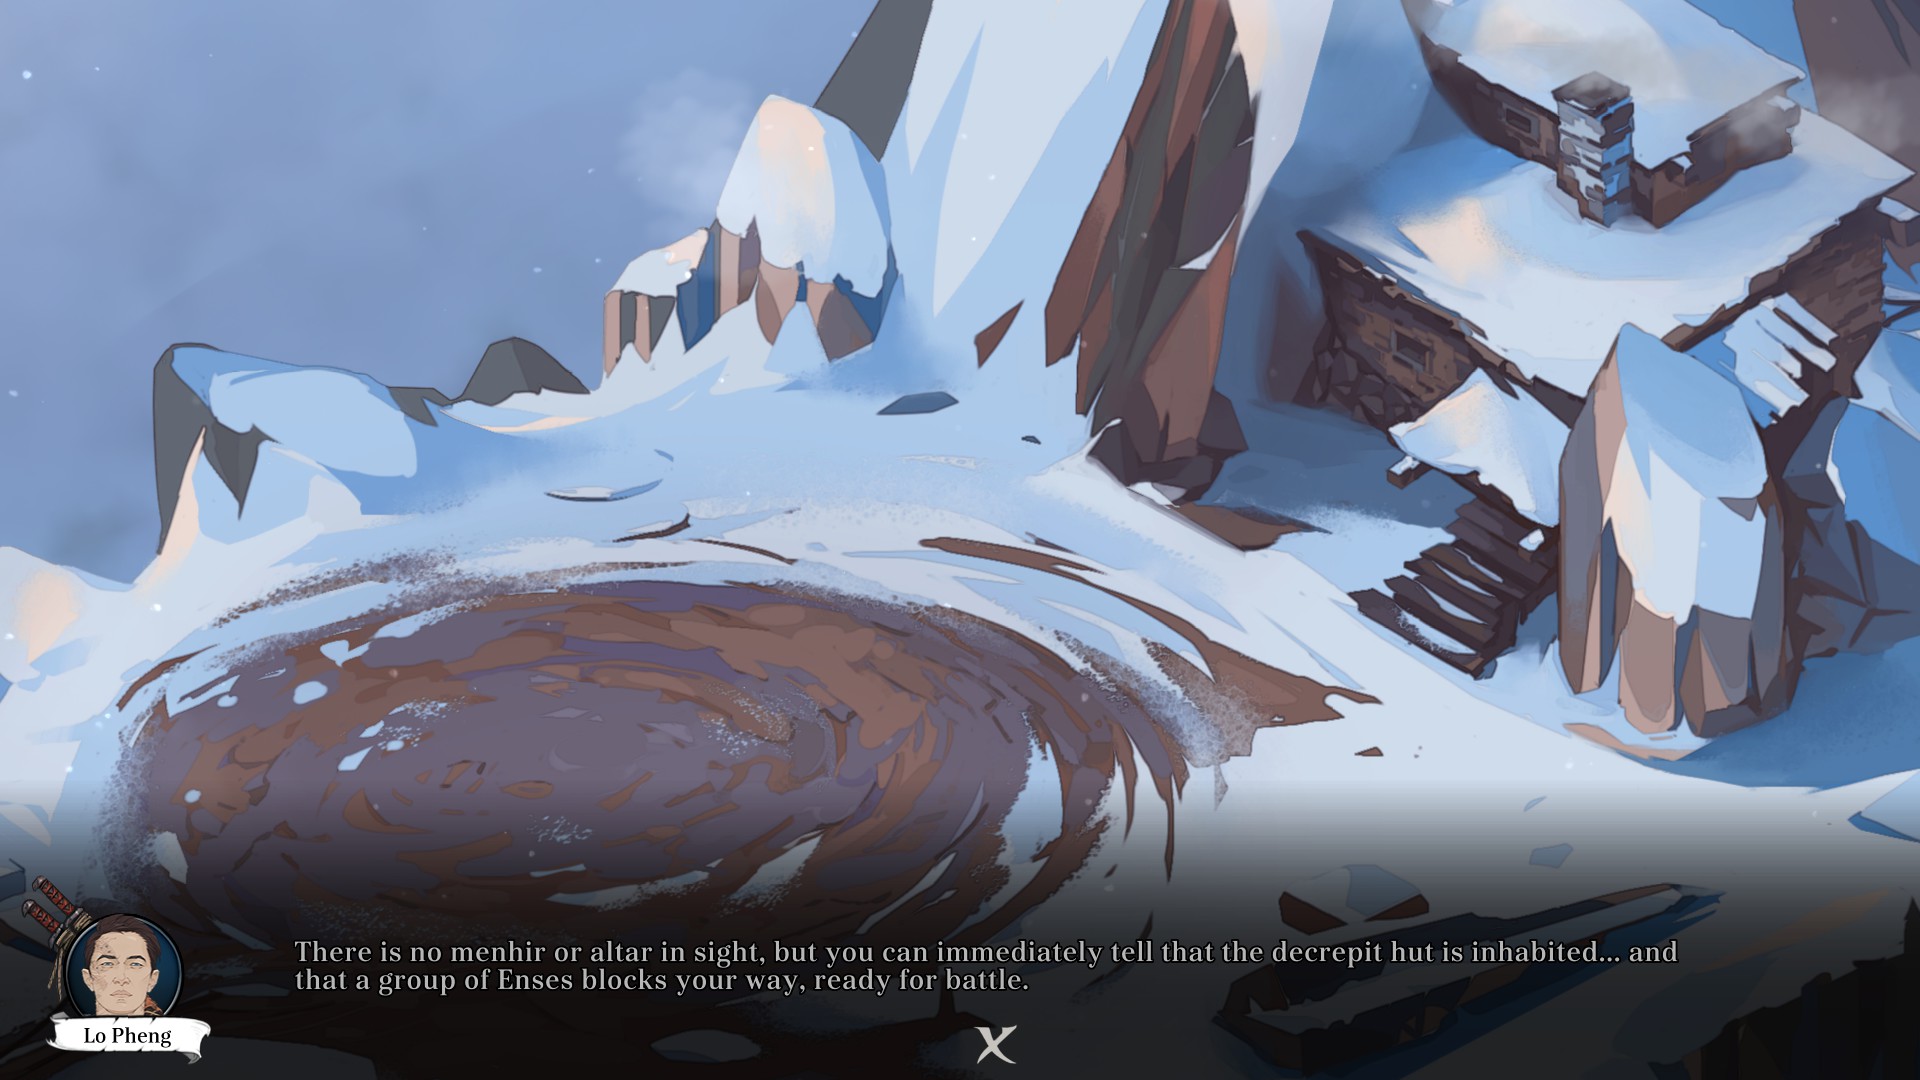
Start on the left and keep your distance - so enses won't attack you immediately. Keep in mind that at the first attempt enses can use cards on you. All further attempts will be without cards.
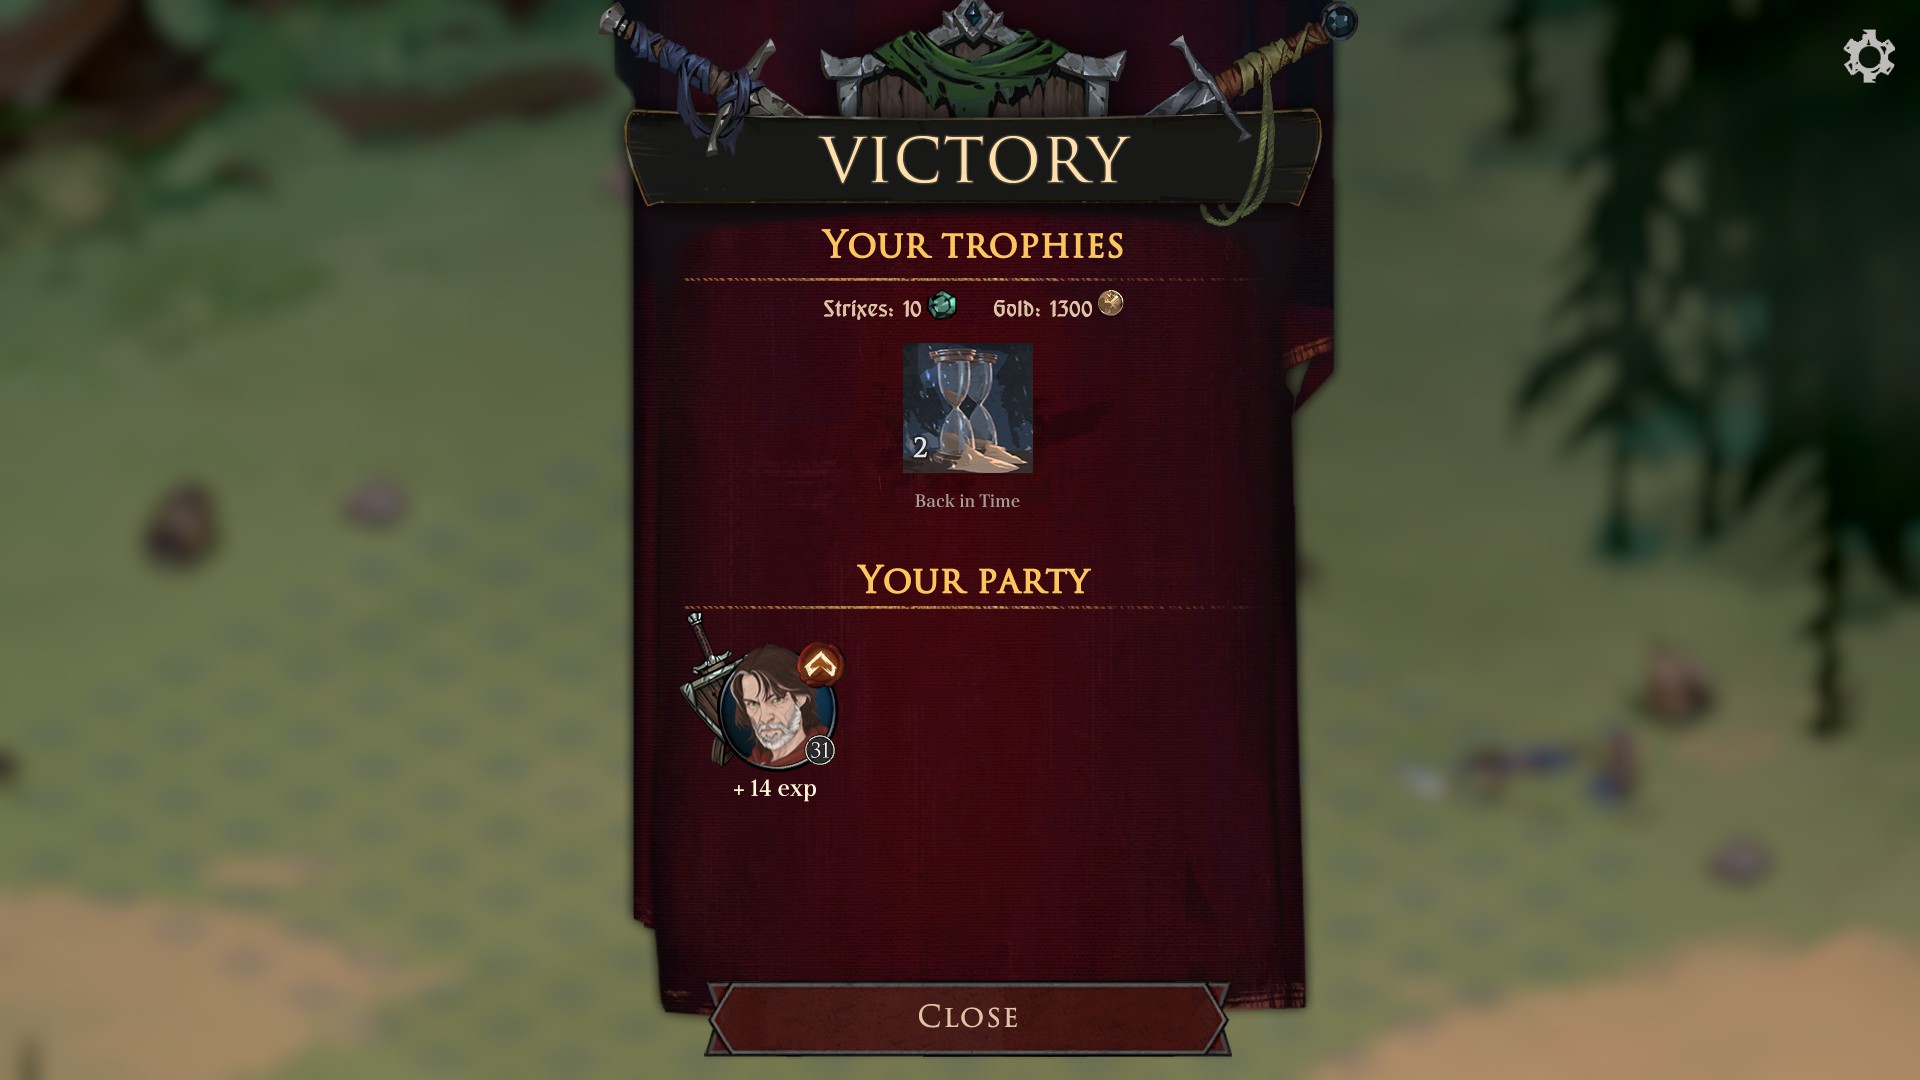
Turns: 1 - anger, 2 - anger, 3 - energy surge card, 4 - walk closer to the mage (but where he can't reach you) + anger, 5 - bloody harvest card, 6 - run to the mage (not walking this time - it's your only chance) + knockback, 7 - spirit armor card (it's ok if you have only 3 health right now), 8 - drain card (+20 health), 9 - thirst for destruction card, 10+ - then kill everyone else, starting from the most dangerous enemies;
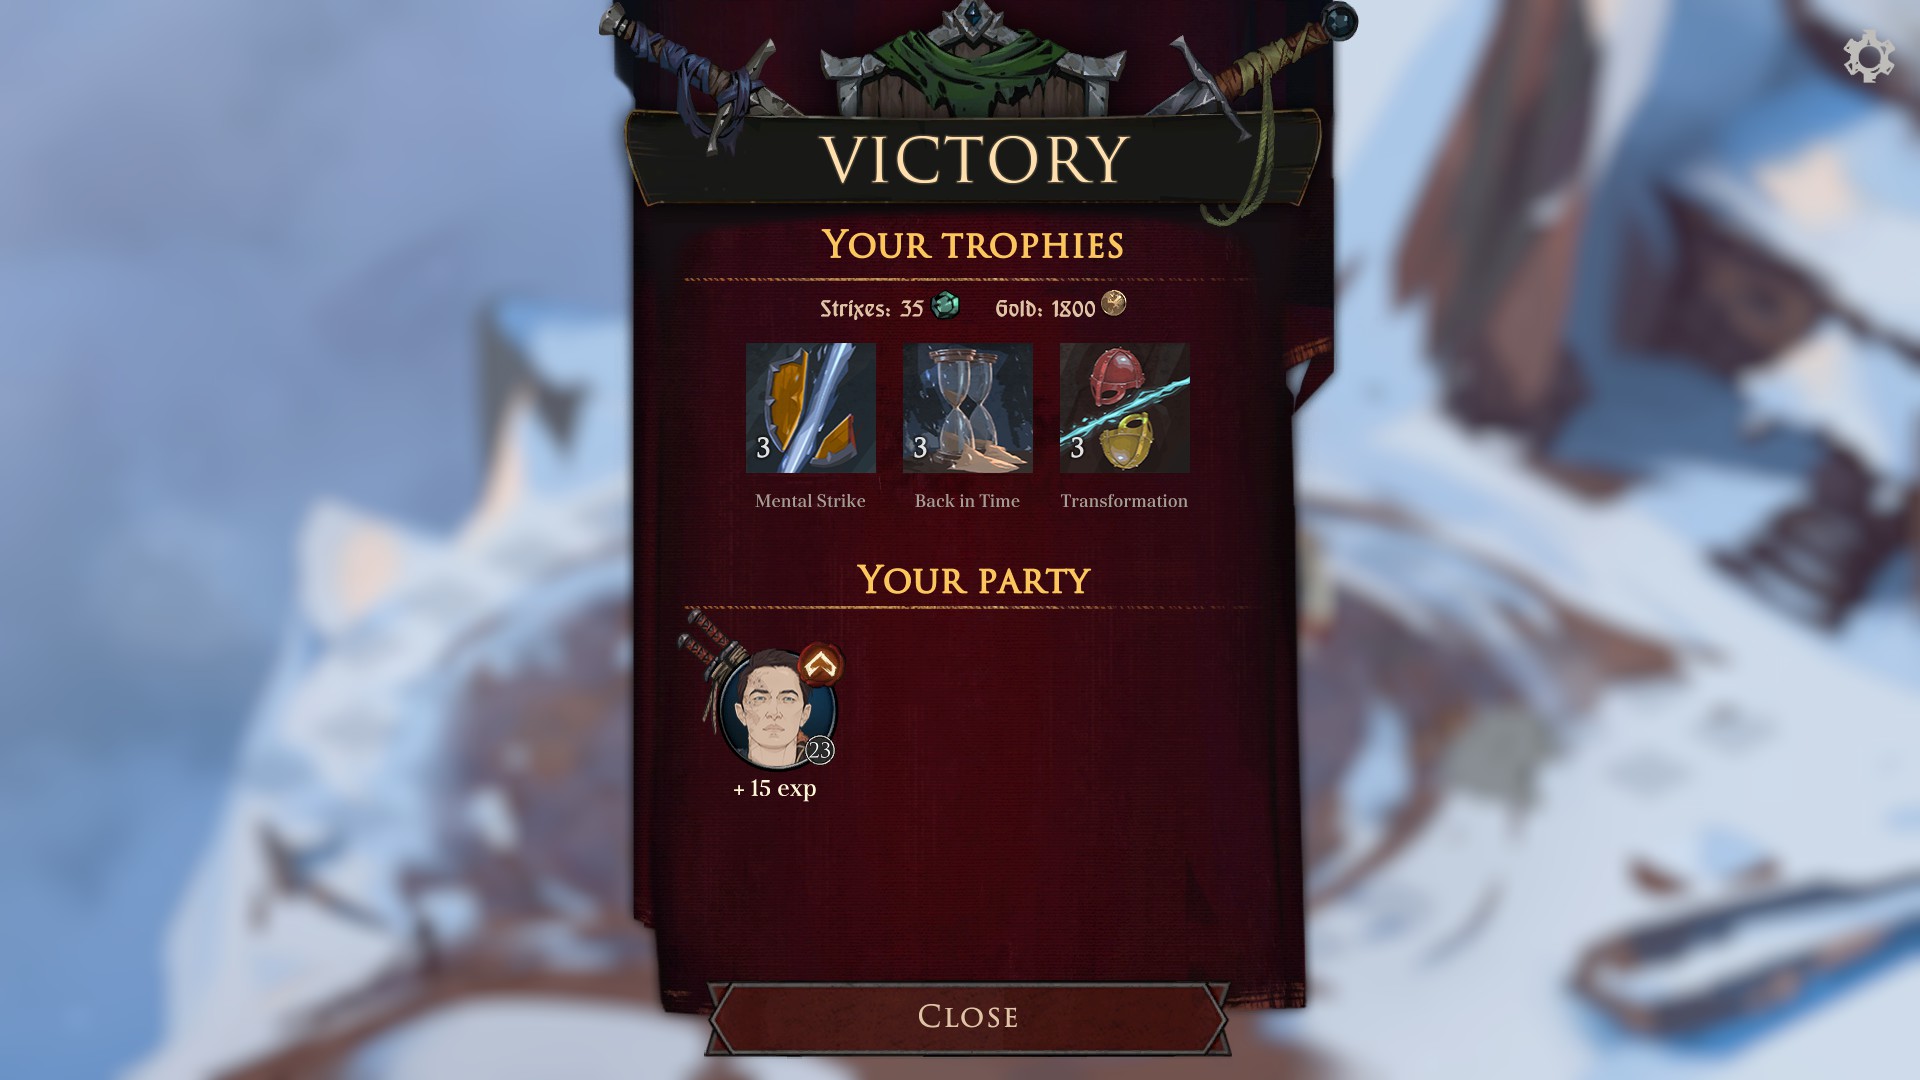
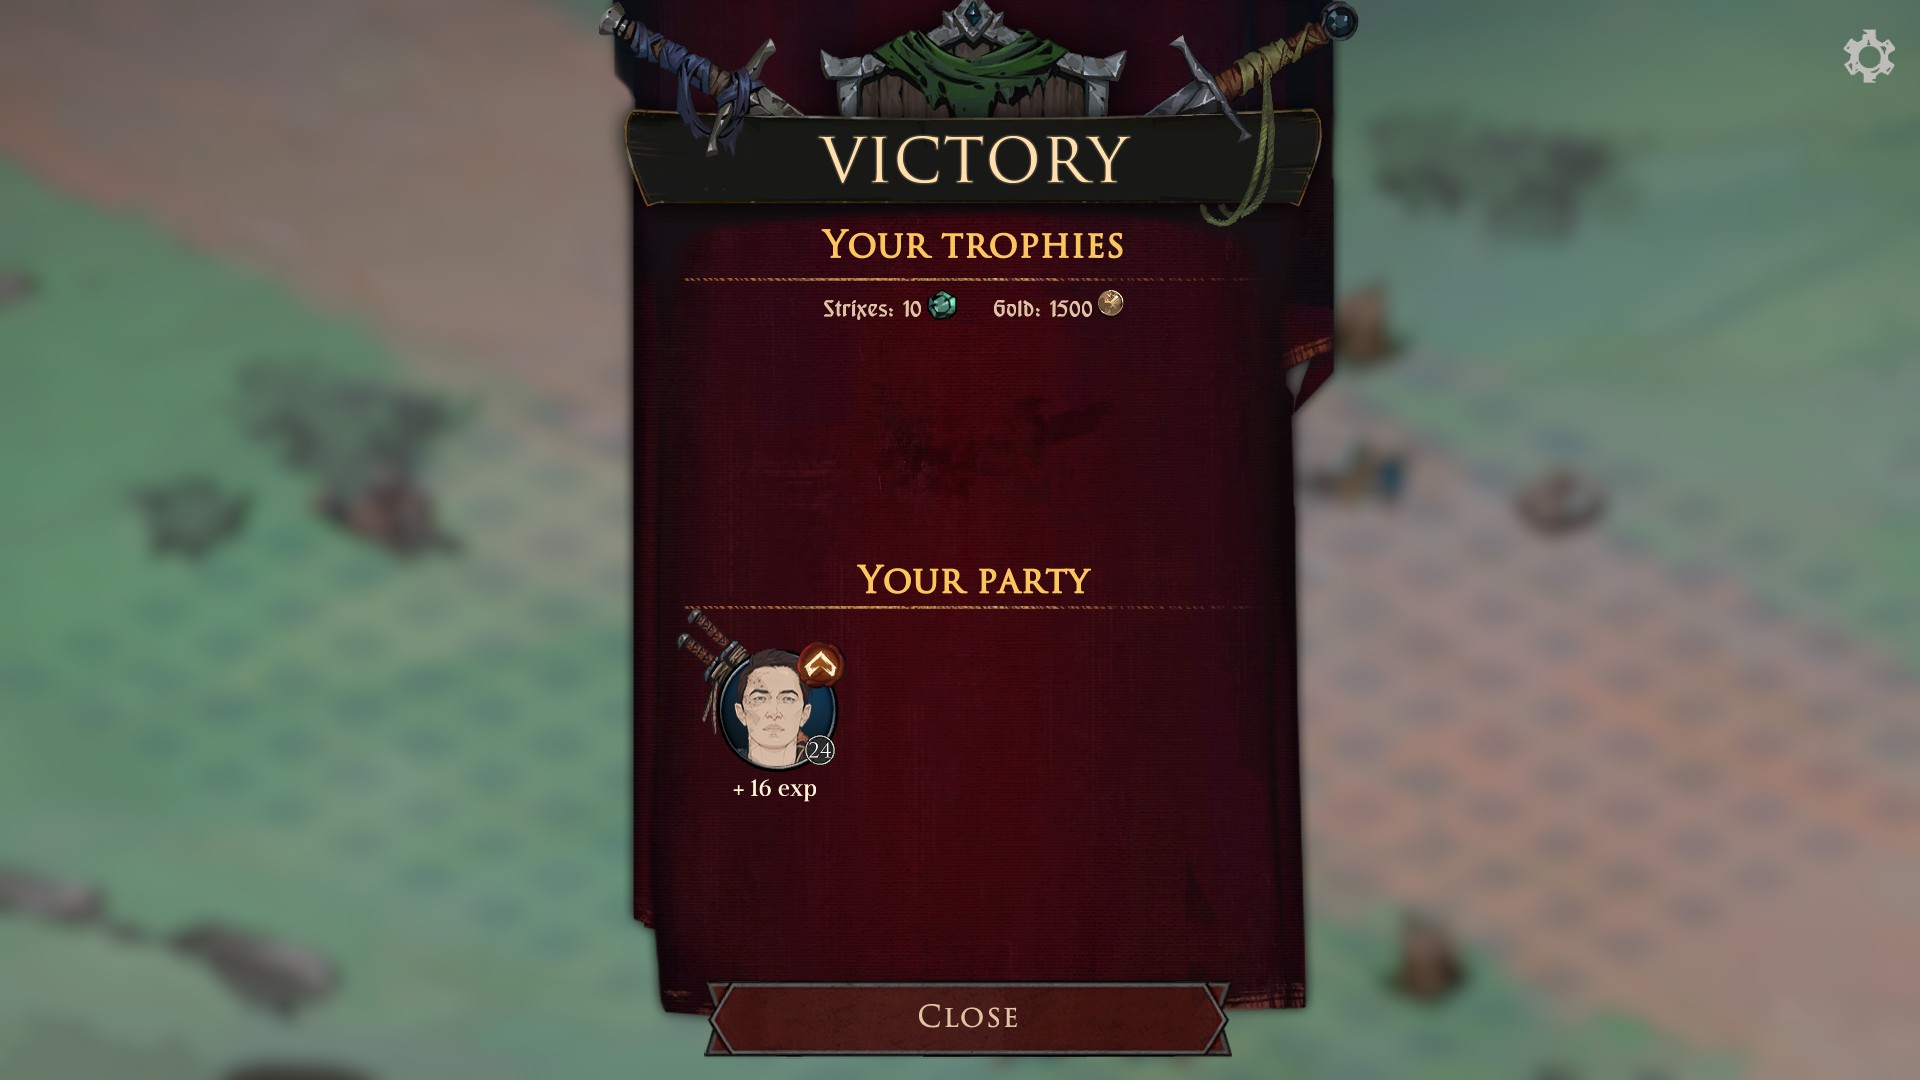
Skills are: Destructive Anger (+1 Attack per Anger), Aggression (-3 cooldown to Knockback, -1 activation time), Endurance 2/3 (+3 energy, +1 walking);
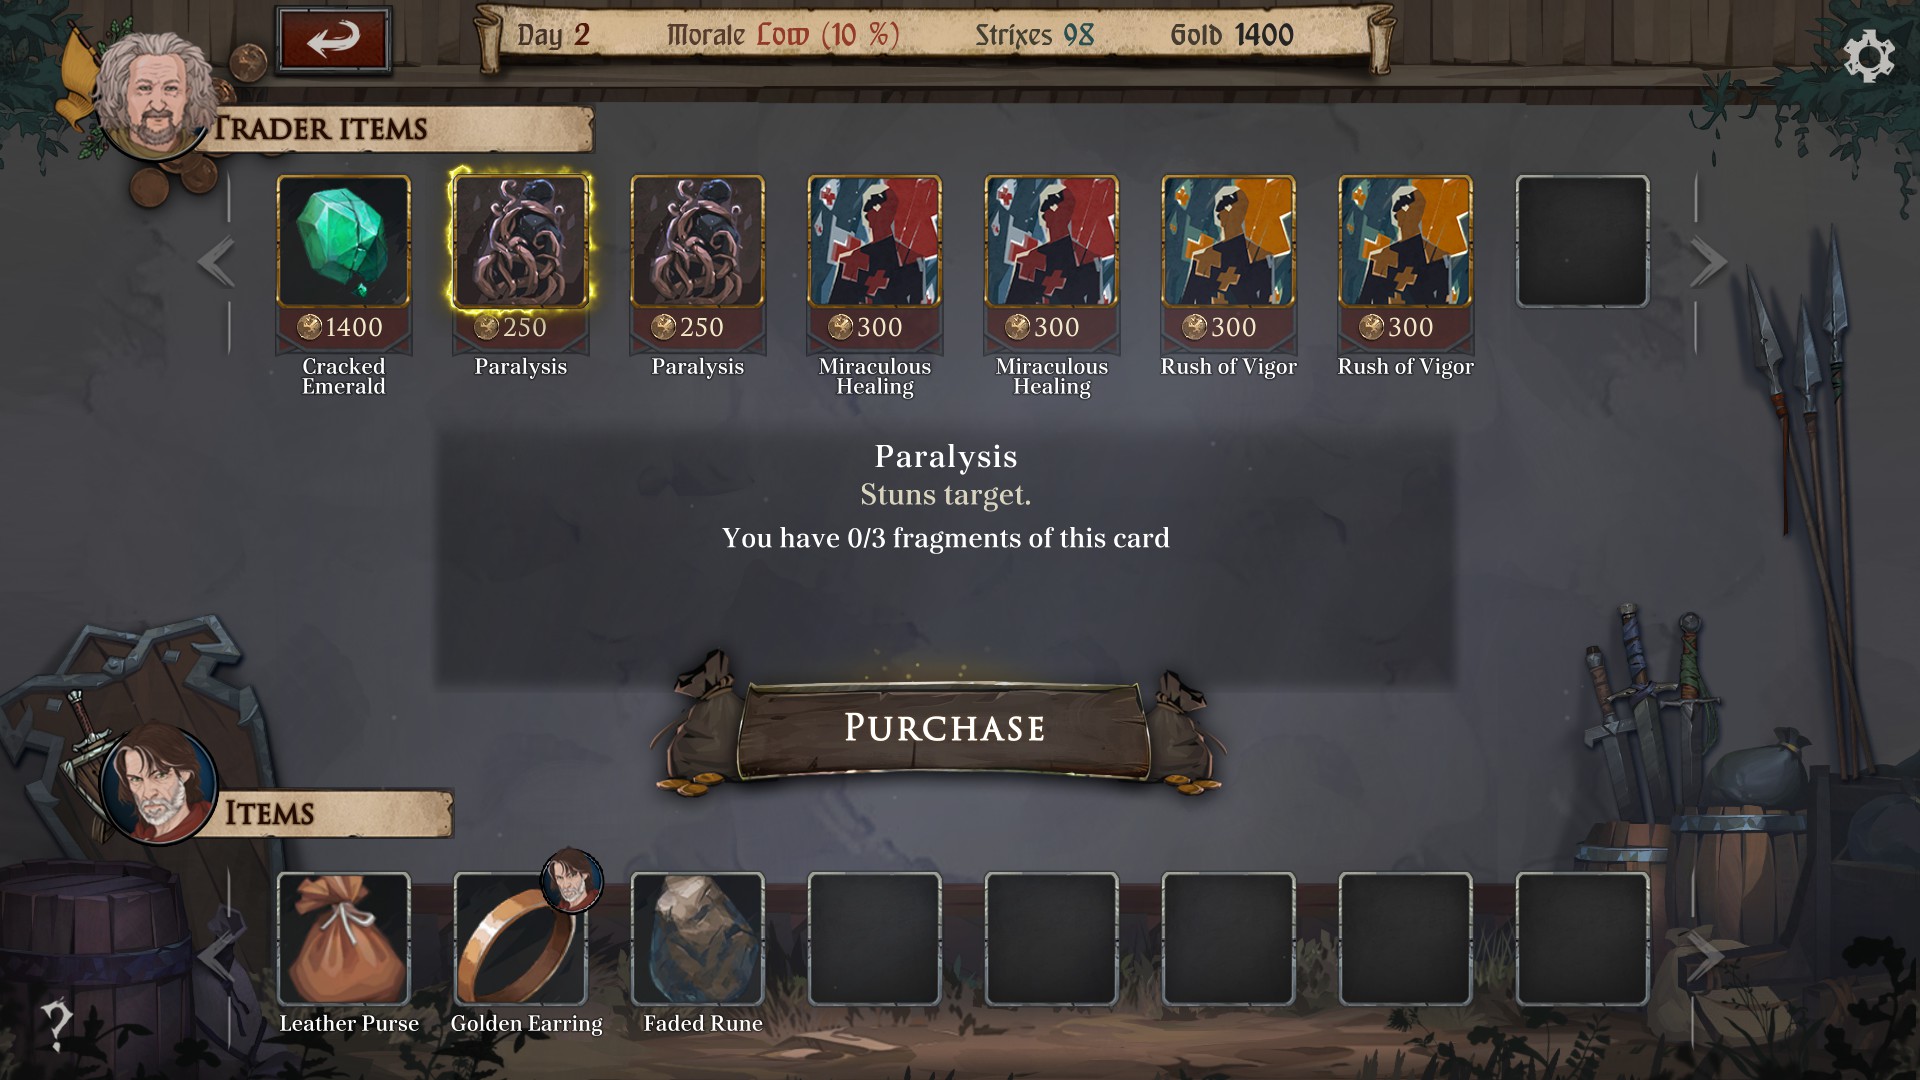
Cards are in this order: 1) Paralysis (stuns target), 2) Thirst for Destruction (+7 attack, -10 walking speed), 3) Spirit Armor (+10 armor), 4) Drain (+20 health), 5) Energy Surge (+10 energy);
Items: Cracked Emerald (+7 energy, -5 health), Leather Purse;
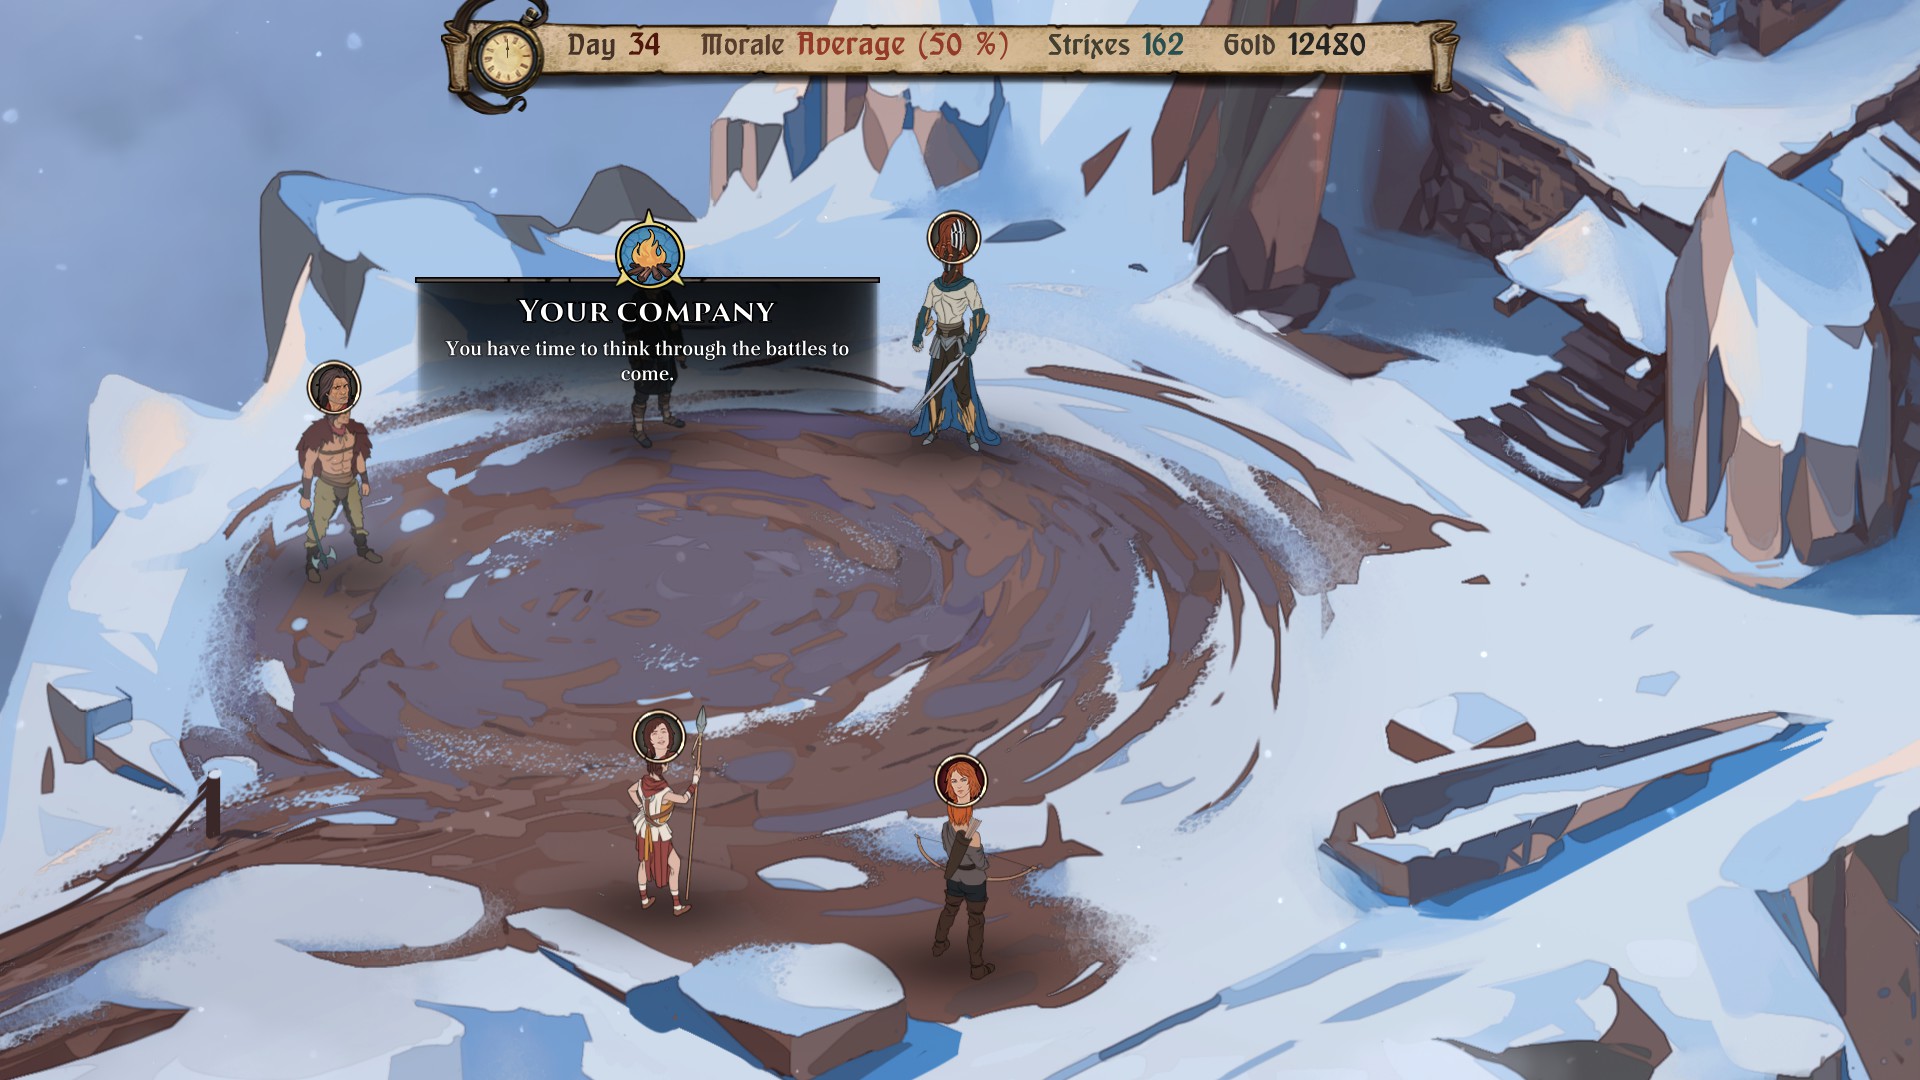
Start at the center where the mage can't reach you.
Turns: 1 - anger, 2 - paralysis card (on the mage), 3 - run fast where your enemies gathered together + knockback, 4 - attack the mage with 'parry' (so you will have +3 defense after this attack), 5 - thirst for destruction card, 6 - now knockback to kill everyone around (including the mage), 7 - spirit armor card, 8 - parry (since it adds to your total armor this turn (27 total armor, in my case)), 9 - drain card (+20 health), 10 - energy surge card (+10 energy), 11 - knockback, 12+ - now finish the last enemy;
If you're having troubles with some battles - ask me here, or check in comments close to the beginning - I believe the most difficult fights already were discussed and described.
You can also add me - so we can chat and I can help you even more.