Iron Marines

Iron Marines

39 ratings
Borealis with cheese (or how to beat the third planet with minimal effort)
By LeLobster
Having trouble beating the third planet, on Impossible or otherwise? Fear not, because It's pretty easy to cheese.
3
   
Award
Favorite
Favorited
Unfavorite
Foreword
Borealis can be a real pain, and especially on Impossible, but in this guide I will show you how to easily beat this planet so you too can get the Maximum Effort and Still Alive achievements with relative ease.
All you need is a fully upgraded level 10 Blue Dragon hero, most or all of the unit upgrades (which you've probably gotten through normal play already), some Orbital Strikes (an absolute minimum of 6) and a little cheese. No tricky tricks or glitches are involved whatsoever.
I'm sure most will be doable with some of the other heroes as well, but I rolled with BD because of her movement speed, the slightly overpowered ULTRA BLAST ability and increased damage to air units.

If you don't have enough currency for the minimum 6 Orbital Strikes needed you can spend some time farming levels 18 or 20 on Casual (difficulty settings sadly doesn't affect mission payout).
Both take less than a minute to complete and pay ~430 per victory. Level 16 is slightly faster and the easiest to complete but only pays out 370 so is not really worth it. Both are also a great way to level up your hero if she's not maxed out already.
If you don't have access to those levels yet you can opt for the Sagan-1 Spec Op named A New Despair, which also takes less than a minute to complete and has a payout of 425 if I remember correctly.

For this guide I'll be mostly talking about how to beat Borealis completely on the Impossible difficulty setting but most of the stuff will apply to the lower difficulties as well if you're having trouble on those.

Good luck and have fun!

Level 15. Ice Breaker
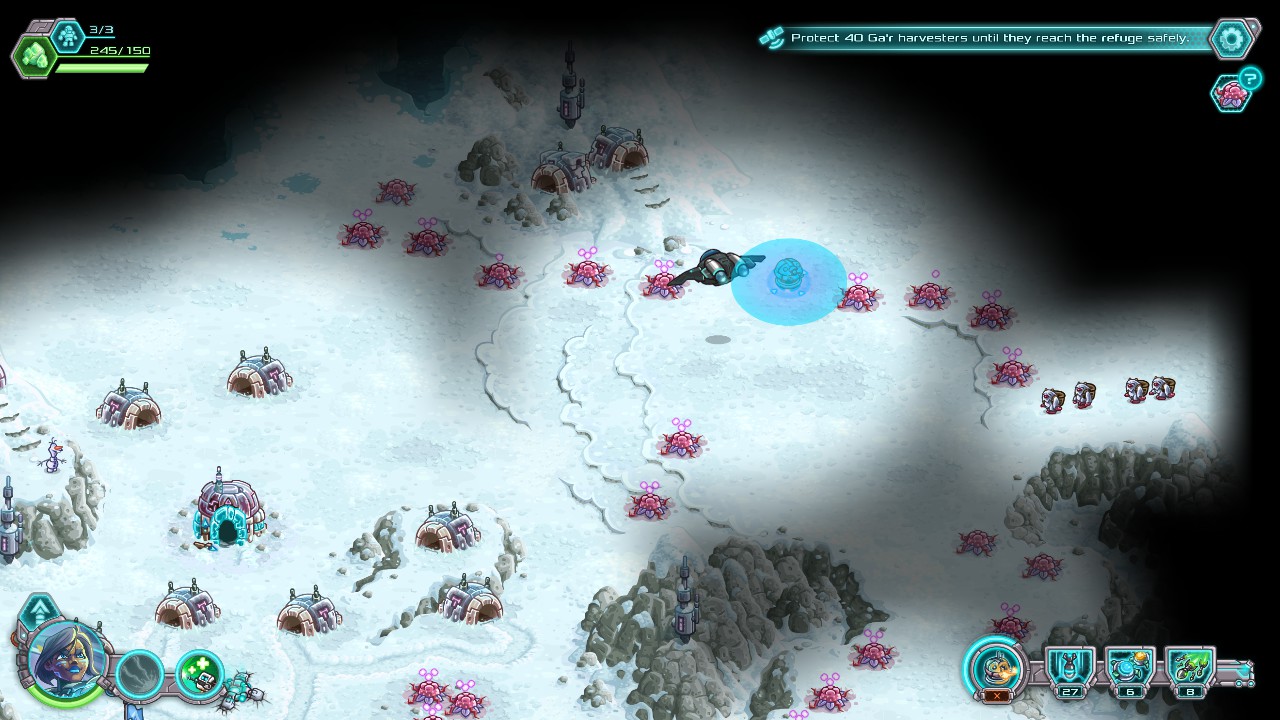
In this level you have to protect 40 Ga'r harvesters while they travel from the right or top of the screen to the refuge all the way on the bottom left.
They are very weak and walk extremely slow so this is actually one of the longer levels because of that.

You start the level with 1 Brawler, 1 Shellstorm and 1 Channeller squad but we don't need those so after you've defeated the single Ion trooper that's left behind after the cutscene just sell them. Instead what you want is 3 squads of those little lightsaber dudes (aka Guardians)

Send your BD all the way up towards the fork in the road and deploy a dropgun so they can fend off the incoming enemies while you get your Guardians.
Once you have purchased 3 squads bring them to the spot where you parked BD and send the whole gang up that path towards the edge of the screen. They'll slaughter the enemy troopers coming in without much problems. Occasionally you can deploy a dropgun to help them out a little but it shouldn't be necessary.

Most of the waves of enemies will be coming from that spot so for now, while you're waiting, you can spend some Etherium on base defenses. Doesn't really matter what you pick as long as you also upgrade the base's shields and range.

Then at around the 20-25 harvesters rescued these annoying guys called Pyron guards will be entering the level from the top left and top right, and while the guards on the right will be taken care of by your units already there, the ones on the left will start eating away at the little Ga'r village around your base.
We don't really care about that though, just pay attention to your unit count because once one of the original Guardian squads dies you can buy a new squad to help out in the village and together with your towers you should hold out long enough for 20 more Ga'r harvesters to reach the refuge.

And that's it! Level 15 done, easy.
Level 16. Space Invaders
In this level you'll have to locate and destroy the Raad's Main Refinery, but first you'll have to get rid of the unmanned carrier next to your base. Simply deploy your dropgun on it and let it take a few shots. Once it is destroyed you'll get control of BD.
On your way to the Refinery you can completely ignore everything, just keep clicking to send your BD towards where the little blue arrow is pointing.

Once you see the Refinery select 1 Orbital Strike and order it on top of the building and watch it melt away.
It should also be possible without an orbital strike but that's going to be really tight to pull off because enemies will be coming in to destroy your base and once they do you fail the mission. I haven't been able to succeed that way but maybe you'll be able to if you want to try for fun.

But that's it! Shouldn't have taken you more than 25 seconds. And another level done on Impossible difficulty.
Level 17. Game Of Horns
In this level you'll have to escort the King to his mountain horn so he can toot it. It is in my opinion one of the more annoying and harder levels of Borealis.
Mostly though because I haven't been able to find a real cheese for it, sadly, and you'll just have to use your skills. But if you're familiar with the game it shouldn't be too difficult. Just pay close attention to the King's health and get him out of harms way once he gets low. Also after he's been idle for a bit he'll sometimes automatically eat something to gain some health back so try to take advantage of that when you can and need.

You start with a Flamewalker but I like to switch him out for a Brawler because they seem to be more effective in this level but I'll leave that up to you.
Either way, make your way towards the first base location as quick as possible, using your dropgun as distraction (enemies tend to agro your dropgun before any other units for some reason) so you can slip by to capture the base.
Take a little bit of time to clear the area close to your base of any remaining enemies and build a defense tower and shield if needed. It's best to have the base alive so you can purchase an additional squad as soon as possible.

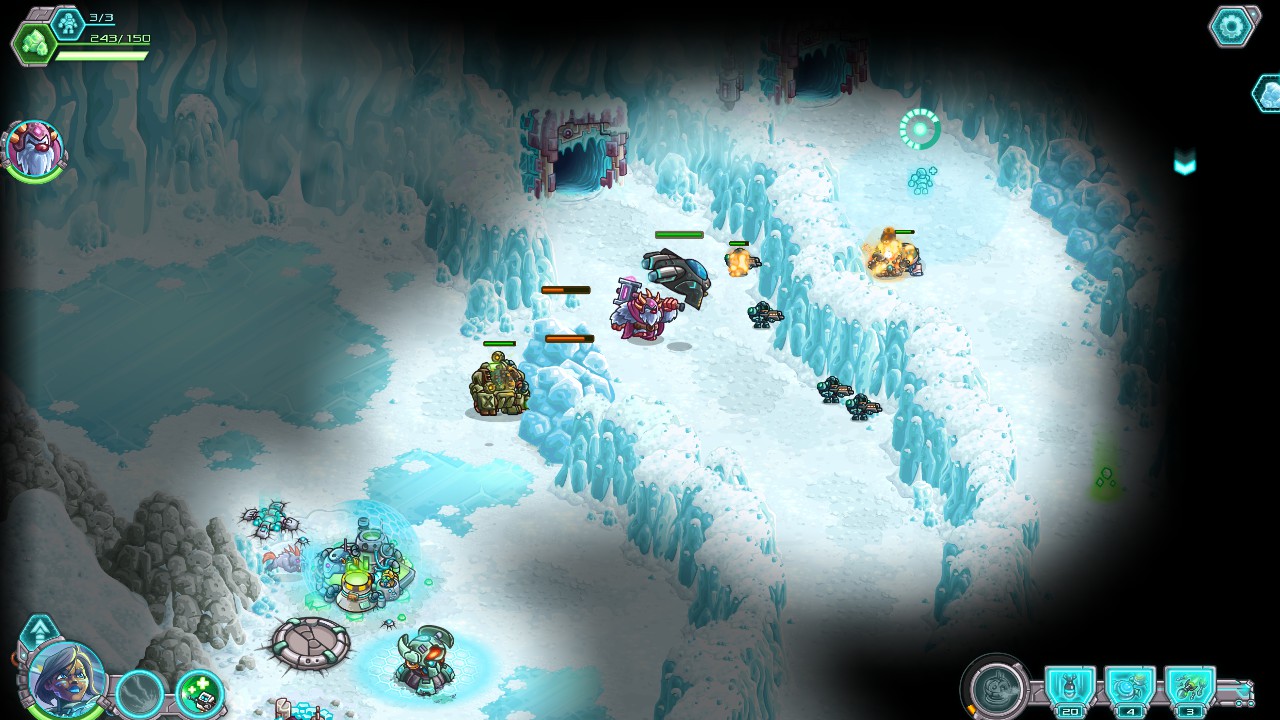
Now once things have calmed down a little continue on to the path towards the right, past the snowy blockade, and when you see the Pyron guard on your right (next to the +1 squad marker) give him a taste of your dropgun so that it can capture the marker for you. Once that's done quickly grab a squad of Guardians from your base and bring them to the rest of your units.
Now you can also leave that base for what it is because we no longer need it.

Continue along this cliff edge path, past another +1 squad marker which you'll likely capture because the King isn't much in the mood for hurrying along, and find your way around the corner to another snowy blockade and work your way towards the enemy base and capture it. Now is the time to make as much additional Guardian squads as you can afford. You can also get rid of the Flamewalker (or Brawler if you switched earlier) to free up space and earn Etherium for more Guardians.

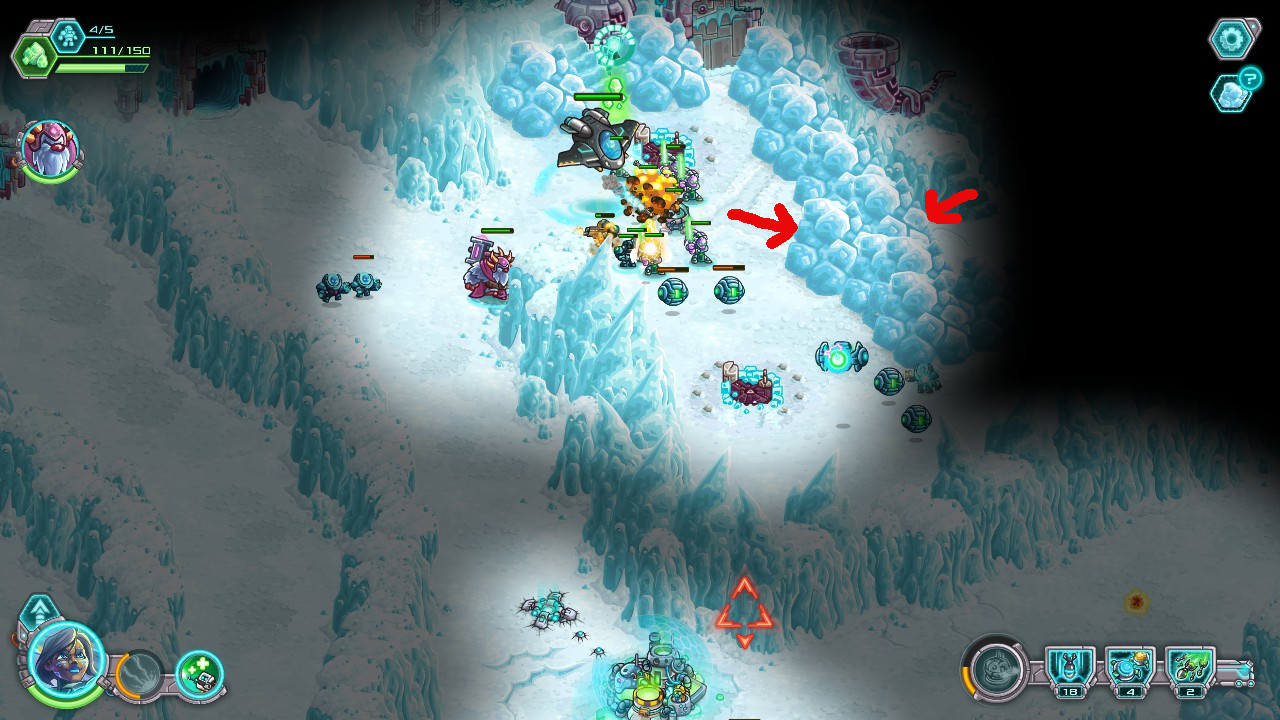
Continue along upwards, again past the snowy blockade, into the area where the horn is located. Now with your BD destroy the two snowy obstacles I've kindly marked with those gorgeously drawn red arrows to clear a path for the King to pass through. You shouldn't have to do much anymore at this point, besides helping King in the right direction, because your Guardians will be able to fend off whatever is in the way automatically.

Now if all has gone well you can see a little cutscene of the King tooting his horn and it's another mission cleared on Impossible. Really not that Impossible is it? Maybe Ironhide Game Studio should've changed the name to something more appropriate.

Level 18. 33 Seconds
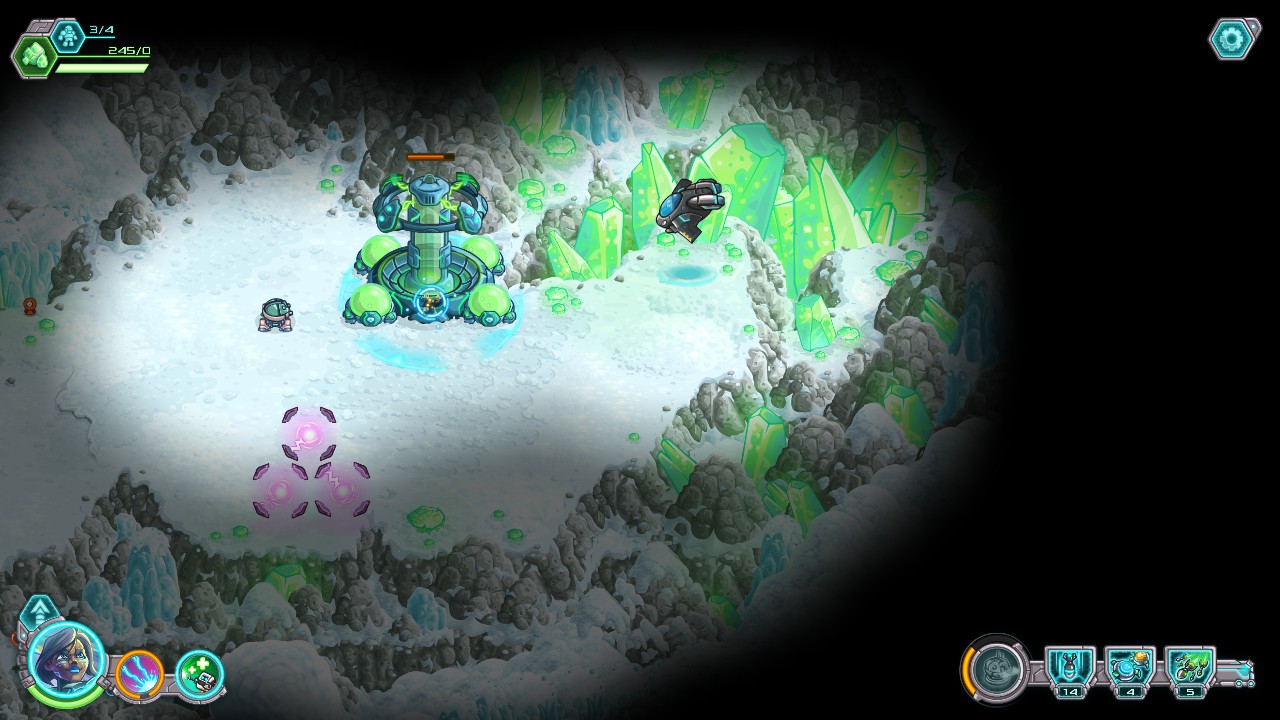
Do you want to know why this level is named 33 seconds? It's because you can easily clear it in that time. All you need is 1 Orbital Strike and your trusty BD.
You're objective is to simply destroy 3 pieces of snow, and if that sounds really simple to you that's because it is actually really that simple.

Once the level starts, immediately select your BD and fly north towards the first piece of snow. Again, the same as in level 16, ignoring whatever enemy you come across because all we care about here is that snow. Once you reach it start shooting and unleash one load of ULTRA BLAST on it (one blast should practically deplete its health bar to about 5% left, and be careful not to accidentally target one of the Fenrirs with it instead).
Once it is destroyed quickly press Q (or whatever you have it bind to) to recall your BD and deploy it close to the next batch of snow in the bottom right and start shooting that. To speed things up a little you should also deploy your dropgun so it can help shoot the snow as well.

Now if you were quick enough your base should still be alive, and if so, go give it some shield upgrades because you're going to get swarmed by enemies who'd like to destroy it. And it also gives you something to do while you're waiting for your BD and dropgun to destroy the snow. But once they've succeeded all that's left is the final block of snow right underneath the giant skull and I'm guessing you know what to do already. Right, just release 1 Orbital Strike on it and you're done. Should've definitely taken you less time to complete than 33 seconds.
Level 19. Great Balls Of Ice
Probably the hardest mission of this planet normally but by utilizing BD's movement speed and maneuverability and the dumb enemy AI you'll be able to easily complete it.
It'll most likely be the longest mission though depending on how much you're in the mood to grind for Orbital Strikes beforehand.
Your objective in this mission is to destroy the Raad Extractor which is located in the top right section of the map. Doesn't sound too hard but that thing has a monstrous amount of HP on Impossible. You'll need 9 (!) Orbital Strikes to completely deplete it of it's health points, or you can choose to do it without Orbital Strikes; in which case it'll take you somewhere between 7-9 minutes of semi micro-managing BD and your dropgun.
Of course you can speed this up by mixing in a few orbital strikes but I'd thought I'd point out both edge cases so you can decide how you want to play it.
Before you start though, and if you don't go full out Orbital Strike method, go into your Special Weapons menu and purchase a couple Bouncers if you don't have them already, between three or five should be more than enough, because they'll be of great use later.

The mission starts you with a Firewalker and 2 Sniper squads but you really don't want those because they'll only slow you down so grab your BD and book it along the curved path north of your starting location which'll take you to your objective. Along the way you'll encounter falling snowballs and groups of enemies but you can safely ignore everything because the enemies will quickly forget that you flew by and go along their merry way.

When you reach the area where the refinery is located park your BD in this exact location. It's the perfect spot because there will be hardly any portals spawning close by and most enemies will only ever exist to the left of the refinery.
But in case a portal does spawn close by just quickly target it with BD and she'll get rid of it in a second, literally.
You'll also most likely encounter a few (probalby one or two) enemy carriers and maybe a stray elite or trooper but they shouldn't be too hard for you to clean up, especially not if you listened to me earlier and purchased a couple Bouncers.
But now it's time to unleash the barrage of Orbital Strikes (you don't have to wait for 1 strike to finish before you can deploy the next), or slowly chip away at the Refinery's health using BD.
If you chose to do the latter remember that enemies tend to favor agro towards your dropgun, so if an enemy does seem to find its way towards BD you can deploy your dropgun to give you some time to throw a bouncer on his face, so BD can continue focusing on the Refinery in peace and quiet.
Either way it'll be a breeze and another level beaten on Impossible.
Level 20. A Bridge Not Too Far
The last real mission of Borealis, and probably the biggest cheese of the whole third planet.
Just like on Mission 19 I'd suggest you bring along a couple of Bouncers as they're great to get rid of lone enemies who bother you and because they're cheap to purchase.
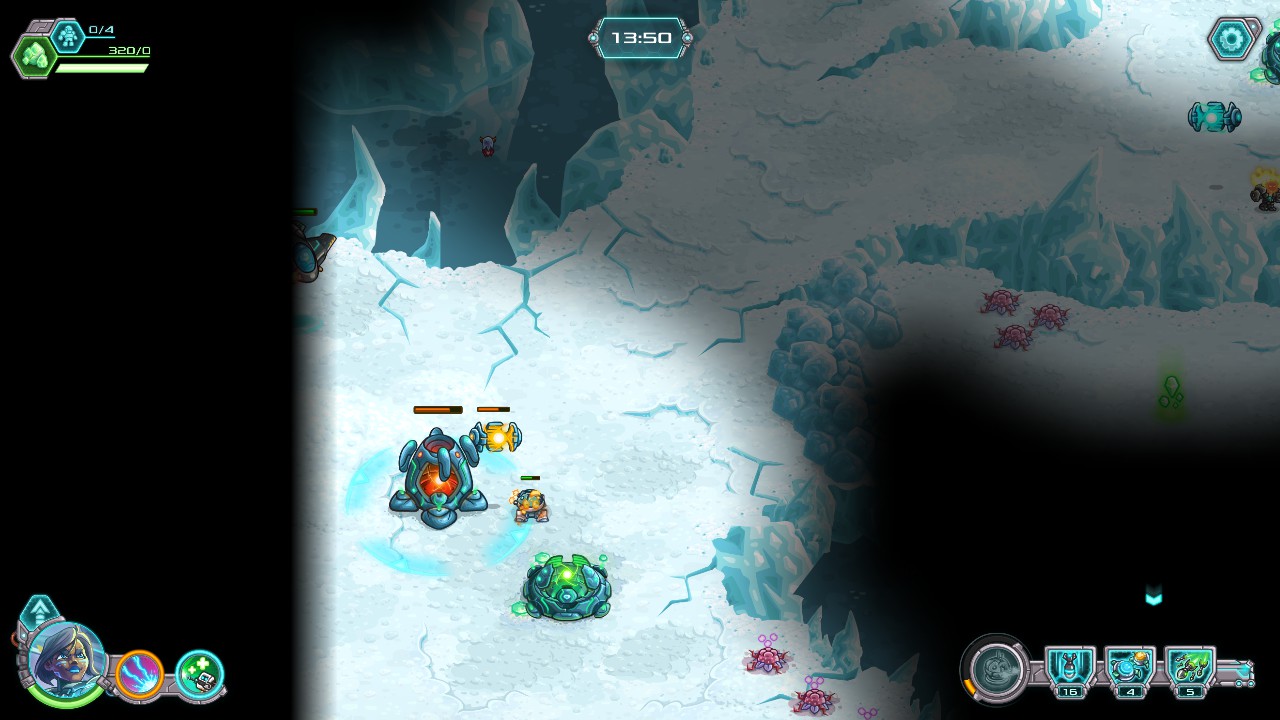
You have 15 minutes to destroy 3 Raad Pylons, 1 is located north center, 1 in the middle towards the western edge and 1 south center (which I'll label Pylon 1, 2 and 3 in that order).
To help you with this seemingly tough mission they give you a starting base with 1 Shellstorm, 1 Diplomat squad and 1 Sniper squad, but again all you need is your trusty BD and your dropgun buddy. You can completely disregard the base and your other units because luckily for us the mission doesn't care if those get obliterated.

I'd suggest flying around the map one time to get familiar with the Pylon's locations because it'll be easier to scoot from one Pylon to the next without attracting much attention.
So once you know where to look for them restart the mission and get ready to blast.
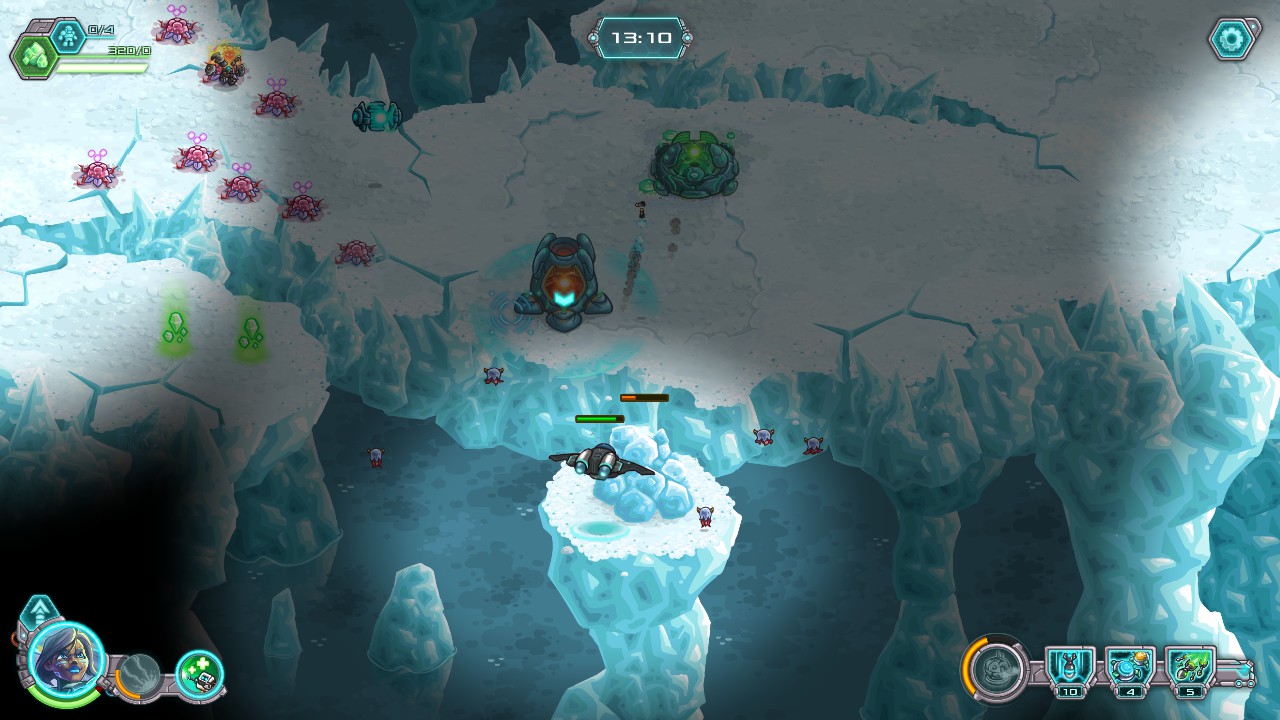
Each Pylon area has a safe spot of sorts where you can park BD and target the Pylon from a relatively safe distance. The order at which you destroy them is completely up to you, although I prefer going 1-2-3 as that way I find the enemies easier to manipulate, so I'll just shorty describe each location and the tactic to use.

Pylon 1: Can be tricky but if you deploy your dropgun at the right time while you're passing through with BD you can safely park her in that spot while all the enemies mindlessly follow the dropgun. So use it to just lead them away towards the right a bit and start shooting the Pylon with BD. Remember to use your ULTRA BLAST because one fully charged blast will get rid of 50% of the Pylon's health points.
Occasionally there might be a Pyron guard coming your way from the south but it's easy to get rid of them, and the same goes for the occasional portal spawn that can happen.

Pylon 2: Probably the toughest of the three to pull off cleanly because it'll be guarded by the biggest amount of enemies. But not really much to say here though, just closely watch BD's health while you're fighting off the few present carriers and troopers and use Bouncers where needed. Also if your ULTRA BLAST is again fully charged, or close to, don't forget to use it on the Pylon.


Pylon 3: This one is easier to approach from the right so if you've followed my 1-2-3 order I'd suggest going east from 2 and through the middle past the snowy blockades and around the corner. This way you'll attract less enemies and can easier find safety on the little ice platform below. Again not much to say here, just do the exact same as you've done at the previous Pylons and everything should be A-ok.

In total it shouldn't take you much more than 2 minutes at most to destroy all three but you are free to go at your own pace, maybe take some time to ensure you can heal BD again when needed and maybe for your ULTRA BLAST to be fully charged again, although remember: the longer you take the more enemies will spawn.
Now onto to the grand finale and finishing your progress toward the Maximum Effort achievement.
Level 21. From Beyond The Stars
Say hello again to Nexus, the final boss of the game. He is very doable on any difficulty that is not Impossible but practically impossible on Impossible, at least in my humble opinion.
Luckily Orbital Strikes are completely overpowered against him and in order to defeat Nexus you'll only need a mere 4 of them, maybe 5-6 if you want to give yourself an even easier time but that'll require a bit more grinding for currency which I personally don't care for very much.

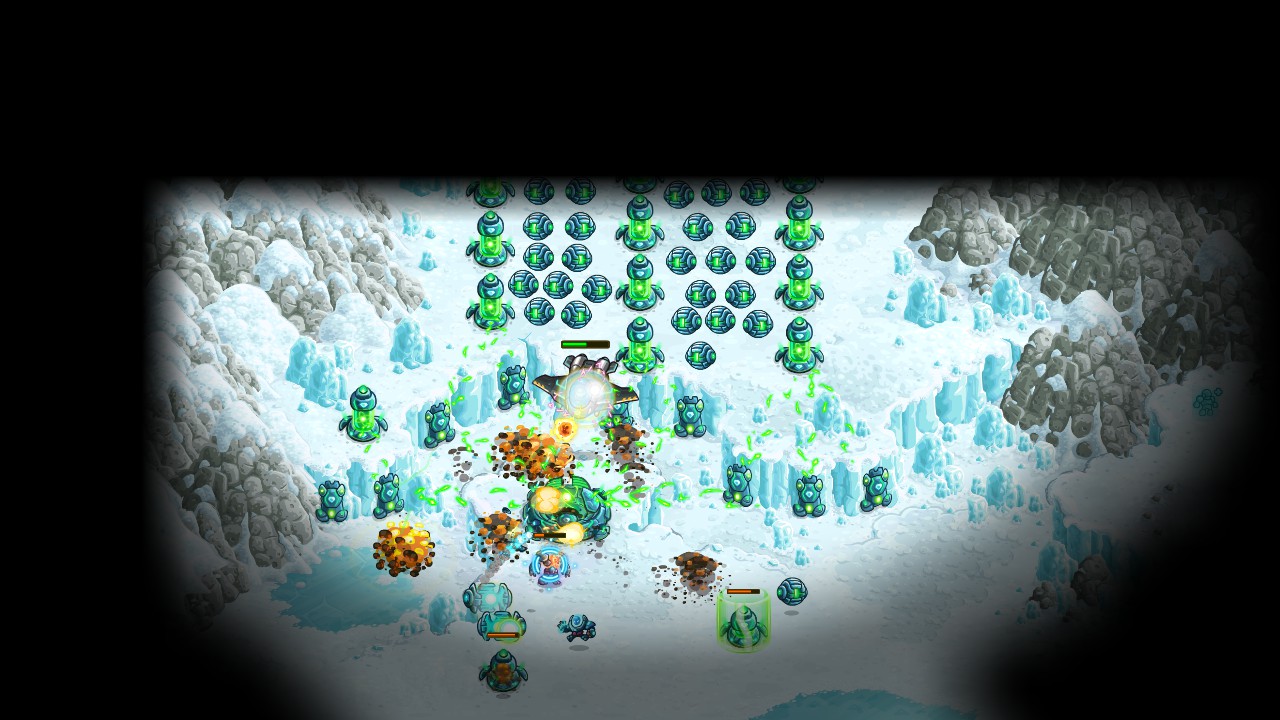
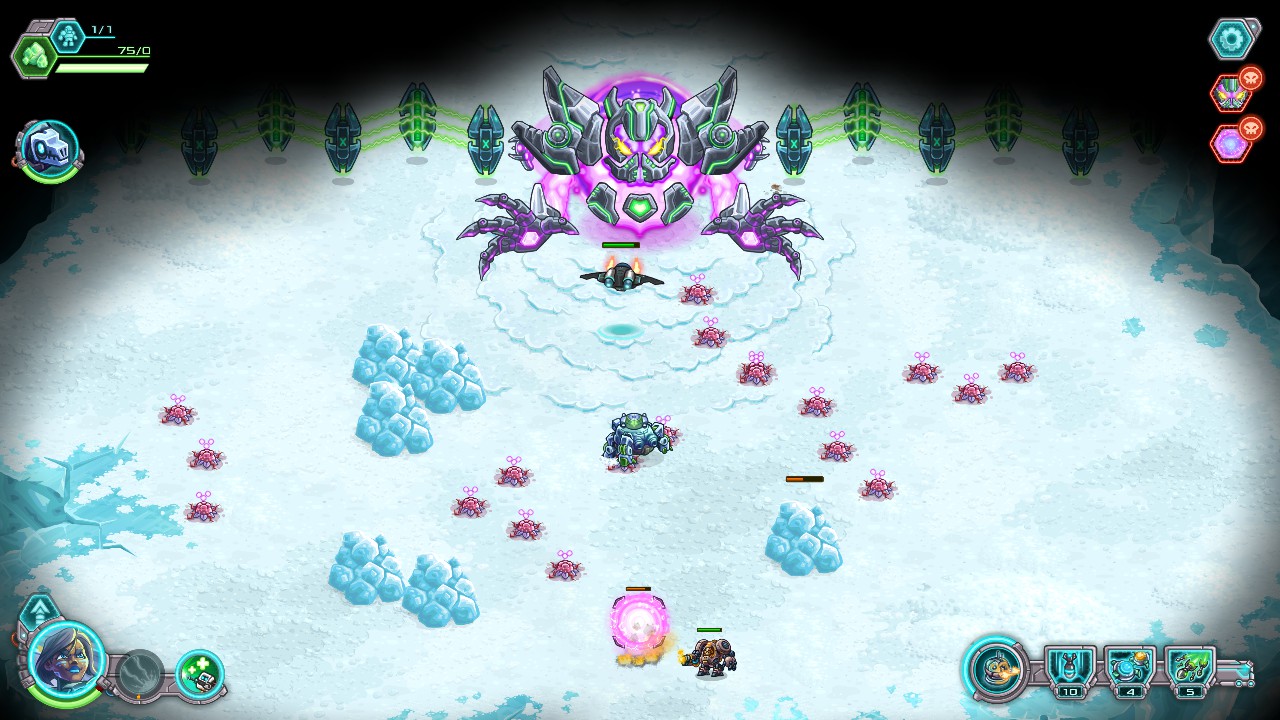
After you've sat through the unskippable cutscene you'll get control over BD, 1 Flamewalker and one weird looking vehicle called a Tortugon. You'll need to escort this Tortugon into the hyper-portal which appears when you fully deplete Nexus of his health points.
The fight consists of multiple fases each giving you a fresh BD to use so don't worry about it if she dies towards the end of a fase.
Also, because we're trying to save on using Orbital Strikes to minimize grinding, there won't be any in the first fase as I think it's pretty doable without but if you've opted for the 1 or 2 extra feel free to use them.

Once the fight starts you can just keep the Flamewalker at the bottom so he can keep enemies busy and work on destroying the portal. He might survive but probably wont, It doesn't really matter.
Next lead the Tortugon upwards so he's a good distance away from the portal and closer to Nexus and let him be for now.
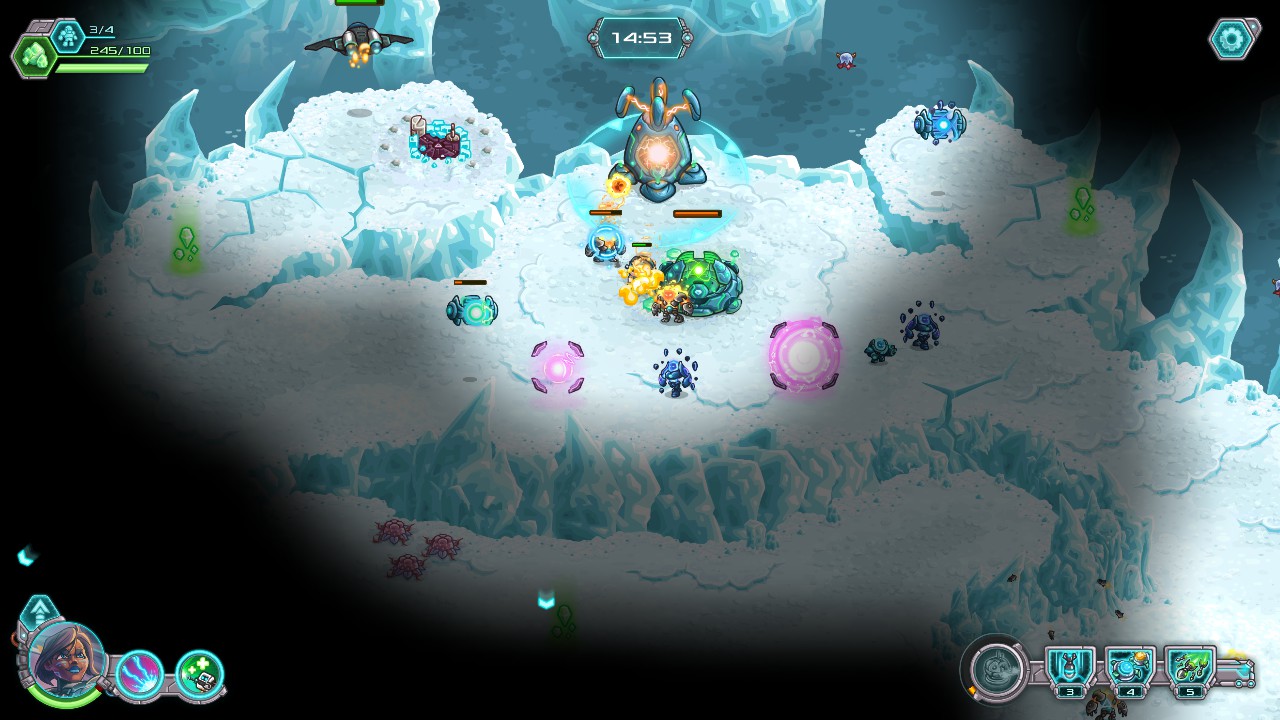
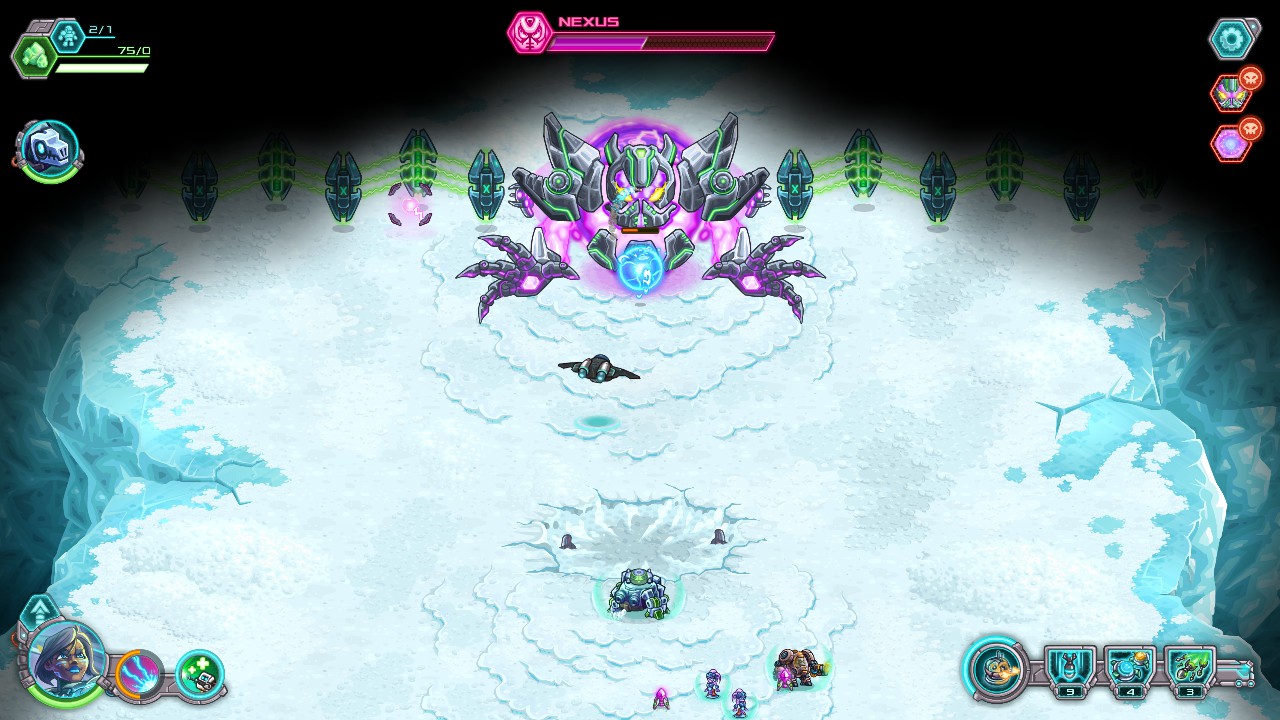
Hopefully you've been quick enough about it so Nexus didn't have a chance to attack and you can fly DB close enough to unleash an ULTRA BLAST on his hand. This will completely cancel out his charge and attack and will give you some time to deploy your dropgun to help your Flamewalker. You can also decide to drop in a Bouncer or two if you have them but that shouldn't be necessary.
Now it's just a matter of keeping DB busy shooting Nexus and switching to target his hand whenever he starts charging to cancel it out (also unleash whatever charge you have in ULTRA BLAST as it does a good bit of damage even while not fully charged).
Repeat this process until he retreats and the portal opens up so you can direct the Tortugon to go inside.
Or alternatively you can call in an Orbital Strike if you've decided to grind for the extras as it does make this fase A LOT easier. The best timing for this is when he starts to charge for his next attack so you don't have to worry about canceling it with DB.
Either way you're now on to the next fase.

As soon as that fase starts immediately deploy your first Orbital Strike on Nexus and watch how his health bar melts down to below 50% already.
Now quickly direct the Tortugon up past the crater and once he's there deploy the next orbital strike, this will empty Nexus' health bar completely and should give enough time for the Tortugon to reach the opened portal again. If the blue energy ball survived just destroy it with BD, and don't worry about Nexus' second attack during this because the lasers he deploys will be easy to dodge if you see the Tortugon walk in its path.

The third and final fase is the trickiest because you'll have to be careful not to open the portal too quickly or else the Tortugon won't be able to reach it in time before it closes again and Nexus respawns.
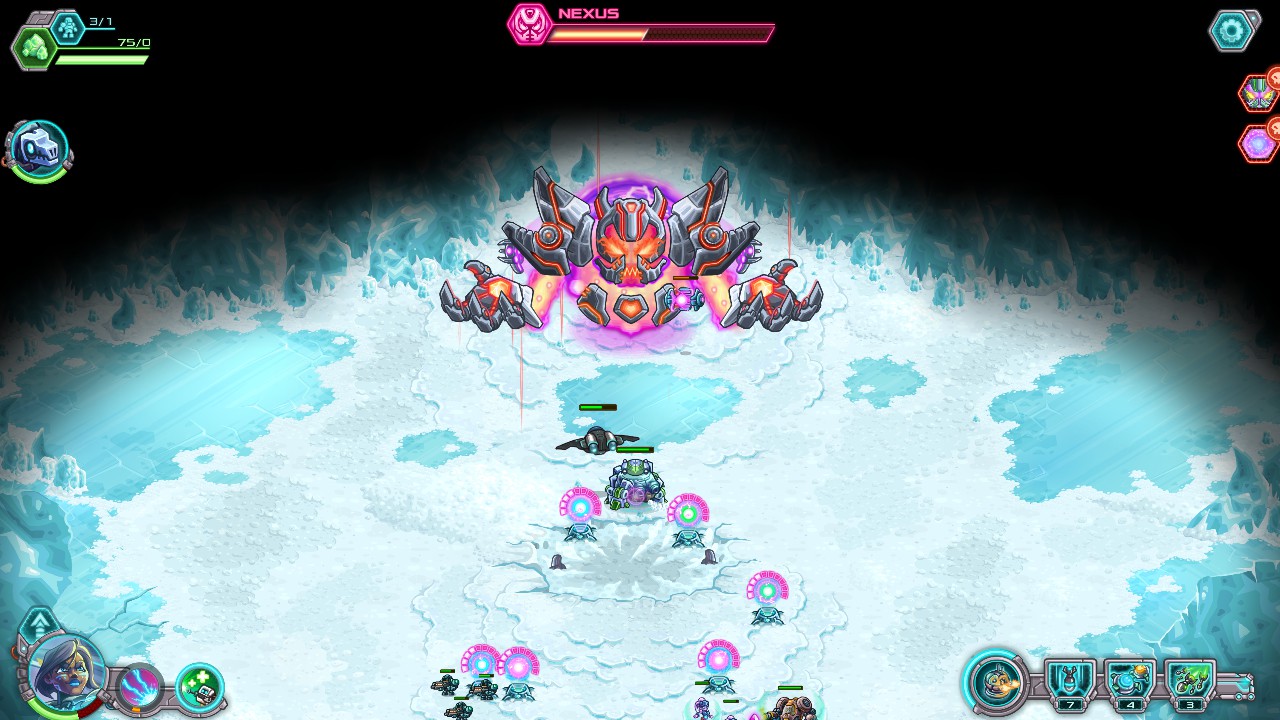
Once it starts quickly direct the Tortugon upwards and drop your first orbital strike on Nexus once he starts charging his hand.
Now bring BD along as well to destroy any portals or enemies that may spawn close to the Tortugon and get some shots and blasts in on Nexus if you have a chance (this is useful because I've seen instances of Nexus having a few pixels of health left after 2 Orbital Strikes).
You don't really have to worry about Nexus' second attack because once the purple energy pods he drops finish charging the Tortugon will be on his way into the portal already.
Once the Tortugon is near or on the crater deploy your final Orbital Strike on Nexus so you can direct the Tortugon into Nexus' portal for the last time. Now sit back and watch him explode into tiny pieces and enjoy the achievement pop up and that glorious final victory screen.

Congratulations, you have now fully completed Borealis with lots of cheese and minimal effort!
Afterword
That wasn't so bad, was it? Definitely not impossible.

I hoped you enjoyed reading my guide and thought it was helpful.
This is the first guide I've written on Steam and I tried my best to make it as clear and nice to read as possible so feel free to give any feedback in the comments if you'd like.
Or if you have any questions about any of the levels that's fine too, I'll try to answer them if I can.

Cheerio.

11 Comments
Oleksandryt 6 Mar @ 11:42am 
Thank you. Ironhide make amazing and fun games but the achievements are insane. This guide really helped me!
krysia4 2 Dec, 2023 @ 10:41am 
thanks for this quide, one of the easiest fights in the world my man
General_Escor 4 Feb, 2021 @ 6:05am 
What a shit planet with no balance.
GraveyardPumpkin 30 Mar, 2020 @ 2:58am 
Last mission is just a freaking pain in the ass. Just gonna spam Nexus with orbital strikes.
z1ggy 13 Jul, 2019 @ 5:46am 
Mission 18 can be completed under 1 minute with the blue dragon.
LeLobster  [author] 11 Jun, 2019 @ 6:39pm 
Same story though right, can't remember how much tech they pay out exactly but would be easier to farm in those levels as well. Though you'll most likely have gotten most of the important upgrades through normal play already, you really don't need all of them to beat the game on Impossible.
They're definitely not useless, and I thought I'd mention farming them because maybe other people had wasted them on other specials just like I did before even starting Impossible.
You'd need at least 6 orbital strikes if someone would intent to strictly follow this guide.
February 11 Jun, 2019 @ 5:04pm 
Then I guess it is the best place to farm Credits, then. What you really need are Tech Points, though, as Credits are easy to come by and kinda worthless :D.
LeLobster  [author] 11 Jun, 2019 @ 3:15pm 
I don't have the game installed anymore else I would time it but I'm pretty sure level 18 can be beaten 5 or 6 times in those ~4 minutes, which would give you more than 2k credits
February 10 Jun, 2019 @ 10:23am 
Idk man, ~4 minutes and the mission is done - you get 410 Credits (Gold) and 600 Tech Points.
LeLobster  [author] 10 Jun, 2019 @ 9:38am 
If you mean only for xp to lvl up your Hero sure, boss fights pay more than regular lvls. But if you're farming for currency it's not a good lvl to choose as just the intro cutscene alone takes longer than you need to complete level 18 or 20