Team Fortress 2

Team Fortress 2

528 ratings
Spying: A Guide to Movement, Mindset and Blending
By Eccentric Eggplant
This guide focuses on the mindset and general strategy of playing a default Spy, such as when to use what disguises, how to get behind enemy lines, how to disguise convincingly, etc.

This guide does not cover absolute basics, detailed class vs. class strategies (although there is a laughably small section on this) and alternative playstyles of the Spy (such as using the Dead Ringer, or capitalizing on special knives like Your Eternal Reward, Big Earner or Conniver's Kunai).

This guide is not geared towards competitive play, as I do not have experience with that, but some of the concepts should still apply.

This is admittedly a very text-heavy guide, so be prepared for a bit of reading. I have fleshed out the table of contents as much as possible so you can skip ahead to a section that you're interested in.
   
Award
Favorite
Favorited
Unfavorite
Introduction
The Spy is a class with a surprising amount of depth (along with many other classes in the game), but it is difficult to start off and be able to play a Spy well.

This guide was written mainly to remind myself how to play a Spy, but more importantly, give beginner Spies a headstart by laying out important concepts. There will inevitably be some overlap with other guides, but hopefully the different focus will help to give a different perspective on things.

I do not claim to be a very good Spy myself, and I have my days where I just can't seem to make any dent playing as Spy, but I generally think I know what I'm doing, even if the execution can only be seen as cute sometimes.
Blending In: Tunnel Vision - Don't Do It
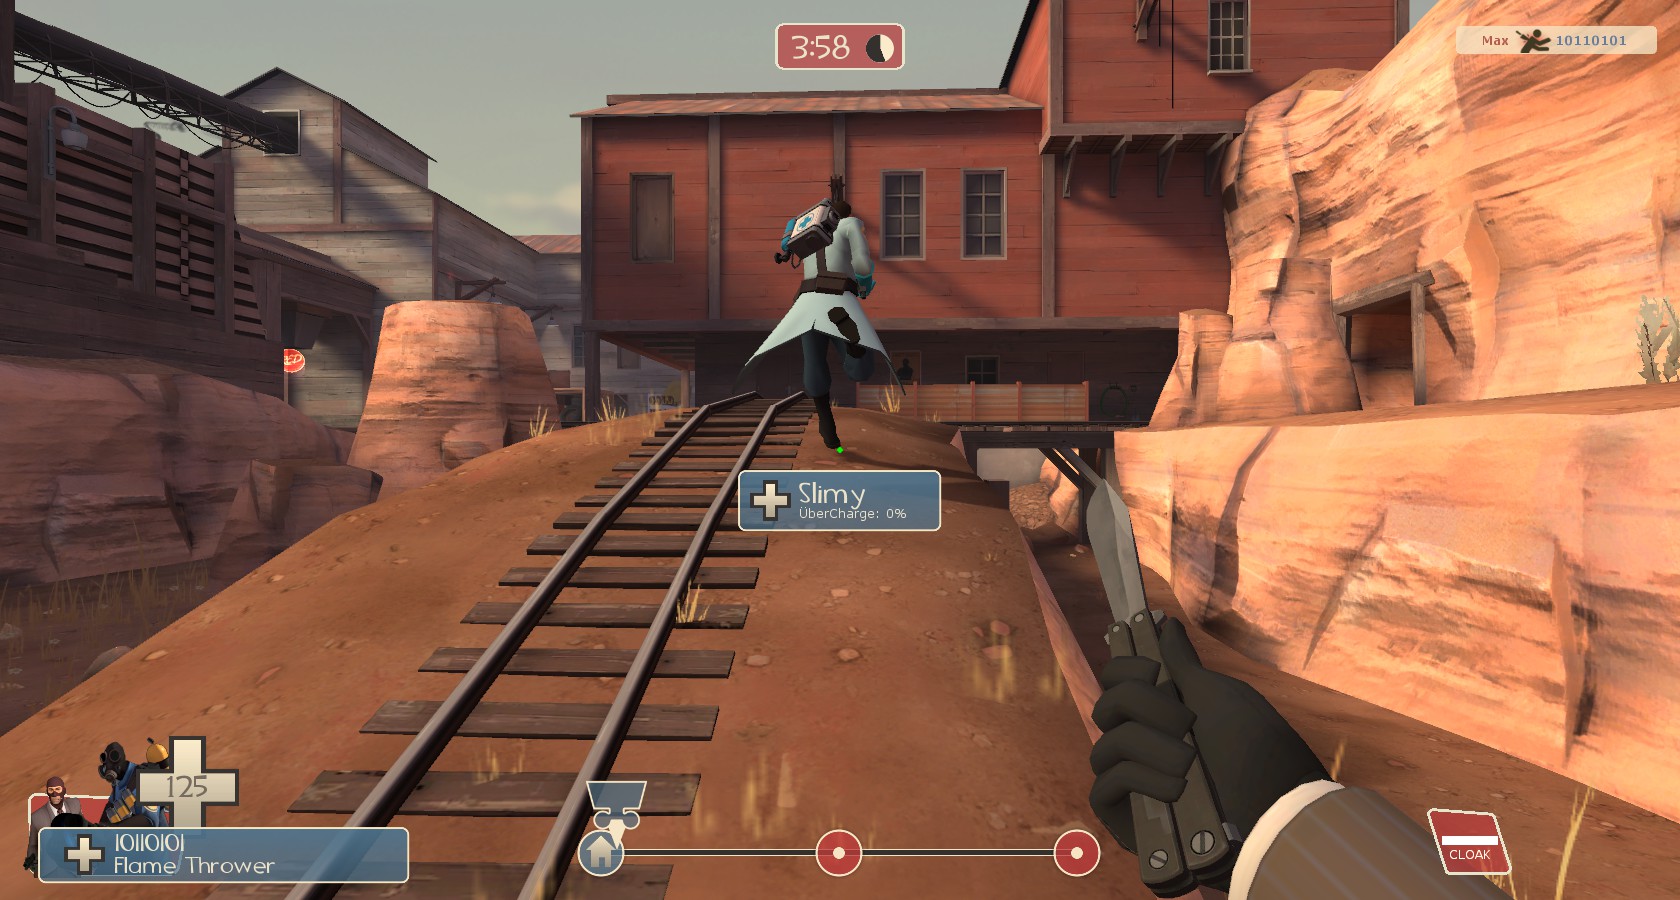
Basic economy dictates that to get to your target quickly, you must move in a straight line towards it. This has its advantage, because it can help you catch up with the enemy, especially for classes with the same or higher movement speed as you such as the Pyro, Engineer, Medic and Sniper, the latter 3 being your primary target.

It can also get you killed. Spy gameplay is heavily oriented towards getting the enemy believing you are their own. Therefore, it's important to act like you are really on their side. Walking in a straight line towards another player's back is NOT acting like you are on their side. Doing it for a short period of time is okay, but if you're walking across half the map trying to chase a class that runs at the same speed as you do (more on this in the next section), it'd be pretty obvious you’re a Spy.

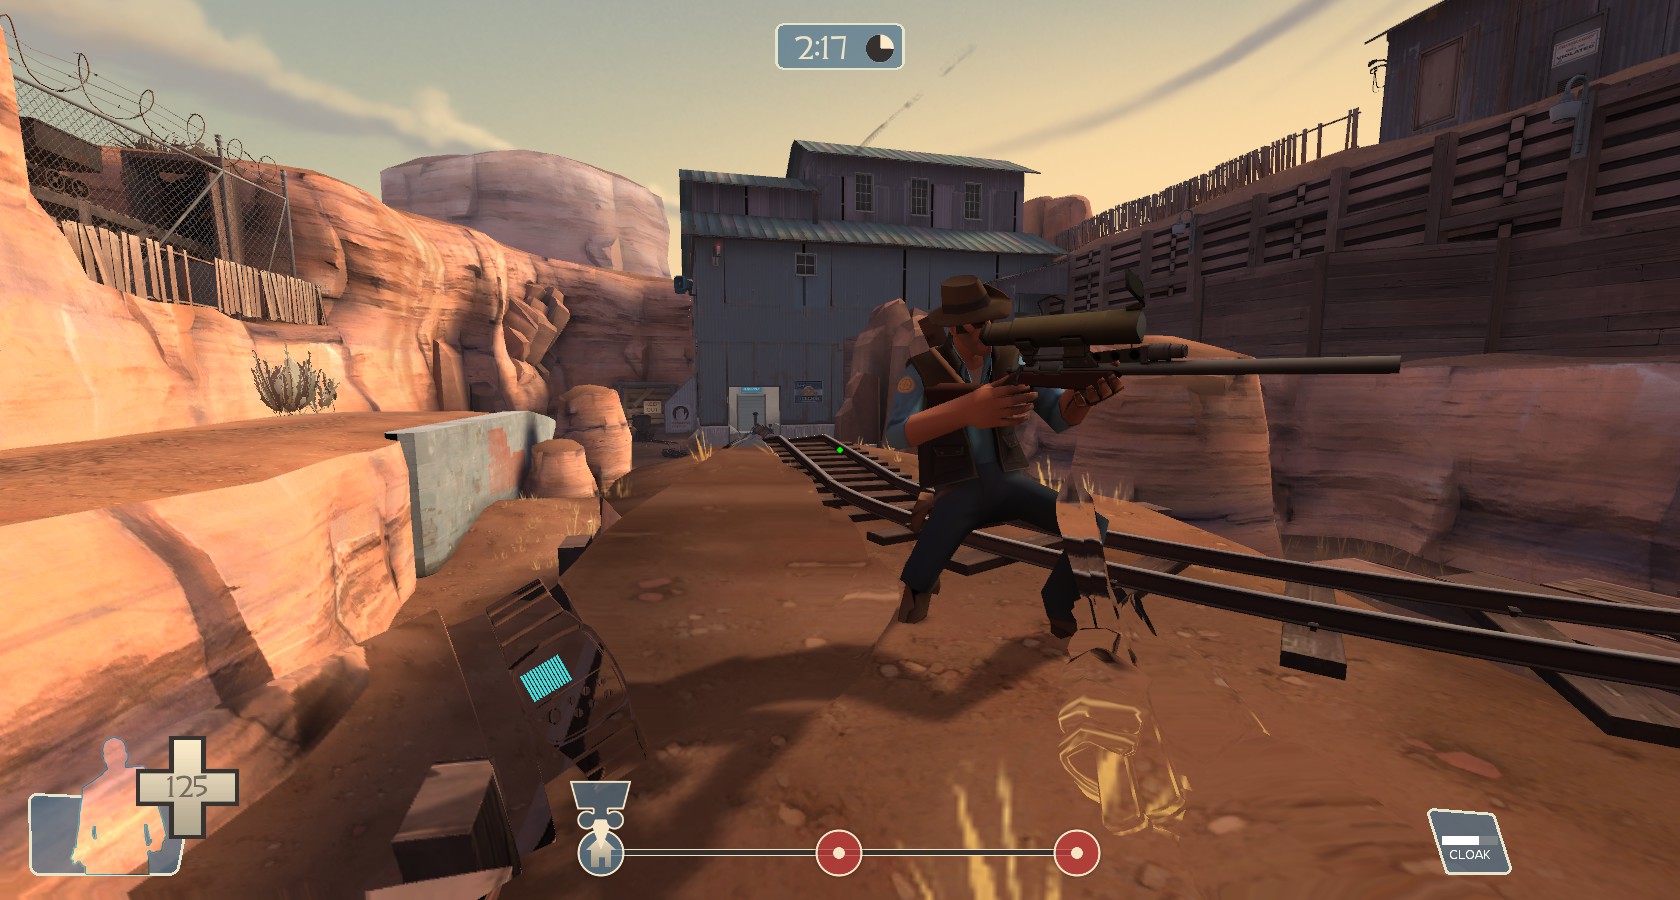
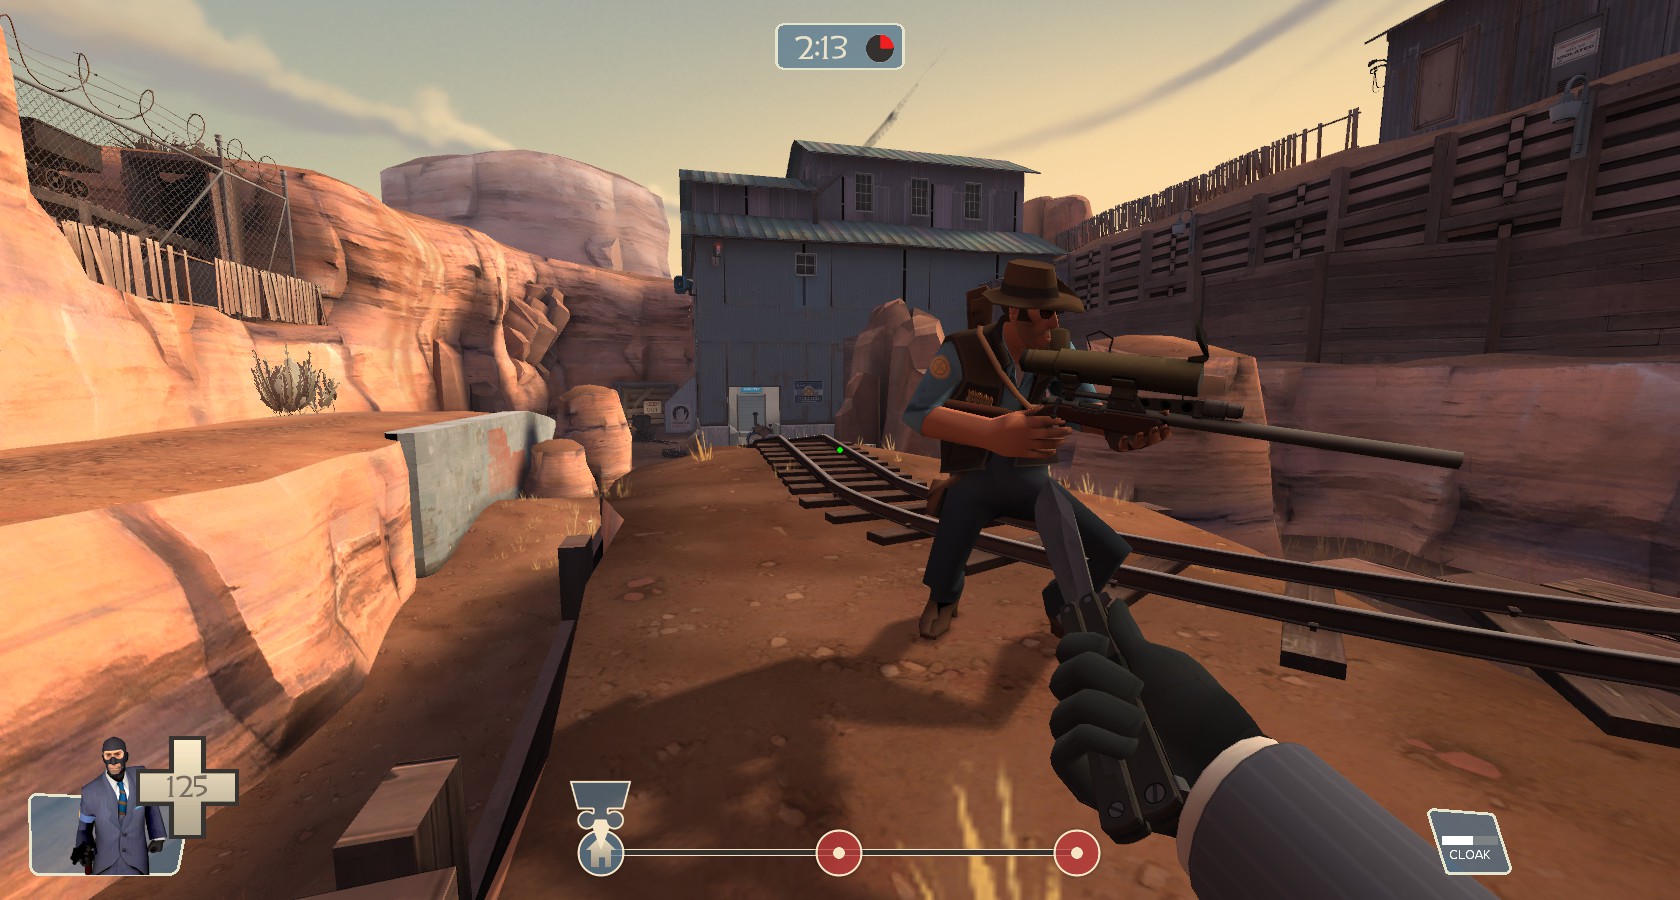
Here's an example of staring right at an enemy while chasing, which, if you haven't caught on by now, is not very recommended.
Blending In: Let Me Get Out My Protractor
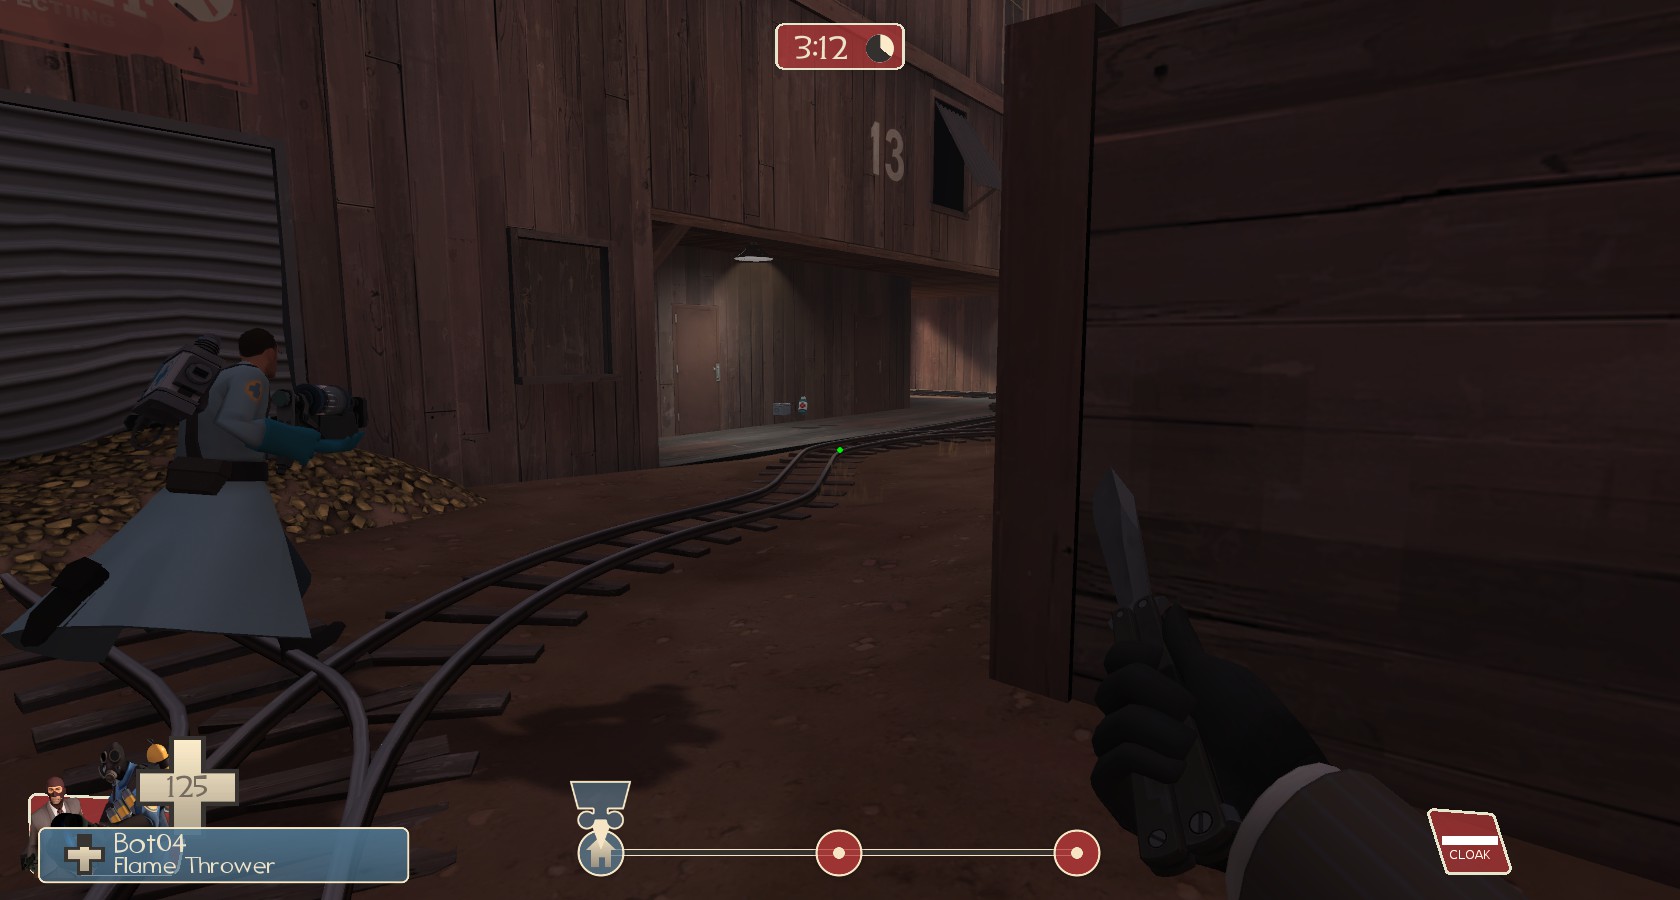
Another approach to, well, approaching your enemies, is from an angle. This is especially important for the following classes, as they are faster or run at the same speed as you do:
• Scout (133%)
• Medic (107%)
• Pyro (100%)
• Engineer (100%)
• Sniper (100%)
• Spy (100%)

Chasing these classes will, in most cases, never help you with catching them, and it will blow your cover, because you're fixated right on their back. Even when disguised, experienced players will be able to tell you’re up to no good.


Blending In: Move Away, I'm Changing Lanes!
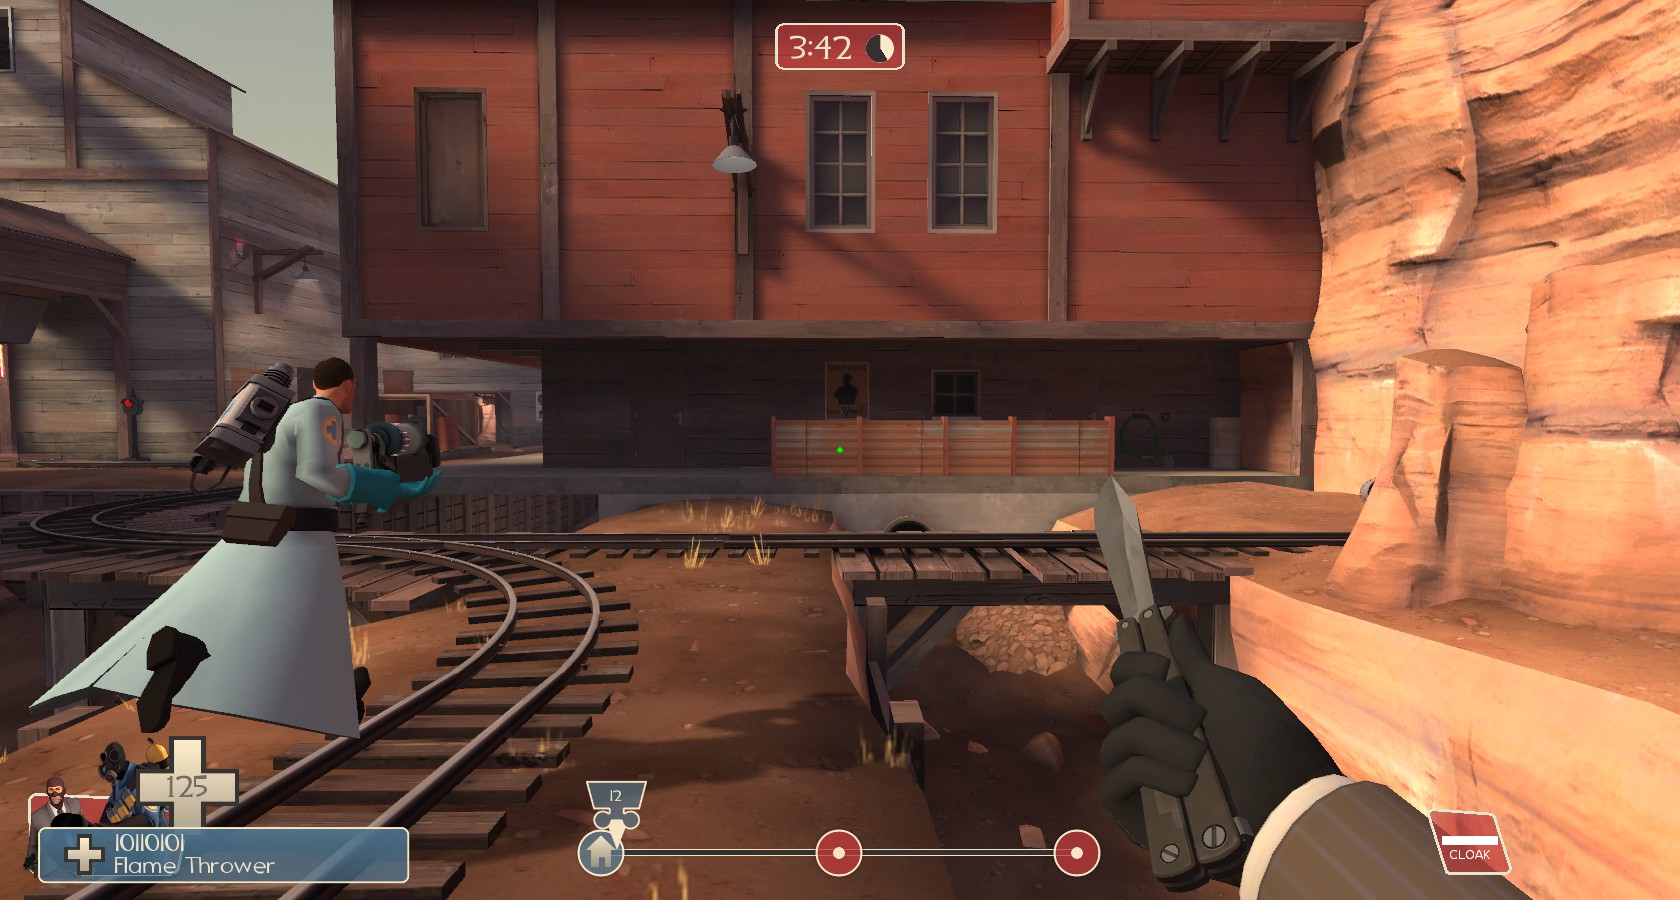
If you're stalking a slower class such as the Demoman, Heavy or Soldier, one way to approach them is to walk in a different "lane" (i.e not directly behind them, but displaced a bit to either the right or left). You may have limited success doing this with the above-mentioned classes, but that would rely on them taking inefficient routes, such as zig-zagging, moving around on the spot a lot, etc. With slower classes, being "inefficient" is fine because you will still be able to catch up. It's simple geometry!

Blending In: Disguise Your Weapons!
Beyond movement, manipulating your disguise’s weapon is also integral to playing into the whole “I’m on your team!” picture. I personally find the “Last Disguise” button (henceforth referred to as “LDB”) useful for only this purpose. Pressing LDB will switch your disguise’s weapon to that of the one you’re currently wielding. For example, if you’re using a melee weapon, pressing it while disguised as the Sniper will bring out his machete. If you’re using your revolver, pressing it while disguised as the Pyro will bring out his flamethrower.

Generally, you want to be wielding the correct weapon for the correct class. You don’t see a Pyro with his fire axe running across the map. Consequently, if you’re disguising as a Pyro, you want to make sure you’re holding your flamethrower. Each class generally has its own go-to weapon. You will find them as follows:
• Scout – Scattergun
• Soldier – Rocket Launcher
• Pyro – Flamethrower
• Demoman – Grenade Launcher or Sticky Launcher
• Heavy – Minigun
• Engineer – None*
• Medic – Medigun
• Sniper – Sniper Rifle
• Spy – Revolver or Knife

You will notice that I have put the Engineer as not having a go-to weapon. Some may disagree, but in my opinion, as an Engineer, you will find yourself using all three weapons equally.

Thankfully, the game usually chooses an appropriate weapon for you, so I wouldn’t worry about this too much until you’re used to micromanaging the other aspects.

One possible strategy you may adopt is to switch the disguise’s weapon quickly back and forth, as not many Spies do that, to bring a bit more credence to your disguise.

There are scripts that will help you switch your disguise’s weapon without having to use LDB which will obviously help in this, and rightly so, because just using LDB to change your disguise’s weapon once is hard enough, even if you rebind the button to a more convenient key. I personally bound it to “q”, but even that was unwieldy to use. Imagine having to do it very quickly.
I have not tested such scripts myself, so you’re on your own for this part, unfortunately. TF2Wiki has a great collection of scripts that you can use for reference: http://tf2wiki.net/wiki/Spy_scripts#Disguise_Sychronizizer.

I will update this section if I do get to doing it, but this crosses into the territory of min-maxing, so I think it’s unlikely that will ever happen.
Blending In: Choosing A Disguise
Choosing a disguise is a key element in being able to play Spy well. Choose the wrong disguise and your cover will be blown. This section focuses on choosing an enemy disguise, not a team disguise (this is covered in a separate section).

I will do a class by class analysis. What I'm about to say are generally true, but as with many things in life, you have to look at the situation. I may say Scouts are generally a bad disguise to take, but in some specific situations you may find they are viable. I may say Engineers do not belong to the frontlines, but if there's a mini-sentry-wielding combat Engineer on the frontlines, disguising as an Engineer on the frontlines will be viable.

Scout
Scouts are generally not what you want to disguise as, as not many Scouts use the Baby Face's Blaster, which reduces their base movement speed to 86%, lower than the Spy. But for all intents and purposes, let's assume it reduces their speed to 100%, as the difference is not visually obvious (as compared to the default Scout speed of 133% vs 100%). Even if there are Scouts using the weapon, they are spychecked more often by their team, which means that using a Scout disguise in games where there are Scouts using the Baby Face's Blaster is also somewhat dangerous. I personally will spycheck any Scout running below 133%.

If there are no such Scouts in the game, that's even more reason not to use a Scout disguise, because you will be running slower than 133%, which will blow your cover very quickly.

Pyro
I personally like the Pyro disguise because, as a Spy, you usually have to get in close to do damage. The Pyro also has to do this, so your disguise will be more convincing, as compared to, say, running in close to your enemies as a Sniper (when you could've sniped from afar).

The Pyro also has the same movement speed as the Spy at 100%, so you don't have to worry about being slowed down or being visibly slower than the actual class.

However, Pyros are the bane of your existence, so if there are Pyros on their team that are particularly good at the game, I'd recommend against disguising as them because there's a chance that you'd be found out due to them seeing you as having the same name as them. In such cases, I recommend going Sniper, Soldier, Demoman or Heavy.

Medic
I find Medic to be a disguise that I cannot genuinely recommend, because most medics are usually healing 100% of the time to build Ubercharge as quickly as possible. As a Spy, you obviously cannot heal, so you would seem suspicious.

Medics also run at 7% faster than the Spy, but I find in actual gameplay, this 7% is not very noticeable except by very experienced players.

Engineer
The Engineer disguise is quite a specialized disguise, because you don't want to be disguised as an Engineer on the frontlines, because combat Engineers are few and far between. Generally, I only choose an Engineer disguise if I'm approaching a nest, or approaching their base (under the pretense of refilling metal).

However, having said that, you have to be careful when disguised as an Engineer as well, because in situations where they only have 1 Engineer, the Engineer will immediately know there's a Spy because he'll see his name. This is true for all classes, but this is particularly important for the Engineer because the Engineer is usually found in places where the action can be at a lull, so he will be paying attention to such things.

Movement speed is not a problem because Engineers move at 100%.

Sniper
The Sniper disguise is another disguise that I like using, because it is surprisingly useful. I usually use a Sniper disguise when I'm moving in closer to their support field. It can also be used as a stationary disguise, in the sense that you can stay at one spot and wait for a good opportunity (like that Heavy that just came out of spawn). Obviously, don't do this too much or they'll be onto you.

The Sniper disguise can be used in many situations and I will not be able to cover them all, so my advice here is to study how you yourself would play a Sniper, how the enemy Snipers you're currently facing are playing and adjust your Spy playstyle accordingly. The only big boo-boo when it comes to the Sniper disguise is moving right into your enemy from your team's side of the map.

Snipers spend a lot of their time scoped, so they will not be able to see you coming. Therefore, the problem that occurs with other classes when there is only 1 of them (i.e they see their name on you) is not so much a problem with the Sniper. Snipers also move at the same speed as you do, so, like the Pyro and Engineer, you do not have to worry about movement speed.

If you're disguised as the Sniper, try not to look straight at the enemy, but at your own teammates, to act like you're looking for targets

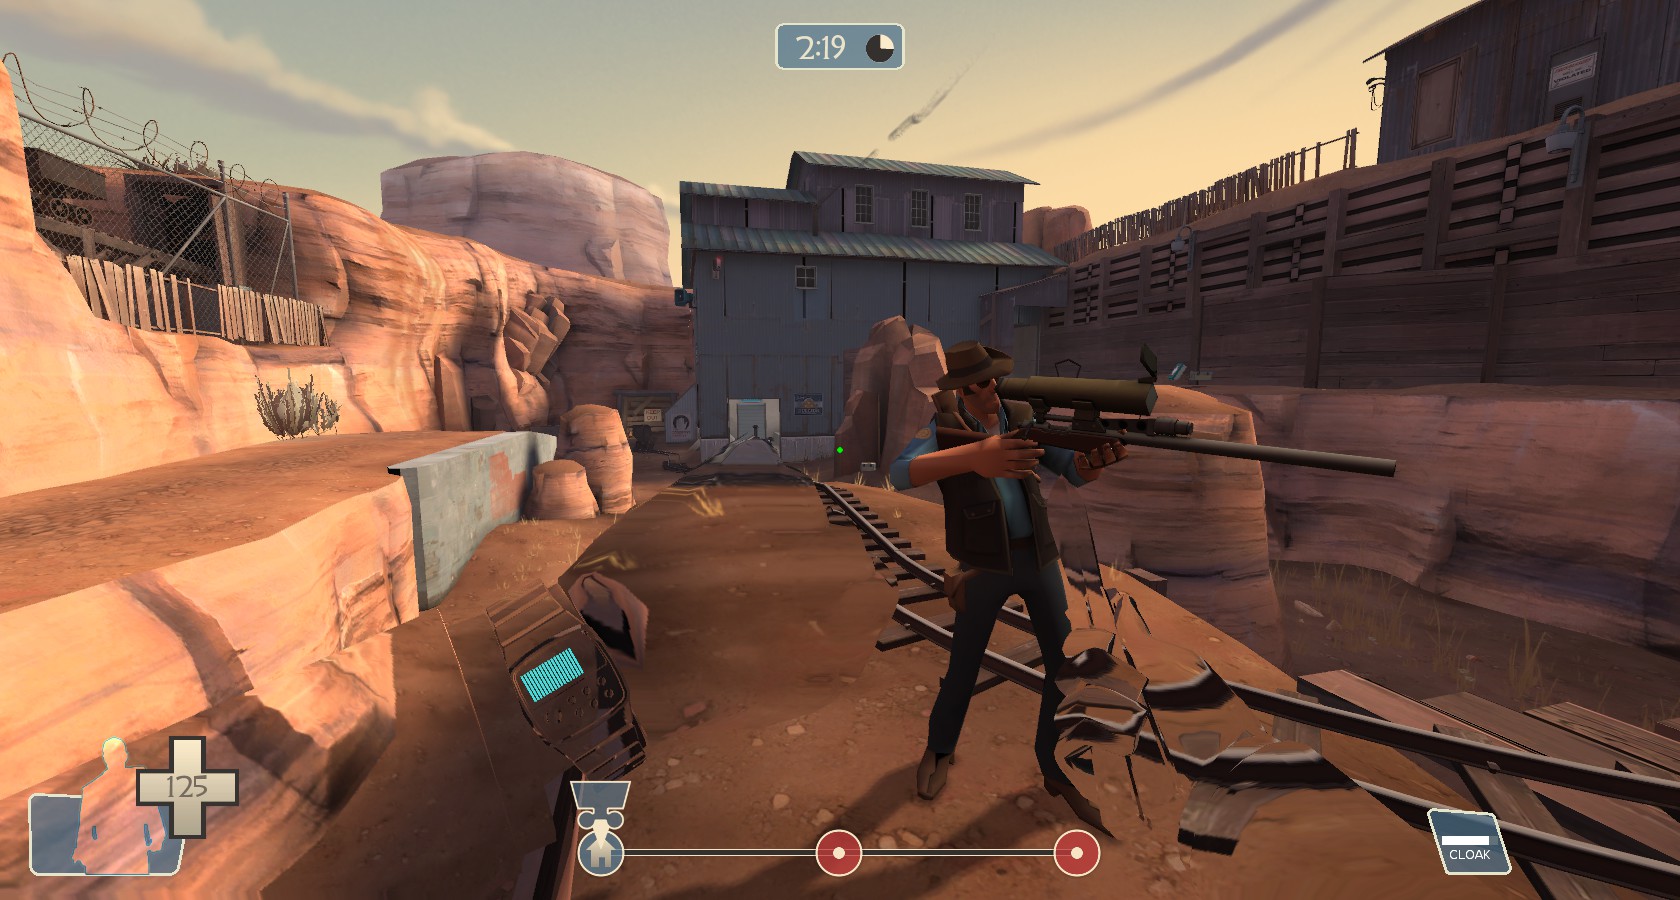
When disguised as the Sniper, it has been added that crouching will give the illusion of being scoped in.

Originally posted by dracom60:
there is something i can add to blending in disguising as a sniper and crouching gives the appearance of being scoped (something disguised spies can not do) this allows you to scout out an area and make your disguise more believeable

Standing Scoped

Crouching Scoped

Crouching Unscoped


It's quite a subtle difference that not many will notice, so this is actually very useful. Combined with looking at your own teammates, it can seem like you're getting ready to snipe your own teammates.

Spy
The Spy disguise is one that I don't find a use for a lot, but it's still possible to obtain some mileage from this.

With the Spy disguise, you want to act like you're, well, a Spy on their team. Look straight at your teammates and act like you're finding a way to infiltrate your own base (although be wary of your surroundings to prevent an enemy from running into you, especially in very narrow areas). Switch your disguise weapons around with the LDB.

Note that cloaking or uncloaking will still reveal you to players who have not just started playing, as the silhouette around you will be based on your team's colour, not your opponent's colour. More experienced players will also turn around and look right at you to find you in the midst of uncloaking if you uncloak right behind them and they hear the sound (even without the Dead Ringer this is very obvious).

Soldier, Demoman and Heavy
I chose to group these 3 classes together because they are attacking classes and all reduce your speed to below 100%. Generally, using these disguises shouldn't be too much trouble if you act the part (e.g don't go hugging the Engineer at their base). Just be wary of the lowered movement speed, which can make chasing a bit difficult.


Blending In: Choosing A Team Disguise
This has been said again and again. You do not want to let the other team know there’s a Spy. During setup time, do not be one of those Spies who go straight up to the gate and start taunting the other team. Not doing so ensures the other team does not know there’s a Spy, so they won’t be actively expecting one. Obviously this façade cannot be maintained for too long, since you lose it the moment you make yourself known to the other time, which is unavoidable once you start killing or sapping.

Once the match starts, as much as possible, try to disguise as another class of your own team if you’re not infiltrating. This means as you’re walking from your spawn to the battlefield. Once you’re on the battlefield, players usually don’t pay enough attention to notice if a character of the other team is acting suspiciously, so I usually stick with one disguise: Pyro. The Pyro disguise does not make you lose mobility since the Pyro walks at the same speed as you do of 100%. The Pyro is also dangerous enough that you may deter enemies. I personally have not noticed much difference in what disguise is being used, but I suggest not sweating too much over choosing a disguise of your own team.

Obvious no-nos would be any class that limit your mobility (namely Demoman, Heavy, Soldier), since it does not confer to you any advantage.

The Scout disguise is an interesting one. Normally, you do not want the Scout disguise when disguised as the enemy team, but when doing it on your own side, it has its advantages. It's important not to use the Scout disguise in the wrong situation. If it's clear your team has no Scout with the Baby Face's Blaster (which lowers their base movement speed), using it again and again will be an immediate tip-off to the enemy team that an enemy Spy is approaching.

Originally posted by Kruhlmann:
Scout is my go-to disguise, since it will obscure the image of you hitbox: the scouts head will be somewhere in your hitbox's chest, which gives snipers a hard time headshotting you, having to aim above you

The Dead Ringer also receives its special mention in this section. When disguised as your own teammate, dying with the Dead Ringer out will cause their body to fall onto the floor, not yours. This helps you to blend in just a little bit more.


Originally posted by Nobody:
A basic example of using the Dead Ringer for blending in is when you're moving out of your gates at the start of the match. As you stated, when you start off, you should be disguised as a friendly team member. However, if you should die before you get into position with a different watch, your disguise is dropped and your Spy body is seen on the ground. By using the Dead Ringer, the body of your disguise will drop, not your Spy body, making your disguise even more convincing.

A good class to do this with would be a Pyro, since a Pyro has to move in close to the enemy anyway before it can attack. Most people wouldn't be disturbed by a Pyro moving without trying to shoot someone unlike the other classes.
Originally posted by Toasty Krogan:
A good tatic for the dead ringer is to disguse as one of your team and when you fake death it will drop that type of body.
Blending In: Playing The Part
I recommend dividing every map into 2 parts: the battlefield and the support. The battlefield would be where your attackers would be, while the support would be where the Engineers and Snipers would be. As you move from one part to the other, switch your disguise accordingly (obviously while making sure no one sees you do it). I personally like to switch while cloaked, but that’s a personal preference. Switching your disguises while uncloaked will work just as well. Just make sure you do not get spotted while doing it.

Pyros do not usually run back to their base. Demomen do not usually have their melee weapon out while looking the enemy straight in the eye. Engineers don’t go rambo with a shotgun.

Want to move towards the enemy spawn? Try using a support class in conjunction with the cloak. Want to be on the battlefield causing chaos? Try disguising as an attacker, especially the Pyro.

Of course, that's not to say that you should artificially limit yourself. You should always look at the situation. Do they have multiple Engineers active on the field? Disguising yourself as an Engineer on the battlefield may be viable and help you get close to their buildings.

Snipers can also sometimes be found on the battlefield, though they're usually closer to the boundary between the battlefield and support.
Blending In: Doppelgangers
In addition, you must keep a lookout on what classes the other team has, and what classes are on the field at the moment. It’s hard to put this in words, so I’ll give examples.

There’s only one Sniper on their team. You disguise as a Sniper. Henceforth, whoever on their team that looks at you will see the Sniper’s name, including the Sniper himself. If he sees you, you can expect him to start hunting you down. Conversely, assume there are 3 Snipers on their team. The chances of you running into the Sniper you’re disguised as is now 1/3.

In other words, try not to disguise as a class that has only one player playing it, although this is admittedly not easy to know. I generally try to disguise as a class that isn’t present on the field to reduce the chances of being spotted this way.
Blending In: "Stop Hitting Me!" I Think Silently to Myself
Most classes spycheck with their weapons. Realistically, only the Scout is able to perform spychecks by running into players. This means you should be expecting their players to shoot at you even if you’re disguised.

The key to not blowing your cover during spychecks is to act nonchalant. Don’t panic when they start hitting you. Try not to even look at them when they’re doing this. Just go on with your disguise.
Obviously, this doesn’t work with Pyros because you will be immediately on fire. The Spy-cicle may be able to help you get away with your disguise, but the extinguishing sound that occurs when you are hit will, in most cases, give you away anyway. I recommend just getting the hell out of there.
Of course, some attacks focused on you are not spychecks, but are actual attacks to weed out the Spy as they have discovered you, in which case ignoring them is silly.

Unfortunately, for explosive weapons, due to their huge lump-sum damage, it may be difficult to know whether to ignore it or to get away unless you hear or see them spychecking other players (and thus you ignore it). You will usually be dead by the second hit, which means there’s not enough time for you to feel the enemy out.

For other weapons, you should be able to tell reliably one from the other. If you have a particularly insistent player attacking you, you know they’ve discovered you.

It has been noted that explosive weapons as well as the Force-A-Nature cause knockback even when you are disguised. If you have been knocked back by one of these weapons, it is recommended you get out, because observant players would know you are a Spy, because shooting these weapons at a team member will not knock them back.
Originally posted by Dr. King Charles Darwin O.D:
One should be careful when acting as you said "non-chalant" usually scouts and any class with an explosive weapon (scout with FaN which is a common sight) can easily check with the knock back of there weapons, when confronted by ANY WEAPON THAT GIVES KNOCKBACK one should retreat immediatly rather than get hit, they will se you fly back, something that obviously doesnt happen to team mates.
Blending In: Thanks for the Teleporter, Engineer!
When you teleport, you momentarily leave a trail of your team's colour behind you as you walk. This makes it clear you're from your team, and not the other.

The only time you want to take a teleporter is if you know the teleporter is far enough from the battlefield that the trail would disappear (it disappears in about 5 seconds) before you reach the battlefield and start doing your thing.

If you're really insistent on taking the teleporter, at least hang around while you wait for the trail to disappear before you move out. Another workaround is to use your cloak to hide it, but it will drain your battery obviously.

Originally posted by Lord Brony Phil:
Also, cloaking will hide teleporter trails for both teams, meaning you CAN use a teleporter and move out instantly without fear of being detected for the trail, but, of course, it uses your cloaks battery.

Interestingly, this also works with the enemy teleporters, and you can actually use them to your favour.

Originally posted by The Exalted Fox:
Hey, when you take a teleporter, it actually leaves a colored trail behind you that is the color of the teleporter you took. So if you take an enemy's teleporter, it leaves a team-colored trail behind them. For their team. This can make people trust you a bit more as members of their team, so teleporters can be a valuable resource.
Infiltrating: Introduction
My personal formula for infiltrating is quite simple: cloaking. There are probably ways to break through without heavy reliance on cloaking, but I do not know of any. For me, cloaking works fine.

Getting behind enemy lines can be tricky. The cloak comes in very handy here because it is easy to be walking towards your enemy with a disguise and blow your cover due to collision, especially when Scouts are present, as they can spycheck very easily by just running into their team.

A beginner mistake propagated by hearsay is walking with your back towards the enemy. This normally would make a lot of sense, because you act like you're retreating. And in some cases this method works, but it becomes useless when you're doing this from a far place away, when there aren't any of your own teammates on the field (you're retreating from something, remember?). It is also disadvantageous because you walk slower and you are not able to see if you are going to collide with an enemy. Due to so many beginners doing this, it is usually easy to spot a spy doing this, making this technique all but useless. This can sometimes work, but I wouldn't rely on this. It is usually a better choice to rely on your cloak to get behind them.

Infiltrating: Choosing A Route
Many maps are designed in such a way that there is usually (though admittedly, not always) a way to get to and from the enemy base.

The route must not be highly-populated, to reduce the chances of being detected due to collision. If there is a chokepoint, there's not much choosing to be done, although switching to another class that can break through the chokepoint momentarily is an option. The Dead Ringer is also a viable option, but the map must be wide enough or deep enough for you to be able to uncloak without anyone noticing.
Infiltrating: The Infiltration, and Thoughts on Different Cloaks
You will frequently find yourself having to travel large distances before you can uncloak safely. For this, I find the default invisibility cloak works the best, because, as far as I know, it covers the most distance in the same amount of cloak. It also allows you to recharge your cloak with ammo packs, so if you are familiar with the map and can remember where the ammo packs are, depending on the map, you may be able to remain cloaked for a very long time.

If you insist, the Cloak and Dagger is also fine, since you can recharge it by staying still. However, it can take a lot of time for you to travel the same distance as the default cloak, since you cannot recharge it with ammo packs, time better spent supporting your team. For that matter, I do not recommend the Cloak and Dagger.

I personally used the Cloak and Dagger as a crutch, because I was not confident with my ability to use the ammo packs to keep my cloak up, but I ditched it one day and have not looked back, since it’s so much easier than you would think and it allows you to get in and out of the battlefield much more quickly. If you’re able to use it to great effect, good for you, but I find that it limits my potential too much to be worth the ability to potentially stay cloaked forever. That said, the Cloak and Dagger is not a bad cloak at all, because it allows you to learn maps and learn where the ammo packs are on an unfamiliar map.

The Dead Ringer’s strategy doesn’t really allow you to travel large distances. Although it still can be recharged with ammo packs, it drains more quickly than the default cloak. I honestly do not have much experience with the Dead Ringer, so I am unable to give advice on the Dead Ringer’s use.

Pyro Jack has notified me that the L'etranger, after the recent patch, has been changed to also increase cloak duration by 40%. This is in addition to the fact that it recharges 15% cloak for every hit you get with it, so it is quite an interesting gun to use, especially if you have trouble with your cloak duration running out, such as on the Dead Ringer which has a shorter cloak.

Infiltrating: Revealing Yourself
Once you're behind enemy lines, it's important that you first check your surrounding with a quick sweep before you uncloak. An uncloaking Spy, disguised or not, is a dead giveaway. Using the terrain as a way to cover your uncloaking silhouette is essential to being able to infiltrate without being found. Rocks, alcoves and basically anything that will get you out of sight is your friend. For this reason, map awareness is important. You need to know where you are relative to enemies, and where advantageous terrain is. Because of this, I don't recommend you play Spy on maps you're not familiar with. It's already difficult enough even if you know what you're doing.
Target Picking and Class Strategy: Medic
You want to target the players that can make the biggest difference. Medics would be your biggest target because they are extremely useful to a team, but the bummer is that they run faster than you do. In this case, blending in is even more important because you won't be able to get close unless you're approaching from an angle (as mentioned above), which is not something that is always possible.

Medics are also surprisingly dangerous to deal with once you're discovered if they're skilled. Their Syringe Gun has a high rate of fire, so it may be difficult to cloak away, since being hit will reveal you momentarily. Their melee weapon also hurts as hell.

One strategy unique to dealing with Medics is to bait them into healing you. Spaulding puts it better than I ever could, so read below to see what he has to say for baiting Medics.

Originally posted by Spaulding:
For Medic Killing -Sometimes a heavy disguise can attract a medic, especially near spawn. I've found that calling for them isn't useful, as people spycheck people who spam their 'E'. Instead, one call as soon as you see the medic and then a run towards the front lines gives the best odds of not being checked. To kill them, try to "strafe" as they do while trying to get behind them.
Also a medic in danger will be much less paranoid about spies. If you see a medic buddy go down and the medic damaged, try and get in the medic's view (in any combat class disguse) so they start healing you.
Target Picking and Class Strategy: Engineer
Engineers would be your next target. They would usually be found next to their buildings, which can make them difficult to kill because the buildings will collide with you, and because the sentry gun will probably kill you if you mess up the backstab. The general strategy is to kill them quickly, and then sap their sentry before the other buildings.

One thing to note is that sentry guns (especially lower-leveled ones) take a noticeable amount of time before they can target you due to turning to face you. It is recommended, if possible, you extend this time by moving in the opposite direction. This is similar to the strategy used by Scouts when they strafe around sentries. Thankfully, we have it much easier than them, since the sapper will take it out in one hit.

It has been observed that Engineers sometimes build their teleporters within tight sentry nests. When this happens, you may be able to teleport with their teleporter onto them, killing them.

Originally posted by European Customs Inspector [EU:
]Really good guide, and you covered pretty much everything, but there is one thing I would add about tele-fragging. In pubhlic servers, engineers often like to build their teleporter exits close or even inside their sentry nest. If you are dealing with an inexperienced engineer you can use this to your advantage. If you sap their teleporter entrance then cloak on top of it, with any luck the engineer will turn to unsap it. If they are inexperienced or in a tight sentry nest they will probably stand on top of their teleporter exit whilst they unsap it. When they unsap it you will be immediately teleported and should hopefully telefrag the engineer. You are then free to sap all of their buildings pretty much at your leisure.
Target Picking and Class Strategy: Attackers
Here on out would be your secondary targets. Killing these people usually won’t have as much a detrimental effect on their push as you would if you had killed their Medic.

Attackers, namely the Scout, Demoman, Pyro and Soldier make up the bulk of your nightmare.

The Scout is difficult to handle because of their fast movement speed and frequently erratic movement, as a result of both their tendency to want to keep moving even when it’s unnecessary, and their double jump (and in some cases, usage of the Force-A-Nature with its movement-inducing recoil and the Atomizer, which grants a third jump). I generally avoid Scouts because they can spycheck you easily, and it is generally hard to get a backstab off of them, especially when they are moving at an angle near 90 degrees to you, since there’s only a very small window in which you can backstab. Of course, you can compensate by strafing with him and moving your mouse along before you attempt a backstab, but there’s such a small margin of error that I usually let the Scout go and go for higher-priority targets.

The Pyro is also particularly difficult to handle, given their ability to easily spycheck the whole team in a matter of seconds. Once you’re hit, you’re lit up like a Christmas tree, even when cloaked. I would generally recommend staying as far away from Pyro as possible while still keeping your disguise convincing. One weapon of note is that the Spy-cicle, which will give you a short moment before you’re damaged and lit up by the Pyro. You would usually still be dead meat by then, since most Pyros are particularly insistent (who isn’t?) on killing a Spy when one appears, but in some rare cases, it can actually buy you enough time to cloak and get away.

The Demoman and Soldier are tricky to deal with. I generally treat them as a “neutral” class, in that they don’t have anything to note. They’re not easy food for you, but they’re not particularly difficult, partly owing to their slow movement speed (which means catching up is not a problem). Both have a relatively high skill ceiling and skill floor that they range from being laughably easy to deal with to being insanely difficult. Naturally, though, the probability of you being found out still depends on how experienced they are, and whether they are observant enough. Take note of when they’re about to rocketjump or stickyjump, because you can easily be caught in the blast radius and killed. This should be fairly easy to predict for Demomen, since they have to set up their sticky bombs first. Conversely, Soldiers are more difficult to predict in this aspect.
Target Picking and Class Strategy: Heavy
Heavies are hilarious to fight against due to them slow movement speed and (I believe) large hitbox. Just make sure you don’t uncloak right in front of him, or you’ll find that they are particularly insistent on shooting at you with their Minigun, which will reveal you to everyone, potentially drawing more team fire. I find the Minigun is something like a pseudo-flamethrower in terms of the danger to you.
Target Picking and Class Strategy: Sniper
Snipers are an interesting one. Snipers are usually food for Spies, especially if nobody is spychecking and you manage to get right up to them, but Snipers using Razorbacks require a different strategy. You want to use your revolver to shoot them. Most revolvers kill them in 3 hits, so you want to make sure you kill them before they have a chance to react.

The Ambassador, in particular, lets you headshot them for 102 damage, which allows you to kill them in one single headshot and one regular shot, which can happen faster than they can react as this can be executed surprisingly quickly.

The Enforcer can also be used as a counter to Razorback Snipers.

Originally posted by Protagonist:
I would like to add a bit of word in about the Razorback Snipers. The Enforcer can two shot classes with 125 health if you are close enough to them. Assuming the sniper isn't watching their surroundings as much as they are taking potshots at your team's scouts, this shouldn't be an issue.

There may be situations where they will snipe you right there and then as you're trying to kill their team, but there's nothing you can do about that.
Target Picking and Class Strategy: Spy
Not much can be said about Spies. The 2 Spies are usually off doing their own things within the other team. When they meet, fights usually devolve into a full-up melee with both trying to see who can get off a backstab first. You can choose to use your knife, or you can also switch to your revolver and back off while shooting at him. As a last resort, cloak, get away and reset.
Miscellaneous Tips
Contained here are tips that I cannot fit into the rest of the guide. Many of these are contributed by others, so I have given credit where due.

Killing With Enemy Teleports
As a Spy, you are able to more easily gib somebody if you teleport into them. All classes can do this, but it's unlikely you'll be able to find an enemy standing right on top of your teleporter. If you break it down and reason it out, this means that the most common situation you will be able to do this is as a Spy, using their teleporters. This will happen only in very rare situations, when the planets are all aligned and the tide is exactly 43.52m high, but when it does it can be quite satisfying. You may be discovered since anyone in the vicinity will immediately know you are a Spy, since you teleported right into their teammate and killed them. Of course, this isn't ideal, but at least you killed somebody. If it's an Engineer, even better, because that's lesser time the Engineer has to support their team, which is time where somebody on your team can potentially destroy the unguarded nest.

Originally posted by =S.T.A.R.= Yogurt:
a helpful tip: when you take an enemy teleporter, you ''tele-kill'' any enemy that was standing on the teleporter exit and you maintain your disguise, this also works when you take your team's tele but usually enemies dont sit on the other team's teleporters so that is very rare.

Using an Engineer's Sentry Against Him
Knusperfrosch has pointed out that an Engineer's sentry gun can be used against him. It is precisely of this self-harm mechanic that has made some Engineers protect each other's nests, instead of their own nests.

Originally posted by Knusperfrosch:
The "friendly fire" trick to take out an Engineer. Mislead a sentry into shooting its own Engineer in the back. Only works with correct positioning, but useful in cramped sentry nests. If there are 2+ Engineers on the enemy team, make sure the Engineer banging away at the sentry is actually the builder!

If you cannot get at the sentry to sap it first, try positioning the Engineer between yourself and the sentry, drop disguise (or just attack without a backstab, unless you are using the Eternal Reward) , wait for the sentry to notice you, use Engineer as meat shield. Sap sentry once he's dead. Be careful if it's a level 3 sentry shooting rockets.

Calling for their Medics
Knusperfrosch has pointed out that oblivious Medics can be used to your advantage by calling for their help when you are on fire.

Originally posted by Knusperfrosch:
If you are disguised and ON FIRE, you can attract an enemy Medic by yelling for help. If your disguise's simulated health was below 100%, it will be "healed" along with your actual health (If it's already 100% while you are burning, pray the Medic is too busy to notice.)

Beware of enemy Pyros wishing to be helpful, because if they airblast you, not only will they not extinguish you, you will also receive knockback from the compression blast.
(cont.)
Conclusion
The most basic thing to understand about being a spy is that you won't always succeed. You won't always be able to pull off the chain backstab. You won't always be able to sap that sentry creating a chokepoint. But people hate spies. Even if you can't do that, playing a spy can help you cause chaos in other team, and sometimes that can buy you the win. Having the correct type of movement and mindset will go a long way in helping you achieve this.

This guide took a surprisingly long amount of time and effort. It also became much longer than I expected. Hopefully you are able to glean some useful information from the walls of text and improve your Spy gameplay.

Changelog
25 Jun 2013
  • Added the guide to Steam

26 Jun 2013
  • Changed Soda Popper to Baby Face's Blaster (Thanks Nobody!)

6 Jul 2013
  • Changed Soda Popper to Baby Face's Blaster again (Thanks everyone who pointed it out!)
  • Corrected Scout's weapon to be called Scattergun, not the Shotgun

7 Jul 2013
  • Split up the sections on infiltrating; walls of text are not fun to read
  • Added a small amount of things to Playing The Part
  • Created a section on miscellaneous tips
  • Incorporated some of the comments into the guide regarding: 2-shot Enforcer, enemy teleporters, dead ringer strategies, faking a scope, tele-killing and others I may have missed out. Thanks to everyone who contributed!

8 Jul 2013
  • Modified the section on tele-killing to reflect correct information (Thanks Brony Lord Phil!)
  • Added in part about cloak obscuring teleporter trails (Thanks Brony Lord Phil!)
  • Added some screenshots for positional concepts and for fake scope (Finally!)
  • Added a new section "Choosing A Disguise"
  • Renamed some sections to make it clearer what they are about
  • Added part about weapons that can knockback into section about ignoring spychecks (Thanks Dr. King Charles Darwin O.D!)

10 Jul 2013
  • Added part on baiting Medics under class strategy (Thanks Spaulding!)

11 Jul 2013
  • Added tele-killing strategy under Engineer section (Thanks European Customs Inspector [EU]!)

10 Aug 2013
  • Added some other tips into miscellaneous section. (Thanks Knusperfrosch!)
  • Added a small section on the L'Etranger in Infiltration, due to recent changes (Thanks Pyro Jack!)

28 Jul 2014
  • Reworked enemy Spy disguise section after it was pointed out that team colours form the silhouette (Thanks Urist McEngie!)
150 Comments
Ziggeop 26 Dec, 2017 @ 4:03pm 
Deadringer can no longer be refilled by ammo packs, but the big earner and the Le' trange help.
do 21 Aug, 2015 @ 6:13am 
i read all 10/10
Cyynapse 27 Aug, 2014 @ 8:56am 
: )
Eccentric Eggplant  [author] 5 Aug, 2014 @ 6:29am 
Please do! I'm flattered you find my guide of quality worthy to be linked. Thanks!
EmethSAS 3 Aug, 2014 @ 8:17am 
I have written a Spy guide for beginners that I believe dovetails nicely into this guide, and I've found your guide very helpful, so I'm linking to your guide in mine, if that's alright.

http://steamproxy.com/sharedfiles/filedetails/?id=259898316
Urist McEngie 28 Jul, 2014 @ 7:45pm 
I kinda realized though, if someone on the enemy team sees you disguised, as a spy on their side, if you go into cover and cloak, they may not think an enemy spy is cloaking/uncloaking
Eccentric Eggplant  [author] 28 Jul, 2014 @ 1:25am 
That's a good point. I've removed that.
Urist McEngie 11 Jul, 2014 @ 2:45pm 
There may be an error that you made, as you state that being disguised as an enemy spy will make it seem normal to cloak and uncloak, your sihlouette when cloaking/uncloaking however is your team's color, not the enemy team's color.

Also, I may have missed it, in this guide but it helps to change your disguise while cloaked or hidden. I've caught quite a few spies that disguise as someone on my team but are given away by the team-colored lines that appear.
purple tissue box 8 Mar, 2014 @ 8:06am 
For the "Target Picking" section, you may want to note that every class has the same hitbox for backstabs, but for Ambassador headshots, the head sizes are different.
Bismarck 1 Dec, 2013 @ 6:06pm 
I applaud you good sir! I strill havent read the entireity yet, but the one thing i have to say is the go-to weapon for the engineer is the wrench, so the unixperienced enemies think that you're just trying to help the real engie. This is a bad idea if there is only one enemy engineer.